
The Cookie Jar Secret
My grandson calls these his “hobnob heroes.” I still laugh at that. He found my old tin and declared them the best. The secret is not really a secret. It is simple, good things mixed with love.
Golden syrup is the magic here. It makes them chewy and sweet. Doesn’t that smell amazing when you open the jar? It reminds me of my own grandma’s kitchen. Using wholemeal flour adds a nice, nutty taste. It matters because food should make you feel good inside and out.
Stirring Up Stories
Let me tell you a little story. I once ran out of rolled oats. I used crushed cornflakes instead. They were crispy and wonderful! It taught me a good lesson. Cooking is about trying, not worrying.
That is why this recipe matters. It is forgiving. Your dough might seem crumbly. Just squeeze it in your hands. It will come together. Have you ever had a kitchen experiment go surprisingly right? I would love to hear about it.
The Simple Steps
First, beat the butter and sugar. Do it until it looks pale and fluffy. This gives the cookie its light crunch. Then mix in everything else. The dough will be thick and hearty.
Roll them into little balls. Flatten them just a bit. They spread as they bake. *Fun fact: The name “hobnob” is an old word meaning “to drink together.” Perfect for a cookie and a cup of tea!* Bake until the edges turn a happy gold.
The Chocolate Finale
Let them cool completely. This is the hard part! Patience makes a better cookie. Melt your milk chocolate slowly. I use a bowl over a pot of hot water.
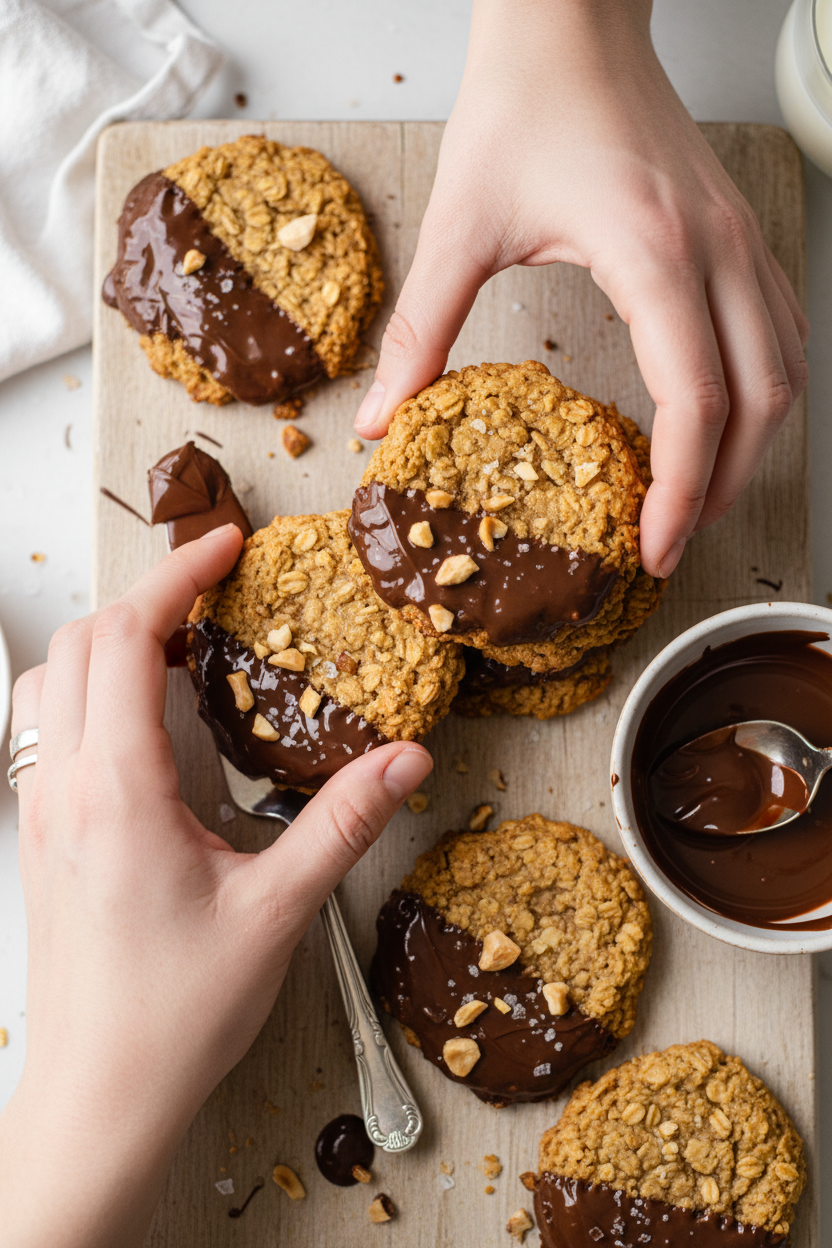
Spread a generous layer on the bottom. Let it set. That snap of chocolate against the oat cookie is pure joy. Do you prefer milk or dark chocolate for dipping? Tell me your favorite.
Your Turn in the Kitchen
Now, these are yours to make. Share them with someone you like. Food tastes better shared. That is another reason this matters. A simple cookie can make a big moment.
Will you be making these for a special someone or just for you? However you enjoy them, I hope they bring a smile. What is the first cookie you ever learned to bake? My first were thumbprint jam cookies. They were messy and perfect.
Ingredients:
| Ingredient | Amount | Notes |
|---|---|---|
| Unsalted butter/baking spread | 7 tbsp (100g) | |
| Light brown soft sugar | ½ cup (100g) | |
| Golden syrup | 3 tbsp (50g) | |
| Rolled oats | 1 ¼ cups (125g) | |
| Bicarbonate of soda | ½ tsp | |
| Sea salt | ½ tsp | |
| Wholemeal plain flour | 1 cup + 2 tbsp (150g) | |
| Milk chocolate (melted) | 3.5 oz (100g) | For coating |
My Ultimate Homemade Hobnobs
Hello, my dear! It’s Anna. Let’s make my favorite cookie. These are called Hobnobs. They are crunchy, oaty, and chocolatey. My grandson calls them “hug cookies.” I think that’s just right. We’ll make them together. It’s easier than you think. Doesn’t that sound lovely?
I remember making these with my own grandma. Her kitchen always smelled of warm oats. I still laugh at that. She used to let me lick the golden syrup spoon. It was the best treat. Now, I get to share that with you. Let’s create some sweet memories of our own.
Step 1: First, turn your oven to 350°F. Get your baking sheets ready. Line them with parchment paper. This stops the cookies from sticking. It’s a simple trick. I learned it the hard way once! (My hard-learned tip: If you don’t have parchment, a tiny bit of butter will work.)
Step 2: Now, let’s make the dough base. Put your soft butter, brown sugar, and golden syrup in a bowl. Mix them until they look pale and fluffy. This takes about three minutes. Doesn’t that smell amazing? It’s the smell of happy cookies. This step gives our Hobnobs their lovely chew.
Step 3: Time for the good stuff! Add your rolled oats, flour, bicarbonate of soda, and salt. Just mix it until it becomes one big dough. Don’t mix it too much. We want tender cookies. Can you guess what the bicarbonate of soda does? It makes them puff up a little. Share below!
Step 4: Roll the dough into little balls. Make them about the size of a walnut. Place them on your tray. Gently press them down with your fingers. They will spread a bit. Leave some space between them. I always make a few extra for “taste testing.”
Step 5: Bake them for 12 to 15 minutes. Watch for golden edges. They will look soft in the middle. That’s okay! Let them cool right on the tray. This is important. It makes them perfectly crisp. Patience is a baker’s secret ingredient.
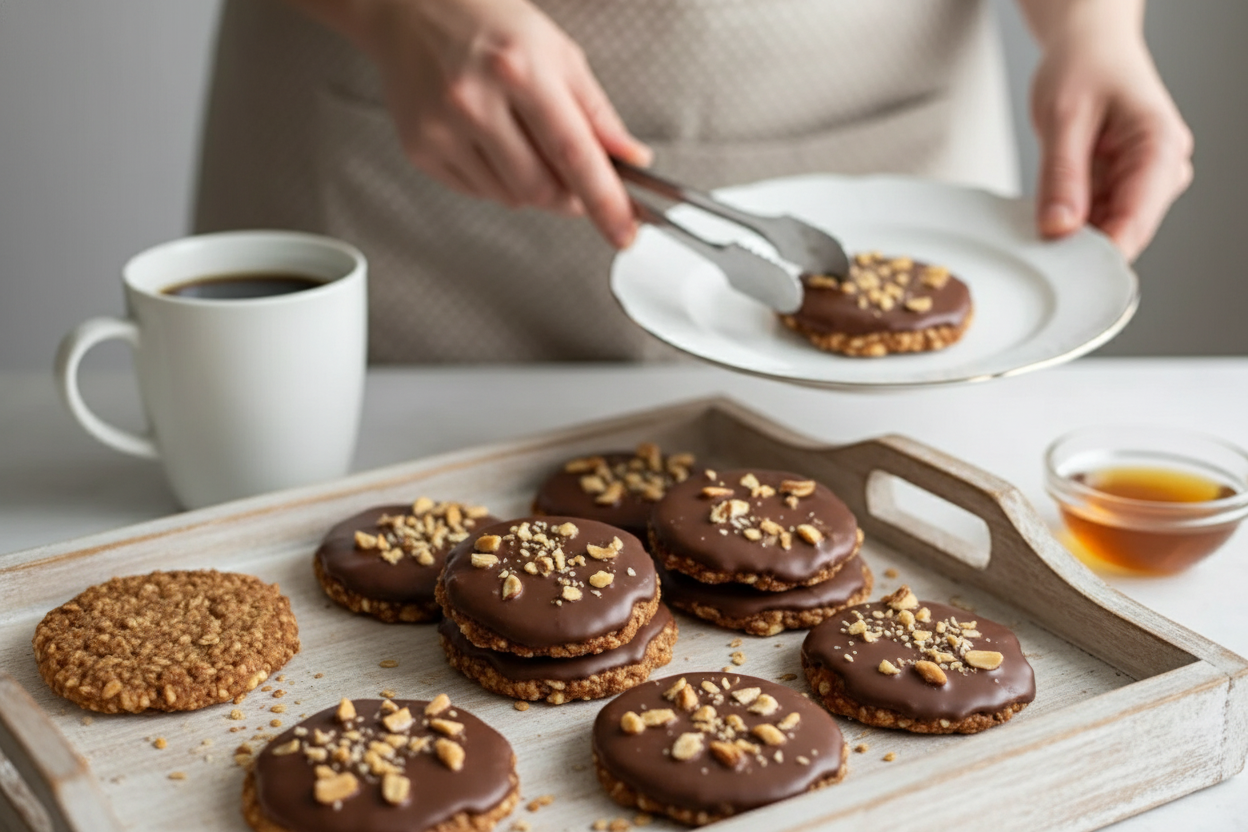
Step 6: The best part! Melt your milk chocolate. Spread a layer on the flat bottom of each cool cookie. Let the chocolate set. Then, you can finally try one. The crunch and melt together is pure joy. I think you’ve earned it.
Cook Time: 12–15 minutes
Total Time: About 45 minutes
Yield: About 18 cookies
Category: Baking, Cookies
Three Fun Twists to Try
Once you master the classic, try a new version. It’s fun to play with flavors. Here are three ideas I love.
Orange Zest Joy: Add the zest of one orange to the dough. It makes the kitchen smell like sunshine.
Double Chocolate Dream: Swap two tablespoons of flour for cocoa powder. Use dark chocolate for coating.
Ginger Snap Twist: Mix in one teaspoon of ground ginger. It gives a lovely, warm little kick.
Which one would you try first? Comment below! I’m leaning toward the orange zest myself.
How to Serve Your Hobnobs
These cookies are wonderful all on their own. But sometimes, I like to make a moment of it. For a special treat, serve them with a small bowl of fresh berries. The tart fruit is perfect with sweet chocolate. Or, crumble one over vanilla ice cream. It’s simply divine.
What to drink? With milk chocolate, I love a cold glass of whole milk. It’s the classic pairing for a reason. For the grown-ups, a small glass of creamy sherry is a lovely match. It feels so old-fashioned and cozy. Which would you choose tonight? I think I’ll have the milk.
Keeping Your Hobnobs Happy
Let’s talk about keeping your cookies fresh. First, cool them completely. A warm cookie in a tin will get soggy. I learned this the hard way with my first batch. I was too excited to wait!
Store them in an airtight container at room temperature. They will stay perfect for five days. You can also freeze the baked cookies for a month. Just layer them with parchment paper in a freezer bag.
Batch cooking is a lifesaver for busy weeks. Shape the dough balls and freeze them on a tray. Then pop the frozen balls into a bag. You can bake a few fresh cookies anytime you want. This matters because a little planning brings sweet joy on a tough day. Have you ever tried storing it this way? Share below!
Hobnob Hiccups and Simple Fixes
Sometimes cookies spread too much. Your butter might have been too soft. I remember mine melting into one giant cookie sheet once! Chilling your dough for 30 minutes fixes this. This matters because good texture makes every bite satisfying.
If your cookies are too crumbly, you may need more syrup. Add one extra teaspoon to the dough. It acts like glue for your oats and flour. Your cookies will hold together beautifully.
Is the chocolate coating too thick? Thin your melted chocolate with a tiny bit of oil. Just a teaspoon will make it easier to spread. This matters because fixing small problems builds your kitchen confidence. Which of these problems have you run into before?
Your Hobnob Questions, Answered
Q: Can I make these gluten-free? A: Yes! Use a gluten-free flour blend. Make sure your oats are certified gluten-free too.
Q: Can I make the dough ahead? A: Absolutely. Keep it wrapped in the fridge for two days. Let it soften a bit before shaping.
Q: What can I use instead of golden syrup? A: Light corn syrup or honey works. The flavor will change a little, but still be tasty.
Q: Can I double the recipe? A: You can! Just mix in a bigger bowl. Bake one tray at a time for even heat.
Q: Any fun extra tips? A: Try dark chocolate for coating. *Fun fact: The original Hobnob was the first UK biscuit made with wholemeal flour!* Which tip will you try first?
From My Kitchen to Yours
I hope you love baking these crunchy, chocolatey treats. They always remind me of my grandchildren. Their happy faces make all the mixing worthwhile.
I would love to see your cookie creations. Share a picture of your kitchen adventure. It makes my day to see your bakes. Have you tried this recipe? Tag us on Pinterest!
Happy cooking! —Anna Whitmore.
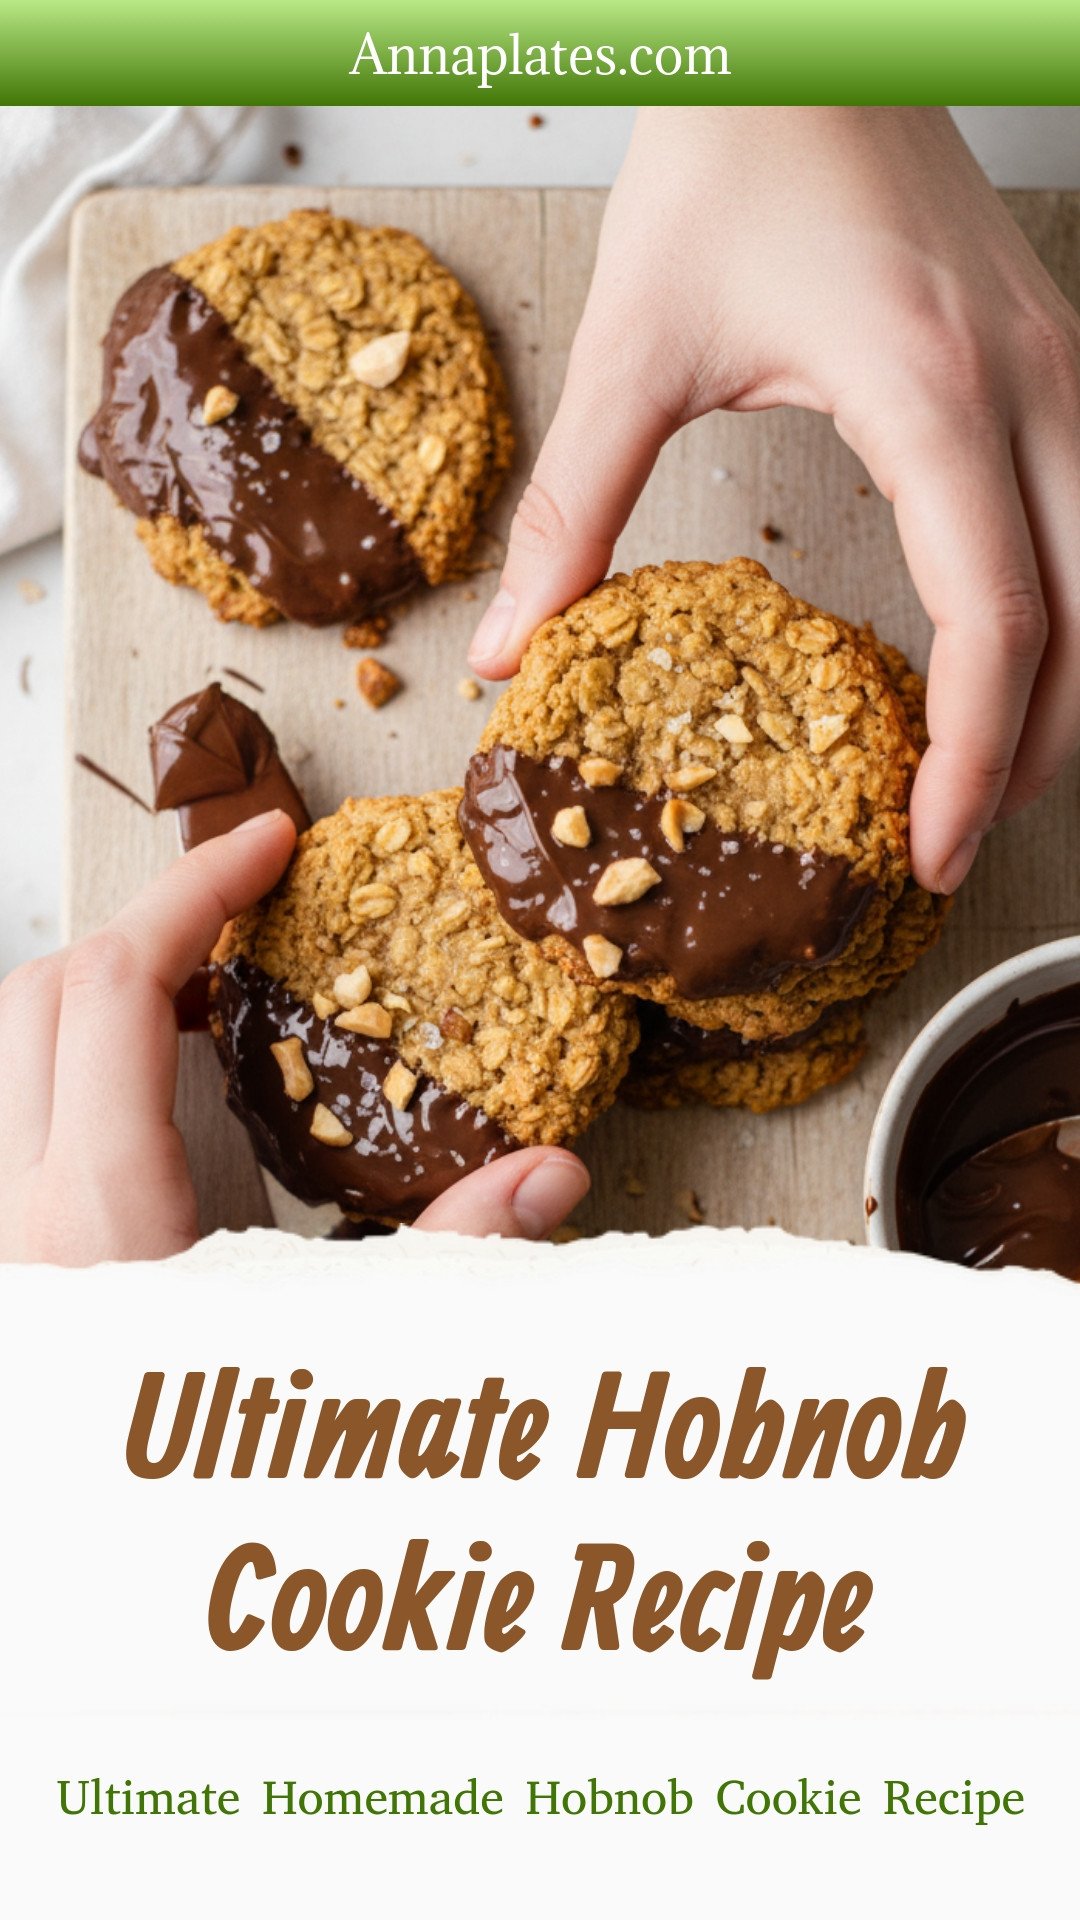
Ultimate Homemade Hobnob Cookie Recipe
Description
The ultimate homemade Hobnob recipe! Crunchy, oaty, and deliciously golden. Easy to make and perfect with a cup of tea. Get baking today!
Ingredients
Instructions
- Preheat oven to 350°F (180°C) or 320°F (160°C) fan. Line baking sheets with parchment paper.
- Cream butter, sugar, and golden syrup until light and fluffy (2–3 minutes).
- Add oats, bicarbonate of soda, salt, and flour. Mix until dough just comes together.
- Shape dough into 1.5–2 inch balls, place on baking sheets, and flatten slightly.
- Bake for 12–15 minutes until golden at the edges. Cool completely on trays.
- Melt milk chocolate and spread on the bottoms of cooled cookies.
- Allow chocolate to set before serving. Store in airtight container.


Leave a Reply