
The Story Behind the Swirl
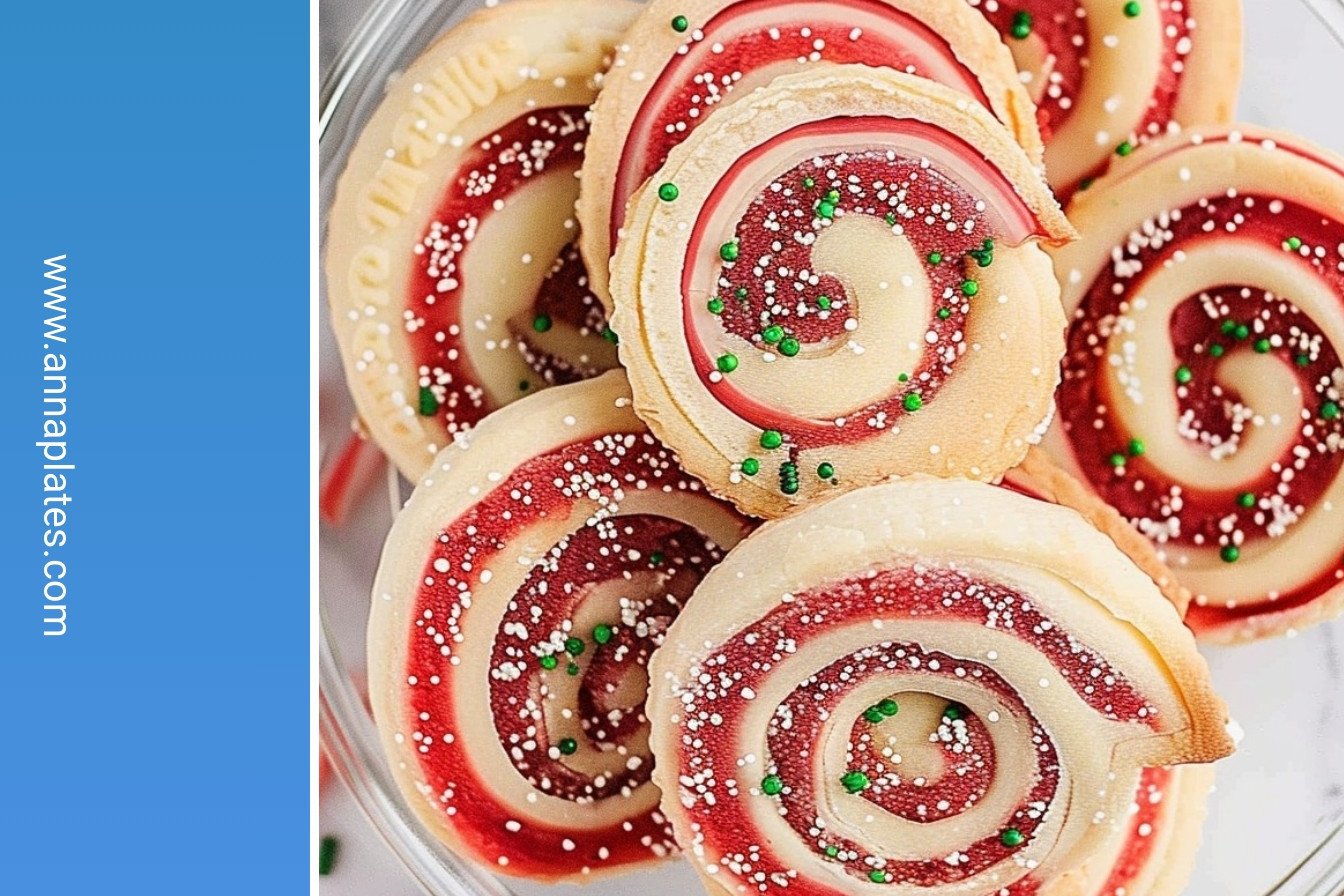
My grandson calls these my “magic trick” cookies. I still laugh at that. They start as two simple balls of dough. One is plain, one is red. Then we roll them up together. It feels like a little secret.
When you slice them, the beautiful swirl appears. It always feels like a surprise. Making them reminds me that simple things can hold the most beauty. What is your favorite cookie that feels like a surprise?
Let’s Make the Dough
Cream the butter and sugar first. This is the most important step. You want it light and fluffy. Doesn’t that smell amazing? It smells like Christmas already.
Then we add the egg and flour. Mix it just until you see no more white streaks. We divide the dough and color one half red. My apron always gets a little red on it, too. It’s part of the fun.
The Chilling Secret
Now, the dough needs a long rest in the fridge. This matters because it makes the dough easier to handle. It also helps the cookies keep their pretty shape in the oven.
I use this time to clean up. Or I just sit with a cup of tea. Patience in baking is a good lesson. Good things are worth waiting for. Do you prefer crunchy or soft cookies?
Rolling and Slicing
Rolling the dough into rectangles is the tricky part. Don’t worry if they aren’t perfect. My first ones never were. The fun part is stacking a red layer on a white one.
Then you roll it up into a log. It looks like a little gift. When you slice it, the pinwheel shows itself. Fun fact: The red and white swirl is sometimes called a “piano roll” pattern. It reminds me of old music.
Baking with Love
Watch these cookies carefully in the oven. They bake fast. You want the edges just barely golden. This matters because it keeps them tender. An over-baked cookie is a sad cookie.
Let them cool on the pan for a few minutes. The smell will fill your whole house. It is the smell of love and holidays. What holiday smell makes you the happiest?
Ingredients:
| Ingredient | Amount | Notes |
|---|---|---|
| granulated sugar | 1¼ cup | |
| salted butter | 1 cup | softened |
| vanilla extract | 1½ teaspoon | |
| almond extract | ¼ teaspoon | |
| baking powder | ½ teaspoon | |
| egg | 1 large | |
| all-purpose flour | 3 cup | |
| red liquid food coloring | ½ teaspoon |
A Little Pinwheel of Christmas Joy
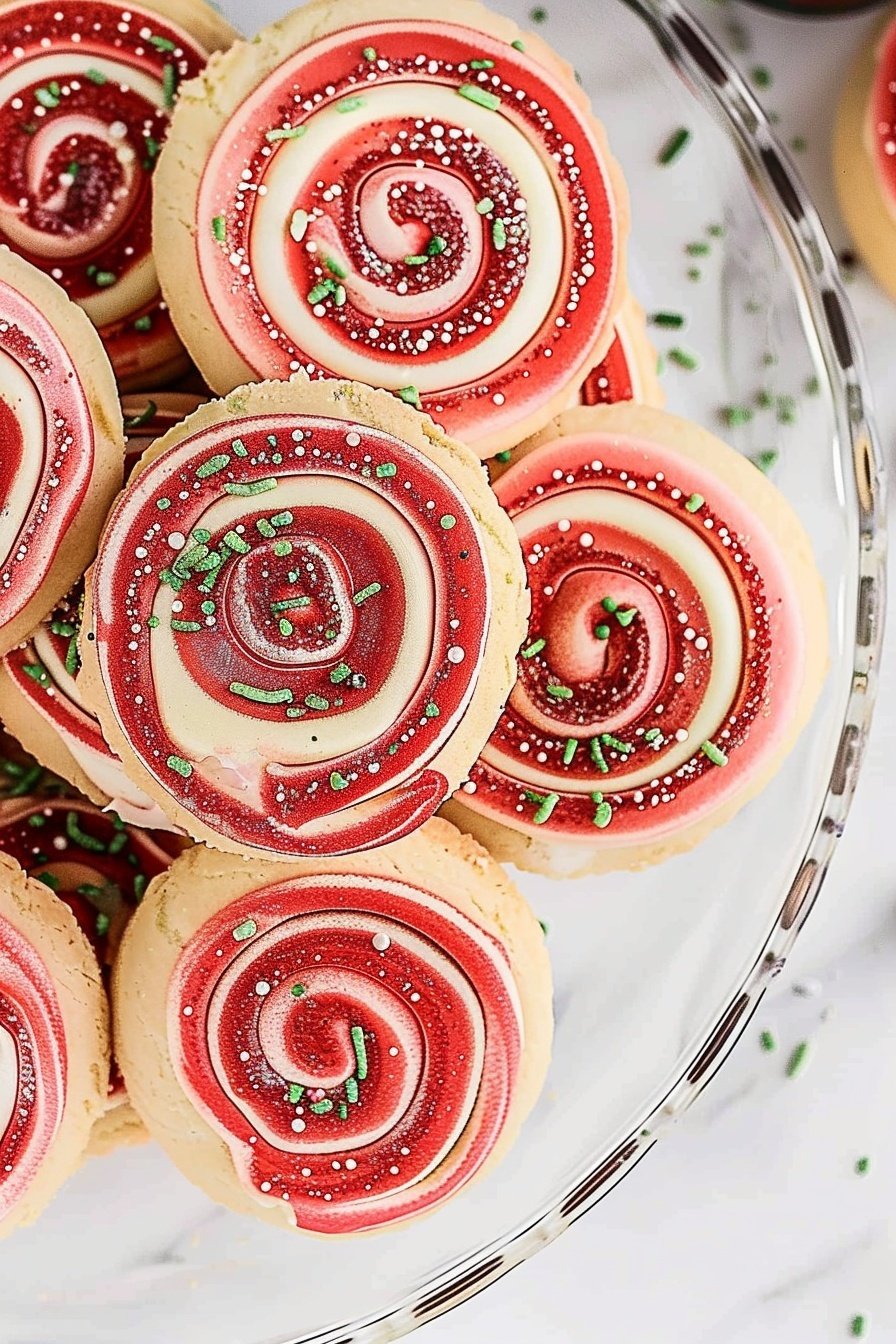
Oh, these cookies! They always remind me of my granddaughter’s first Christmas. She called them “present cookies” because they looked like little wrapped gifts. Making them is like creating edible magic. The red and white dough swirls together so beautifully. Doesn’t that just sound lovely?
Let’s get our hands busy. First, we need to make our cookie dough. It’s the best part, I think. The smell of vanilla just fills the whole kitchen. It makes everything feel so warm and cozy.
- Step 1: Grab your big mixing bowl. Put in the soft butter, sugar, and that lovely vanilla. Mix it all until it’s smooth and creamy. I still laugh at that one time I used cold butter. What a mess! (A hard-learned tip: Make sure your butter is soft! It makes all the difference.)
- Step 2: Scrape the sides of the bowl with a spatula. Now, crack in the egg. Mix it again until it’s all one happy family. See how it all comes together?
- Step 3: Time for the flour and baking powder. Mix it on a slow speed. Keep going until you can’t see any white flour streaks. The dough will look a bit shaggy. That’s just perfect.
- Step 4: Now for the fun color! Take half the dough out of the bowl. Leave the other half in. Add the red food coloring and the almond extract to the bowl. Mix it slowly and watch it turn pink, then red. What’s your favorite color for Christmas cookies? Share below!
- Step 5: We need to make four rectangles. Divide both the white dough and the red dough in half. Shape each piece into a little rectangle. Wrap them up and let them take a nap in the fridge. They need to chill for about 30 minutes.
- Step 6: After their nap, roll one piece out on some parchment paper. You want a nice rectangle shape. Don’t worry if it’s not perfect. Use a knife to trim the edges straight. I always save the trimmings for a snack.
- Step 7: This is where the pinwheel happens. Place one red rectangle on top of a white one. For the other stack, put the red one on the bottom. This gives us two different-looking logs later. Isn’t that clever?
- Step 8: Now, carefully roll each stack up, like a little rug. Wrap them tightly in plastic wrap. They need another long chill, for one or two hours. This helps them keep their shape.
- Step 9: Time to bake! Heat your oven to 350 degrees. Get a baking sheet ready with some parchment paper. Doesn’t that smell amazing already?
- Step 10: Take one log from the fridge. Unwrap it and slice it into little cookies. Make them about as thick as your pinky finger. They look so pretty already!
- Step 11: Place the slices on your baking sheet. Give them a little space to breathe. Bake them for about 9 to 11 minutes. Watch them closely! We want just a tiny bit of gold on the edges.
- Step 12: Let the cookies cool on the pan for a few minutes. Then move them to a rack to cool completely. This is the hardest part—waiting to eat one!
Cook Time: 10 minutes per batch
Total Time: About 3 hours
Yield: 3 dozen pretty cookies
Category: Dessert, Cookies
Let’s Get Creative with Your Pinwheels!
Once you know the basic recipe, you can have so much fun. I love playing with different flavors and colors. It makes each batch a new surprise. Here are a few ideas I’ve tried over the years.
- Green for Grinches: Use green food coloring and a tiny bit of peppermint extract. They look so festive and taste so cool.
- Chocolate Swirl: Add two tablespoons of cocoa powder to the red dough. It makes a rich, chocolatey pinwheel. The kids go wild for this one.
- Confetti Fun: Skip the food coloring. Instead, mix colorful sprinkles into one half of the dough. It’s a party in every bite!
Which one would you try first? Comment below!
Serving Your Christmas Masterpieces
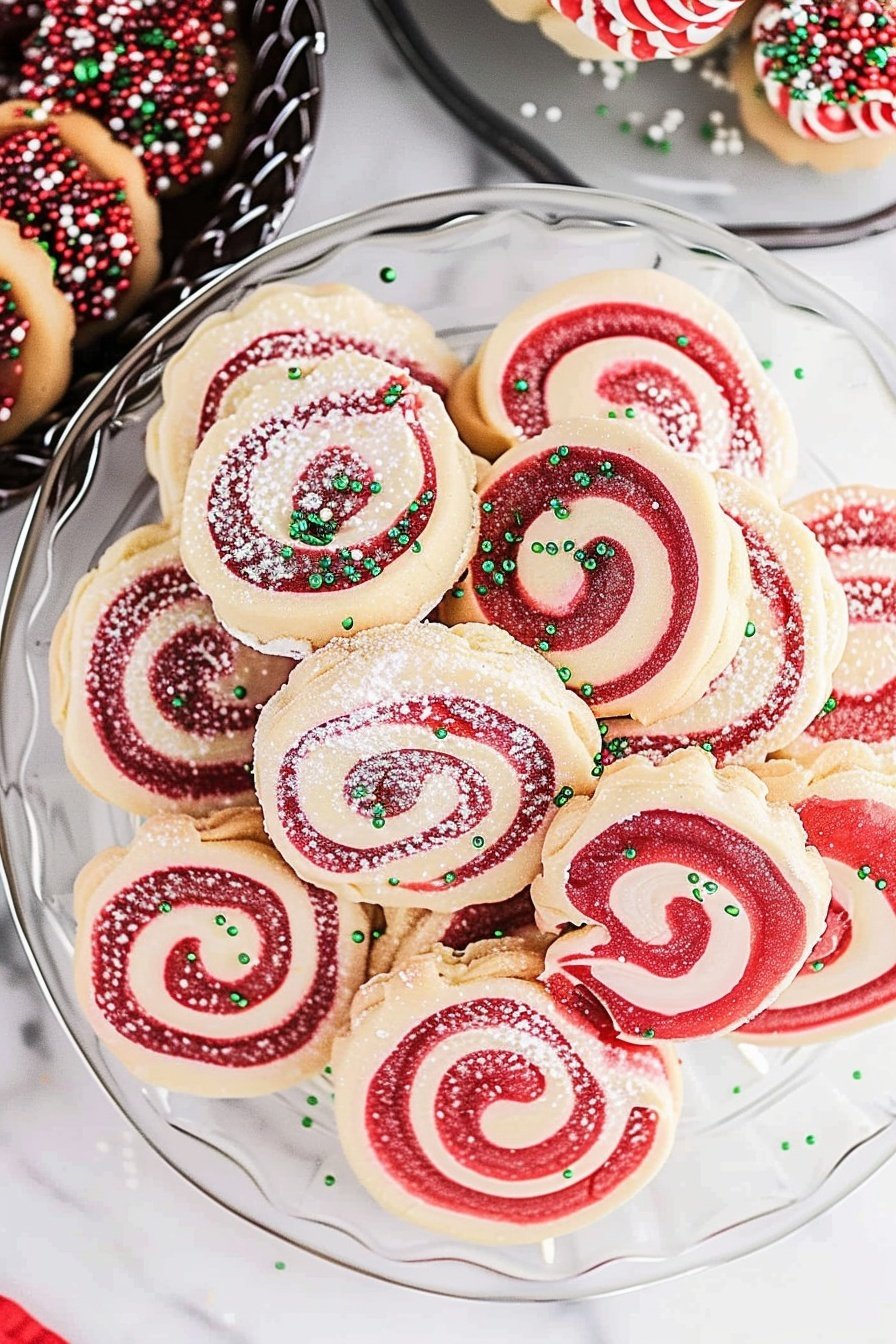
These cookies are stars all on their own. But I love making a whole plate of goodies. Arrange them on a pretty holiday platter. Mix them with some simple sugar cookies. The red and white looks so cheerful next to the plain ones.
Now, what to drink with them? A cold glass of milk is always the best friend to a cookie. For the grown-ups, a warm cup of coffee with a splash of cream is just right. It’s the perfect little break during a busy holiday day.
Which would you choose tonight?
Storing Your Christmas Pinwheels
These cookies keep their magic for days. Let them cool completely after baking. Then store them in a tight container at room temperature.
You can freeze the dough logs for a future treat. Just wrap them well in plastic wrap. I once forgot a log in my freezer for a month. It baked up perfectly for a surprise guest!
Batch cooking matters for busy families. A ready-to-bake log is a lifesaver. It means fresh cookies are always close by. Have you ever tried storing it this way? Share below!
Fixing Common Cookie Troubles
Is your dough too soft to roll? Do not worry. Just chill it a bit longer. This step matters because firm dough holds its shape.
Are the colors mixing into a muddy mess? Your dough might be too warm. I remember when my first pinwheels looked pink instead of red and white. Chilling the dough fixes this.
Are your cookies spreading too much? Your oven might not be hot enough. Always preheat it fully. This gives you a prettier cookie. Which of these problems have you run into before?
Your Pinwheel Questions Answered
Q: Can I make these gluten-free? A: Yes. Use a good gluten-free flour blend. The texture will be slightly different.
Q: Can I make the dough ahead? A: Absolutely. The logs keep in the fridge for two days.
Q: What if I don’t have almond extract? A: Just use more vanilla extract. It will still taste wonderful.
Q: Can I double the recipe? A: Yes. Just mix it in two separate batches for best results.
Q: Any other fun colors? A: Green and white is lovely for Christmas too. Fun fact: The red and white swirl reminds me of a candy cane! Which tip will you try first?
A Final Word From My Kitchen
I hope you love making these cookies. They always fill my home with joy. The swirls are like little edible hugs.
I would love to see your beautiful creations. Share a picture of your cookie tray. Have you tried this recipe? Tag us on Pinterest!
Happy cooking!
—Anna Whitmore.
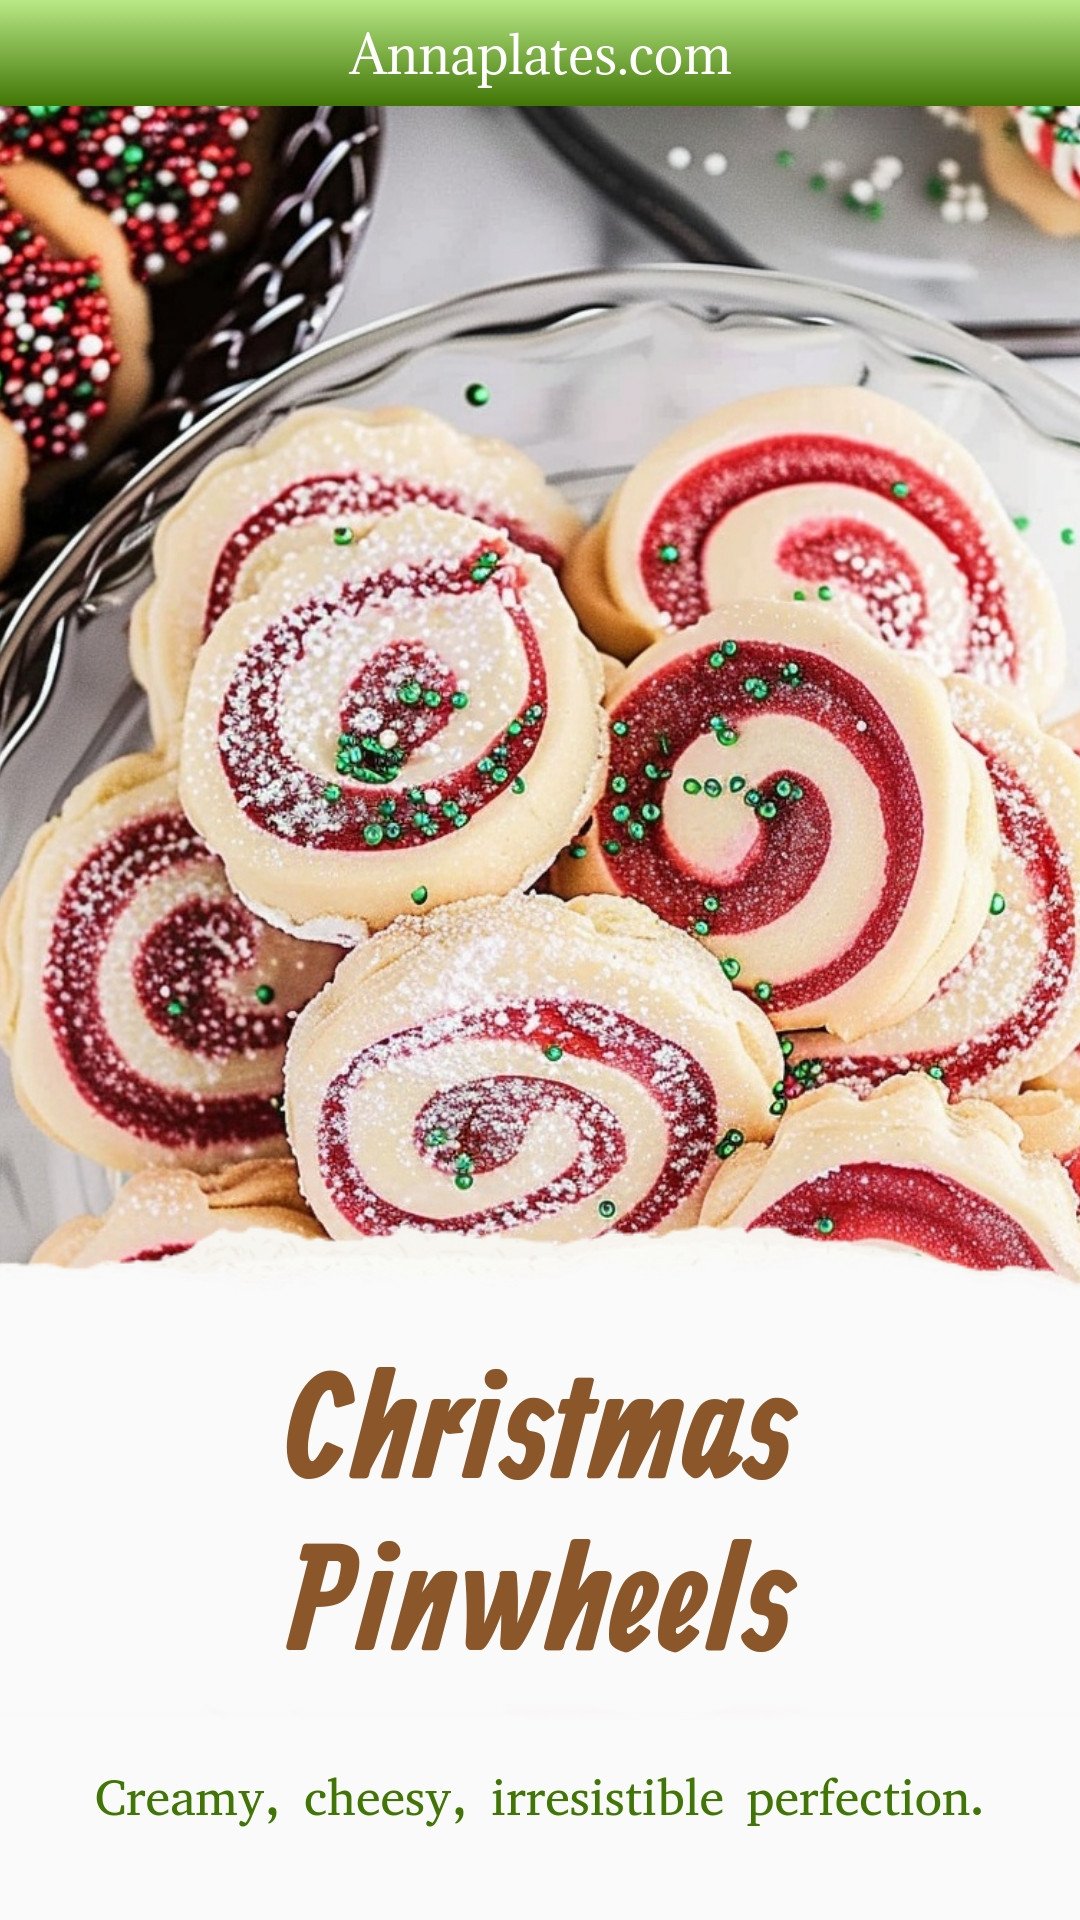
Christmas Pinwheels: Creamy, cheesy, irresistible perfection.
Description
Create beautiful & edible Christmas Pinwheels! These festive, easy appetizers are the perfect holiday treat for parties and cookie swaps.
Ingredients
Instructions
- In the bowl of a stand mixer with the paddle attachment add the sugar, butter, and vanilla extract. Beat the ingredients on medium until creamy, about 2 minutes.
- Use a rubber spatula and scrape down the sides of the bowl. Add the egg and continue mixing until combined.
- Add the flour and baking powder and mix together on the low setting until no streaks of flour are visible.
- Scrape down the sides of the bowl. Divide dough in half and remove ½ of it to a piece of parchment paper. Add the food coloring and almond extract to the remaining dough in the stand mixer bowl and mix together on low speed until the color is uniform.
- Divide each half in half so that you have 2 red and 2 dough-colored pieces. Form each piece into its own separate rectangle. Wrap in plastic wrap and place in the refrigerator for 30 minutes.
- After the dough is finished chilling, remove one piece of dough and roll it out on a piece of parchment paper until it is roughly an 11×7 rectangle. Repeat with all pieces of dough. Trim the edges with a knife so you have straight lines.
- Once all 4 pieces of dough are rolled out, carefully place one red piece on top of the dough colored piece. On the other two pieces, place the red on the bottom.
- Carefully roll each rectangle into a log. Wrap in plastic wrap and place back in the refrigerator for an additional 1 to 2 hours, or overnight.
- When ready to bake these cookies, preheat the oven to 350 degrees F. Line a baking sheet with parchment paper and set it aside.
- Remove 1 log from the refrigerator and carefully slice ¼ to ½ inch thick cookies, depending on how thick you want them.
- Space cookies about 1 inch apart on the baking sheet. Place in the oven and bake for 9 to 11 minutes, or until the cookies are barely starting to brown on the edges. These cookies taste best if they are not overcooked so watch them carefully.
- Let cookies cool on the baking sheet for 2 to 3 minutes, and then transfer to a wire rack to cool completely.
- Repeat steps to finish cooking the remaining log of cookies.
Notes
- These cookies taste best if they are not overcooked so watch them carefully.


Leave a Reply