
A Happy Accident
I first made these bars by mistake. I was trying to make two desserts at once. My cookie dough fell right into my cheesecake bowl. I still laugh at that.
But what a wonderful mess it was. The two batters swirled together. It created something new and delicious. Sometimes the best things happen by accident.
Let’s Get Baking
First, press half the cookie dough into your pan. Make a nice, even layer. This is your bar’s strong foundation. It matters because it holds everything together.
Now for the creamy part. Beat the cream cheese until it’s fluffy. Then mix in the sugar, egg, and vanilla. Doesn’t that smell amazing? Pour this over your dough base.
The Best Part
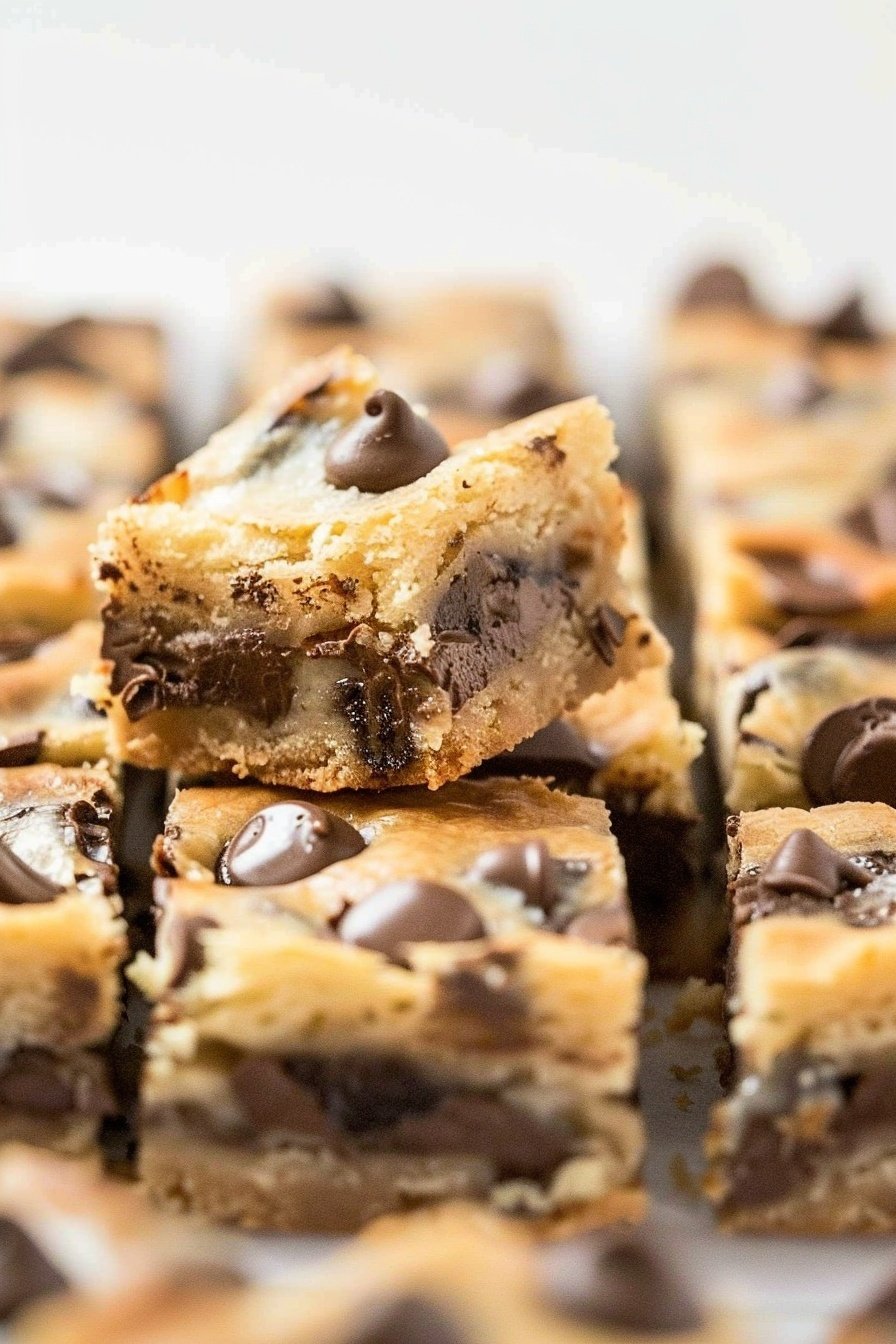
Take the rest of your cookie dough. Crumble it over the creamy filling. This makes a wonderful, bumpy top. It will get golden and lovely in the oven.
*Fun fact*: The little dough bits on top get extra crispy. They are my favorite part to nibble on. I always sneak one while they cool. What’s your favorite part of a dessert, the crunchy top or the soft middle?
A Little Patience
After baking, you must let the pan cool completely. I know it is hard to wait. The smell fills the whole kitchen. But this step matters most.
If you cut them too soon, they will be a gooey mess. Waiting lets them set up perfectly. Then you get neat, beautiful bars. Do you have a hard time waiting for treats to cool, too?
Sharing the Joy
These bars are perfect for sharing. I bring them to school events and family picnics. They always make people smile. Food tastes better when we eat it together.
It is a simple way to show you care. A homemade treat says “I thought of you.” That is a beautiful thing. What is your favorite dessert to share with friends?
Ingredients:
| Ingredient | Amount | Notes |
|---|---|---|
| Chocolate chip cookie dough | 1 roll (16.5 oz) | Refrigerated |
| Cream cheese | 8 ounces | Softened |
| Sugar | 1/2 cup | |
| Egg | 1 | Room temperature |
| Vanilla extract | 1/2 teaspoon |
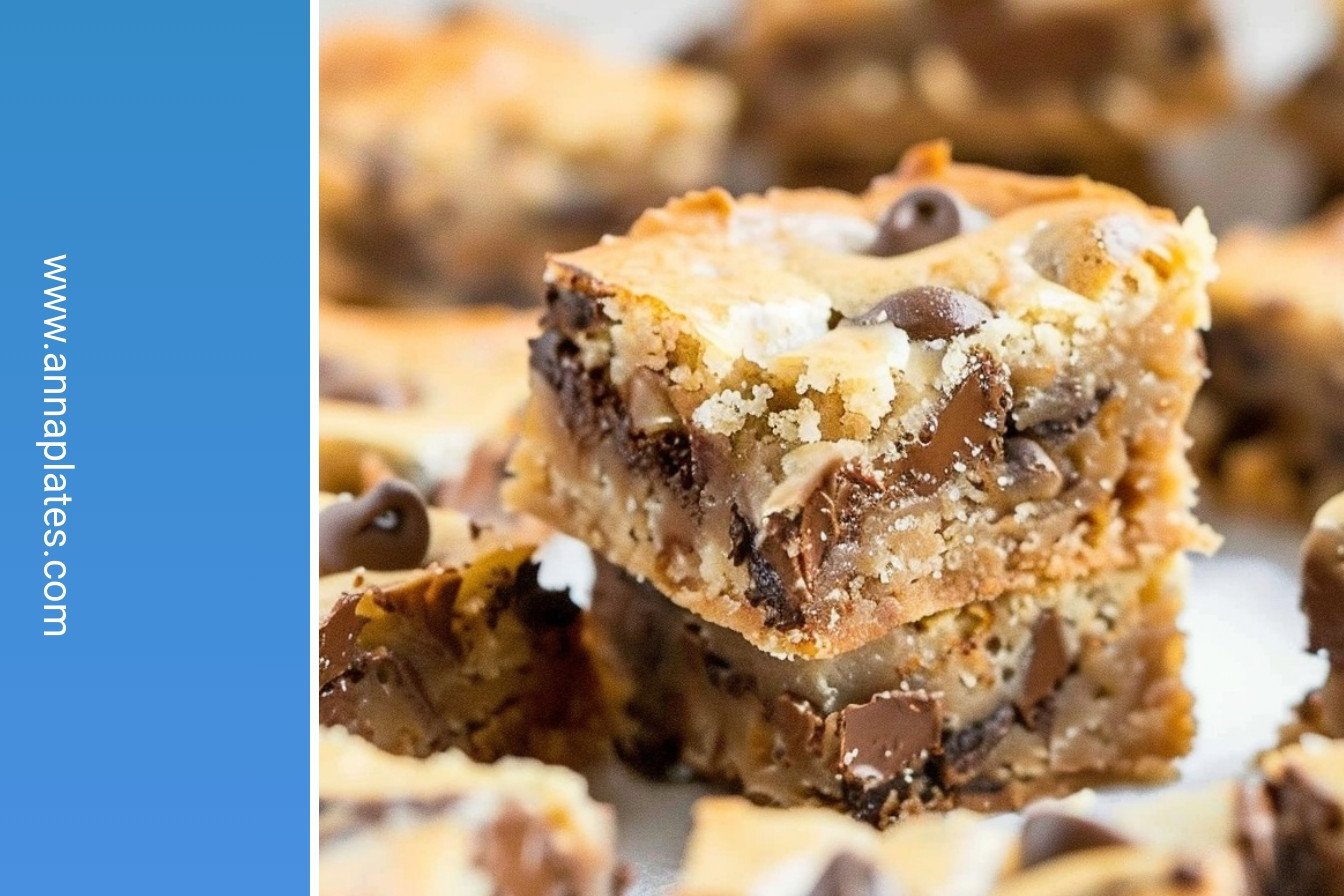
My Gooey Chocolate Chip Cheesecake Bars
Oh, these bars bring back such sweet memories. My grandson Leo requests them every single visit. He calls them his “golden gooey squares.” I love how the kitchen smells when they are baking. It’s like a warm, sugary hug.
They are so simple to make, too. You probably have everything you need right now. Let’s make a little magic together, shall we?
Step 1: First, turn your oven on to 350°F. This gets it nice and hot for our treats. Then, find your square baking dish. I line mine with parchment paper. It makes cleanup so much easier later.
Step 2: Now, take half of your cookie dough. Press it firmly into the bottom of the dish. You want to make a solid little crust. I use my fingers for this part. It feels fun and a little messy.
Step 3: Time for the creamy filling! Beat the softened cream cheese until it’s fluffy. Then add the sugar, egg, and vanilla. (A hard-learned tip: make sure your cream cheese is soft! Lumps are no fun in this smooth filling.) Doesn’t that smell amazing already?
Step 4: Pour that lovely cream cheese filling over your dough base. Spread it out gently. Then, take the rest of the cookie dough. Crumble it all over the top with your fingers. It will look so pretty and rustic.
Step 5: Pop the dish into the oven for about 35 minutes. The top should be a beautiful golden brown. Now, this is the hardest part. You must let the whole pan cool completely. What’s your favorite part of baking? The mixing or the eating? Share below! I still laugh at how Leo tries to sneak a taste while it’s warm.
Cook Time: 30–35 minutes
Total Time: 40 minutes
Yield: 16 bars
Category: Dessert, Bars
Three Fun Twists to Try
Once you master the basic recipe, you can get creative. I love playing with new ideas. It keeps things exciting in the kitchen. Here are a few of my favorite twists.
Fruity Swirl: Swirl in a few spoonfuls of strawberry jam before baking. It makes pretty pink ribbons.
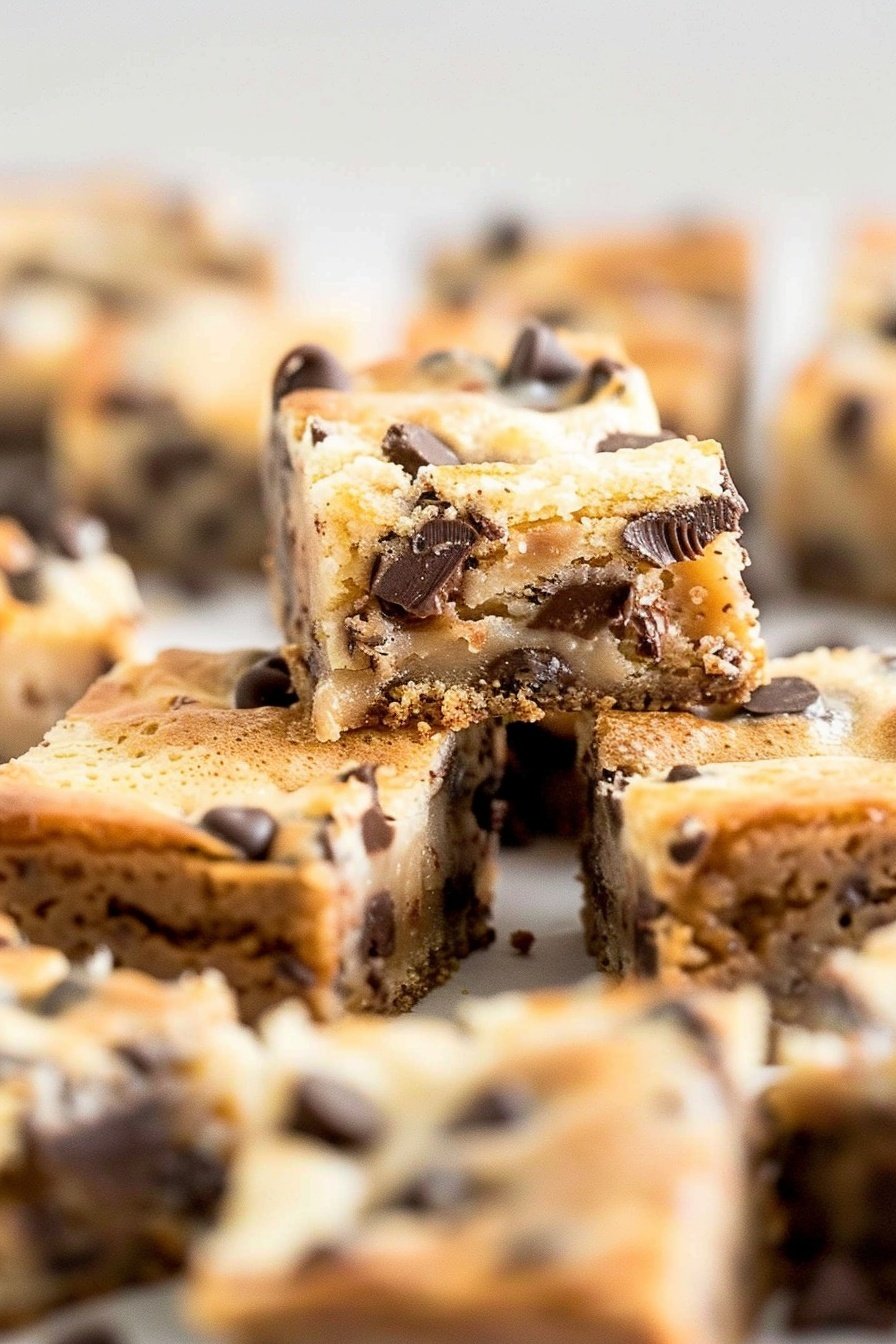
Peanut Butter Cup: Add a few spoonfuls of peanut butter to the cream cheese filling. Oh my, it’s so good.
Cookie Monster: Use a roll of double chocolate chip cookie dough instead. It’s extra chocolatey and rich.
Which one would you try first? Comment below! I’d love to hear your pick.
Serving Your Sweet Masterpiece
These bars are wonderful all on their own. But you can make them extra special. I sometimes add a little scoop of vanilla ice cream on the side. The cold ice cream with the warm bar is heavenly.
For a drink, a tall glass of cold milk is the classic choice. It just feels right. For the grown-ups, a cup of dark roast coffee is lovely. It cuts through the sweetness perfectly. Which would you choose tonight? I think I’d go for the milk. Some traditions are just too good to change.
Storing Your Chocolate Chip Cheesecake Bars
These bars keep well in the fridge. Just cover the pan tightly with plastic wrap. They will stay fresh for up to five days.
You can also freeze them for later. Wrap each bar individually in plastic. Then place them all in a freezer bag.
I once sent a whole batch to my grandson. He froze them and ate one a week. He said they tasted just-baked every time.
This matters because a ready treat brings joy on busy days. A little planning makes your kitchen a happier place. Have you ever tried storing it this way? Share below!
Fixing Common Baking Problems
Is your base too crumbly? Press it down very firmly with your hands. A solid base holds the creamy filling better.
I remember when my filling was lumpy. My cream cheese was too cold. Let it soften on the counter first for a smooth mix.
Are the bars hard to cut? Make sure they are completely cool. Chilling them in the fridge makes cutting neat and easy.
Fixing small issues builds your cooking confidence. It also makes your food look and taste much better. Which of these problems have you run into before?
Your Quick Questions Answered
Q: Can I make this gluten-free? A: Yes! Use your favorite gluten-free cookie dough. It works just the same.
Q: Can I make these ahead? A: Absolutely. They are even better the next day. The flavors get to know each other.
Q: What can I use instead of vanilla? A: A little almond extract is a nice swap. It gives a different, cozy flavor.
Q: Can I double the recipe? A: For sure. Use a 9×13 inch pan. Just add a few more minutes to the bake time.
Q: Any extra tips? A: A glass of milk is the perfect partner for these bars. *Fun fact: I always have a glass with my first bite!* Which tip will you try first?
From My Kitchen to Yours
I hope you love making these bars. They always make my house smell wonderful. Sharing them with family is the best part.
I would love to see your creation. Your kitchen stories make me so happy. Have you tried this recipe? Tag us on Pinterest!
Happy cooking!
—Anna Whitmore.
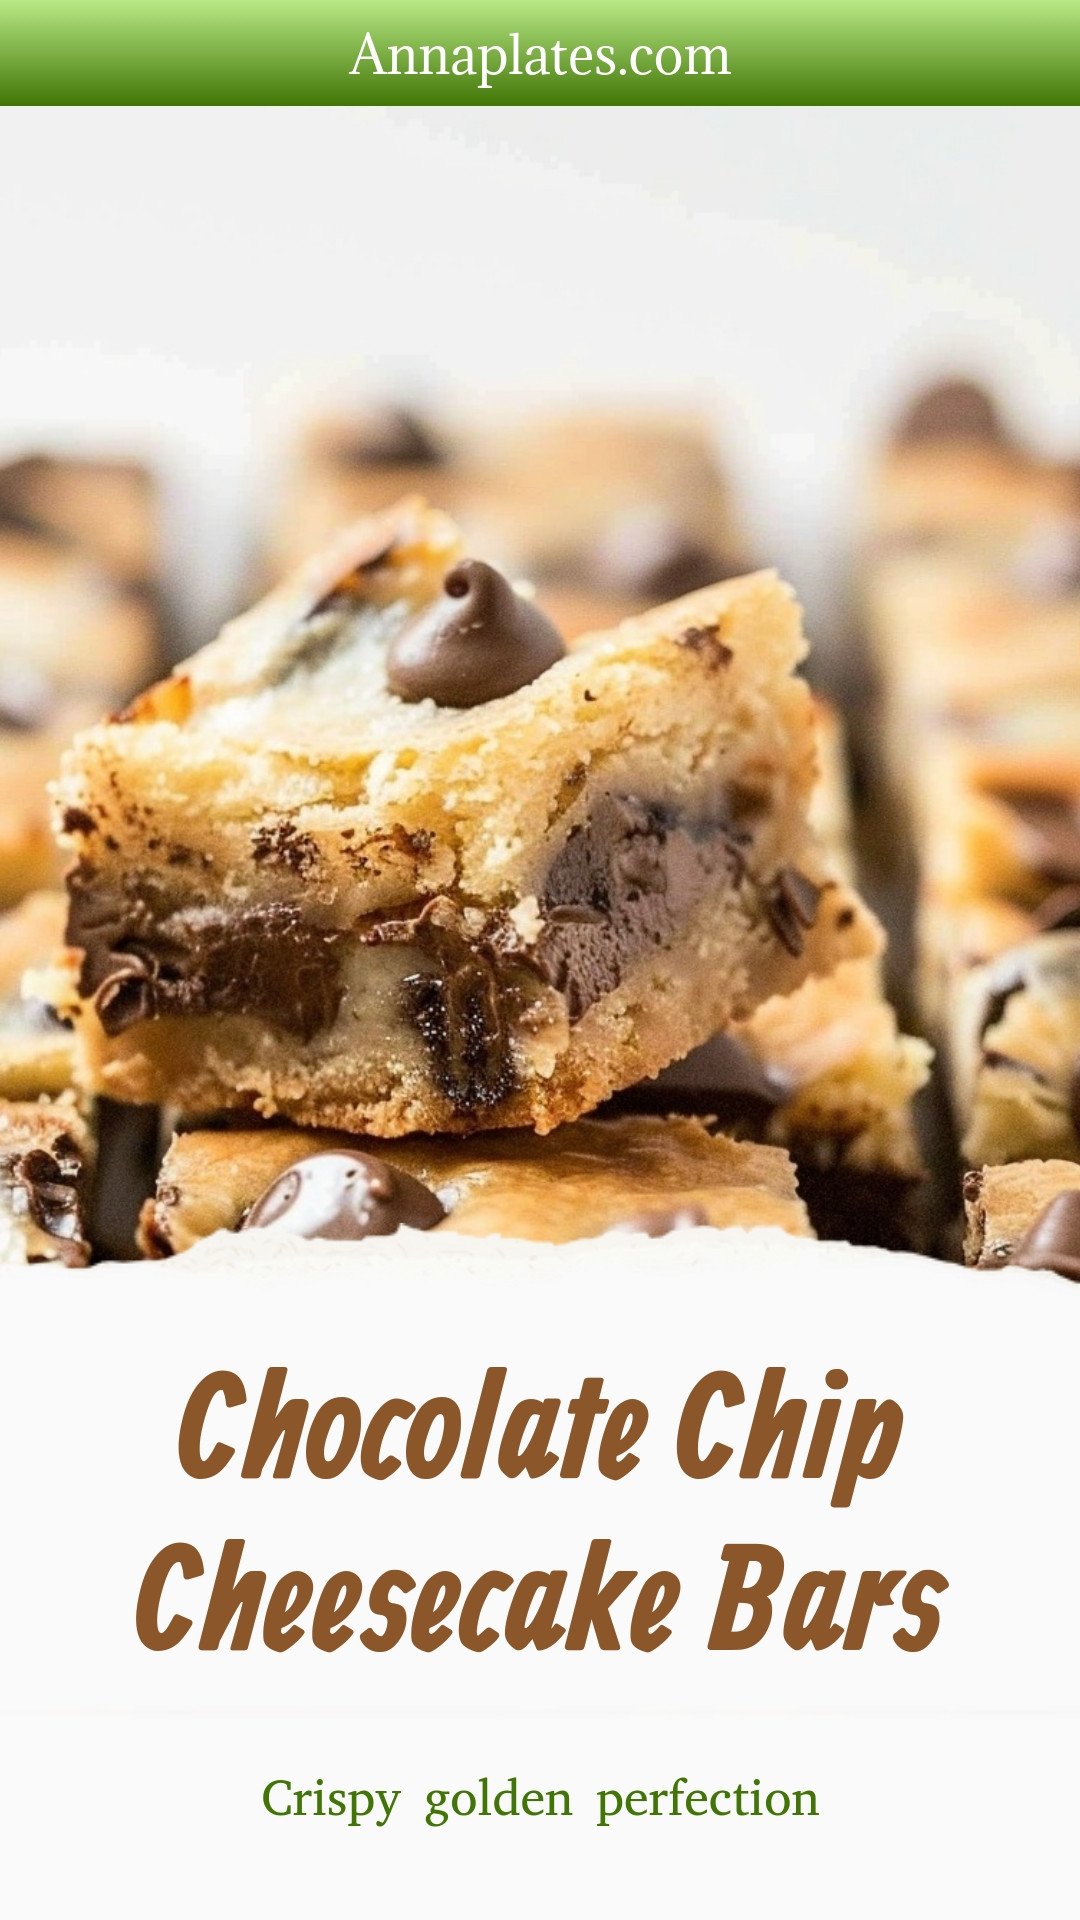
Chocolate Chip Cheesecake Bars: Crispy golden perfection
Description
Creamy cheesecake swirled with rich chocolate chips on a buttery graham cracker crust. An easy, no-bake dessert that’s always a crowd-pleaser!
Ingredients
Instructions
- Preheat oven to 350°F.
- Line a 9-inch square baking dish with parchment paper.
- Spread ½ of the cookie dough onto the bottom of the baking dish and press down firmly.
- Beat the cream cheese until light and fluffy with a stand mixer or hand mixer.
- Beat in the sugar until combined.
- Beat in the egg and vanilla until smooth.
- Pour the filling on the top of the cookie dough base and spread it evenly.
- Crumble the rest of the cookie dough over the top.
- Bake for 30 to 35 minutes.
- Remove from the oven and allow to cool completely before cutting into bars.
Notes
- Nutrition per serving: Calories: 78kcal | Carbohydrates: 7g | Protein: 1g | Fat: 5g | Saturated Fat: 3g | Polyunsaturated Fat: 0.3g | Monounsaturated Fat: 1g | Trans Fat: 0.001g | Cholesterol: 25mg | Sodium: 48mg | Potassium: 23mg | Sugar: 7g | Vitamin A: 205IU | Calcium: 15mg | Iron: 0.1mg


Leave a Reply