
A Sweet Little Story
My grandson, Leo, invented this recipe with me. We were stuck inside on a rainy day. He looked at our candy stash and had a big idea.
He said, Grandma, what if we made fudge with our Reese’s? I thought it was pure genius. I still laugh at that. It turned out better than we ever dreamed.
Why This Treat is Special
This matters because it is about sharing. Making food with someone you love is the real treat. The sweet taste is just a happy bonus.
It is also no-bake. You just melt and mix. This is perfect for young chefs. What is your favorite no-bake dessert to make?
Let’s Make the Fudge
First, line your pan with foil. Spray it lightly. Then, lay down 16 peanut butter cups. This makes a yummy surprise bottom layer.
Now, melt the white chocolate chips with the sweetened condensed milk. Stir until it is smooth. Doesn’t that smell amazing? Pour it right over the cups.
The Best Part
Chop up 6 more peanut butter cups. Sprinkle the pieces on top. Press them down gently. This gives you a crunchy, crumbly topping.
Fun fact: The first fudge was made by accident in the late 1800s. A candy maker was trying to make caramel. I think mistakes can be delicious.
Waiting is the Hard Part
Let the pan cool on the counter. Then, cover it and put it in the fridge. It needs a couple of hours to get firm.
This matters because good things take time. Patience makes the first bite even sweeter. Do you like your fudge cold from the fridge or soft at room temperature?
Time to Share
Once it is firm, cut it into small bites. Or cut big chunks if you are feeling brave. There is no wrong way to do it.
We keep ours in the fridge. It stays fresh for days. If you make this, will you share it with friends or family? I hope you do.
Ingredients:
| Ingredient | Amount | Notes |
|---|---|---|
| Reese’s Peanut Butter Cups | Approx. 22 total | 16 for the bottom, 6 for the crumbly top |
| White Chocolate Chips | 3 cups | |
| Sweetened Condensed Milk | 1 can (14 oz) |
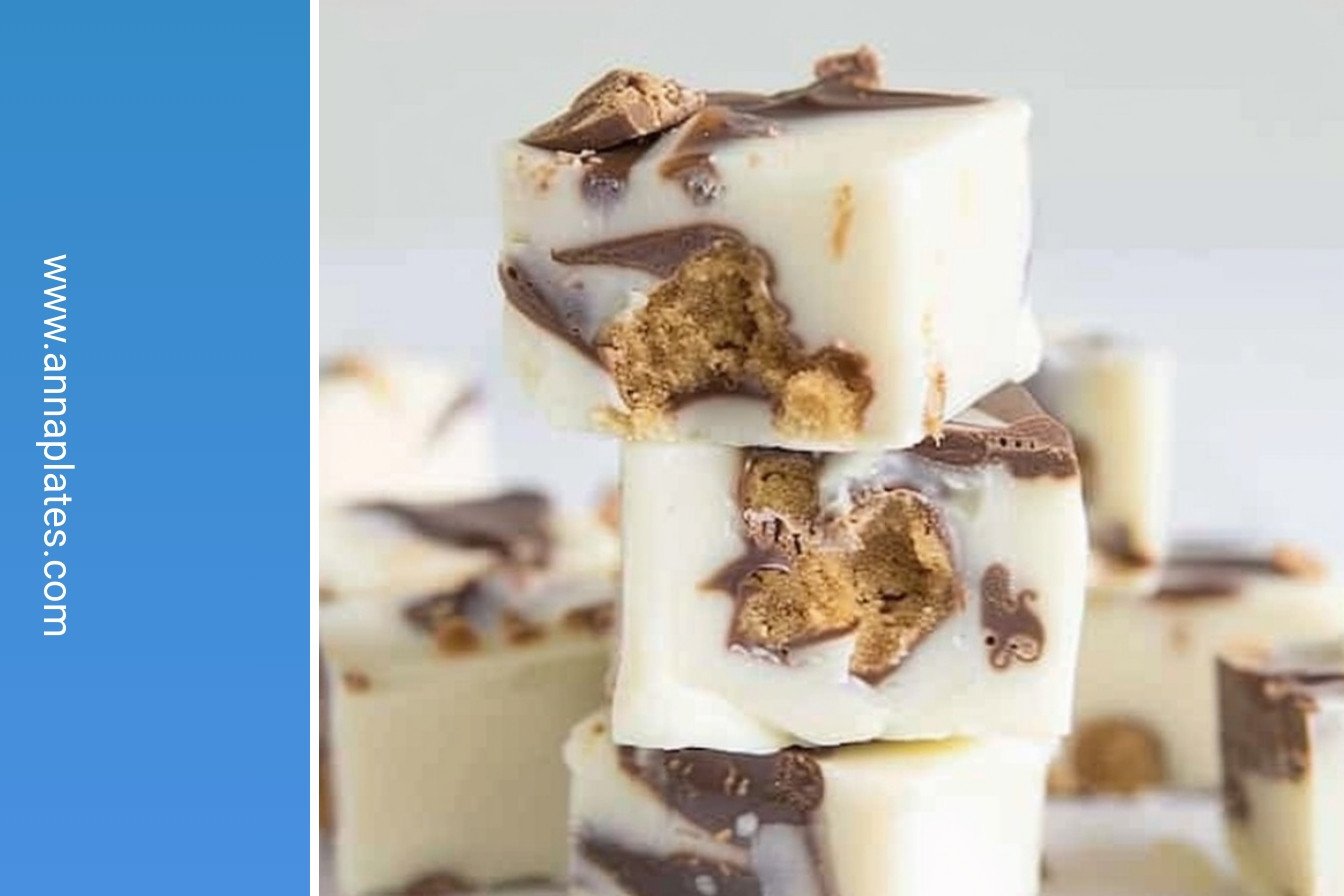
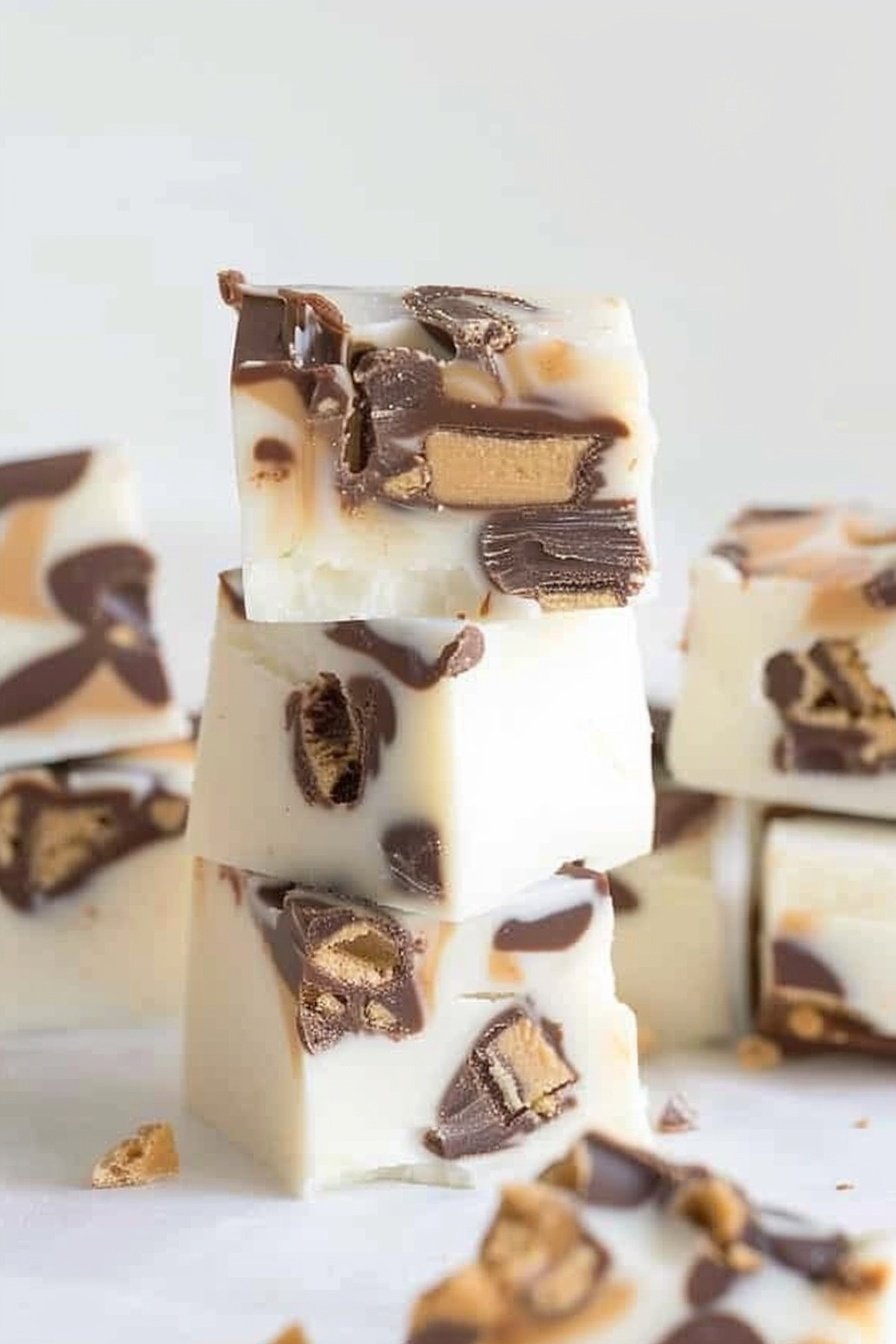
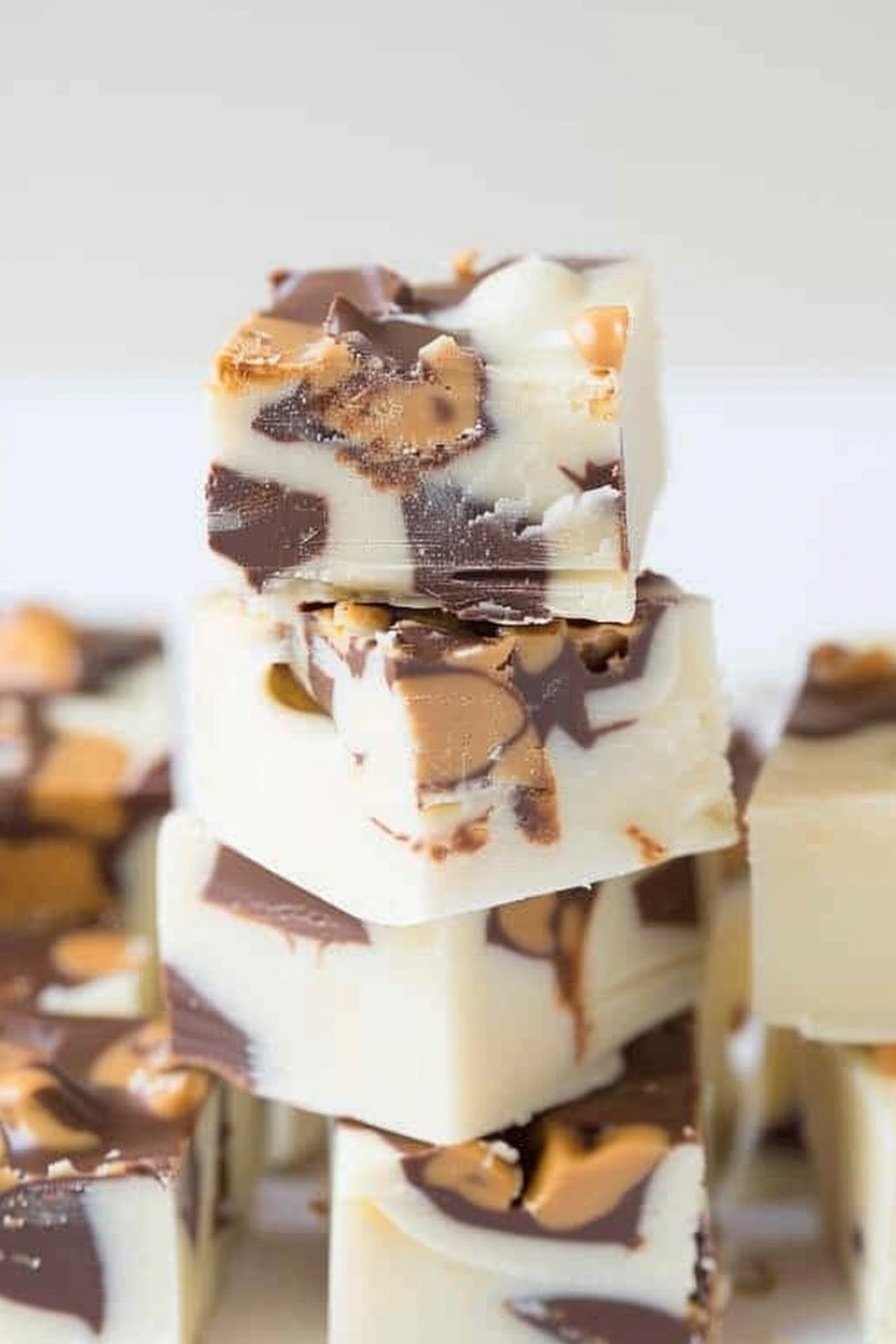
My Gooey White Chocolate Fudge Bites
Oh, these little squares are pure happiness. My grandson calls them “candy bar fudge.” I think he’s right. They are so easy to make, too. You just need a few simple things. The best part is the peanut butter cups. They get all soft inside the fudge. It’s a wonderful surprise.
Let me tell you how to make them. Follow these steps and you’ll have a perfect treat. I still laugh at the time I tried to skip the cooking spray. What a sticky mess that was! Learn from my mistake.
Step 1: First, grab your baking dish. Line it with foil and give it a light spray. This little step is so important. It means your fudge will pop right out later. (This is my hard-learned tip! Don’t forget the spray.)
Step 2: Now for the fun part. Unwrap 16 of those peanut butter cups. Place them in one layer on the foil. They should fit snugly together. Doesn’t that look delicious already? It’s like a tasty puzzle.
Step 3: Next, let’s melt our fudge. Put the white chocolate chips and condensed milk in a pan. Warm it over medium-low heat. Stir it until it’s all smooth and creamy. That sweet, milky smell is amazing. Do you like white chocolate or milk chocolate more? Share below!
Step 4: Pour that gorgeous white mixture over the peanut butter cups. Try to cover them all. The heat from the fudge will soften the cups. This makes every bite wonderfully gooey.
Step 5: Chop up your last 6 peanut butter cups. Sprinkle the pieces over the top. Then gently press them down into the soft fudge. This gives you a lovely crumbly topping. It adds a nice little crunch.
Step 6: Patience is key now. Let the pan cool on the counter. Then cover it and put it in the fridge. I always leave mine in for a few hours. It needs to get firm so you can cut it.
Step 7: Finally, lift the fudge out using the foil. Cut it into small bites or big squares. I can never decide which size I like best. They store perfectly in the fridge for days. If they last that long!
Cook Time: 15min
Total Time: 25mins plus chilling
Yield: 12 servings
Category: Dessert, Snack
Three Tasty Twists to Try
This recipe is wonderful as it is. But you can also have fun and change it up. Here are a few ideas I’ve tried with my own family. They were all big hits.
Pretzel Crunch: Add a layer of crushed pretzels with the peanut butter cups. It gives a sweet and salty crunch.
Berry Swirl: Swirl a few spoonfuls of raspberry jam into the white fudge. The fruity taste is a lovely surprise.
Cookie Dough Dream: Press small pieces of edible cookie dough on top. It’s like two desserts in one.
Which one would you try first? Comment below!
Serving Your Sweet Creation
These fudge bites are fantastic all on their own. But you can make them extra special. I like to serve them on a pretty plate. A little sprinkle of sea salt on top looks fancy. It also makes the sweet flavor pop.
For a drink, a cold glass of milk is always the best match. For the grown-ups, a little cup of coffee is nice. The bitter coffee tastes wonderful with the sweet fudge. Which would you choose tonight?
Keeping Your Fudge Bites Happy
This fudge is best kept in the fridge. It stays firm and delicious for over a week. You can also freeze it for a sweet treat later.
Just wrap the pieces tightly. I use wax paper between layers. This stops them from sticking together in the freezer.
I once left a batch on the counter too long. It became a soft, gooey mess. Now I always use the fridge right away.
Storing food properly saves money and time. You can make a big batch for future you. It is a gift from your past self.
Have you ever tried storing it this way? Share below!
Easy Fixes for Fudge Troubles
Is your chocolate seizing up? This happens if water gets in the pan. Always make sure your bowls and spoons are completely dry.
Is the mixture too thick? Your heat might be too high. Keep it on medium-low and stir, stir, stir. I remember when I rushed this step.
My first top layer sank right in. Let the white chocolate mixture cool just a minute before adding the top pieces. This helps them stay on top.
Knowing these fixes builds your confidence. You will feel like a real kitchen pro. It also makes the final flavor so much better.
Which of these problems have you run into before?
Your Fudge Questions Answered
Q: Can I make this gluten-free? A: Yes! Just check your peanut butter cups. Some brands are gluten-free.
Q: How far ahead can I make it? A: You can make it up to three days ahead. It is a great party trick.
Q: Can I use dark chocolate instead? A: Of course. Dark chocolate chips work perfectly in this recipe.
Q: Can I double the recipe? A: For a crowd, just use a 9×13 pan. Double all the ingredients.
Q: Any optional add-ins? A: A sprinkle of sea salt on top is lovely. *Fun fact: Salt makes sweet things taste even sweeter.
Which tip will you try first?
A Sweet Note From My Kitchen
I hope you love making these fudge bites. They always bring a smile to my family’s faces. Cooking is about sharing joy with others.
I would be so thrilled to see your creations. Please share a picture of your finished treat. It makes my day to see your kitchen adventures.
Have you tried this recipe? Tag us on Pinterest!
Happy cooking!
—Anna Whitmore.
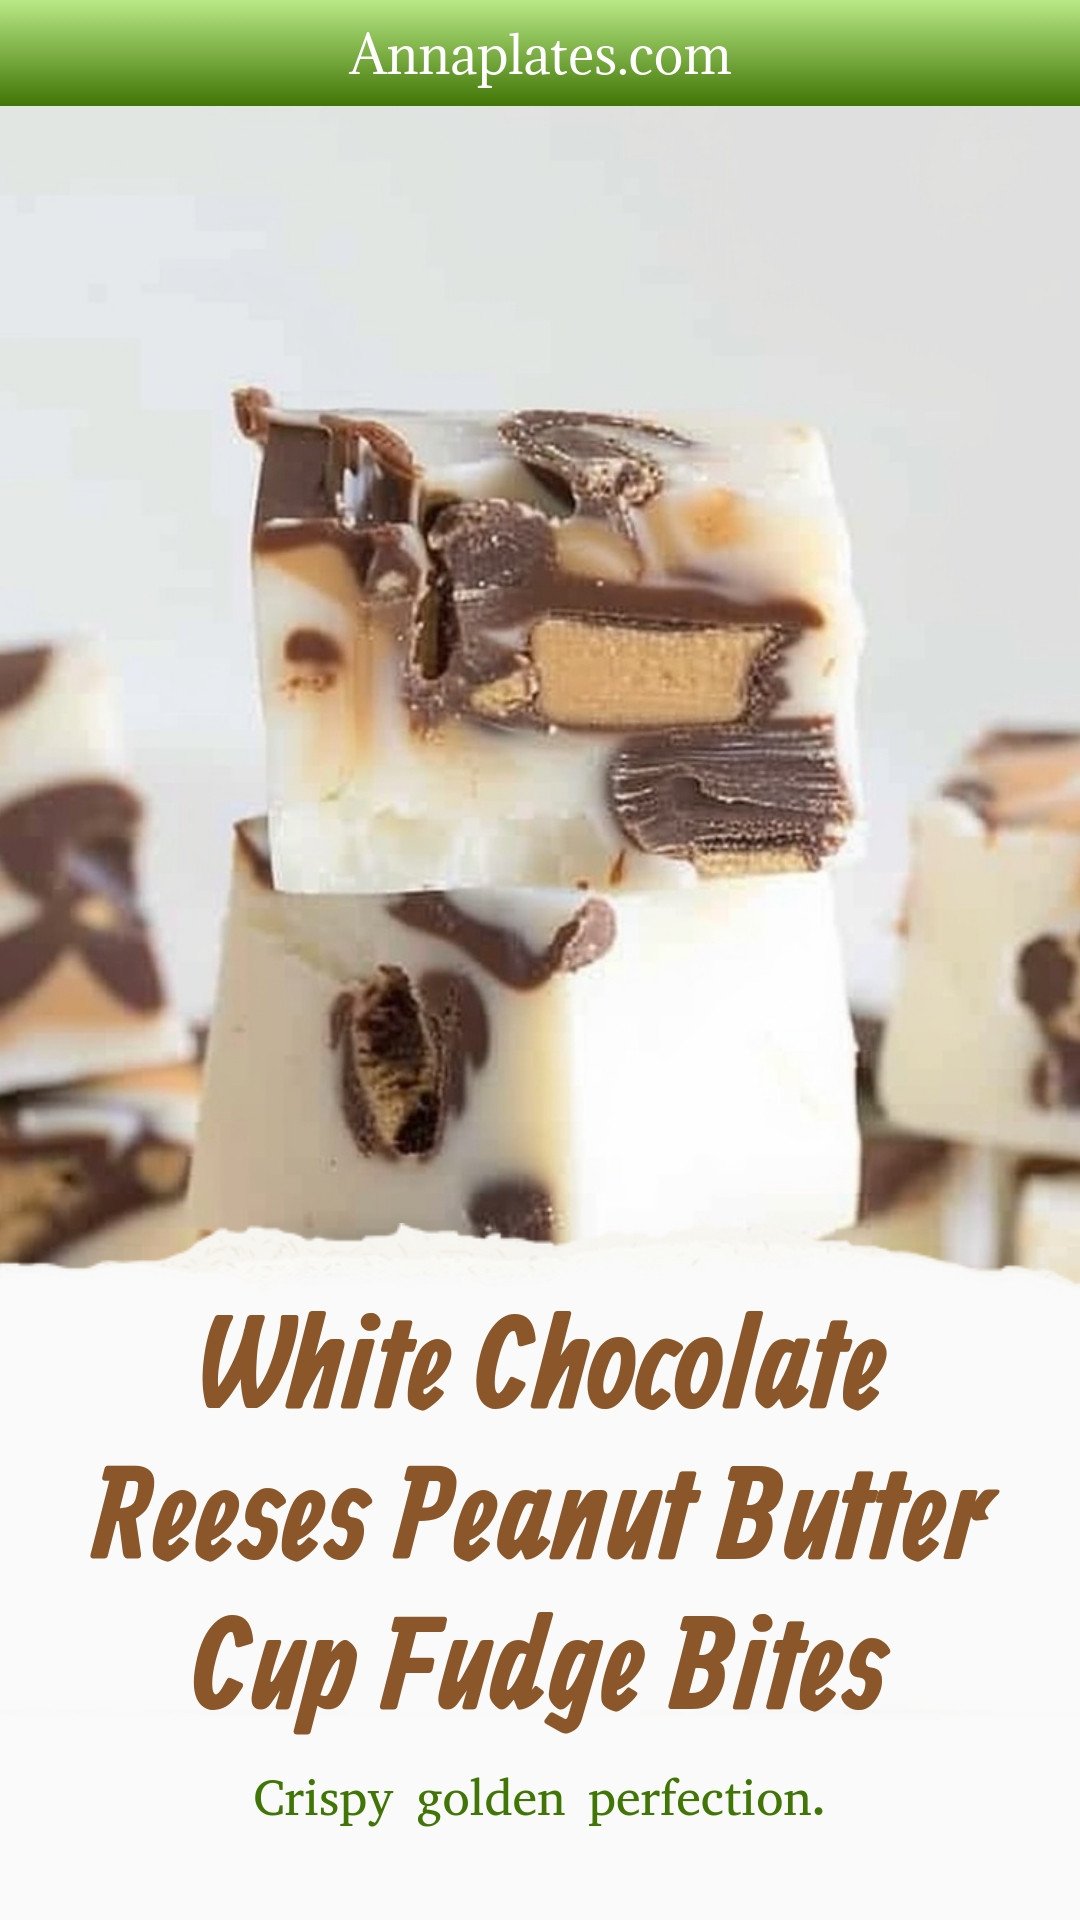
White Chocolate Reeses Peanut Butter Cup Fudge Bites: Crispy golden perfection.
Description
Decadent white chocolate fudge bites with a rich Reese’s peanut butter cup center. The ultimate easy, no-bake dessert for any occasion!
Ingredients
Instructions
- Line a 9×9 casserole dish with foil. Lightly spray it with cooking spray.
- Arrange your Peanut Butter Cups on the bottom (16 total).
- In a large sauce pan add your white chocolate chips & sweetened condensed milk and heat over medium low heat until all of the chocolate has melted.
- Once everything is well combined immediately pour the chocolate/milk mixture over your peanut butter cups.
- Chop the remaining 6 peanut butter cups into smaller pieces and spread evenly over the top of the mixture and press down slightly.
- Let cool on the counter for a while and then cover with plastic and put in the fridge to cool completely. We’ve actually just stored our fudge in the fridge to keep it longer since it made so much!
- Once it’s cooled in the fridge for a couple of hours you can cut into bite sized pieces, or huge chunks… it’s up to you 🙂
Notes
- Store the fudge in the refrigerator to keep it fresh longer.


Leave a Reply