
A Happy Little Accident
I first made these for my grandkids. I was out of pizza dough. They were so hungry. I saw those bright mini peppers in my fridge. I thought, why not? We gave it a try.
They were a huge hit. The kids loved holding their own little pizza boats. Now it is our favorite game-day snack. It makes me so happy to see them enjoy food. What is your favorite snack to make when friends come over?
Why This Recipe Matters
This is more than a snack. It is a way to get everyone involved. Little hands are great at spooning sauce and sprinkling cheese. It is a fun little job for them.
Cooking together creates the best memories. You are not just making food. You are sharing time and laughter. That is what I love most. It turns a simple recipe into a special moment.
Let’s Get Our Hands Dirty
First, wash those pretty peppers. Slice them in half longways. Try to keep the stem on. It makes a perfect little handle for eating.
Scoop out the seeds. Now for the fun part. Let everyone spoon in the sauce. Then, cover it with a fluffy mountain of cheese. Fun fact: Freshly shredded cheese melts so much better than the bagged kind! It makes everything gooey and wonderful.
The Perfect Topping Dance
Now, the pepperoni. I like to use the mini slices. They fit just right. My grandson always puts them in a pattern. Sometimes he makes a smiley face.
I still laugh at that. It does not have to be perfect. Your kitchen, your rules. Do you like to make designs with your food toppings? I would love to hear about it.
A Warm, Cheesy Hug
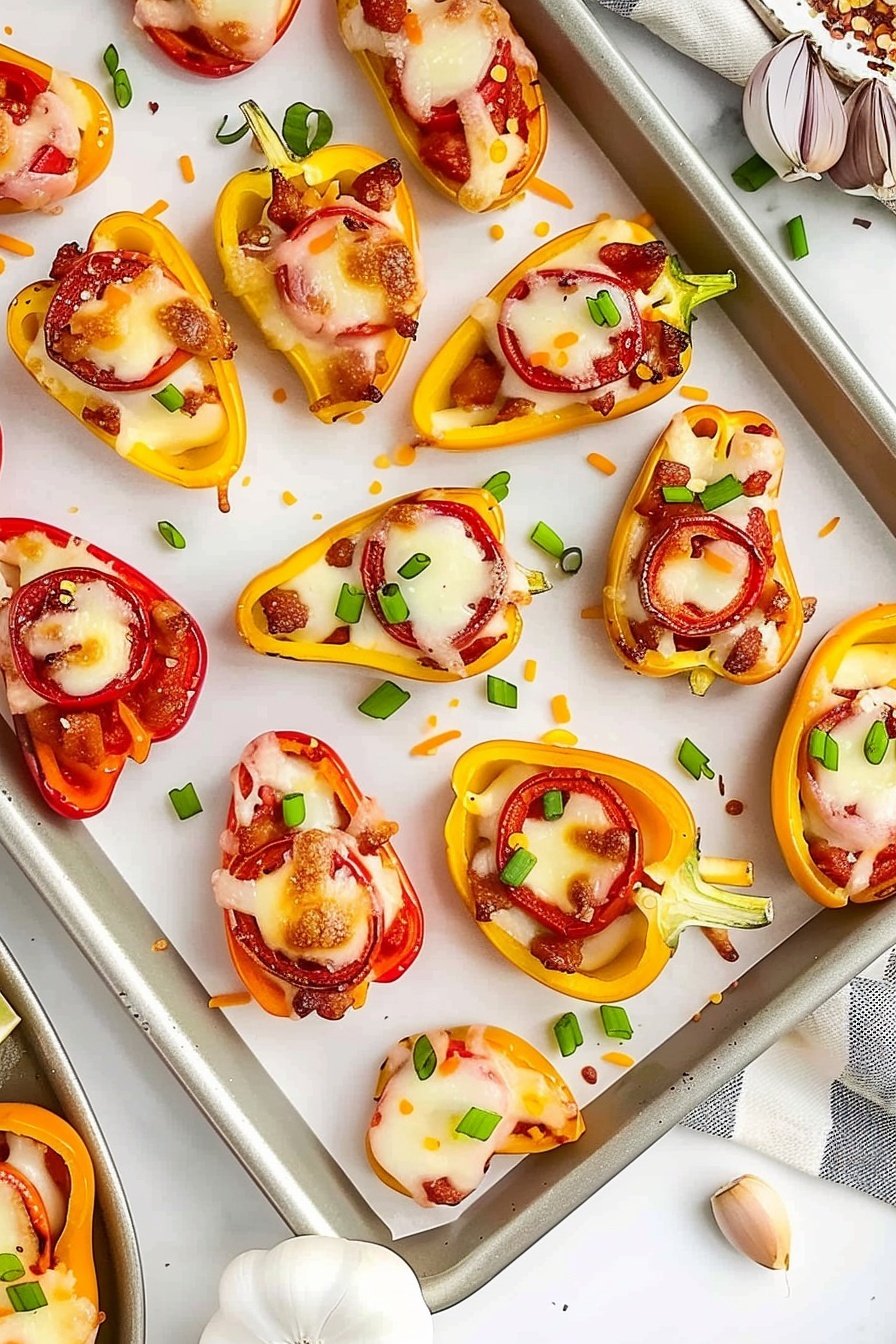
Pop them in the hot oven. In just about eight minutes, they are done. Your kitchen will smell like an Italian restaurant. Doesn’t that smell amazing?
The cheese will be bubbly and a little golden. The peppers soften just enough. You get a little crunch and a lot of meltiness. Serve them warm. They are like a warm, cheesy hug from the inside.
A Little Secret for You
The best part is how happy these little pizzas make people. Food does not need to be fancy. It just needs to be made with a happy heart.
That is my secret ingredient. It is always love. What is a simple recipe that always makes you smile? Share it with me if you like.
Ingredients:
| Ingredient | Amount | Notes |
|---|---|---|
| mini sweet peppers | 12 | washed and dried |
| pizza sauce | 1 cup | 1 tablespoon per mini pepper halves |
| shredded mozzarella | 1¼ cups | freshly shredded melts best |
| mini pepperoni slices | 74 slices |
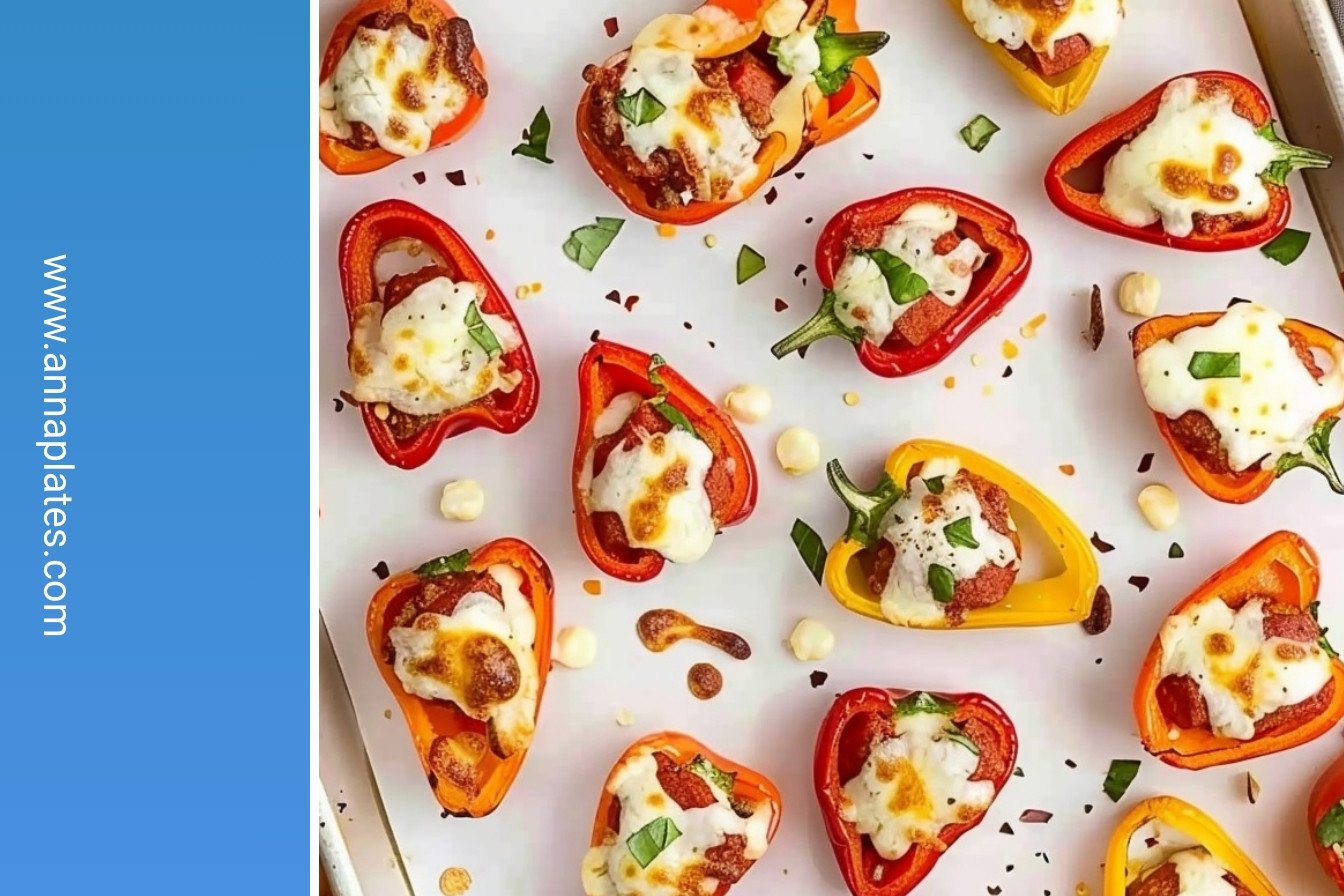
My Grandkids’ Favorite Mini Pepper Pizzas
My grandkids call these “pizza boats.” I think that is just the cutest thing. They love helping me in the kitchen when I make them. It reminds me of making tiny, colorful pizzas with my own children.
These little peppers are so sweet and cheerful. They bake up tender and delicious. The best part is how quick they are to make. You can have a fun snack ready in no time.
Step 1: First, get your oven nice and hot at 425°F. Line a baking sheet with parchment paper. This makes cleanup so much easier. I learned that the hard way after scrubbing many pans!
Step 2: Now, carefully slice your mini peppers in half from top to bottom. Scoop out the little white seeds inside. Try to keep the stem on. It makes a perfect little handle for eating.
Step 3: Spoon a little pizza sauce into each pepper boat. Do not fill them too full. (A hard-learned tip: too much sauce makes them soggy). Doesn’t that red sauce look pretty in the colorful peppers?
Step 4: Next, sprinkle on that lovely mozzarella cheese. I like to shred my own cheese. It melts so much creamier. The cheese is like a soft, white blanket for the sauce.
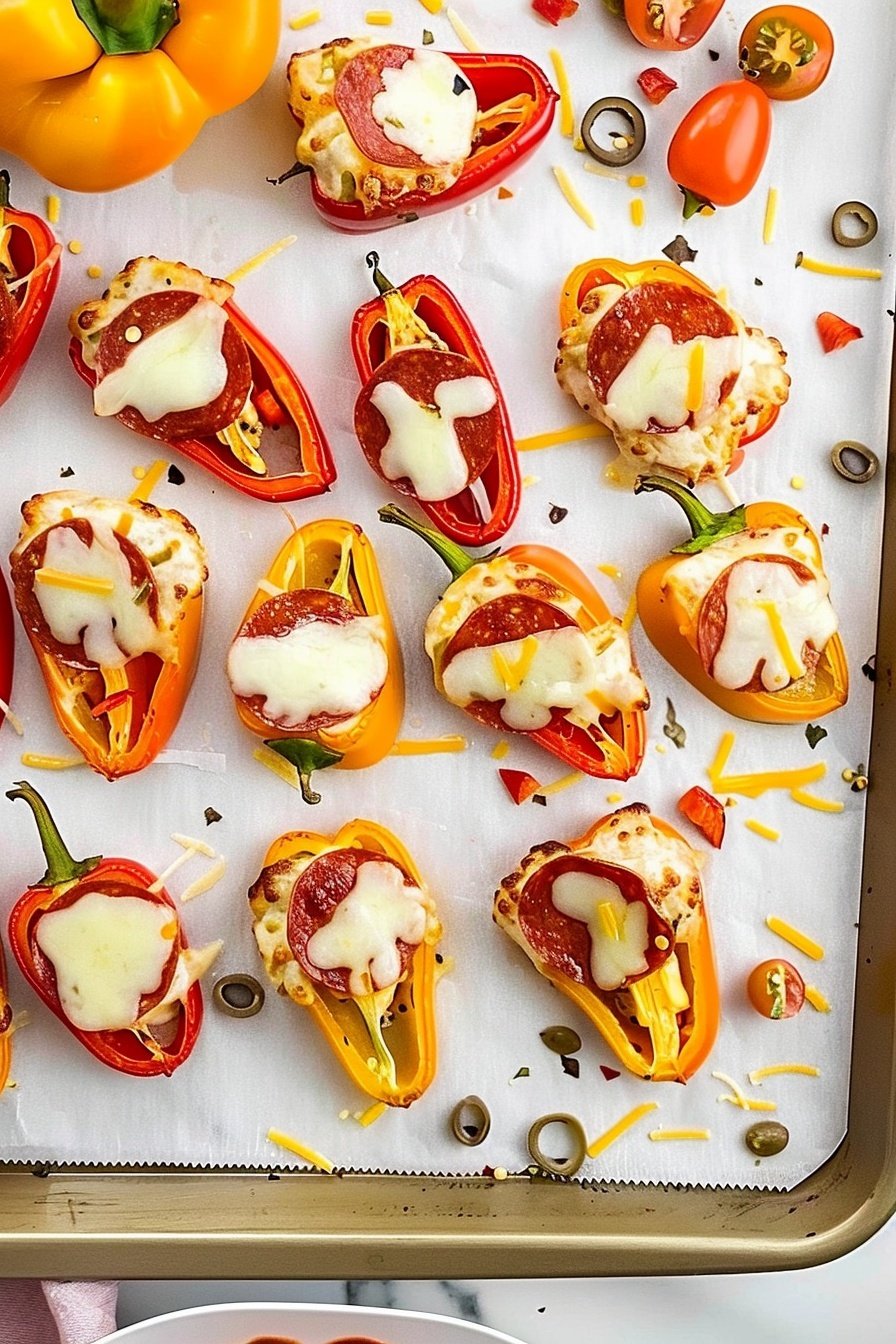
Step 5: Time for the pepperoni! Place three or four little slices on top. My grandson always sneaks a piece of pepperoni. I still laugh at that. Press them down gently into the cheese.
Step 6: Bake them for about 10 minutes. Watch for the cheese to get bubbly and golden. The smell is just amazing. What’s your favorite pizza topping? Share below! Serve these pizza boats warm.
Cook Time: 8–10 minutes
Total Time: 18 minutes
Yield: 12 servings
Category: Appetizer, Snack
Three Fun Twists to Try
You can make these pizza boats your own. It is fun to get creative. Here are a few ideas we love. They are all so simple and tasty.
Hawaiian Twist: Use chopped ham and a tiny piece of pineapple. It is sweet and salty. My granddaughter loves this one the most.
Veggie Lover’s: Skip the meat. Add chopped black olives and mushrooms instead. A little sprinkle of Italian herbs is lovely too.
Breakfast Pizza: Use a scrambled egg and crumbled cooked sausage. Top with cheddar cheese. Perfect for a busy morning.
Which one would you try first? Comment below!
Serving Your Pizza Boats
These little pizzas are a meal all by themselves. But they also love company. I like to serve them with a simple green salad. The crisp lettuce is a nice change from the warm, cheesy pepper.
For a real party, put out a small bowl of garlic dip. You can use ranch dressing too. It is perfect for dipping the pizza boats. Everyone will love that.
What to drink? A cold glass of lemonade is wonderful with these. For the grown-ups, a chilled Italian Pinot Grigio wine is very nice. Which would you choose tonight?
Keeping Your Mini Pizzas Tasty Later
Let’s talk about keeping these little pizzas fresh. They are best eaten right away. But you can save them for a quick snack.
Store them in a sealed container in the fridge. They will be good for three days. I once made a big batch for my grandkids.
They reheated them all week for an after-school treat. You can also freeze them on a tray first. Then put them in a freezer bag.
This stops them from sticking together. To reheat, use your oven or toaster oven. This keeps the crust from getting soggy.
Batch cooking like this saves you time on busy days. It means a good meal is always close by. Have you ever tried storing it this way? Share below!
Fixing Little Pizza Problems
Sometimes our cooking has small troubles. Do not worry. Every cook faces them, even me.
First, if your peppers are soggy, you did not dry them well. I remember when I was in a rush. I skipped drying the peppers.
The pizza sauce made everything watery. Always pat them dry with a towel. Second, if the cheese is not melting, you might have packed it too tight.
Let the cheese breathe on top. This helps it get all bubbly. Third, if the pepperoni burns, it might be too close to the heat.
Just put your oven rack in the middle. Fixing these small things makes your food taste better. It also makes you feel like a great cook. Which of these problems have you run into before?
Your Mini Pizza Questions
Q: Can I make this gluten-free?
A: Yes! This recipe is naturally gluten-free. Just check your pizza sauce and pepperoni labels.
Q: Can I make them ahead of time?
A: You can assemble them a few hours early. Keep them in the fridge until you bake.
Q: What can I use instead of pepperoni?
A: Try cooked sausage, chopped ham, or even little mushrooms. Use what you love.
Q: Can I double this recipe?
A: Of course! Just use two baking sheets. You might need to bake them a little longer.
Q: Any fun extra tips?
A: A tiny sprinkle of garlic powder on the cheese is lovely. Fun fact: Mini peppers are sweeter than big bell peppers! Which tip will you try first?
From My Kitchen to Yours
I hope you love making these mini pizzas. They always bring a smile to my family’s table.
I would be so happy to see your creations. It makes my day to see your cooking stories.
Please share a picture of your tasty snacks. Have you tried this recipe? Tag us on Pinterest! You can find me at @AnnasCozyKitchen. Happy cooking!
—Anna Whitmore.
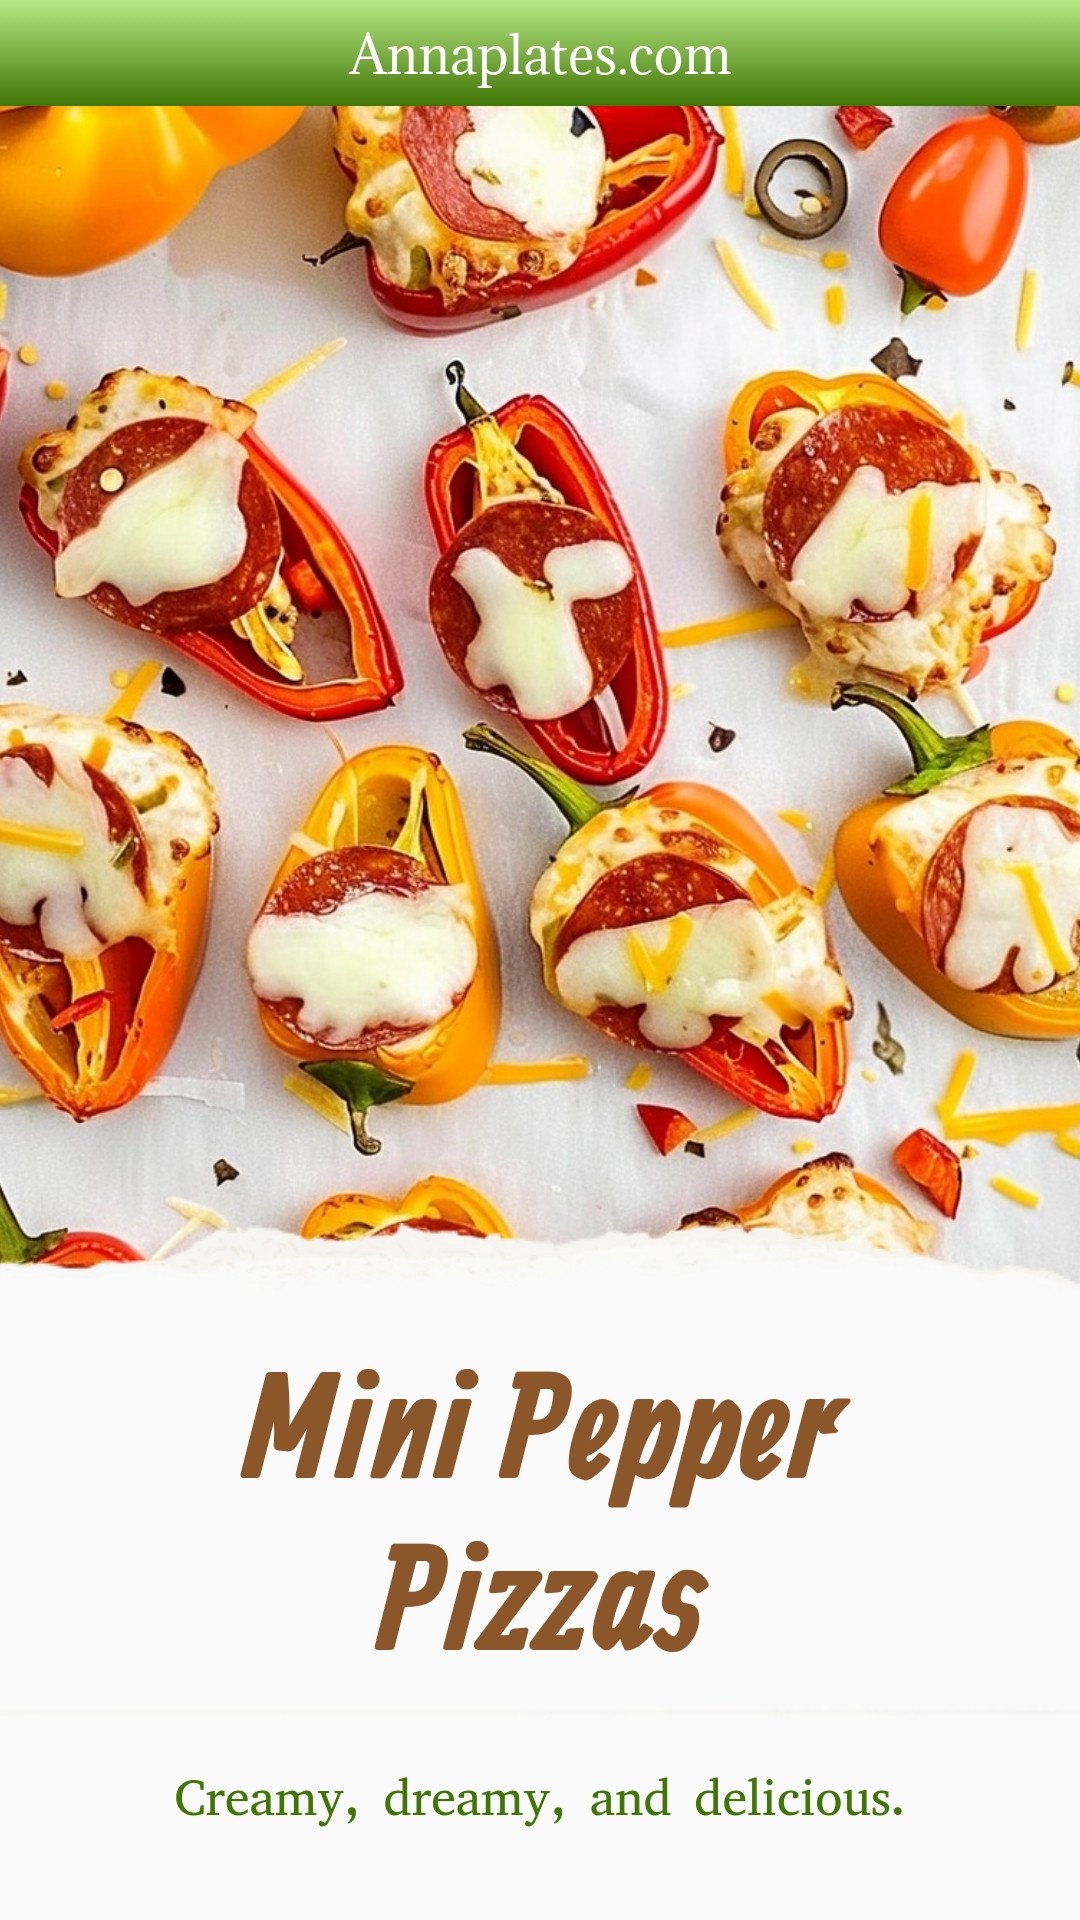
Mini Pepper Pizzas: Creamy, dreamy, and delicious.
Description
Skip the crust! These adorable Mini Pepper Pizzas are a low-carb, kid-friendly dinner or party snack that’s ready in minutes. Easy, healthy, and delicious.
Ingredients
Instructions
- Preheat the oven to 425°F. Line a baking sheet with parchment paper. Set it aside.
- Slice the mini peppers in ½ long ways. Remove seeds, but keep the stem intact.
- Depending on the size of the halved peppers, spoon 1½ teaspoons or up to ½ tablespoon of pizza sauce into the pepper half.
- Sprinkle 1½ to 2 tablespoons of the shredded mozzarella cheese on top of the pizza sauce.
- Again, depending on the size of the halved peppers, top the shredded mozzarella with 3 to 4 slices of mini pepperoni on each of the halved peppers.
- Bake for 8 to 10 minutes until the cheese is bubbly. Serve while warm.
Notes
- Nutrition: Calories: 109kcal | Carbohydrates: 3g | Protein: 5g | Fat: 8g | Saturated Fat: 4g | Polyunsaturated Fat: 1g | Monounsaturated Fat: 3g | Trans Fat: 0.2g | Cholesterol: 21mg | Sodium: 366mg | Potassium: 162mg | Fiber: 1g | Sugar: 2g | Vitamin A: 1044IU | Vitamin C: 37mg | Calcium: 66mg | Iron: 1mg


Leave a Reply