
My First Slider Party
I first made these sliders for my grandson’s birthday. The kids ran around the backyard like little tornadoes. I needed food that was easy to grab and eat.
These sliders were the perfect answer. Everyone loved them, even the grown-ups. I still laugh at how fast they disappeared from the platter. It matters because good food brings people together.
Why This Recipe Works
Using the frozen chicken tenderloins is a real time-saver. It makes everything so much simpler. You do not have to worry about raw chicken.
Just bake them up as the package says. The crispy coating on the chicken is so nice. It adds a wonderful little crunch to the soft, cheesy sliders. This matters because simple steps make cooking less scary.
The Best Part: The Buttery Topping
Do not skip the butter, garlic salt, and parsley mix. This is the secret. It makes the bun tops golden and tasty.
You brush it on before and after baking. Doesn’t that smell amazing? It fills your whole kitchen with a warm, garlicky scent. *Fun fact: The parsley adds a pop of green color, making your food look pretty!*
Putting It All Together
Start by placing the bottom buns in your pan. Spread on half the marinara sauce. Then, layer on the cooked chicken tenderloins.
Cover the chicken with more sauce and the cheese. Pop the top buns on. Now, give them that lovely buttery wash. What is your favorite type of cheese to melt on sandwiches? I would love to know.
A Meal for Everyone
These sliders are great for busy weeknights. They are also perfect for game day or a family gathering. You get a whole tray of happy, little sandwiches.
Each one is a perfect handful. Do you have a go-to recipe for feeding a crowd? Please share it with me. I am always looking for new ideas.
Your Turn in the Kitchen
The best part is slicing them into twelve neat sliders. The cheese will be all melty and wonderful. It is a very satisfying feeling.
I hope you try this recipe with your family. What is the first meal you ever learned to cook? Tell me your story. I love hearing about your kitchen adventures.
Ingredients:
| Ingredient | Amount | Notes |
|---|---|---|
| Southern-style chicken breast tenderloins | 2.5 pounds | frozen, prepared according to package directions |
| slider-sized buns | 15 ounce (12-count) | |
| jarred marinara sauce | 1 ¼ cups | |
| mozzarella cheese | 6 slices | sandwich-sized |
| unsalted butter | ¼ cup | melted |
| garlic salt | ½ teaspoon | |
| dried parsley flakes | ½ teaspoon | |
| grated parmesan cheese | 1 ½ tablespoons |
My Grandson’s Favorite Sliders
My grandson Leo came over every Tuesday. He always asked for my big chicken parmesan. One day, I wanted to make it easier for his little hands. I thought, why not turn it into sliders? He could hold his own little sandwich. It was a huge hit with the whole family. Now I make these for every game night. They disappear so fast. I still laugh at that.
These sliders are so simple and fun. You just layer everything in a pan. The best part is the buttery, garlicky top. It gets all golden and toasty in the oven. Doesn’t that smell amazing? Let me show you how I put them together.
- Step 1: First, cook your chicken strips just like the bag says. I usually bake them. Once they are done, turn your oven down to 350°F. Let the chicken cool for a minute. It’s too hot to handle right away.
- Step 2: Now, take the bottom halves of your little buns. Place them in your baking dish. Spread half of your marinara sauce over them. This keeps the buns from getting dry. It’s like a tasty little pillow for the chicken.
- Step 3: Lay the chicken strips on top of the sauce. Try to cover the whole area. You might have a piece or two left over. (That’s the cook’s treat, I always say!). Then, spoon on the rest of the red sauce.
- Step 4: Time for the cheese! Lay the mozzarella slices over everything. Make a nice, cheesy blanket. Then just pop the top bun halves on. It’s starting to look like a real sandwich now.
- Step 5: Mix your melted butter with the garlic salt and parsley. Brush half of this on the bun tops. This gives them such a lovely color. (A hard-learned tip: don’t skip the butter brush. It makes all the difference!).
- Step 6: Bake them for about 15 minutes. You will know they are ready when the cheese is bubbly. The tops will be a perfect light gold. What’s your favorite part of a warm, cheesy sandwich? Share below!
- Step 7: Take the pan out of the oven. Be careful, it’s hot! Brush the rest of the garlic butter on top. Then sprinkle the grated parmesan cheese over everything. That extra cheese makes it so pretty.
- Step 8: Finally, use a big knife to cut them into individual sliders. You should get twelve perfect little sandwiches. Serve them right away while they are warm and gooey. Everyone will be so happy.
Cook Time: 13–15 minutes
Total Time: 38 minutes
Yield: 12 sliders
Category: Dinner, Game Day
Let’s Get Creative!
This recipe is wonderful as it is. But you can also change it up. It’s fun to play with your food sometimes. Here are a few ideas I’ve tried with my own family. They loved them all.
- Spicy Pepperoni Twist: Add some pepperoni slices under the cheese. It gives it a real pizza flavor. My Leo loves this one.
- Veggie Lover’s Dream: Use roasted zucchini or eggplant instead of chicken. It makes a lovely meat-free meal. So fresh and tasty.
- Breakfast-for-Dinner Sliders: Use cooked sausage patties and a little scrambled egg. Top with a slice of cheddar cheese. It’s a fun surprise.
Which one would you try first? Comment below!
The Perfect Plate
These sliders are a full meal by themselves. But I love to add a little something on the side. It makes the table look so inviting. A simple green salad is my go-to. It’s light and crunchy next to the rich sliders. You could also serve some carrot sticks or a small cup of soup.
For a drink, a fizzy Italian soda is lovely. The bubbles cut through the richness. For the grown-ups, a chilled glass of Pinot Grigio pairs beautifully. It’s a crisp and refreshing choice. Which would you choose tonight?
Keeping Your Sliders Tasty Later
Let’s talk about storing these yummy sliders. They are best eaten right away. But you can keep them for another day.
Put any leftovers in a sealed container. They will be good in the fridge for two days. You can also freeze them for a month.
I once made a double batch for my grandson’s team. We froze half for a busy weeknight. It was a lifesaver.
To reheat, warm them in a 350°F oven. This keeps the buns from getting soggy. A microwave will make them soft.
Batch cooking like this saves so much time. It means a good meal is always close by. That matters on hectic days. Have you ever tried storing it this way? Share below!
Easy Fixes for Common Slider Problems
Sometimes cooking does not go as planned. Do not worry. Here are some simple fixes.
First, if your buns get too brown, cover them with foil. This stops the top from burning. The inside will keep cooking.
Second, is your cheese not melting? I remember when this happened to me. Just make sure your cheese slices are not too cold. Let them sit out a bit first.
Third, if the chicken seems dry, use more sauce. The sauce adds moisture and flavor. This makes the whole slider juicy and delicious.
Knowing these fixes builds your confidence. You learn that small changes make a big difference. Good flavor comes from these little details. Which of these problems have you run into before?
Your Slider Questions Answered
Q: Can I make these gluten-free?
A: Yes. Just use your favorite gluten-free buns and check the chicken coating.
Q: Can I prepare them ahead of time?
A: Absolutely. Assemble them but do not bake. Cover and refrigerate for a few hours.
Q: What if I do not have mozzarella?
A: Provolone cheese works wonderfully too. It melts just as nicely.
Q: Can I make a smaller batch?
A: Of course. Just cut all the ingredients in half. Use a smaller baking dish.
Q: Any extra tips?
A: A little extra parmesan on top adds a nice, salty crunch. *Fun fact: The word Parmesan comes from the Italian city of Parma!* Which tip will you try first?
From My Kitchen to Yours
I hope you love making these sliders. They always bring people together around my table.
I would love to see your creation. It makes me so happy to see your cooking. Sharing food is a way of sharing joy.
Have you tried this recipe? Tag us on Pinterest! I look at every single picture. It feels like we are cooking together.
Happy cooking!
—Anna Whitmore.
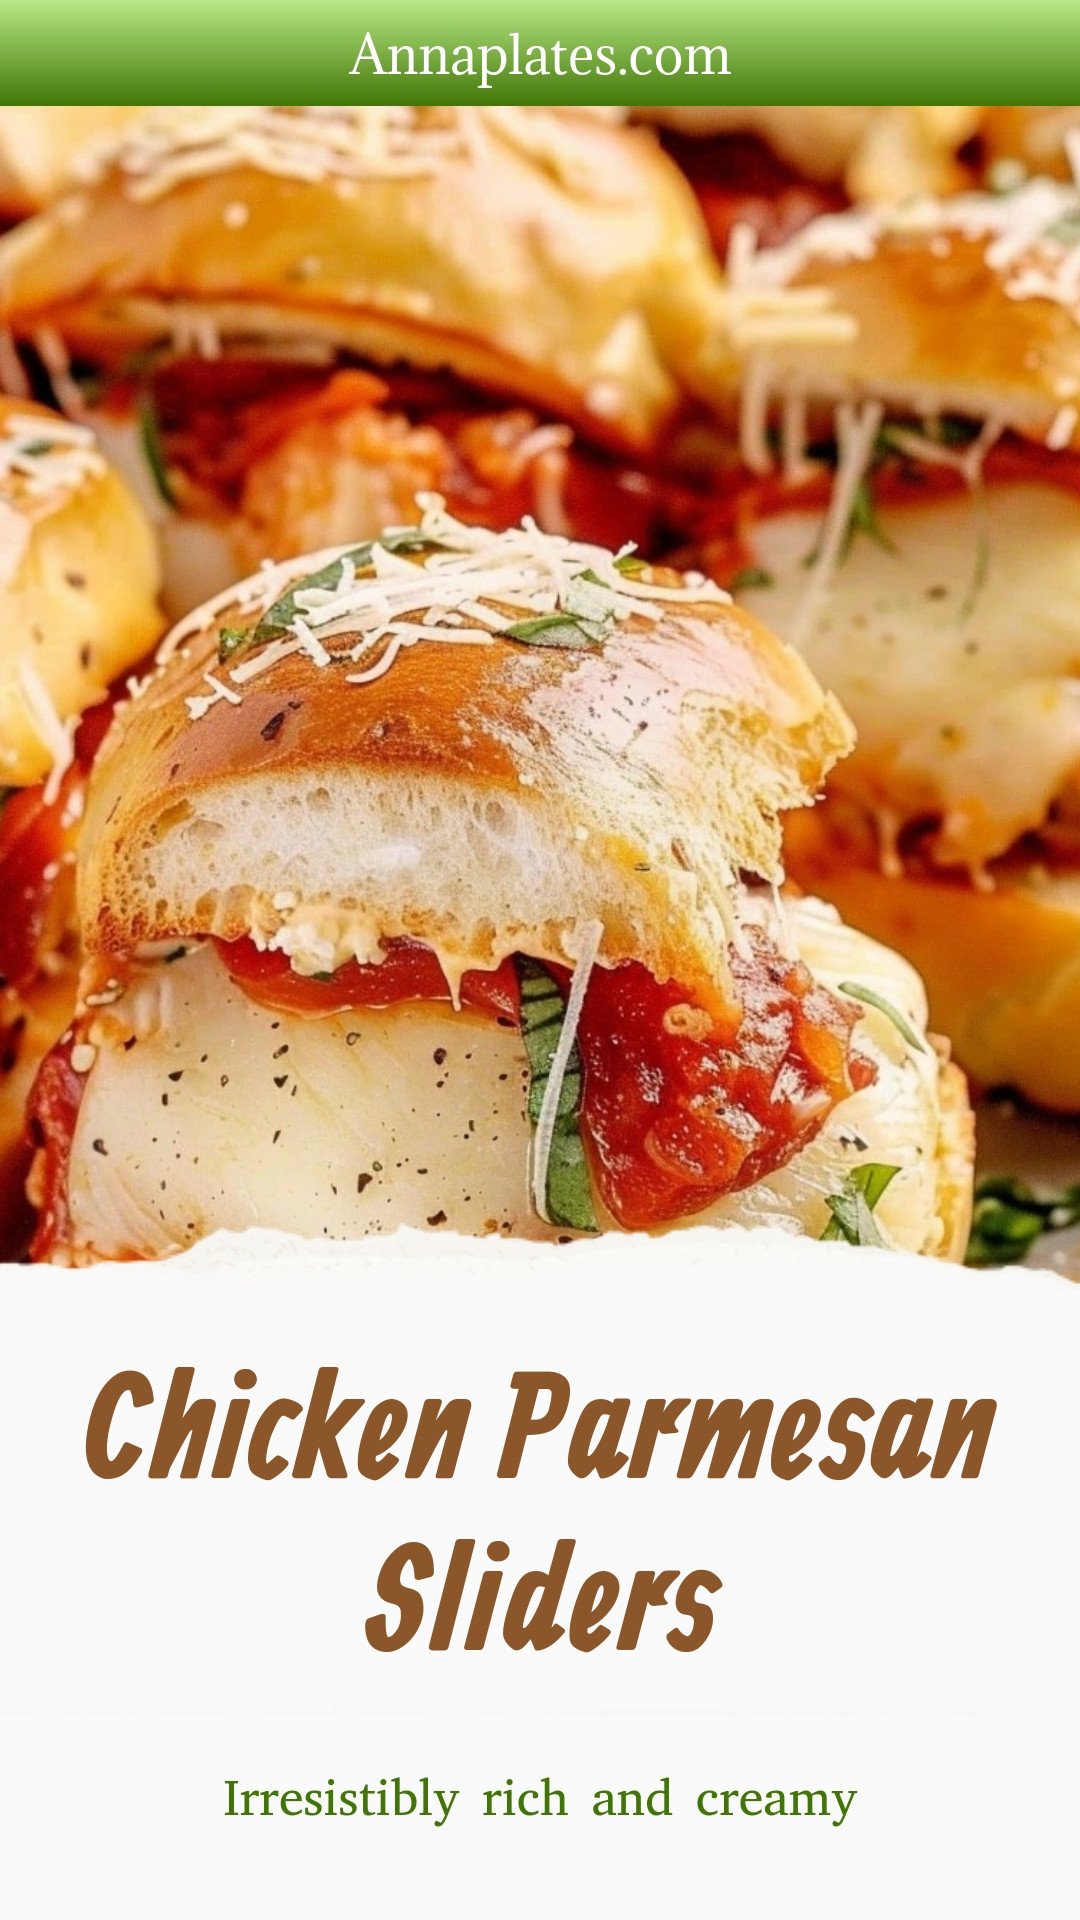
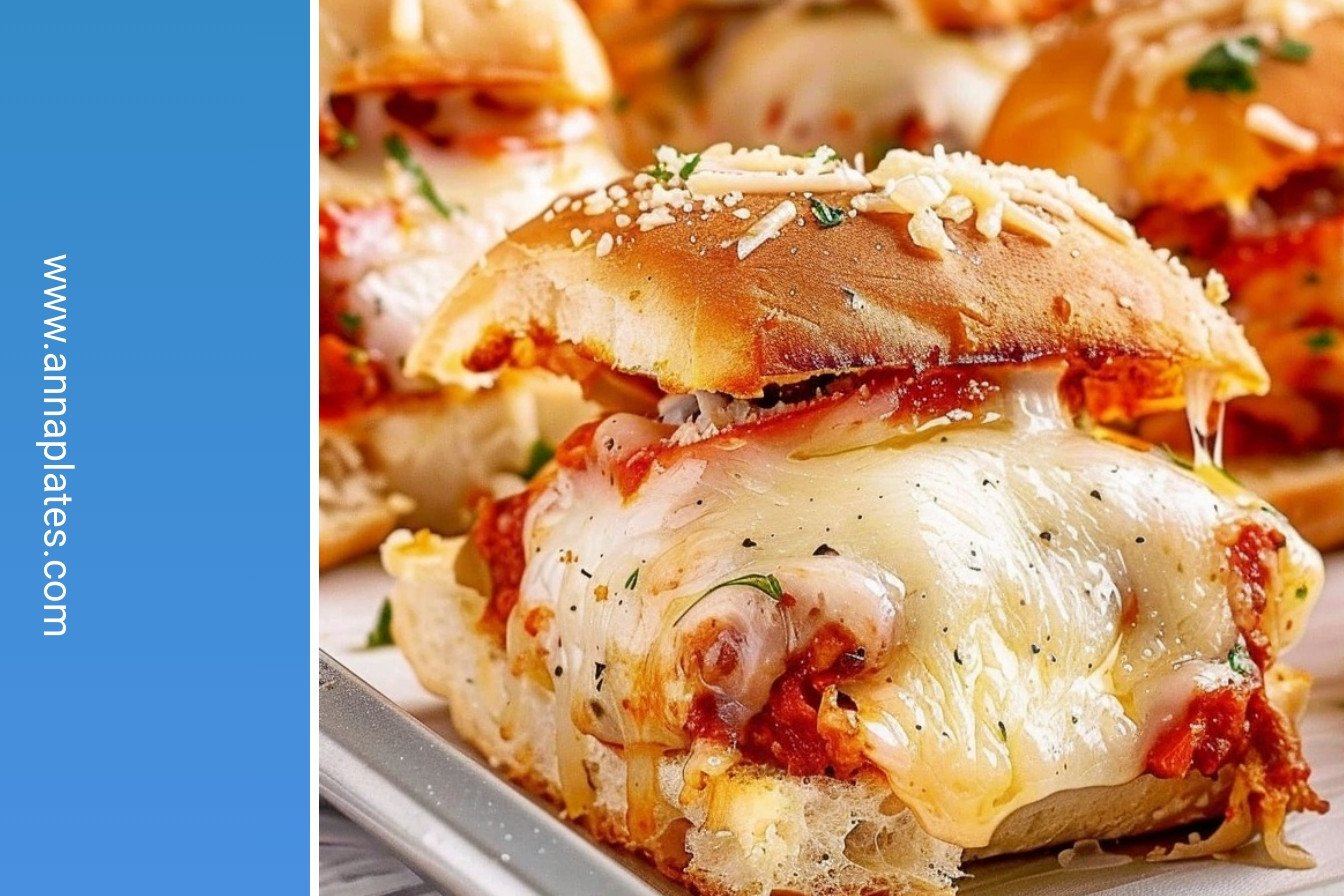
Chicken Parmesan Sliders: Irresistibly rich and creamy
Description
The ultimate party food! These Chicken Parmesan Sliders are easy, cheesy, and perfect for a crowd. A delicious twist on an Italian classic everyone will love.
Ingredients
Instructions
- Prepare the southern-style chicken breast tenderloins according to the package directions (Heat on a baking sheet in a 425°F conventional oven for 18-20 minutes for the brand I used). Remove from the oven and set the oven temperature to 350°F.
- Place the bottom halves of the slider buns into a 9×13 baking pan and spread half the marinara sauce over the bottom slider buns.
- Arrange the chicken breast tenderloins into a solid layer across the surface of the sauce-covered slider buns. You may not be able to fit all the pieces of chicken tenderloins onto the buns, but you should cover as much of the surface as you can.
- Top the chicken with the remaining marinara sauce. Place the slices of mozzarella cheese in a single layer covering all the chicken. Place the tops of the slider buns onto the top of your chicken parmesan sliders.
- In a small bowl, stir together the melted butter, garlic salt, and dried parsley flakes. Brush the tops of the slider buns with half the melted butter. You will reserve the remaining melted butter mixture.
- Bake for 13-15 minutes or until the cheese has melted and the tops of the slider buns are lightly toasted.
- Remove the chicken parmesan sliders from the oven, brush the tops of the buns with the remaining melted butter mixture, and garnish with a sprinkle of the grated parmesan cheese over the tops of all the slider buns.
- Slice the chicken parmesan sliders into 12 individual servings.


Leave a Reply