

The Jar That Started It All
I have a little story for you. My grandson once tried to buy granola at the store. He came home with a tiny bag. It cost five dollars! I still laugh at that. We looked at the ingredients together. There were so many long, funny words.
That’s when we decided to make our own. This recipe is what we made. It uses simple things from your pantry. You know every single thing that goes into it. That matters. It means you’re feeding your family real food.
Why This Granola Holds Together
Here’s the big secret. You must not stir it while it bakes. I know, it’s tempting! But trust me. You spread the warm oat mix in one layer. Then you leave it alone. This lets the peanut butter and syrup harden into one big sheet.
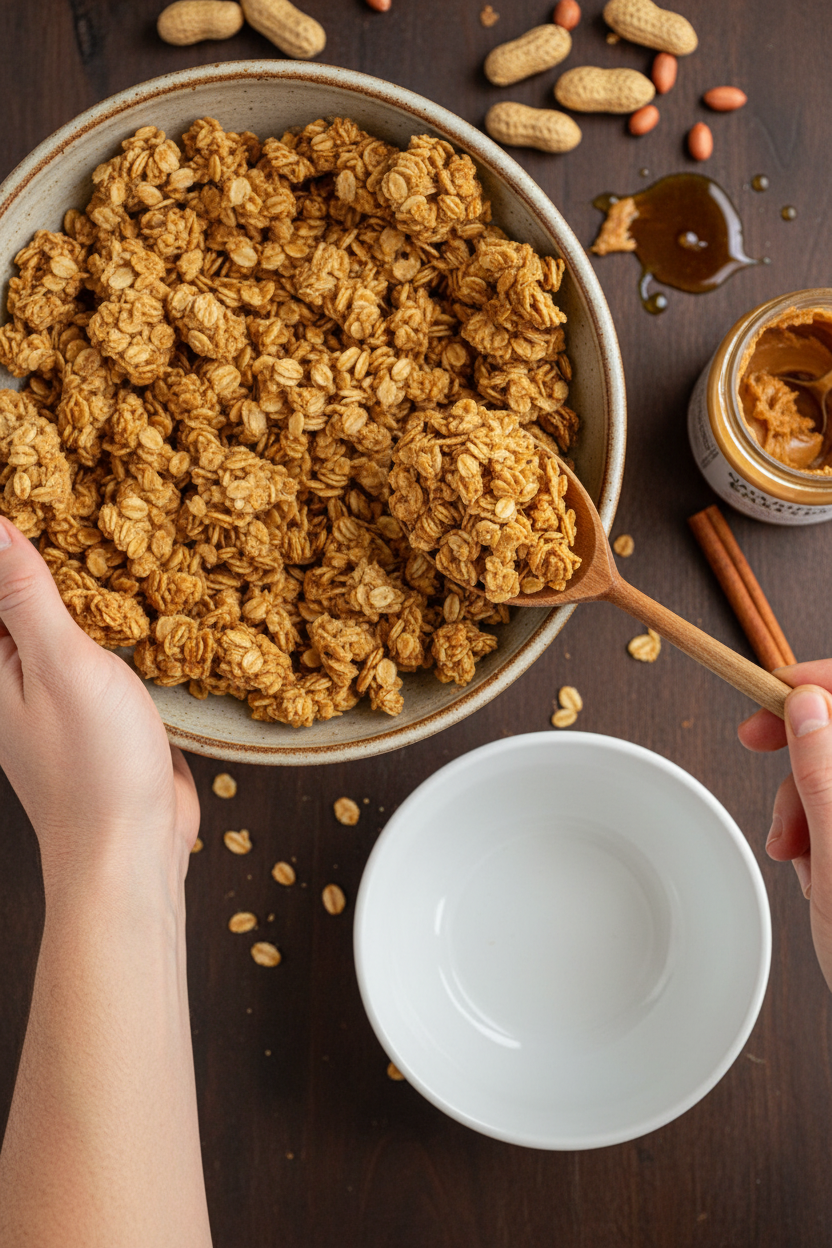
After it cools, you break it into big, crunchy chunks. Those chunks are the best part. Fun fact: The official name for those yummy chunks is “clusters.” Do you like big clusters or small crumbles in your granola? Tell me in the comments!
Let’s Talk About That Smell
You will know when this granola is almost done. Your whole kitchen will smell like warm peanuts and cinnamon. Doesn’t that smell amazing? It’s the cozy smell of a happy home. My dog always comes and sits by the oven when I bake it.
The smell comes from the peanut butter and maple syrup getting toasty. This is why we use real maple syrup. The fake stuff just makes it sweet. The real stuff adds a deep, warm flavor. It makes all the difference.
Making It Your Own
This is your granola adventure. You can use creamy or crunchy peanut butter. I like crunchy for a little surprise. You can use coconut oil or canola oil. Coconut oil makes it taste a bit tropical.
After it’s baked and cool, you can add other things. Try a handful of chocolate chips or dried banana slices. What would you mix in? I’d love to hear your ideas. Sharing recipes is how we all learn new tricks.
A Spoonful of Goodness
This granola is more than a snack. It’s a little boost of good energy. The oats and peanut butter have protein. They help keep you full and happy. That matters when you have a busy day ahead.
I love it with cold milk for breakfast. My grandson sprinkles it on yogurt. It’s also perfect right from your hand. However you eat it, you made it yourself. That’s a wonderful feeling. What’s your favorite way to eat granola?
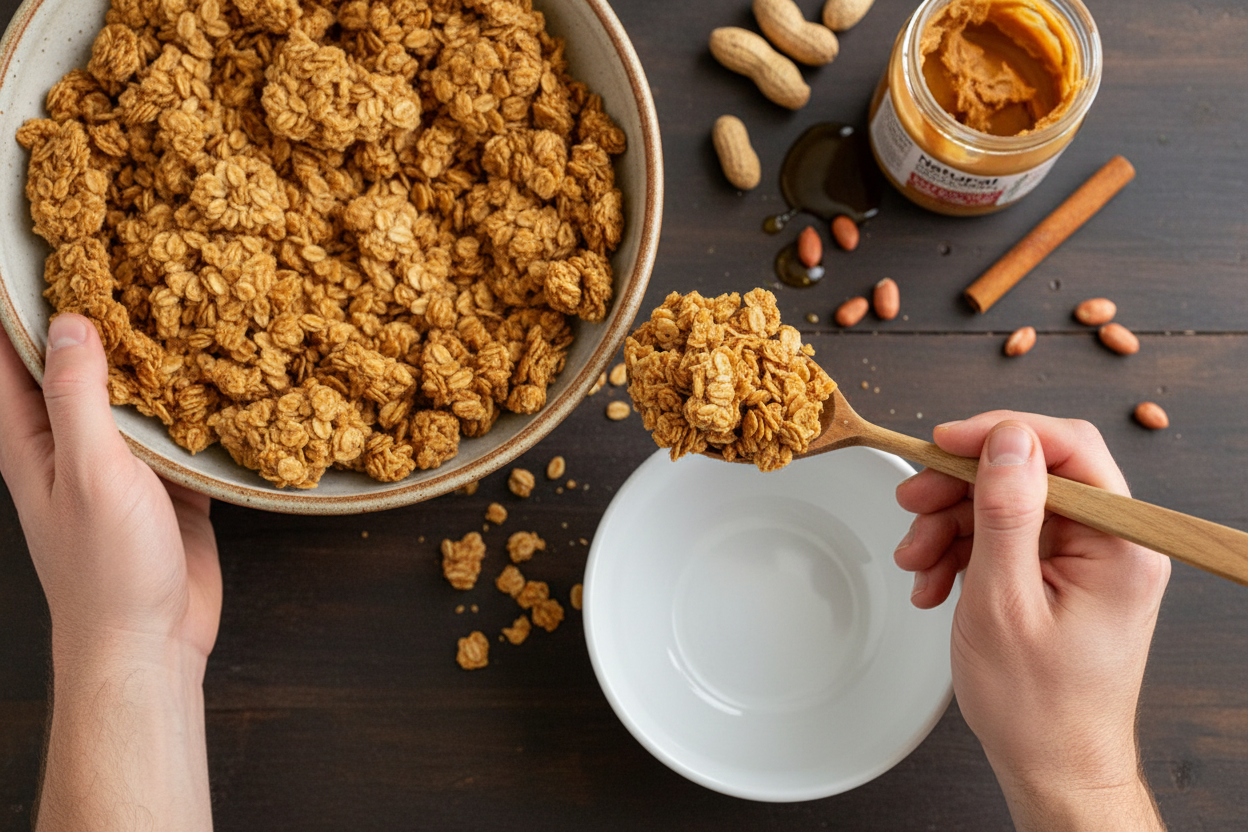
Ingredients:
| Ingredient | Amount | Notes |
|---|---|---|
| Old fashioned (rolled) oats | 3 cups | |
| Natural peanut butter | 1/2 cup | creamy or crunchy |
| Pure maple syrup | 1/3 cup | |
| Coconut oil or canola oil | 2 tablespoons | |
| Vanilla extract | 1 teaspoon | |
| Ground cinnamon | 1/2 teaspoon | |
| Kosher salt | 1/4 teaspoon |
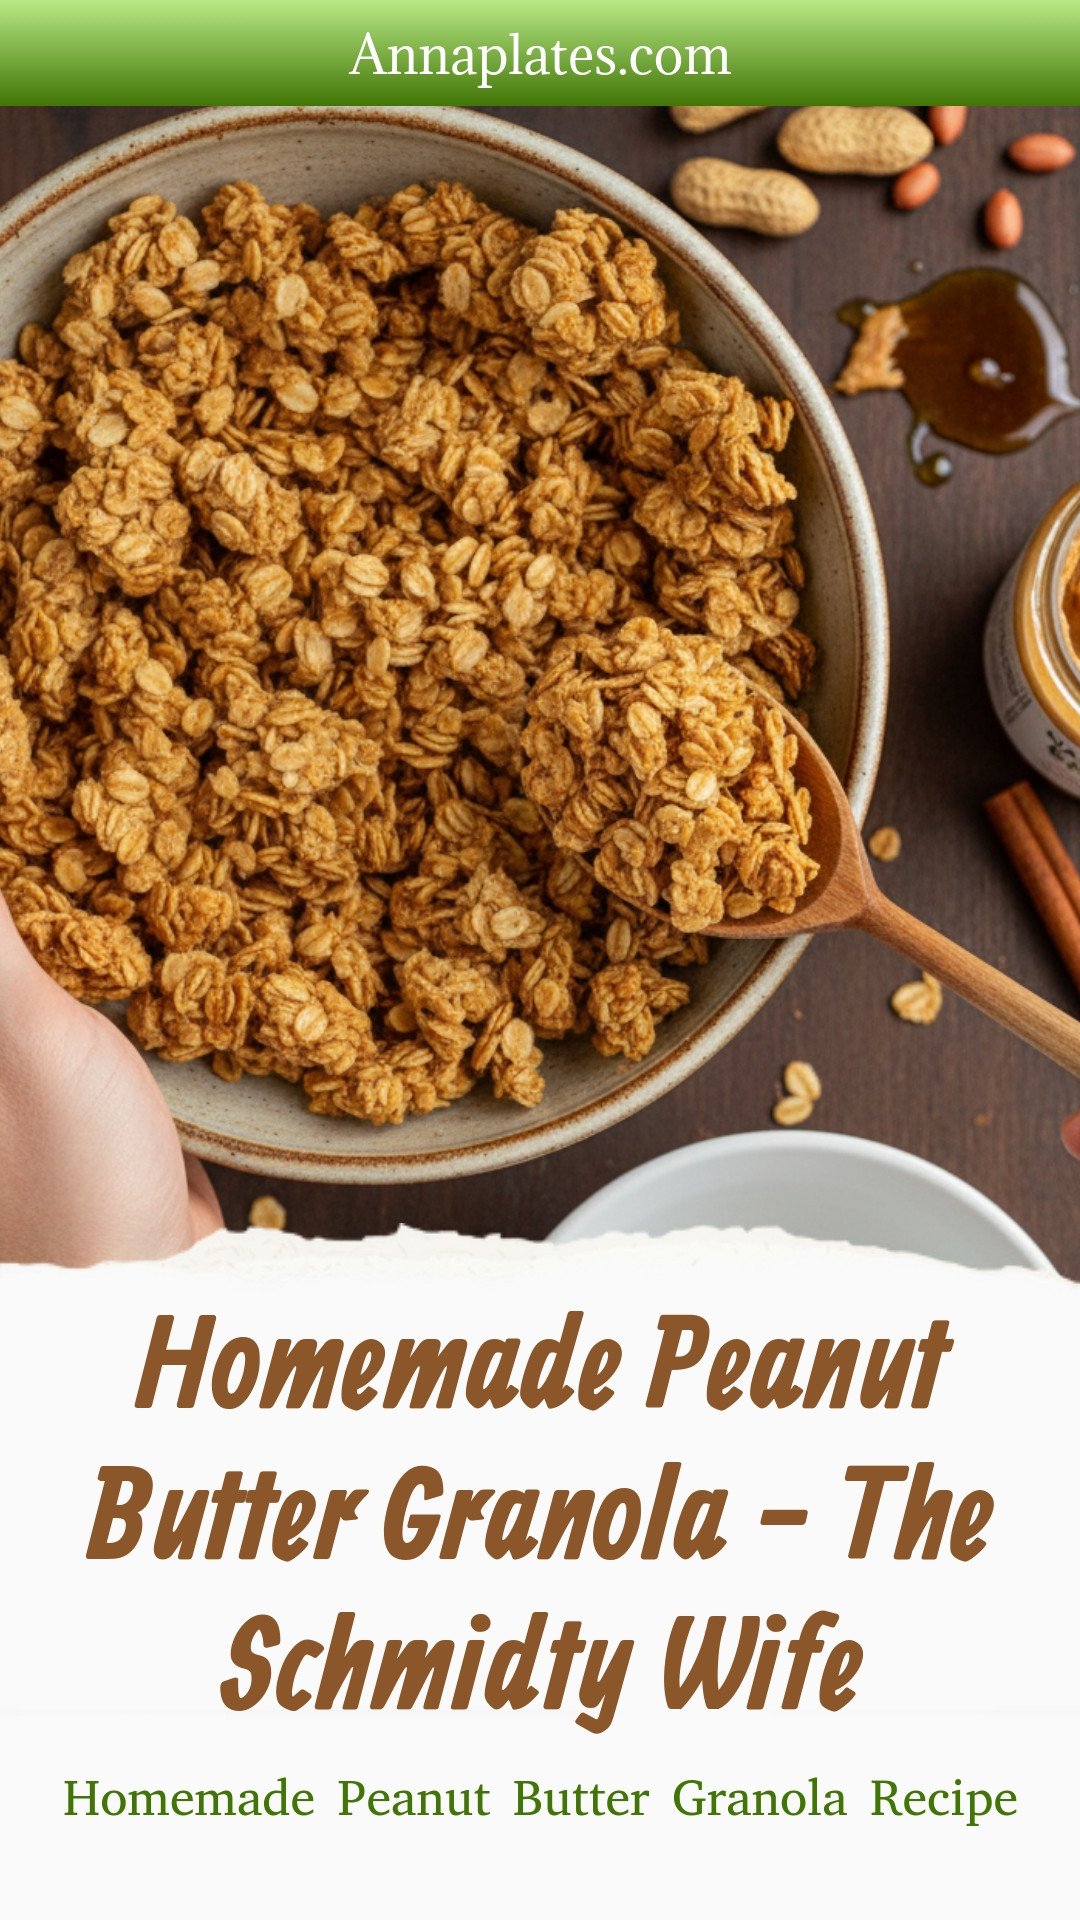
My Favorite Peanut Butter Granola
Hello, my dear! Come sit at the counter. I want to share my granola recipe. It makes the whole kitchen smell like warm cookies. My grandson calls it “cookie cereal.” I still laugh at that. It’s perfect over yogurt or just eaten by the handful. Making it is so simple. You just mix a few good things together. Let’s get started, shall we?
Step 1: First, turn your oven on to 325 degrees. Line a big baking sheet with parchment paper. This keeps the granola from sticking. I learned that the hard way once. What a mess to clean! Now, grab a bowl you can use in the microwave.
Step 2: Put the peanut butter, maple syrup, oil, vanilla, cinnamon, and salt in that bowl. Heat it for about 30 seconds. Doesn’t that smell amazing already? Stir it all until it’s smooth and friendly. This warm sauce is what makes the oats so tasty.
Step 3: Your oats go in a bigger mixing bowl. Pour that wonderful warm sauce right over them. Now, mix everything with a big spoon. Keep mixing until every single oat looks shiny and happy. They should all wear a little coat of peanut butter.
Step 4: Dump the oats onto your prepared pan. Spread them into one big, even circle. Press it down firmly with your spoon. You want it about half an inch thick. This is the secret for big, crunchy clumps later. (My hard-learned tip: Don’t stir it while baking! That’s how you get crumbs, not clusters).
Step 5: Bake your granola for 25 minutes. It will turn a lovely golden brown. Let it cool completely on the pan. This is the hardest part—waiting! Once cool, break it into beautiful, rustic chunks. Do you like big clusters or small bits? Share below!
Cook Time: 25 minutes
Total Time: 40 minutes
Yield: 8 servings
Category: Breakfast, Snack
Three Fun Twists to Try
This recipe is like a good friend. It’s happy to change its outfit! Here are three ways to play with it. Each one feels like a whole new treat. I love having options for different days.
Chocolate Chip Crunch: After the granola is totally cool, stir in a handful of mini chocolate chips. They get just a little melty. It’s a dessert granola!
Berry Bliss: Add a half cup of dried berries before baking. I love cranberries or chopped cherries. They get a little chewy and tart.
Trail Mix Style: Once cooled, mix in some raisins and sunflower seeds. Maybe even a few banana chips. Perfect for a lunchbox.
Which one would you try first? Comment below!
Serving It Up With Style
Now, how to eat this crunchy joy? My favorite way is simple. I pour some over plain yogurt. The creamy and crunchy mix is perfect. You can also just use cold milk in a bowl. For a fun snack, put some in a little paper bag. It’s great for walks.
What to drink with it? For a cozy morning, a glass of cold milk is classic. For a weekend treat, I think it pairs nicely with a creamy latte. The coffee tastes wonderful with the peanut butter.
Which would you choose tonight?
Keeping Your Granola Fresh and Crunchy
This granola stays fresh for weeks. Just store it in a jar at room temperature. For longer storage, use the freezer.
I once left a batch in a bowl. It went soft after two days. Now I always use a sealed container. This keeps it wonderfully crunchy.
You can double the recipe easily. Bake it on two pans. Switch their positions halfway through baking. Batch cooking saves you time later.
Storing food well matters. It saves money and reduces waste. You always have a homemade snack ready. Have you ever tried storing it this way? Share below!
Simple Fixes for Perfect Granola
Is your granola too soft? It needed more baking time. Bake it until the edges look golden brown. Let it cool completely on the pan.
Are you missing big clumps? Do not stir while it bakes. I remember when I stirred mine too soon. I ended up with mostly crumbs.
Is the granola burning? Your oven might run hot. Try lowering the temperature by 25 degrees. An oven thermometer helps a lot.
Fixing small problems builds cooking confidence. You learn how ingredients work together. It also makes your food taste better. Which of these problems have you run into before?
Your Granola Questions, Answered
Q: Can I make this gluten-free? A: Yes! Use certified gluten-free oats. All the other ingredients are naturally gluten-free.
Q: Can I make it ahead? A: Absolutely. It is perfect for making ahead. Store it as the first section says.
Q: What can I swap for maple syrup? A: Honey works very well. Use the same amount. The flavor will be a little different.
Q: Can I double the recipe? A: You can. Just use two baking sheets. Give the pans space in the oven.
Q: Any fun add-ins? A: After baking, try chocolate chips or raisins. A fun fact: Adding dried fruit after baking keeps it chewy. Which tip will you try first?
From My Kitchen to Yours
I hope you love this recipe. It always makes my kitchen smell wonderful. Making your own food is a special joy.
I would love to see your creation. Share a photo of your granola jar. Have you tried this recipe? Tag us on Pinterest! You can find me at @AnnaWhitmoreEats.
Thank you for cooking with me today. I am so glad you stopped by my kitchen. Happy cooking!
—Anna Whitmore.
Homemade Peanut Butter Granola – The Schmidty Wife: Homemade Peanut Butter Granola Recipe
Description
Easy homemade peanut butter granola recipe! Perfect for breakfast or snacks. Simple, crunchy, and deliciously nutty. Make your own healthy granola today!
Ingredients
Instructions
- Preheat oven to 325º F. Line sheet pan with parchment paper.
- Combine peanut butter, maple syrup, oil, vanilla, cinnamon, and salt to a microwave safe bowl. Microwave 30 to 45 seconds until the mixture is melted and warm. Mix together.
- Add oats to a mixing bowl.
- Pour warm peanut butter mixture overtop the oats and mix well to combine.
- Transfer the oat mixture to the parchment paper. Spread the oats out evenly but keeping them together in a large circle shape. For the big clumps push the granola down making the granola about 1/2 to 3/4 inch thick.
- Transfer to the oven and bake for 25 minutes. No stirring as it cooks or while it is still cooking otherwise the chunks won’t form. Once it is cool break into pieces to eat.
Notes
- Nutrition Information per serving (1/3 cup): Calories: 158, Total Fat: 11g, Saturated Fat: 2g, Trans Fat: 0g, Unsaturated Fat: 8g, Cholesterol: 0mg, Sodium: 104mg, Carbohydrates: 13g, Fiber: 2g, Sugar: 9g, Protein: 4g.


Leave a Reply