
My No-Fuss Biscuit Secret
I want to share my easiest biscuit recipe with you. You don’t even need a rolling pin or biscuit cutter. We just use our hands. It feels so good to squish the dough between your fingers.
This is the recipe my grandson, Leo, learned first. He was so proud of his lumpy, golden biscuits. I still laugh at that. He called them his “monster biscuits” and ate every single one.
Why This Recipe Works So Well
The secret is not working the dough too much. A sticky, shaggy dough makes the softest biscuits. If you mix it until it’s perfectly smooth, the biscuits get tough.
That’s the big lesson here. A little mess is a good thing in the kitchen. It means you are being gentle. This matters because cooking should feel fun, not perfect.
The Magic of Buttermilk
Buttermilk is the special ingredient. It makes the biscuits tender and gives them a little tang. Doesn’t that smell amazing when it hits the flour?
*Fun fact*: Buttermilk is what’s left after churning butter from cream. That’s how it got its name! Did you know that, or is it a new fact for you?
Getting Your Hands Floured
Now for the fun part. Scoop up that sticky dough with well-floured hands. Don’t be afraid of it. Just pat it into a rough ball, no cracks needed.
Then gently flatten it. Think about making a thick, cozy pillow for your baking sheet. What’s your favorite part of working with dough? I love the feeling of it.
The Big Bake
That super hot oven is important. It gives the biscuits a quick, tall rise. Then you get a beautiful, golden-brown top. I love watching them puff up through the oven window.
This matters because heat is what creates all those flaky layers inside. It’s like a little science miracle in your kitchen. Do you like to watch your food bake, too?
Your Biscuit Story
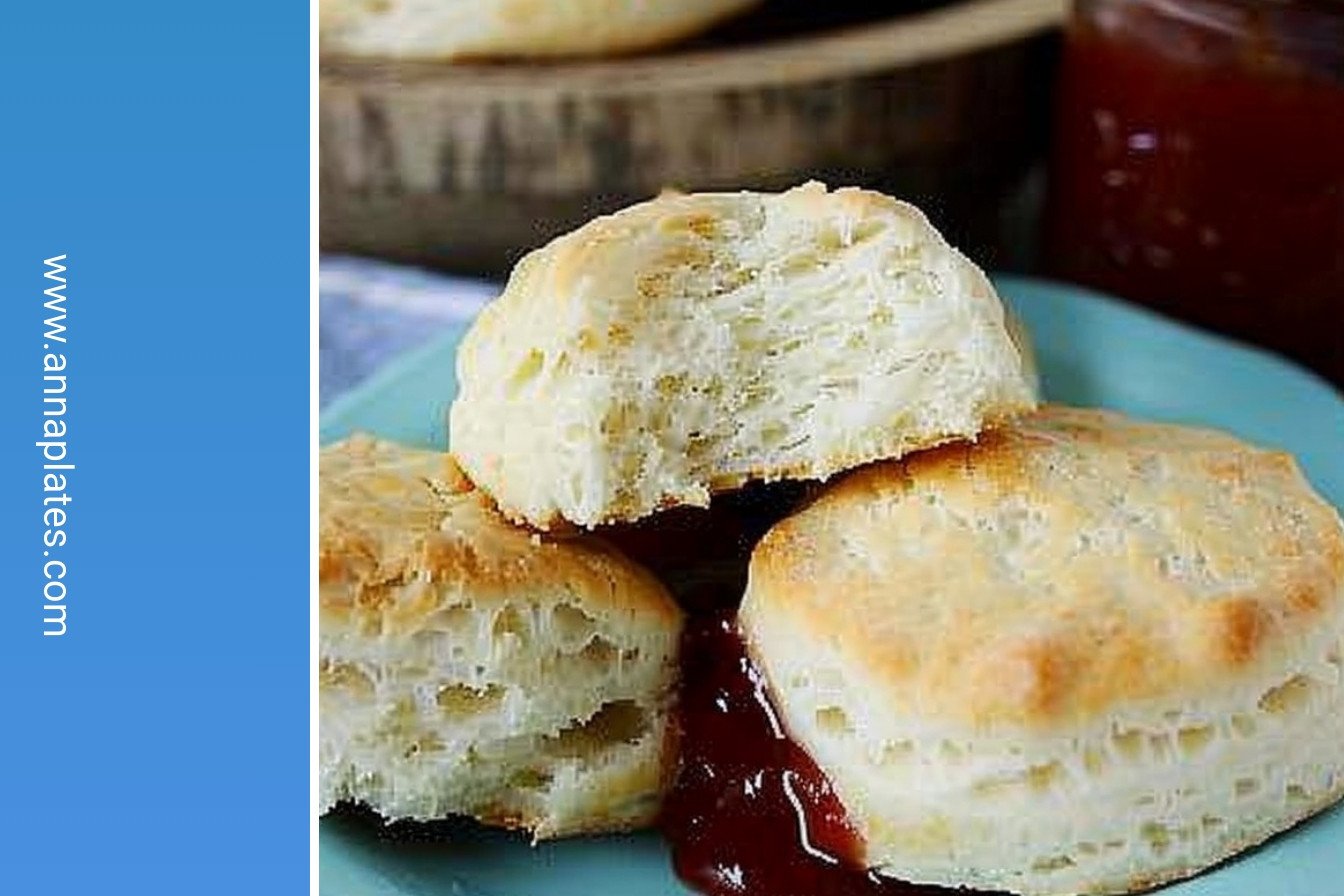
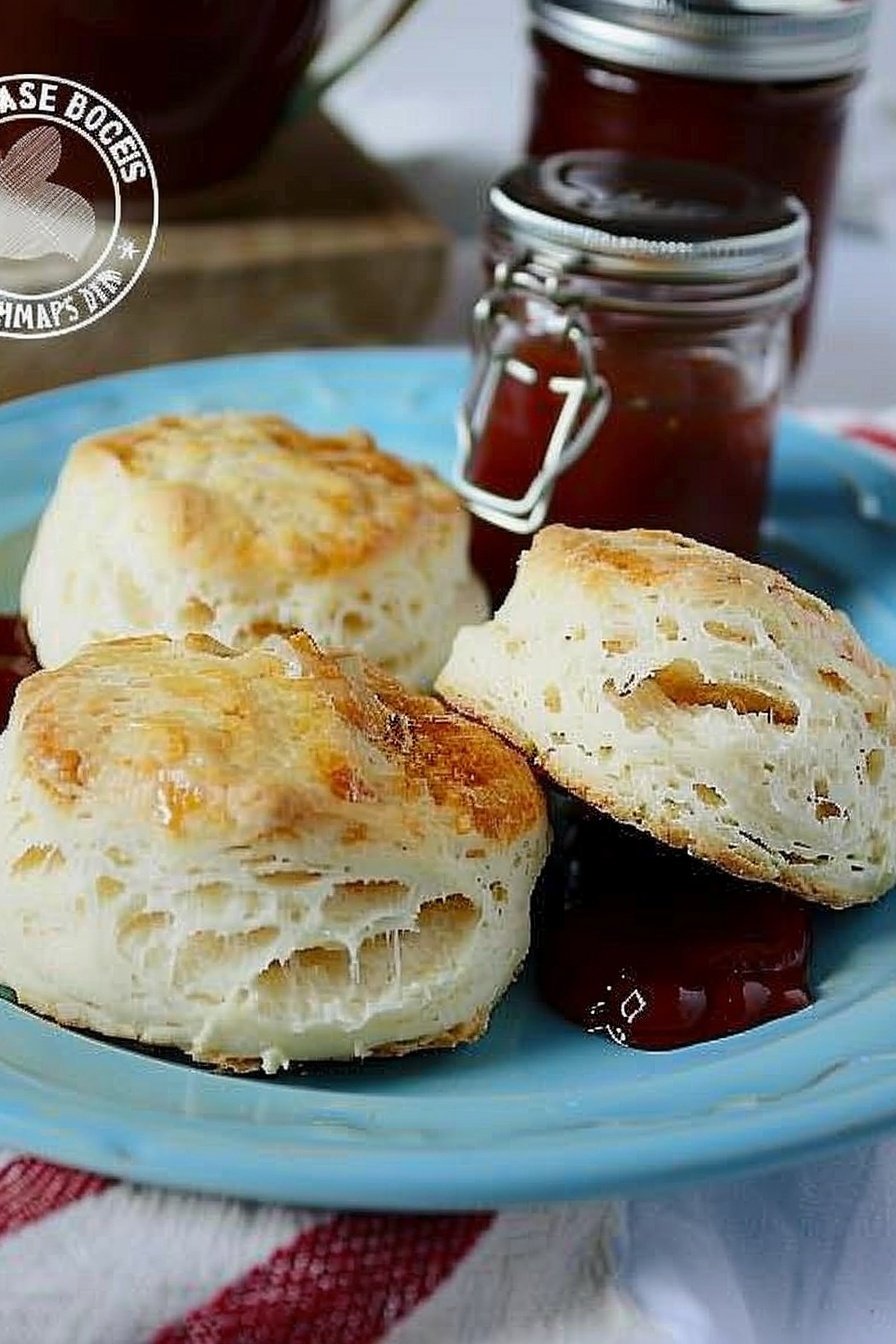
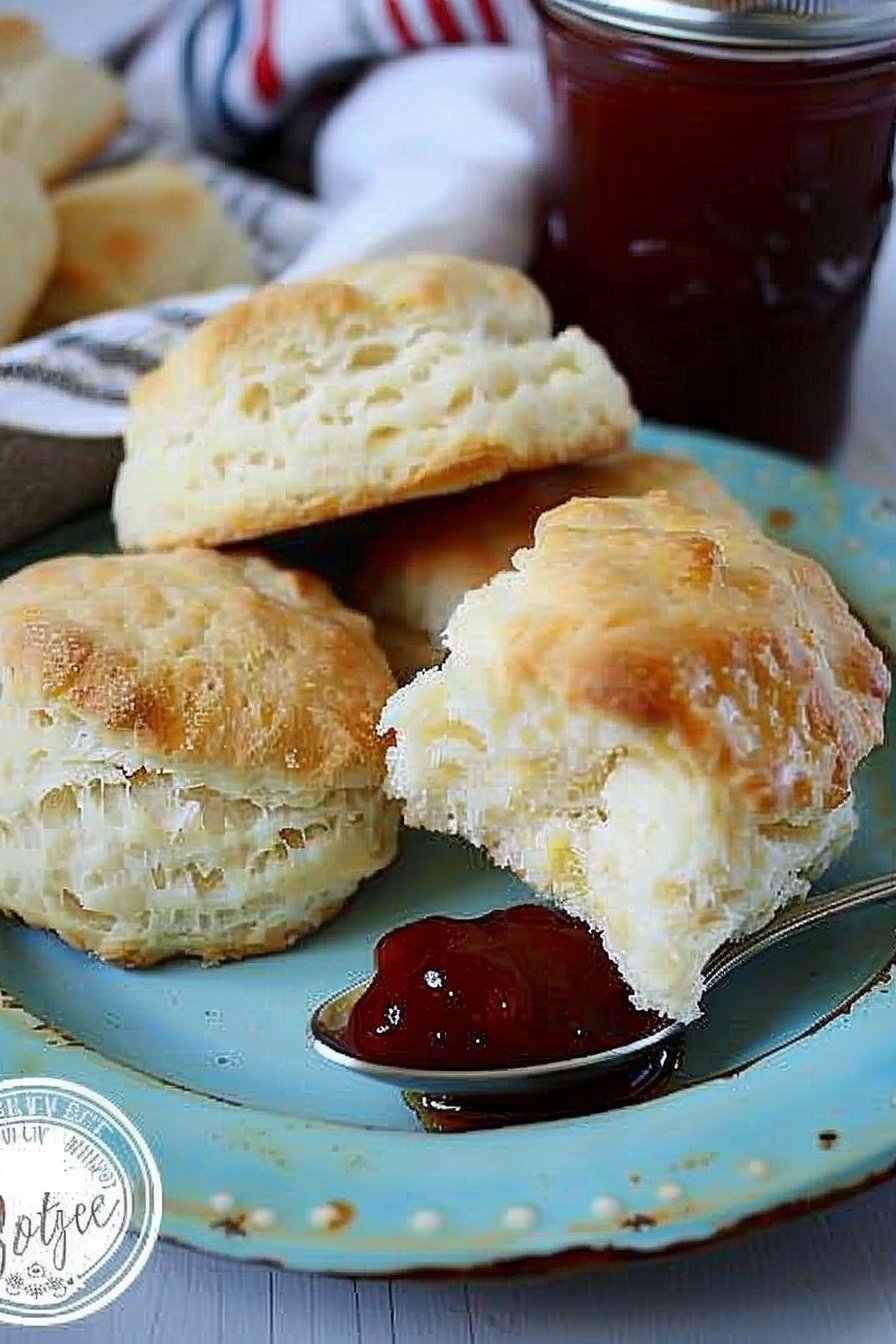
Nothing beats a warm biscuit right from the oven. Slather it with butter and maybe some honey. It tastes like home.
I hope you try making these. Tell me, what will you eat with your first warm biscuit? Will it be jam, gravy, or just a pat of butter? I would love to hear your plans.
Ingredients:
| Ingredient | Amount | Notes |
|---|---|---|
| White Lily Self-Rising Flour | 2 cups | |
| shortening | 1/4 cup | |
| buttermilk | 1 cup |
My No-Fuss Buttermilk Biscuits
I have always loved making biscuits. The smell fills the whole house with warmth. My grandkids call these my “no-cutter” biscuits. That is because you do not need any fancy tools. You just use your hands. It is my favorite way to cook.
These biscuits are soft, cheesy, and so good. They are perfect for a busy weeknight. Or for a lazy Sunday morning. Let me show you how simple they are to make.
- Step 1: First, get your oven very hot. We are talking 500 degrees! This makes the biscuits puff up nicely. Lightly spray your baking sheet. I use the one my neighbor gave me. It is my lucky pan.
- Step 2: Put your flour in a big bowl. Now, you need to cut in the shortening. Use two forks to mix it. You want little pea-sized crumbs. It is okay if it looks messy. (My hard-learned tip: Your hands will get sticky. Just keep a little extra flour nearby for dusting.)
- Step 3: Slowly pour in the buttermilk. Stir it just until everything is combined. Do not overmix! The dough will be wet and sticky. That is exactly how we want it. This is the secret to tender biscuits.
- Step 4: Now for the fun part. Scoop up a handful of dough. Gently shape it into a ball with your hands. Flatten it just a bit. Place it on your baking sheet. I still laugh at the lopsided one my grandson made. It was the tastiest!
- Step 5: Pop them in the hot oven. Bake for about 10 minutes. Wait until they are a beautiful golden brown. Doesn’t that smell amazing? What is your favorite smell from the kitchen? Share below!
Cook Time: 10–12 minutes
Total Time: 30 minutes
Yield: About 8 biscuits
Category: Bread, Side Dish
Three Tasty Twists to Try
Once you master the basic recipe, you can play. Here are some of my favorite ways to change things up. They are all so simple and delicious.
- Cheesy Garlic: Mix a handful of shredded cheddar and a pinch of garlic powder right into the flour.
- Everything Bagel: Before baking, brush the tops with milk. Sprinkle on some everything bagel seasoning.
- Herb Garden: Add a tablespoon of fresh, chopped herbs. Chives or dill are my go-to choices. So fresh!
Which one would you try first? Comment below!
The Perfect Pairings
A warm biscuit is a wonderful thing all on its own. But it is even better with friends. I love to split one open and slather it with honey butter. For dinner, serve them next to a big bowl of soup. They are perfect for sopping up the last bit.
What should you drink? A tall glass of cold milk is the classic choice. It just feels right. For the grown-ups, a crisp hard apple cider is lovely. It cuts through the richness so nicely. Which would you choose tonight?
Keeping Your Biscuits Happy
Fresh biscuits are the best. But they freeze beautifully for later. Let the biscuits cool completely first. Then pop them in a freezer bag. They will keep for a month.
To reheat, just warm them in a 350° F oven for ten minutes. I once microwaved a biscuit and it got tough. The oven keeps them soft and flaky.
Batch cooking saves busy mornings. Making a double batch is so smart. You get a warm breakfast without any work. This matters because a good start makes a good day. Have you ever tried storing it this way? Share below!
Biscuit Troubleshooting Made Easy
Is your dough too sticky? Do not worry. Just use more flour on your hands. This is normal for this easy recipe.
Are your biscuits flat? Your oven might not be hot enough. A very hot oven makes them rise high. I remember when my first batch was flat. My oven was not preheated all the way.
Are they tough? You probably mixed the dough too much. Gentle handling makes tender biscuits. This matters for a soft, perfect bite. Fixing small problems builds your cooking confidence. Which of these problems have you run into before?
Your Biscuit Questions Answered
Q: Can I make these gluten-free? A: Yes. Use your favorite gluten-free self-rising flour blend.
Q: Can I make the dough ahead? A: You can shape the dough balls and chill them overnight.
Q: What if I do not have shortening? A: Very cold butter cut into small pieces works well too.
Q: Can I double this recipe? A: Of course. Just use a bigger bowl for mixing.
Q: Any extra tips? A: A pinch of garlic powder adds a nice savory flavor. Fun fact: Buttermilk makes biscuits tender because it has acid. Which tip will you try first?
From My Kitchen to Yours
I hope you love these simple biscuits. They always remind me of my own grandma. She taught me that good food brings people together.
I would love to see your baking creations. Your pictures make my day. Have you tried this recipe? Tag us on Pinterest! I cannot wait to see what you make.
Happy cooking!
—Anna Whitmore.
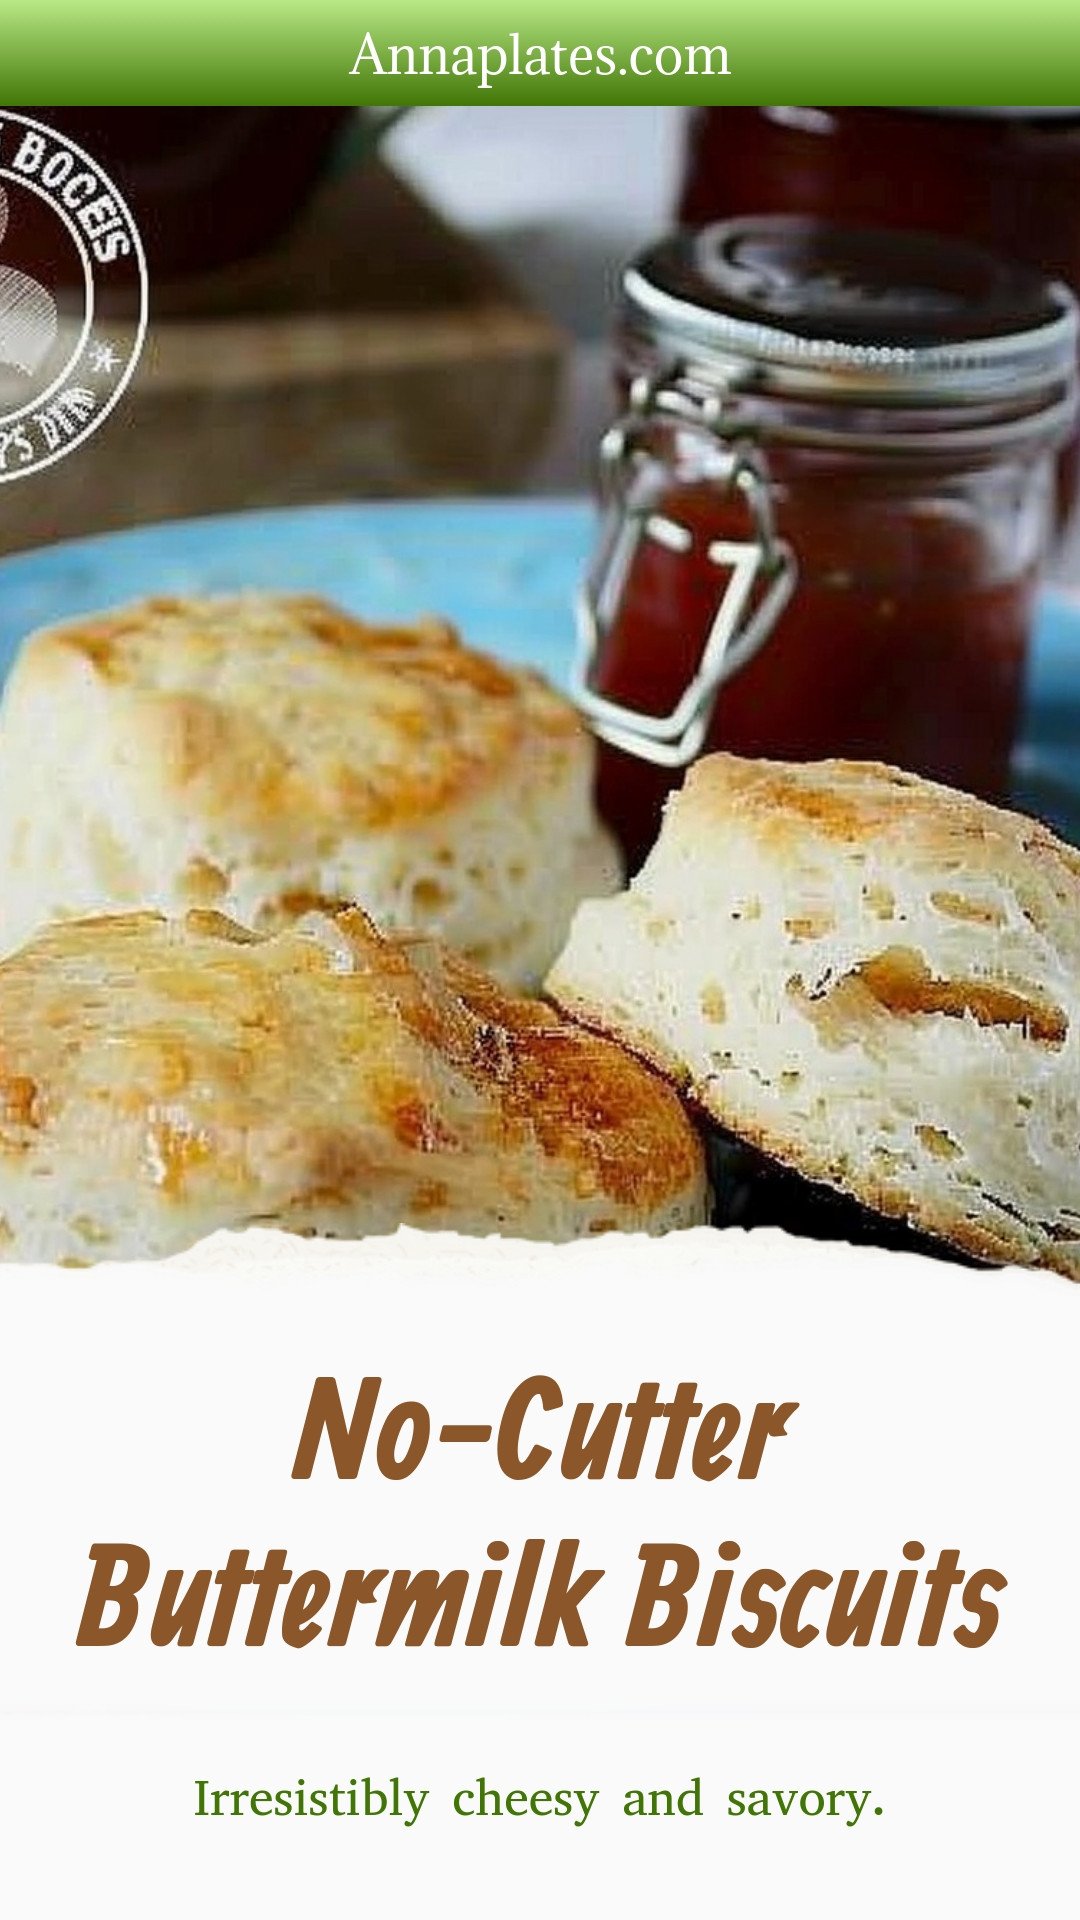
No-Cutter Buttermilk Biscuits: Irresistibly cheesy and savory.
Description
Flaky, buttermilk biscuits made with NO CUTTERS required! This easy, drop biscuit recipe creates the perfect, buttery layers every single time.
Ingredients
Instructions
- Preheat the oven to 500° F and lightly spray a baking sheet with non-stick cooking spray.
- Measure the flour into a large bowl and cut the shortening into the flour with a pastry blender or two forks. The crumbs should be about pea-size.
- Slowly incorporate the buttermilk until everything is just combined. Don’t overwork the mixture. The dough will be wet and sticky.
- Working with well-floured hands scoop up about 1/3 to 1/4 cup of the dough and form the dough into a ball with no visible cracks. You may have to dust some additional flour over the ball to make it easier to roll.
- Gently flatten the dough until it is about 3/4 inch thick and place it one the baking sheet. Continue with the remaining dough.
- Bake for 10 to 12 minute or until golden brown.


Leave a Reply