

My First Thumbprint Mishap
I remember my first time making these. I was so excited. I pressed my thumb right into the cold dough. The whole cookie cracked! I still laugh at that.
I learned a little secret. Let the dough sit out for ten minutes first. Then your thumb makes a perfect little nest. It’s ready for the jam. This matters because cooking teaches us patience. Good things come to those who wait.
The Magic of Two Extracts
Now, the recipe calls for two extracts. Vanilla and almond. You might think one is enough. But trust this grandma.
That tiny bit of almond is the magic. It makes the cookie taste richer. It smells like a bakery. Doesn’t that smell amazing? It’s a small step that makes a big difference. What’s your favorite baking smell? Mine will always be vanilla and almond together.
Jam Pockets of Joy
The jam is the happy surprise. I use raspberry. It’s sweet and a little tart. You must mound it a bit in the thumbprint.
The jam flattens out as it bakes. If you don’t mound it, you get a sad, shallow pool. We want a joyful, full pocket! *Fun fact: Long ago, these were called “jam drops” in some places. I like that name too.
Why We Chill the Dough
This step seems boring. You just put the dough in the fridge. But it’s so important. Chilled dough doesn’t spread too much.
It keeps your cookie’s shape. This matters because it gives you control. Your jam won’t run off the edge! Do you have a hard time waiting for dough to chill? I sometimes set a timer and read a book.
Your Turn in the Kitchen
Now, it’s your turn. Rolling the balls in sugar makes them sparkle. It gives a tiny crunch. I love that part.
When you take them out of the oven, let them cool. The jam is like lava! Have you ever made thumbprint cookies before? What kind of jam would you use? I’d love to hear about your baking adventures. Share your stories with me.
Ingredients:
| Ingredient | Amount | Notes |
|---|---|---|
| All-purpose flour | 2 & 1/4 cups (270g) | |
| Kosher salt | 1/2 teaspoon | |
| Unsalted butter | 1 cup | room temperature |
| Granulated sugar | 1 cup (200g) | divided |
| Large egg | 1 | |
| Almond extract | 1/2 teaspoon | |
| Vanilla extract | 1/2 teaspoon | |
| Raspberry jam or preserve | 1/2 cup |
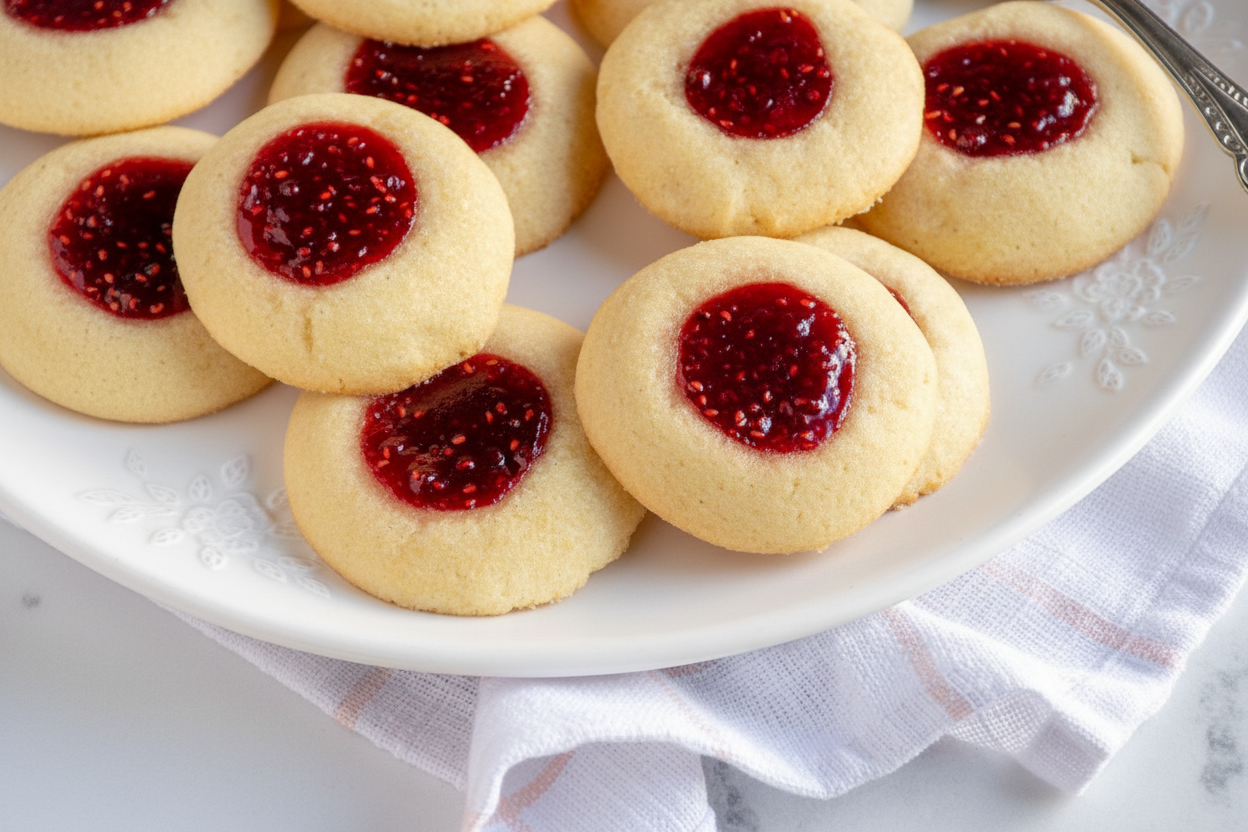
My Favorite Raspberry Thumbprint Cookies
Hello, my dear! Come sit with me. Let’s make my raspberry thumbprint cookies. They are little buttery treasures. My grandkids call them “jam jewels.” I think that’s just perfect. The dough is soft and sweet. The jam gets all warm and sticky. Doesn’t that smell amazing? I’ve been making these for years. They always make people smile.
We’ll start by getting everything ready. That’s called “mise en place.” It just means less fuss later. I still laugh at that fancy term. My own grandma just called it “getting set.” Now, let’s begin our little project. Follow these steps with me.
- Step 1: Mix your flour and salt in a bowl. Just give it a little toss. Set it aside for now. In another bowl, beat the soft butter and most of the sugar. Save a little sugar for later. Beat it until it looks pale and fluffy. This takes a few minutes. It makes the cookies light.
- Step 2: Crack in your egg. Add the vanilla and almond extracts. Mix it all together. That almond smell is my favorite part. It reminds me of my mother’s kitchen. Now, add your flour mixture. Mix it on a slow speed. Do it just until you see no more white flour. (A hard-learned tip: overmixing makes tough cookies!).
- Step 3: Wrap your dough in plastic. Pat it into a ball. It needs a nice long nap in the fridge. At least one hour, please. I often make the dough before bed. It bakes even better the next day. Chilling it stops the cookies from spreading too much. Why do we chill cookie dough? Share below!
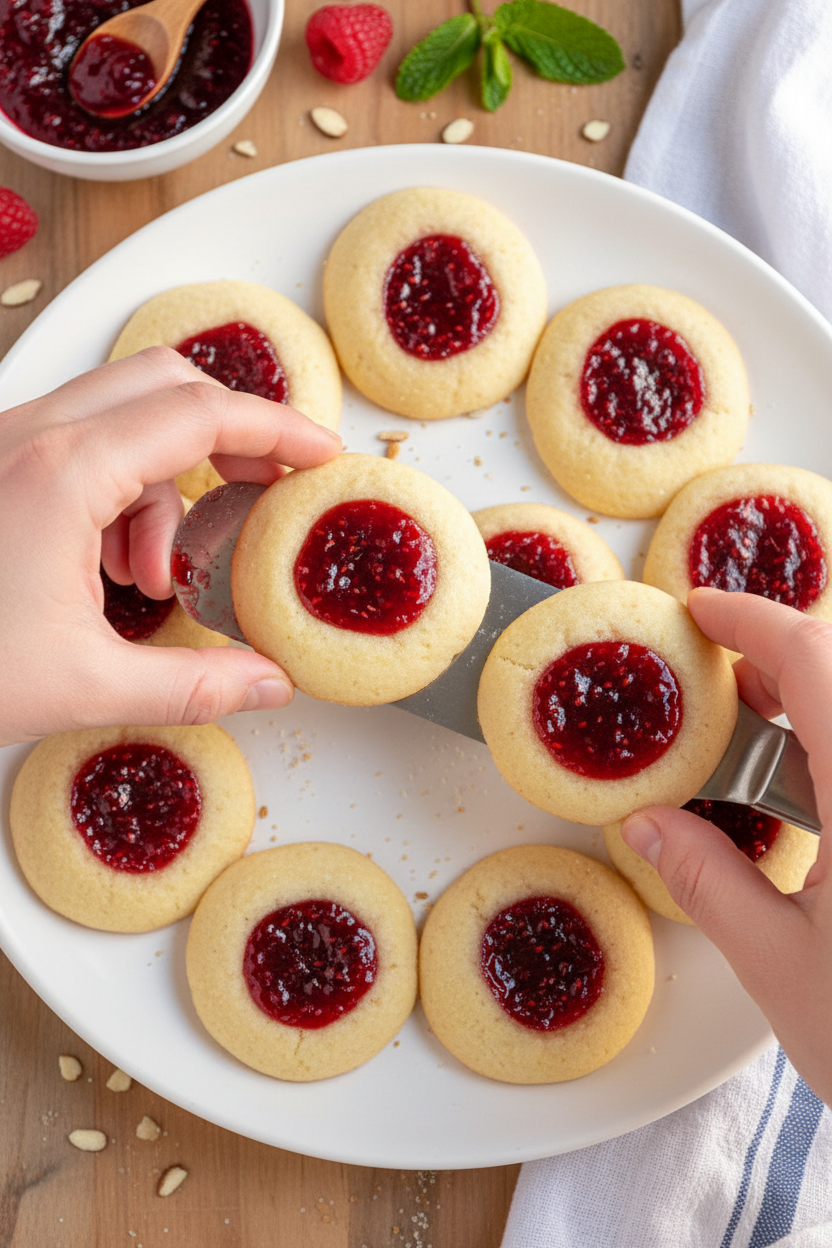
- Step 4: Time to bake! Heat your oven to 350°F. Roll the dough into 24 little balls. Roll each ball in the sugar you saved. This gives them a pretty, sparkly crust. Place them on a baking sheet. Now, make a thumbprint in each one. I use the end of a wooden spoon. It’s just the right size.
- Step 5: Fill each little hole with raspberry jam. Use about half a teaspoon. Pile it up a tiny bit. It will flatten as it bakes. (Don’t overfill, or the jam will run off!). Bake for about 12 minutes. The edges should be just golden. Let them cool on the sheet for a minute. Then move them to a rack.
Cook Time: 12 minutes per batch
Total Time: 1 hour 30 minutes (plus chilling)
Yield: 24 cookies
Category: Dessert, Cookies
Three Fun Twists to Try
Once you master the classic, try a little twist. It’s fun to play with flavors. My grandkids love helping me choose. Here are three of our favorite ideas. They are all so simple.
- Sunshine Lemon: Use lemon curd instead of jam. Add a little lemon zest to the dough. It’s like a bright summer day in a cookie.
- Chocolate Kiss: Fill the thumbprint with chocolate hazelnut spread. After baking, press a chocolate chip in the center. Oh my, it’s so good.
- Berry Mix-Up: Try different jams! Apricot is lovely. Or blackberry. My neighbor’s homemade plum jam is wonderful too.
Which one would you try first? Comment below!
Serving Them Up Right
These cookies are perfect all on their own. But I love making a moment special. For a pretty plate, dust them with powdered sugar. Serve them on my old floral china. It just feels right. They are wonderful with fresh berries on the side. A little bowl of whipped cream is nice for dipping.
For a drink, I have two suggestions. A glass of cold milk is the classic choice. It’s always a winner. For the grown-ups, a little glass of dessert wine is nice. Something sweet and fruity. It sips beautifully with the jam. Which would you choose tonight?
Keeping Your Thumbprint Cookies Happy
These cookies keep well in a sealed container. They stay fresh for about five days. For longer storage, I freeze them.
I place cooled cookies in a single layer on a tray. Once frozen solid, I pop them into a freezer bag. This stops them from sticking together. You can freeze them for up to three months.
I once sent a whole tin to my grandson at college. He said they tasted just-baked after a quick thaw. That made my whole week.
Batch cooking matters because life gets busy. Having a sweet treat ready is a little gift to your future self. Have you ever tried storing it this way? Share below!
Cookie Troubles? Let’s Fix Them
First, if your jam runs everywhere, you used too much. A half-teaspoon is perfect. It should look like a little mound.
Second, if the dough is too sticky, chill it longer. Cold dough is much easier to handle. I remember when my dough was like glue. An extra hour in the fridge fixed it.
Third, if the cookies spread too much, your butter was too soft. Room temperature butter should still hold a shape. This matters for pretty, defined cookies.
Solving small problems builds your kitchen confidence. It also makes your food taste and look better. Which of these problems have you run into before?
Your Quick Questions, Answered
Q: Can I make these gluten-free? A: Yes! Use a good 1-to-1 gluten-free flour blend. The texture will be very similar.
Q: Can I make the dough ahead? A: Absolutely. The dough balls can chill in the fridge for two days.
Q: What jam can I use instead? A: Any jam or preserve works. Apricot or blackberry are lovely choices.
Q: Can I double the recipe? A: You can. Just mix in two separate batches of flour for best results.
Q: Is the almond extract necessary? A: It gives a special flavor. But you can use all vanilla if you prefer. Which tip will you try first?
From My Kitchen to Yours
I hope you love making these little jam-filled gems. They always remind me of my own grandmother’s kitchen. Fun fact: These are called “thumbprints” because you press your thumb in the center!
I would be so delighted to see your creations. Sharing food stories connects us all. Have you tried this recipe? Tag us on Pinterest!
Happy cooking!
—Anna Whitmore.
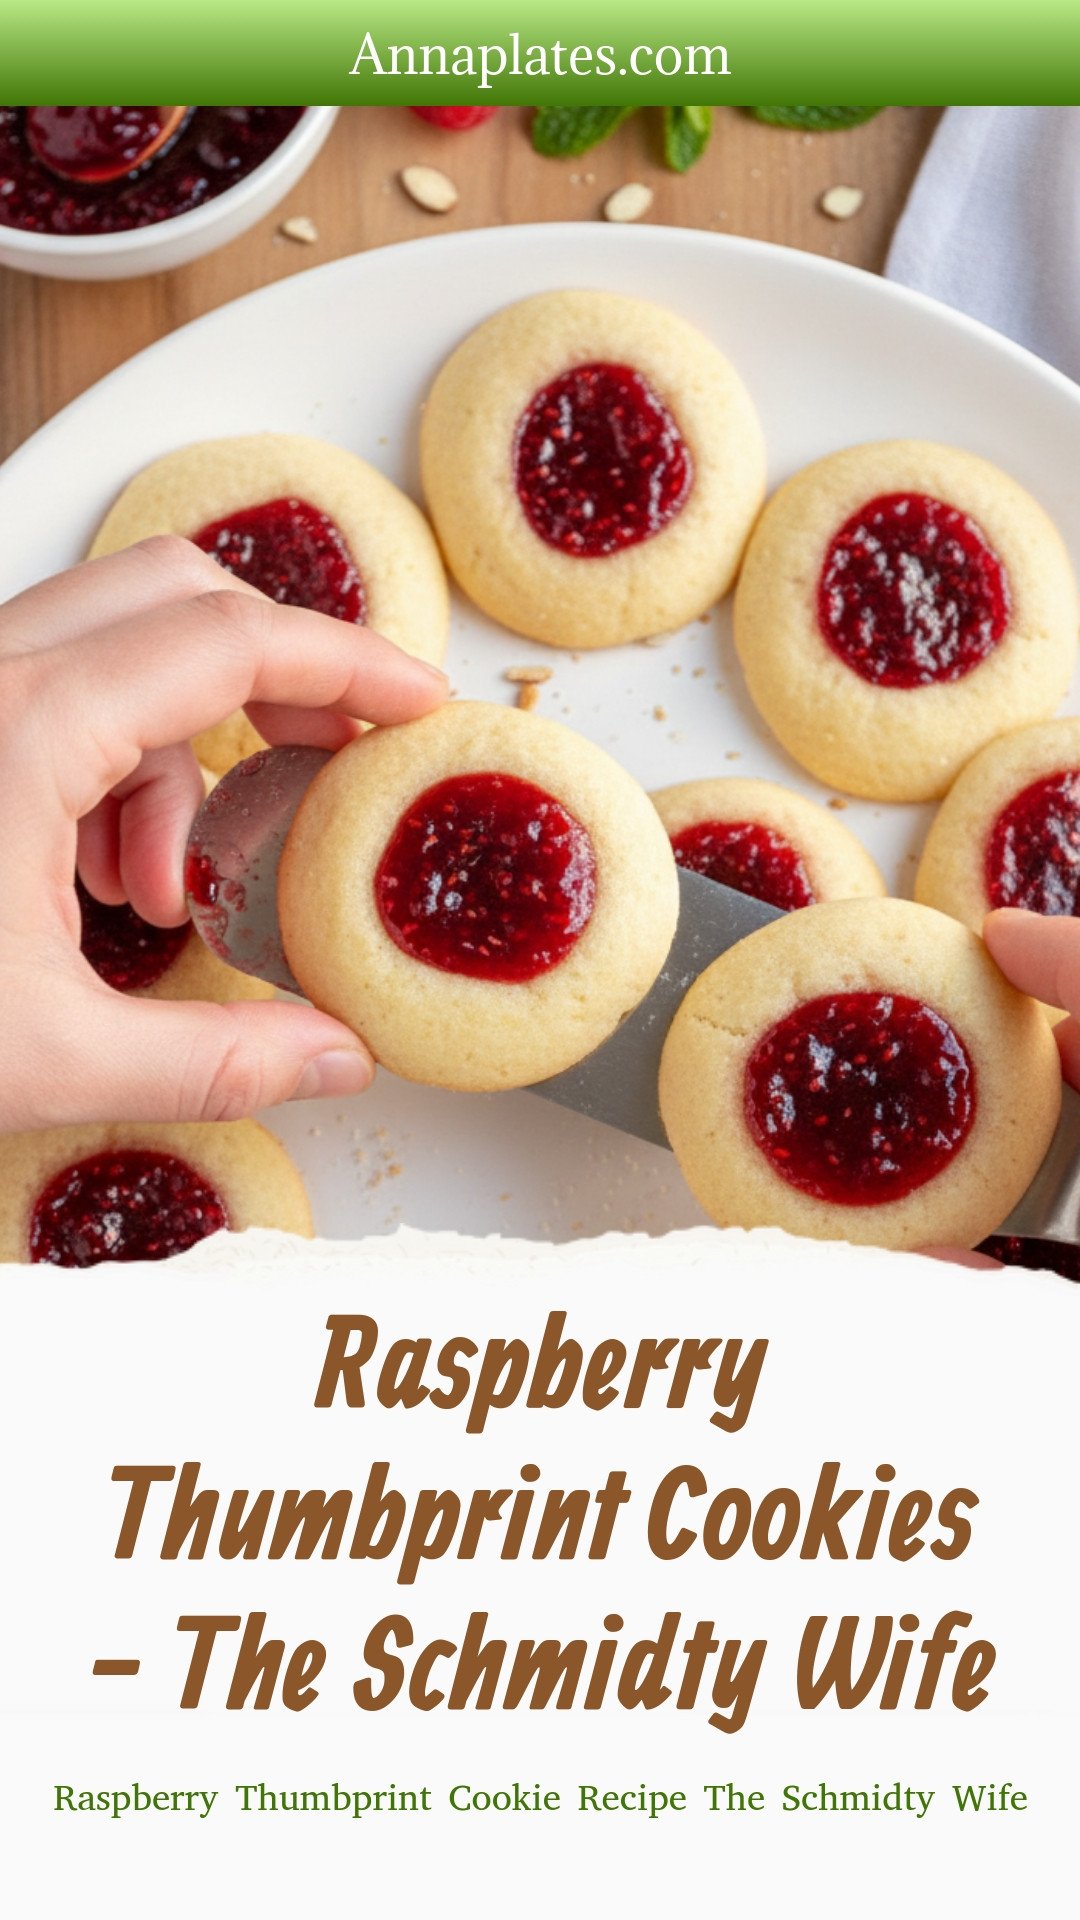
Raspberry Thumbprint Cookies – The Schmidty Wife: Raspberry Thumbprint Cookie Recipe The Schmidty Wife
Description
Easy raspberry thumbprint cookies with a buttery shortbread base and sweet jam filling. Perfect for holidays, gifts, or a simple sweet treat.
Ingredients
Instructions
- In a medium bowl, toss together the flour and salt. Set aside.
- In the bowl of a stand mixer fitted with a whisk attachment or with a hand mixer in a large bowl. Beat the butter and 3/4 cup sugar (reserving the other 1/4 cup for rolling) together on medium speed until light and fluffy, about 3 or 4 minutes. Scrape down the sides of the bowl as needed.
- Mix in the egg, vanilla extract, and almond extract until incorporated.
- With the mixer on low, stir in half of the flour mixture until just combined. Repeat with the remaining flour mixture. Mix until just combined, don’t overmix.
- Roll dough into a large ball and wrap in plastic wrap or place in an airtight container. Transfer to the fridge and chill for at least 1 hour or for best results overnight.
- Preheat the oven to 350° F. Line 2 cookie sheets with parchment paper. Remove the dough from the fridge. (Let the dough rest at room temperature about 10 minutes if it rested in the fridge overnight.)
- Divide the dough into 24 even pieces. Roll the dough into 1″ balls and coat in sugar. Place 1″ apart on the prepared baking sheets.
- Make an indent in each cookie using a 1/2 teaspoon round measuring spoon or you can use your thumb.
- Fill each indent with raspberry jam. Slightly mound the jam so that’s it’s rounded on top because the jam will flatten out as the cookies bake, just don’t put too much or it will run out.
- Bake for 11-12 minutes or until the edges are lightly browned. Transfer to a wire rack to cool.
Notes
- Nutrition Information per cookie: Calories: 95, Total Fat: 8g, Saturated Fat: 5g, Trans Fat: 0g, Unsaturated Fat: 3g, Cholesterol: 28mg, Sodium: 32mg, Carbohydrates: 6g, Fiber: 0g, Sugar: 3g, Protein: 0g.


Leave a Reply