
My Kitchen Helper
My grandson Leo helped me make these last week. He is eight. He was in charge of the Reese’s Pieces. I turned around for one second. A few candies went into the bowl. Many more went into his mouth. I still laugh at that.
Baking with someone is the best part. You share the work. You share the mess. You share the smiles. That matters more than a perfect cookie. What is your favorite kitchen memory? Was it with a grandparent, a parent, or a friend?
Why We Chill the Dough
I know, I know. Waiting is hard. You want cookies now. But trust your grandma. That 30 minutes in the fridge is magic. It lets the flavors get to know each other. It makes the dough firm.
This means your cookies will not spread too flat. They will be soft and thick. This little wait matters. It turns good cookies into great ones. It teaches us patience. Good things come to those who wait.
The Secret is in the Smash
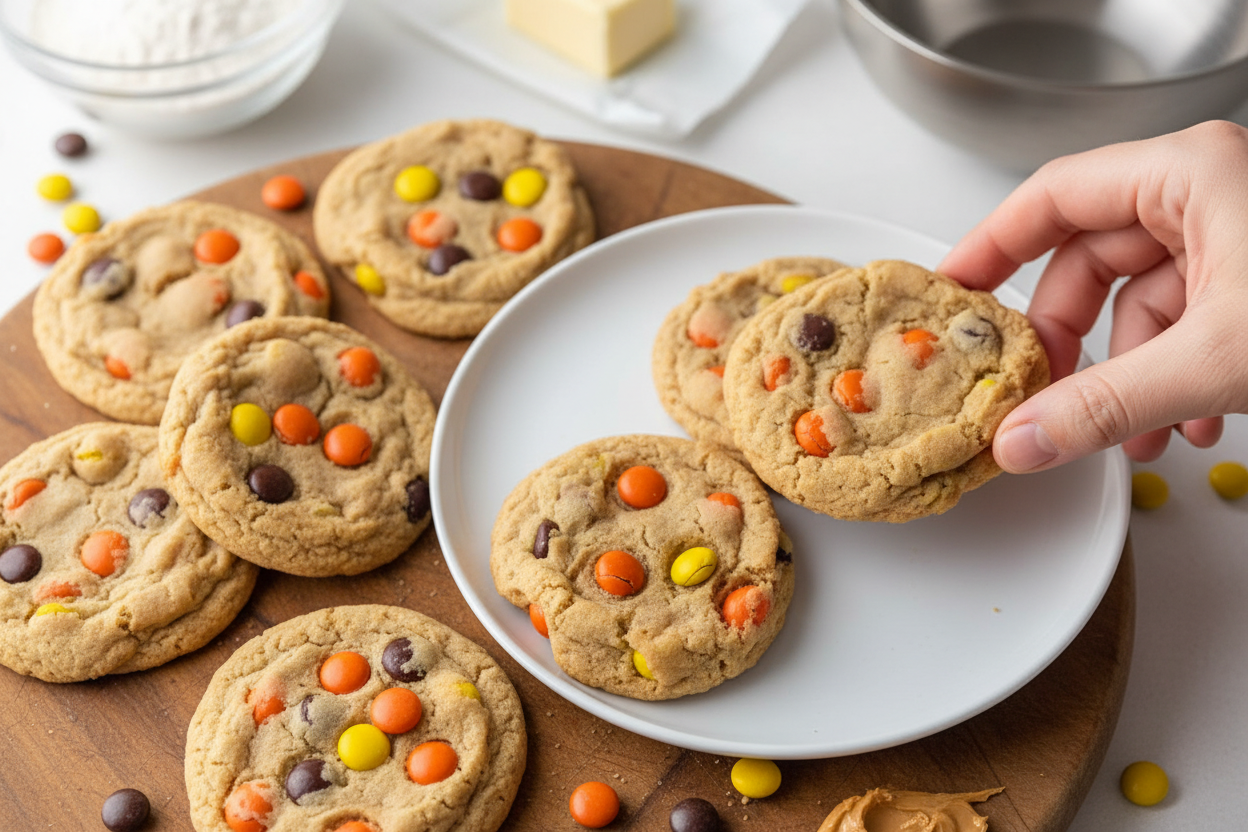
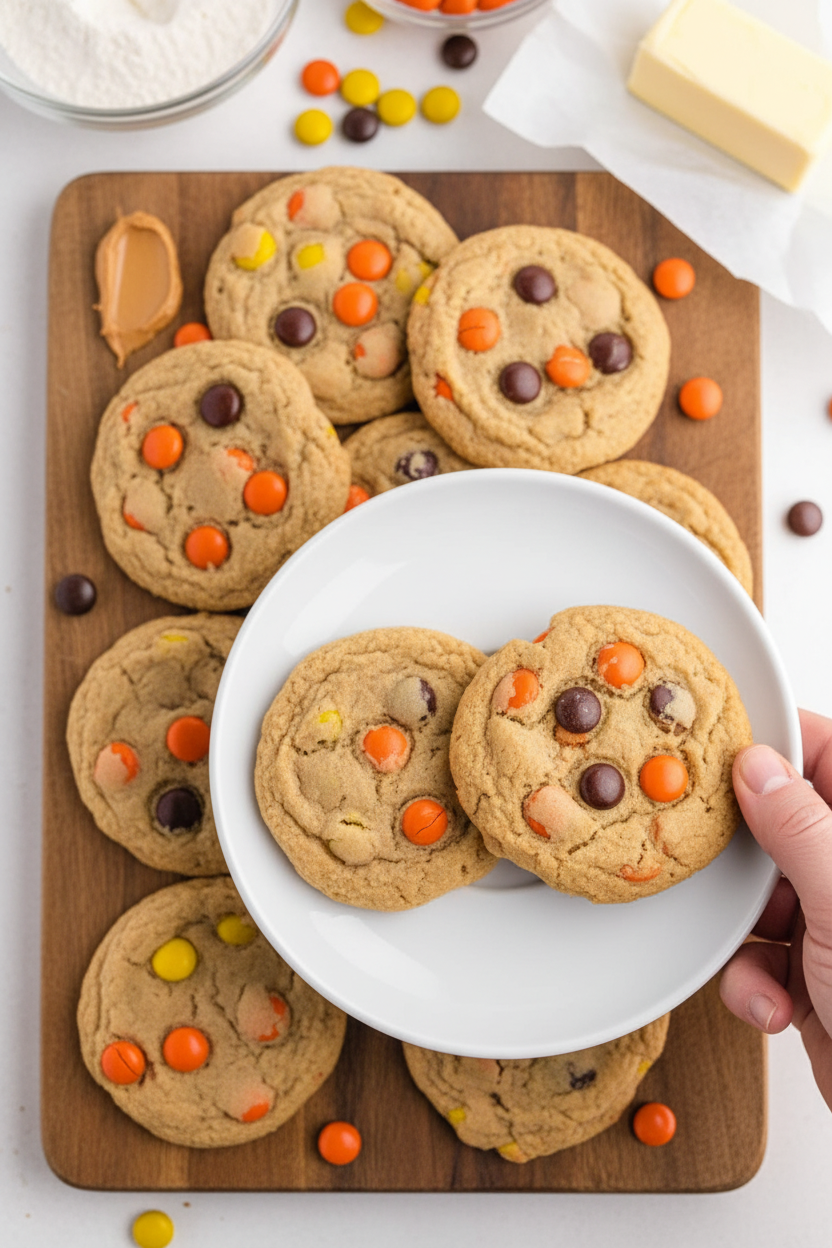
Do not just plop the dough on the sheet. Use the heel of your hand. Give each ball a gentle press. This helps them bake evenly. Then, press a few extra candies on top.
This makes them look pretty and inviting. *Fun fact: The orange and yellow candies on top get a little toasted. It gives a tiny crunch. Doesn’t that smell amazing when they bake? Do you like your cookies chewy or crispy around the edges?
A Sweet Little Story
Peanut butter and chocolate is a classic pair. Like bread and butter. Like salt and pepper. It just works. I think that is why we love it so much. It feels like home.
These cookies are perfect for a lunchbox. Or for a after-school treat. They are full of happy energy. Have you ever tried a new candy in an old recipe? What was it? I would love to hear your ideas.
Let Them Rest
When the timer dings, you must wait again. Just for two minutes. I see you looking at them. They look too soft. That is okay. Let them sit on the hot pan.
They will finish cooking from the leftover heat. They will firm up just right. Then you can move them. If you move them too soon, they might break. This last wait protects all your hard work. It is the final, caring step.

Ingredients:
| Ingredient | Amount | Notes |
|---|---|---|
| Flour | 2 cups | |
| Butter | 2 sticks | softened |
| Peanut Butter | 1 ¼ cups | creamy |
| Light Brown Sugar | ¾ cup | packed |
| Sugar | ¾ cup + 2 tbsp | |
| Baking Powder | 1 tsp | |
| Baking Soda | 1 tsp | |
| Eggs | 2 large | |
| Vanilla Extract | 1 ½ tsp | |
| Reese’s Pieces Candy | 2 cups | plus extra for toppings |
My Favorite Reese’s Cookies: A Sweet Memory in Every Bite
Hello, my dear! Come sit at the counter. Let’s bake something joyful. These cookies always remind me of my grandson, Leo. He would sneak the Reese’s Pieces before we even started. I still laugh at that. The dough is wonderfully simple. It comes together like a happy hug. Doesn’t that smell amazing already? Just wait until they bake. Your kitchen will smell like a candy shop. Let’s begin our little project.
Step 1: First, get your oven ready. Preheat it to 350 degrees. This gives it time to warm up. Line your cookie sheet with parchment paper. This little trick saves so much scrubbing later. (My hard-learned tip: always line the pan. Trust me on this!). Now, sift your flour, baking soda, and baking powder together. This makes the cookies light and fluffy.
Step 2: Let’s cream the butter and peanut butter. Use your mixer for this. It should look smooth and creamy. Then add both sugars. Mix until it’s light and fluffy. This step adds air. That air makes the cookies soft. Add the eggs, one at a time. Then pour in the vanilla. That vanilla smell is pure comfort.
Step 3: Now, slowly add your flour mixture. Mix it just until you see no white streaks. Here comes the fun part! Stir in two cups of Reese’s Pieces. The dough will look so colorful. Now, cover the bowl. Pop it in the fridge for 30 minutes. This chills the butter. It keeps your cookies from spreading too flat. Do you know why we chill cookie dough? Share below!
Step 4: Time to scoop! Use a tablespoon or a small scoop. Drop dough onto your lined sheet. Now, gently press each ball with your hand. Press a few extra candies on top. They look prettier this way. Ready for the oven? Bake them for 10 to 12 minutes. Watch for lightly golden edges. They will look soft in the middle. That’s perfect. Let them rest on the sheet for two minutes. Then move them to a rack. Try not to eat them all at once!
Cook Time: 10-12 minutes per batch
Total Time: About 1 hour
Yield: About 3 dozen cookies
Category: Dessert, Cookies
Three Fun Twists to Try Next Time
Once you master the classic, try a little switch. It keeps baking exciting. Here are three ideas I love.
Chocolate Drizzle: Melt some chocolate chips. Drizzle it over the cooled cookies. It looks fancy but is so easy.
Peanut Butter Cup Surprise: Press a mini peanut butter cup into the center of each dough ball. A gooey, hidden treasure!
Salty-Sweet: Sprinkle a tiny pinch of sea salt on top before baking. It makes the peanut butter flavor sing.
Which one would you try first? Comment below!
Serving Them Up With Style
These cookies are stars on their own. But a little presentation is nice. Stack them on a vintage plate. It feels special. For a party, serve them with a bowl of vanilla ice cream. Make ice cream sandwiches! They are messy and wonderful. A cold glass of milk is the classic pairing. It just works. For the grown-ups, a cup of dark roast coffee is lovely. The bitterness balances the sweet.
Which would you choose tonight? The classic milk or a coffee break? I think I know what Leo would pick.
Keeping Your Cookies Happy
Let’s talk about keeping these cookies tasty. First, let them cool completely. Then store them in a tin at room temperature. They will stay soft for about five days. You can also freeze the baked cookies for three months. Just wrap them tightly in plastic wrap.
I love to freeze the dough, too. Scoop the dough balls onto a tray. Freeze them solid, then pop them into a bag. You can bake a few fresh cookies anytime you want. I once forgot a bag of dough balls for months. They baked up perfectly for a surprise visit from my grandkids.
Batch cooking like this saves time and money. It means a warm treat is always close by. It turns a busy day into a sweet moment. Have you ever tried storing cookie dough this way? Share below!
Cookie Troubles? Easy Fixes Right Here
Sometimes cookies don’t turn out as planned. That’s okay. Here are some simple fixes. If your cookies spread too much, your butter was too soft. Chill your dough a bit longer next time. I remember when my first batch turned into one giant cookie. My kitchen smelled great, but it was a funny mess!
If cookies are too cakey, you might have over-measured the flour. Spoon flour into your cup, then level it off. If they are too crisp, you baked them a minute too long. Getting this right matters. It builds your confidence in the kitchen. It also makes sure every bite is perfectly chewy and delicious.
Fun fact: The chill time for the dough stops spreading. It lets the flavors get to know each other. Which of these problems have you run into before?
Your Quick Cookie Questions, Answered
Q: Can I make these gluten-free? A: Yes! Use your favorite gluten-free flour blend. The results are wonderful.
Q: Can I make the dough ahead? A: Absolutely. Keep it covered in the fridge for up to three days.
Q: What can I use instead of Reese’s Pieces? A: Chocolate chips or chopped peanut butter cups work great.
Q: Can I double the recipe? A: You can. Just mix in a very large bowl.
Q: Any optional tips? A: Sprinkle a little sea salt on top before baking. It makes the flavors pop. Which tip will you try first?
From My Kitchen to Yours
I hope you love baking these cookies as much as I do. The best recipes are the ones we share. They create sweet memories in our own kitchens. I would be so thrilled to see your creations.
Please share your cookie photos with me. Have you tried this recipe? Tag us on Pinterest! You can find me at @AnnasCozyKitchen. I can’t wait to see your smiling faces and your delicious cookies.
Happy cooking! —Anna Whitmore.

Reese’s Cookies: Reeses Cookies Recipe and Baking Guide
Description
Decadent Reese’s Cookies recipe! Perfectly soft peanut butter cookies packed with chocolate chips and Reese’s Pieces. Easy homemade treat for any occasion.
Ingredients
Instructions
- Preheat oven to 350 degrees.
- Line a cookie sheet with parchment paper.
- Sift together the flour, baking soda, and baking powder.
- Cream together the butter and peanut butter.
- Add the sugar and brown sugar and mix until light and fluffy.
- Add eggs 1 at a time and mix until combined.
- Slowly add the flour and mix until well incorporated.
- Stir in 2 cups of the Reese’s Pieces candy. (The ½ cup of the candies are for topping the cookies before baking)
- Cover the cookie dough and refrigerate for 30 minutes.
- Using a small cookie dough scoop or a tablespoon, scoop out dough, and drop onto the covered cookie sheet.
- Using the heel of your hand, gently press down on the cookie dough. Then lightly press a few of the extra candies on top of the cookie dough.
- Bake for 10 to 12 minutes, until the edges are lightly golden brown.
- Allow cookies to rest for 1 to 2 minutes before removing cookies.


Leave a Reply