

My First Yogurt Surprise
Let me tell you about my first crockpot yogurt. I was so nervous. I kept peeking at the pot. That was my mistake. You must leave it alone. It needs a quiet, cozy night to work its magic.
In the morning, I lifted the towel. I held my breath. I saw thick, creamy yogurt. I did a little happy dance right there in my kitchen. I still laugh at that. It felt like a small miracle.
Why We Make It Ourselves
Store yogurt is fine. But homemade is special. You control what goes in. Just milk and a little starter. That’s it. No extra sugar or strange names you can’t pronounce.
This matters. You know exactly what your family is eating. It’s a simple, honest food. Fun fact: The friendly bacteria in your starter eat the milk sugar. This is what makes the yogurt thick and tangy!
The Cozy, Simple Steps
Start with 8 cups of whole milk. Pour it in your crockpot. Set it on low for two and a half hours. Don’t remove the lid. Trust the process.
Then turn it off. Let it sit for three more hours. No peeking. Finally, whisk in half a cup of plain yogurt. Wrap the whole pot in a big bath towel. Tuck it in for the night. Doesn’t that sound easy?
Your Turn to Try
Making yogurt teaches patience. Good things take quiet time. This matters in cooking and in life. The waiting is part of the love.
Will you try this cozy project? What flavor will you add first? I love a spoonful of honey and berries. Tell me what you think you’ll try.
Making It Your Own
In the morning, you’ll have plain yogurt. Now for the fun part. Stir in some vanilla. Or mash a ripe banana into it. A drizzle of maple syrup is wonderful too.
Do you like fruity yogurt or a sweet one? My grandkids vote for chocolate chips stirred in. What was your favorite yogurt topping as a kid? I’d love to hear your ideas.
Ingredients:
| Ingredient | Amount | Notes |
|---|---|---|
| Whole Milk | 8 cups | Pasteurized is ok but not ultra-pasteurized |
| Plain Yogurt | ½ cup | To use as a starter culture |
My Crockpot Yogurt: A Cozy Kitchen Secret
Hello, my dear! Come sit with me. I want to share my yogurt secret. It’s so easy, you’ll laugh. You just need your crockpot and a little patience. I learned this from my friend Margie years ago. I still laugh at that. I thought yogurt was only for fancy shops!
Making it yourself feels like a little miracle. The milk turns thick and tangy all by itself. Doesn’t that smell amazing? It’s perfect on a chilly morning. Let me walk you through it, step-by-step. It’s like a cozy science project for your kitchen.
Step 1: Pour all the milk into your crockpot. Put the lid on tight. Turn it to the low setting. Now, walk away for two and a half hours. Don’t peek under the lid! The heat needs to stay in. (My hard-learned tip: Use regular pasteurized milk, not the “ultra” kind. It cultures better.)
Step 2: After the time is up, turn the crockpot off. Leave it alone for three more hours. No stirring, no peeking! This lets the milk cool just enough. It should feel warm, not hot, to your finger. Can you guess why we let it cool? Share below!
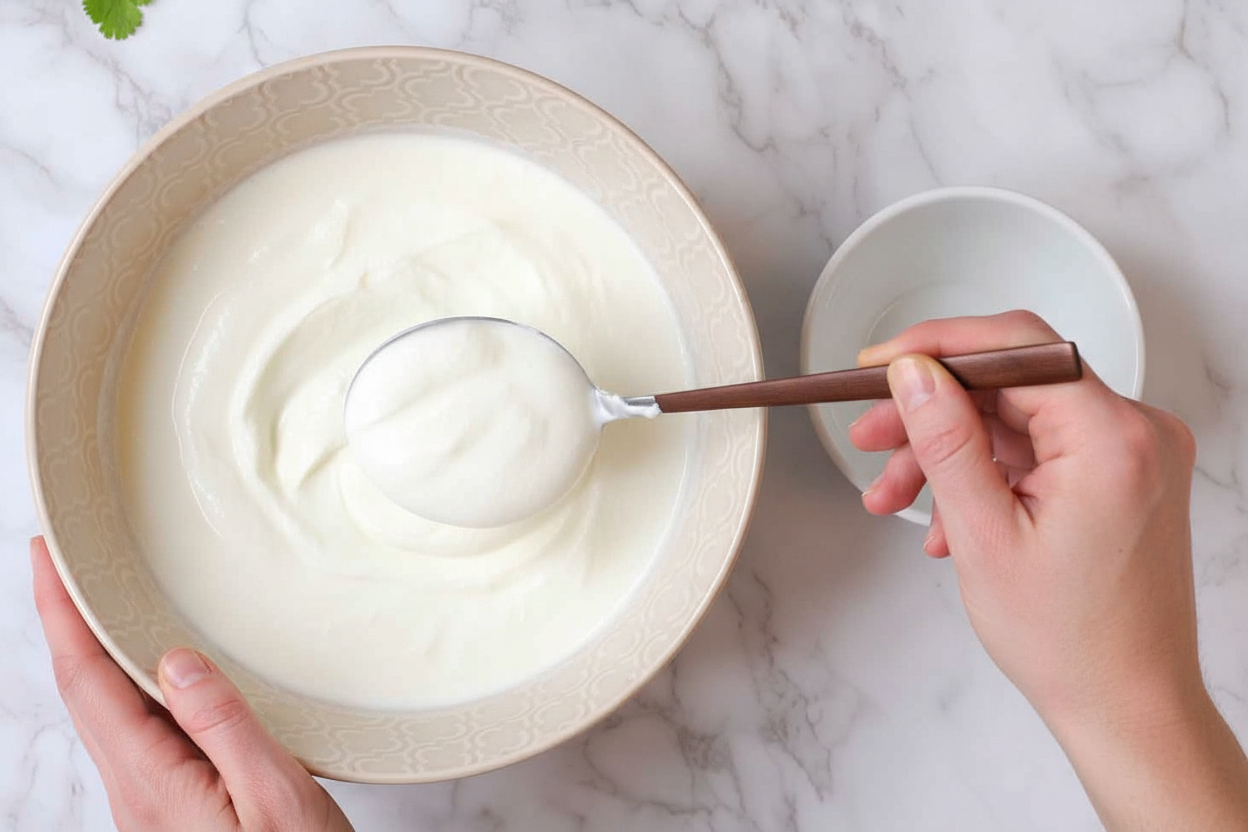
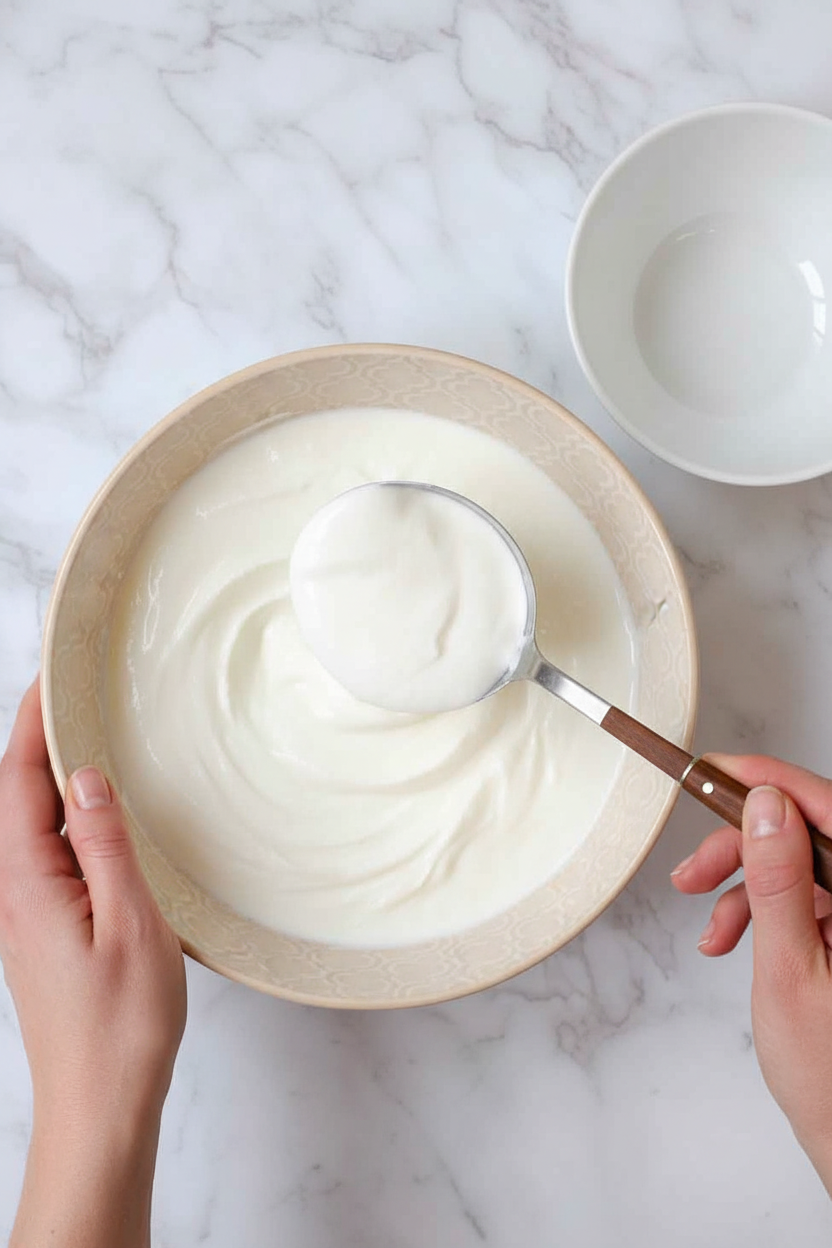
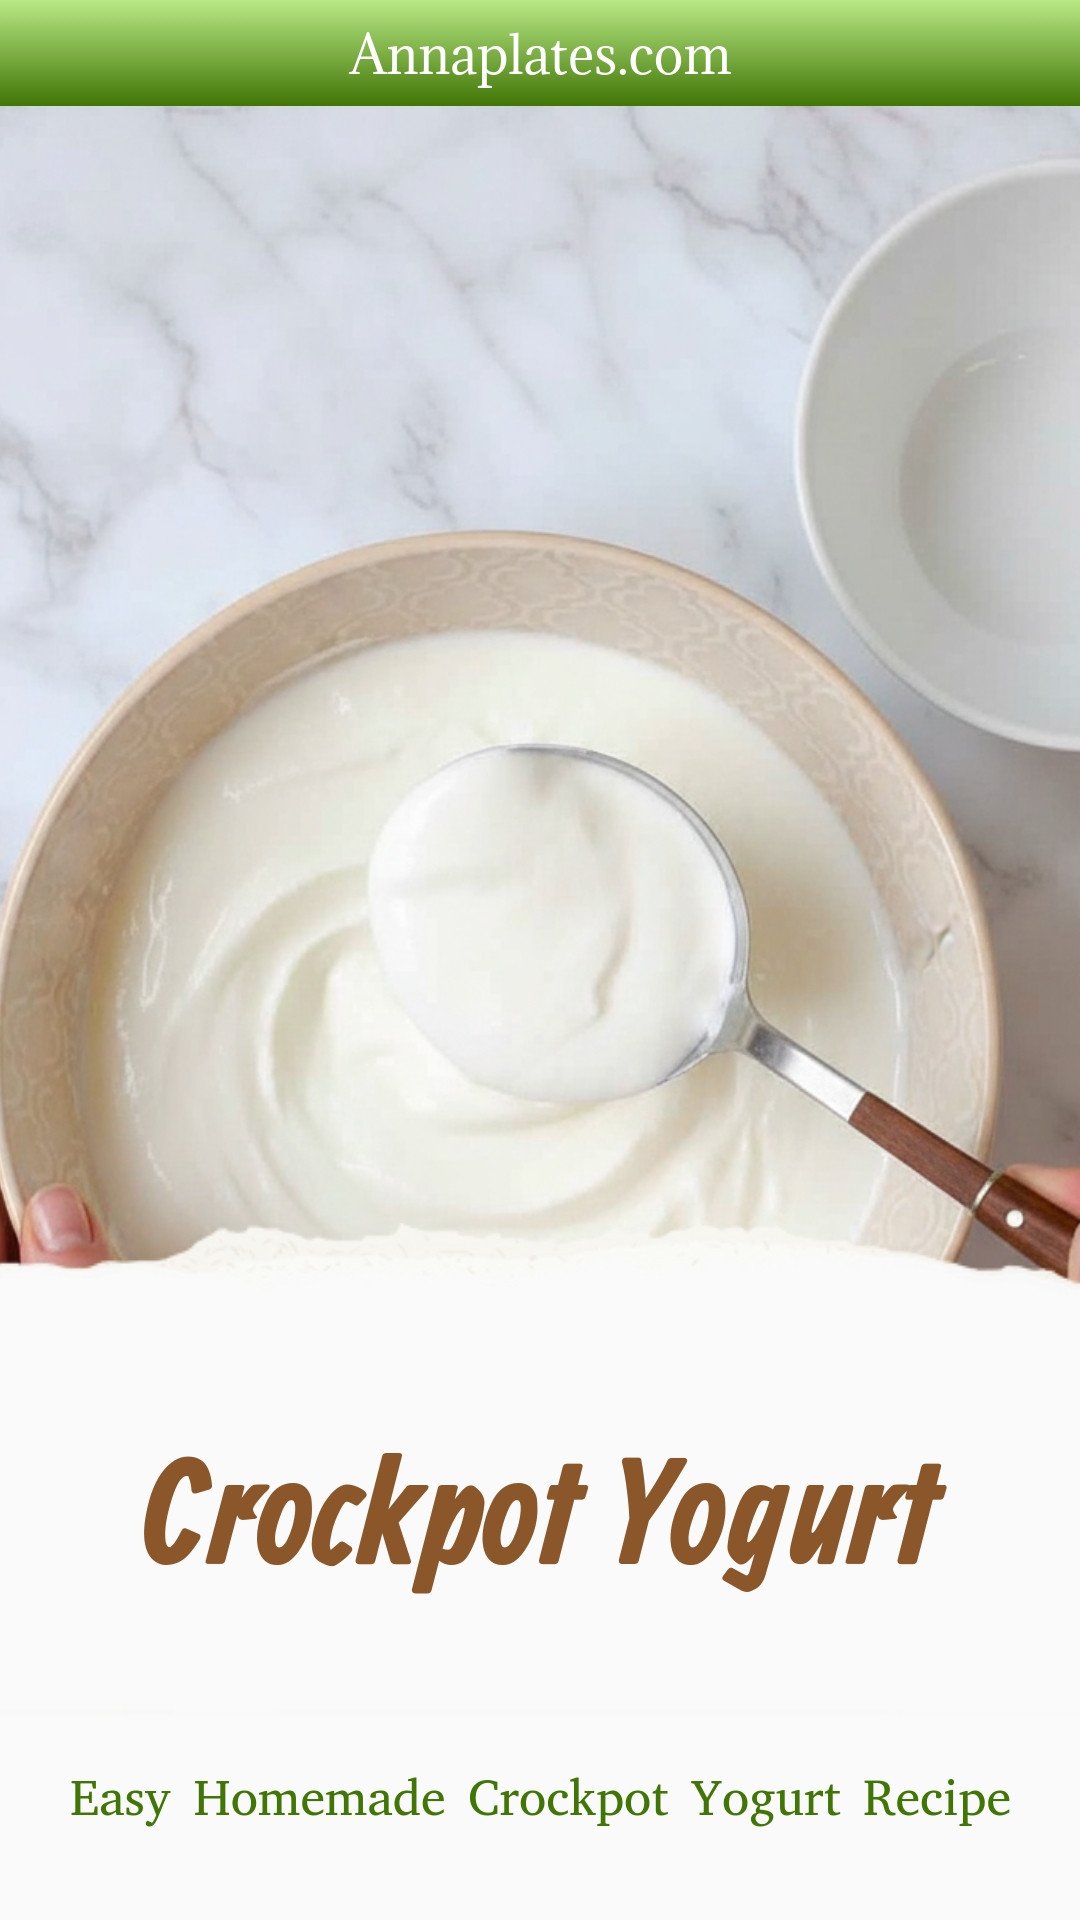
Step 3: Now, take off the lid. Scoop your plain yogurt starter into the warm milk. Whisk it in gently with a wire whisk. Put the lid back on. Then, wrap the whole crockpot in a big, thick bath towel. This keeps the warmth in all night long.
Step 4: Go to sleep! Let your crockpot rest on the counter overnight. In the morning, you’ll have creamy, homemade yogurt. I always feel so proud when I lift that lid. Stir it well and put it in the fridge. It will thicken up even more when it’s cold.
Cook Time: 2.5 hours
Total Time: About 18 hours (mostly hands-off)
Yield: About 8 cups (16 servings)
Category: Breakfast, Snacks
Three Fun Twists for Your Yogurt
Plain yogurt is wonderful. But sometimes, you want a little fun. Try one of these easy twists right before you eat it. They make each bowl a special treat. My grandkids love the honey-cinnamon one best.
Honey & Cinnamon Swirl: Drizzle local honey and a sprinkle of cinnamon. It’s like sunshine in a bowl.
Berry Bliss: Mash a handful of fresh berries with a fork. Stir them right into your yogurt. So fresh and pretty!
Vanilla Bean Dream: Stir in a tiny drop of real vanilla extract. It makes everything taste like a bakery. Which one would you try first? Comment below!
Serving Your Homemade Creation
This yogurt is so versatile. For breakfast, I layer it with granola and fruit in a glass. It looks so fancy! You can also use it in place of sour cream. Try a dollop on a warm baked potato. So good.
What to drink with it? A cold glass of orange juice is perfect. It cuts through the creaminess. For a special evening treat, a small glass of sweet Moscato wine pairs nicely. The flavors dance together. Which would you choose tonight?
Keeping Your Yogurt Happy and Ready
Your homemade yogurt needs a cozy home. Store it in clean jars in the fridge. It will stay good for about two weeks. You can also freeze it for a smoother treat later.
I love making a big batch on Sunday. It gives me breakfast for the whole week. My first time, I used an old margarine tub. The yogurt tasted like onions! Now I use glass.
This matters because good food should not go to waste. Batch cooking saves you time and money on busy mornings. It feels great to open your fridge and see a ready meal.
Have you ever tried storing it this way? Share below!
Simple Fixes for Common Yogurt Troubles
Sometimes yogurt does not turn out right. Do not worry. Here are easy fixes. First, if your yogurt is thin, it needed more time wrapped up. Just let it sit longer next time.
Second, if it is not tangy enough, your starter was weak. Always use very fresh store-bought yogurt. I once used a starter that was two weeks old. My new yogurt was very mild.
Third, if you see whey (liquid) on top, just stir it back in. This is normal. Getting the texture right builds your kitchen confidence. A good tangy flavor makes your fruit and granola taste better.
Which of these problems have you run into before?
Your Yogurt Questions, Answered
Q: Is this recipe gluten-free?
A: Yes, milk and yogurt are naturally gluten-free. Just check your starter yogurt’s label.
Q: Can I make it ahead?
A: Absolutely! That is the best part. Make it the night before you need it.
Q: What milk can I use?
A: Whole milk works best. Fun fact: The good bacteria eat the milk sugar to make yogurt. Do not use ultra-pasteurized milk.
Q: Can I double the recipe?
A: Yes, if your crockpot is big enough. The times stay the same.
Q: Any optional tips?
A: Add a spoon of honey or vanilla after it is done. This makes it extra special.
Which tip will you try first?
From My Kitchen to Yours
I hope you love making your own yogurt. It is a small kitchen miracle. Seeing milk turn into something new is pure magic. I would love to see your creations.
Share a picture of your yogurt bowl. Tell me how you enjoyed it. Your stories make my day so much brighter.
Have you tried this recipe? Tag us on Pinterest!
Happy cooking!
—Anna Whitmore.
Crockpot Yogurt: Easy Homemade Crockpot Yogurt Recipe
Description
Creamy, homemade yogurt made easy in your slow cooker! A simple, healthy recipe for perfect probiotic-rich yogurt every time.
Ingredients
Instructions
- Put the milk in your crock pot and set on low. Allow to cook on low for 2.5 hours. Don’t remove the lid during cooking.
- After 2.5 hours, turn the crock pot off and allow to sit for 3 hours (don’t open it or stir the milk, just leave it alone for 3 hours).
- After the three hours has passed, remove the lid and stir in the yogurt with a wire whisk. Replace the lid and wrap the crock pot in a heavy bath towel.
- Allow to sit overnight. In the morning you will have yogurt.
Notes
- Nutrition Facts (per serving, recipe serves 16): Calories: 78kcal, Carbohydrates: 6g, Protein: 4g, Fat: 4g, Saturated Fat: 2g, Polyunsaturated Fat: 0.1g, Monounsaturated Fat: 1g, Cholesterol: 16mg, Sodium: 50mg, Potassium: 195mg, Sugar: 6g, Vitamin A: 205IU, Vitamin C: 0.04mg, Calcium: 159mg, Iron: 0.004mg


Leave a Reply