
My Kitchen Helper
My grandson, Jamie, loves to help me bake. One day, we made these cookies. He was so excited to push the chocolate kisses in. He pushed them so hard! The cookies looked a little squished. I still laugh at that. The cookies were still delicious.
Baking together makes a sweet memory. That matters more than a perfect cookie. Do you have a favorite kitchen memory with someone?
Getting Ready to Bake
First, get your kisses ready. Unwrap them all now. Trust me, you don’t want to do it with sticky hands later. *Fun fact: The Hershey’s Kiss got its name from the sound the machine makes when it drops the chocolate!*
Preheat your oven to 375 degrees. Let your Fleischmann’s Spread sit out. It needs to get soft. This helps everything mix together smoothly. It makes a big difference.
The Heart of the Cookie
We use Soy Nut Butter here. It is safe for friends with nut allergies. It still gives that cozy, rich taste. Cream it with the sugars and spread. Doesn’t that smell amazing already?
Then mix in the egg, milk, and vanilla. In another bowl, stir your flour, baking soda, and salt. This matters because mixing the dry stuff first makes your cookies rise evenly. No surprise lumps!
Shaping and Baking
Now, roll the dough into little balls. Roll them in sugar if you like. It gives a pretty, sparkly crust. Place them on your cookie sheet with space to grow.
Bake for about 8 minutes. They should look golden. I like to take them out just a tiny bit early. A soft cookie is a happy cookie. What do you prefer, soft or crispy cookies?
The Magic Touch
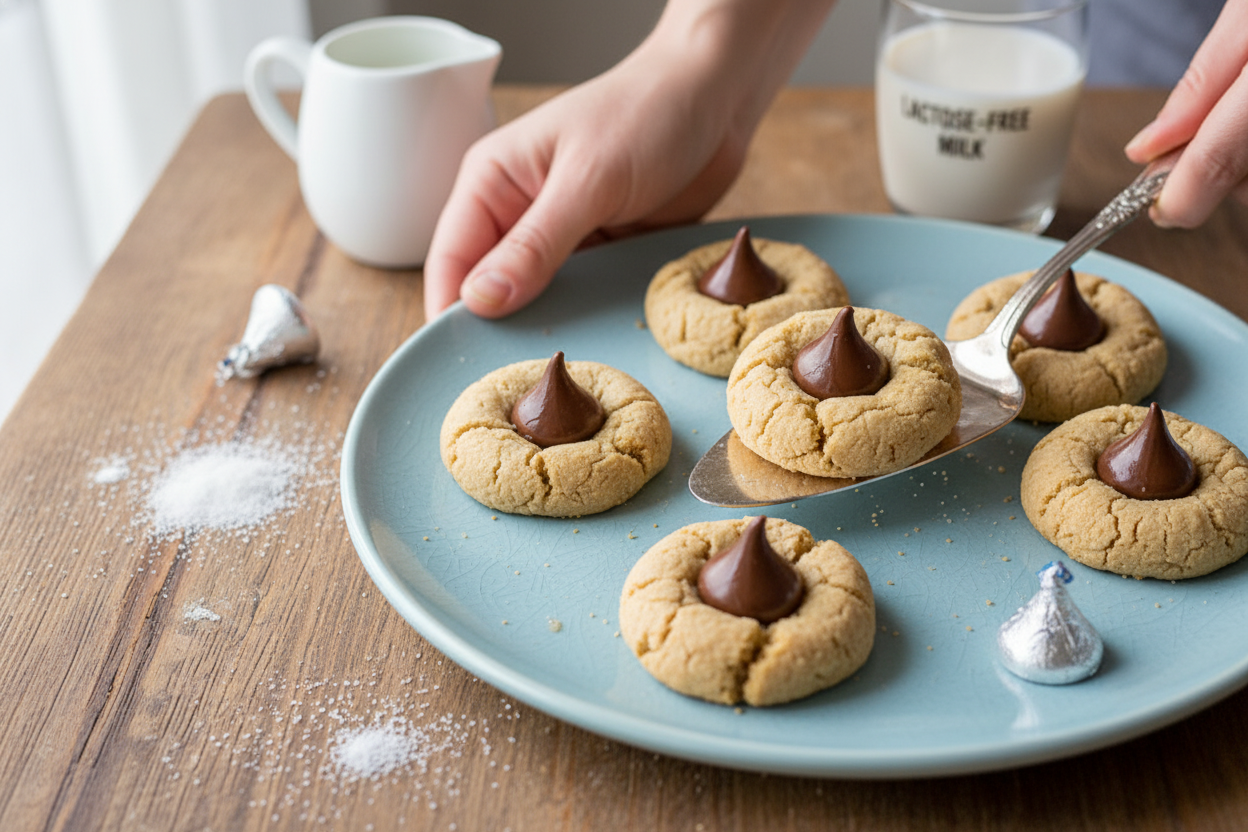
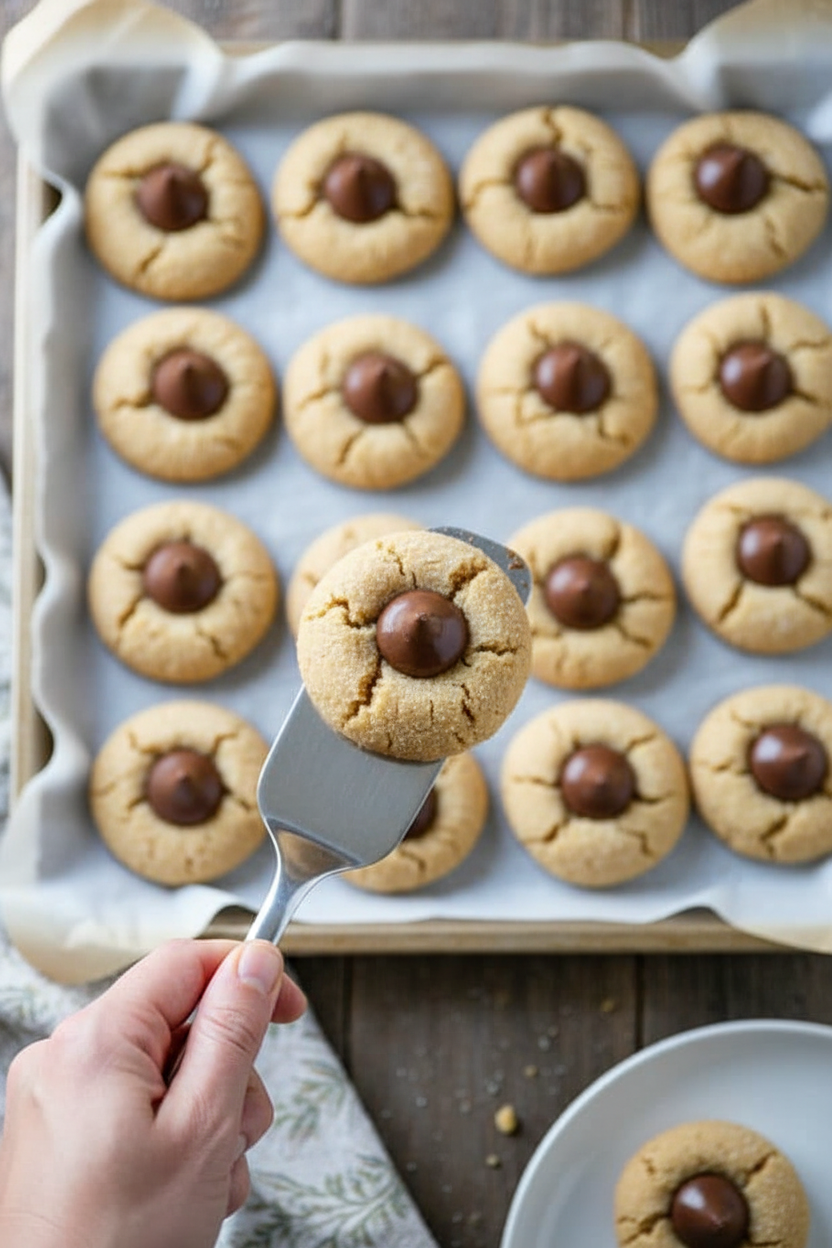
This is the fun part. Take the hot tray from the oven. Quickly press a kiss into each cookie’s center. Do not wait! The heat melts the kiss bottom just right. This makes it stick.
Let them cool completely on a rack. I know, waiting is hard. But it matters. A cooled cookie holds together. Then you get that perfect bite of cookie and chocolate. What’s your favorite part of baking? Is it mixing, shaping, or, like me, the eating?

Ingredients:
| Ingredient | Amount | Notes |
|---|---|---|
| Hershey’s Kisses | 45-50 pieces | Unwrapped (always double check packaging for allergen warnings) |
| All-purpose flour | 1½ cups | |
| Baking soda | 1 tsp. | |
| Salt | ½ tsp. | |
| Fleischmann’s Spread (softened) | ½ cup (1 stick) | Lactose Free |
| Creamy Soy Nut Butter or Wowbutter | ¾ cup | |
| Granulated sugar | ⅓ cup | |
| Light brown sugar | ⅓ cup | Packed |
| Egg | 1 | |
| Lactaid Whole Milk or store brand Lactose Free Milk | 2 tbsp. | |
| Vanilla extract | 1 tsp. | |
| Additional granulated sugar | For rolling | Optional |
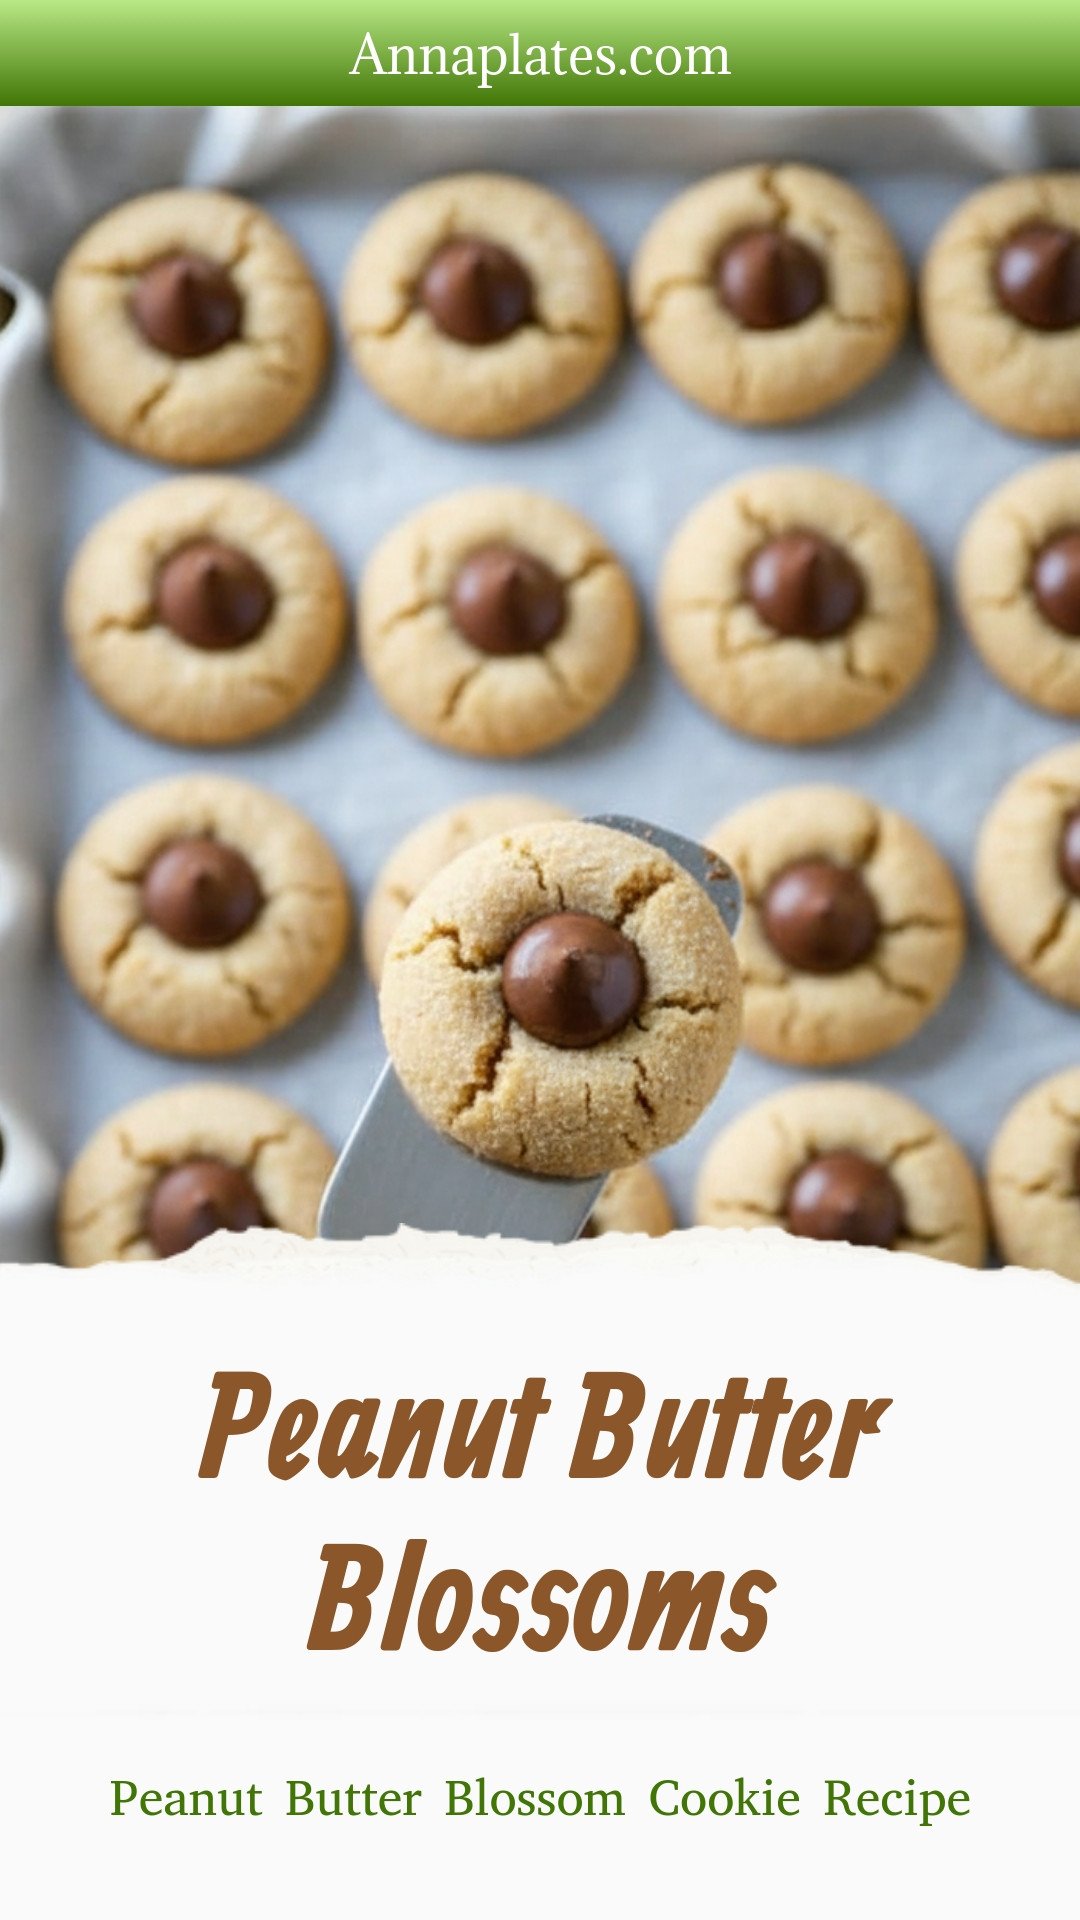
My Favorite Peanut Butter Blossom Cookies
Hello, dear! Pull up a chair. Let’s make my favorite cookies. They are called Peanut Butter Blossoms. My grandkids call them “the hug cookies.” A peanut butter cookie hugs a chocolate kiss. Doesn’t that sound lovely? We use a special butter and nut butter here. This makes them safe for friends with allergies. The kitchen will smell amazing. I promise.
First, get everything ready. Unwrap all those chocolate kisses now. Trust me, you don’t want to do it later. Your hands will be full of dough! I still laugh at that. I learned the hard way one busy Christmas. Now, let’s begin.
Step 1:
Turn your oven on to 375 degrees. Let it get nice and hot. Grab a big bowl. Put the soft butter spread, soy nut butter, and both sugars in it. Mix them until they are fluffy and light. It looks like sweet, creamy sand.
Step 2:
Crack in the egg. Add the milk and vanilla. Mix it all together again. This makes everything smooth. It will smell so good already. My mouth waters every time.
Step 3:
In another bowl, mix the flour, baking soda, and salt. Stir it with a fork. We want no little lumps. (A hard-learned tip: always mix your dry stuff separately. It stops you from getting a mouthful of just baking soda. Yuck!)
Step 4:
Now, pour the dry mix into the wet mix. Stir it gently. It will become a soft dough. Don’t over-mix it. Just until you see no more white flour. Ready to roll?
Step 5:
Roll the dough into little balls. Make them about one inch big. Like a big marble. Roll each ball in some extra sugar. This gives them a pretty, sparkly coat. It’s my favorite part. Do you like your cookies sparkly or plain? Share below!
Step 6:
Place the balls on a cookie sheet. Give them space to grow. They need about an inch and a half apart. They get shy and like their own space. Just like people sometimes.
Step 7:
Bake them for about 8 minutes. Watch them turn a lovely golden color. They might look a little soft. That is perfect. They keep cooking on the sheet. I always say, better under than over!
Step 8:
Here is the fun part. Take the tray out. Quickly press a chocolate kiss into each cookie. Do not wait! The heat makes the kiss melt just right. If you wait, the cookie top cracks. But cracked cookies still taste wonderful.
Step 9:
Let them cool on a rack. This is the hardest part. You must wait. If you eat one now, it will crumble. The chocolate will be too hot. Patience makes a perfect cookie. I know, it’s tough!
Cook Time: 8–10 minutes per batch
Total Time: About 30 minutes
Yield: About 4 dozen cookies
Category: Dessert, Cookies
Three Fun Twists to Try
You can change these up, you know. It’s fun to play in the kitchen. Here are three ideas my family loves. Try one next time!
Holiday Sparkle:
Roll the dough balls in red or green sugar. It makes them so festive for Christmas.
Double Chocolate:
Use a dark chocolate kiss instead. It is richer. My husband adores this version.
Peanut Butter Cup Surprise:
Hide a mini peanut butter cup inside the dough ball. A gooey, happy surprise in every bite!
Which one would you try first? Comment below!
Serving Them Up Right
These cookies are stars on their own. But I love to make them special. Serve them on a big platter. Let everyone grab their own. For a treat, put one on a small plate with a scoop of vanilla ice cream. The warm cookie and cold cream is magic.
What to drink? A cold glass of milk is the classic choice. It always will be. For the grown-ups, a little glass of cream sherry is nice. It tastes like raisins and nuts. It goes so well with the peanut butter. Which would you choose tonight?
Keeping Your Blossoms Fresh
These cookies are best fresh. But they keep well for three days. Just store them in a sealed container. I keep mine on the counter in a tin.
You can freeze the dough balls for later. Roll them in sugar first. Then place them on a tray to freeze solid. Once frozen, pop them into a bag. This way, you can bake just a few at a time.
I once baked a whole batch for my grandson. He ate only two! Freezing the rest saved the day. I baked them fresh for his next visit. Batch cooking matters because life is busy. Having cookie dough ready is a little gift to your future self.
Have you ever tried storing cookie dough in the freezer? Share below!
Cookie Troubles and Easy Fixes
First, cookies spreading too much? Your butter might be too soft. Chill your dough for 30 minutes before baking. This helps the cookies keep their perfect shape.
Second, the kisses sliding off? You must press them in fast. I remember waiting too long once. The kisses just sat on top and fell right off. Press them the second the cookies come out of the oven.
Third, cookies too dry or crumbly? You might have over-measured the flour. Spoon the flour into your measuring cup. Then level it off with a knife. This small step makes a big difference in texture.
Getting these details right builds your confidence. It also makes your treats taste just right. Which of these problems have you run into before?
Your Quick Questions, Answered
Q: Can I make these gluten-free? A: Yes! Use your favorite gluten-free flour blend. The one-for-one kind works perfectly here.
Q: Can I make the dough ahead? A: Absolutely. Cover and chill it for up to two days. Let it soften a bit before rolling.
Q: What if I don’t have soy nut butter? A: Any smooth, safe nut or seed butter will work. Just make sure it’s the creamy kind.
Q: Can I double the recipe? A: You can! It’s a great idea for big gatherings. Just mix in a bigger bowl.
Q: Is the extra sugar rolling necessary? A: It’s optional but nice. It gives the cookies a pretty, sparkly look and a slight crunch. Fun fact: The sugar helps keep the dough from sticking to your hands! Which tip will you try first?
From My Kitchen to Yours
I hope you love baking these as much as I do. There’s nothing like a warm cookie. It fills the whole house with a happy smell.
I would love to see your beautiful creations. Sharing food is how we share joy. Have you tried this recipe? Tag us on Pinterest! You can find me at @AnnasCozyKitchen. I always look at every single photo.
Thank you for baking with me today. Happy cooking!
—Anna Whitmore.
Peanut Butter Blossoms: Peanut Butter Blossom Cookie Recipe
Description
Classic peanut butter cookies crowned with a chocolate kiss. Easy, festive, and the perfect holiday treat everyone loves.
Ingredients
Instructions
- Pre-heat your oven to 375° degrees.
- Combine your butter spread, soy nut butter, sugar and brown sugar. Mix together with a hand mixer or immersion blender.
- Stir in the vanilla and egg and use your mixer to cream everything together.
- In a separate large bowl combine your salt, baking powder and flour and stir until combined well.
- Mix your dry and wet ingredients and stir well.
- Roll cookies into one inch sized balls. Roll each ball into the extra sugar.
- Place cookies about 1½ inches away from each other on a cookie sheet lined with parchment paper or a silicone mat.
- Bake cookies for about 8 minutes until they look done and nice and golden. It’s ok to undercook them just a bit. It’s better to have undercooked rather than overcooked cookies in my opinion.
- Remove cookies from oven and push 1 chocolate kiss into the top of each cookie as quickly as you can. The longer you wait the more they will crack.
- Move your cookies to a cooling rack and allow to cool completely. If you try to eat them before they are cooled they will fall apart on you. Once they are cooled they stay together nicely.


Leave a Reply