
My First Calzone Catastrophe
Let me tell you about my first try. I was so excited. I piled the filling sky-high.
When I folded it, the dough ripped wide open. Cheese and ham bubbled out in the oven. I still laugh at that messy pan. It taught me a gentle hand matters most.
Why We Fold It Over
A calzone is like a pizza hug. You fold the dough over the filling. It seals all the good stuff inside.
This keeps the cheese melty and the ham warm. It makes a neat little package. Fun fact: The word “calzone” means “trouser leg” in Italian! I think it’s more like a tasty pocket.
Let’s Build Your Pocket
Unroll your dough on the counter. Gently stretch it into a rectangle. Don’t worry about perfect shapes. Mine are always a bit lopsided.
Layer cheese, then ham, then more cheese on one half. Leave a little edge. Fold the empty side over. Pinch the edges tight like sealing an envelope. This is the most important step.
The Magic in the Oven
Slide your calzone onto a greased sheet. Into the hot oven it goes. Soon, you’ll smell that baking bread smell. Doesn’t that smell amazing?
Watch it turn a beautiful golden brown. That color means it’s ready. Let it cool for five minutes. This keeps the steam inside from burning your tongue. What’s your favorite kitchen smell? Mine is baking dough.
Making It Your Own
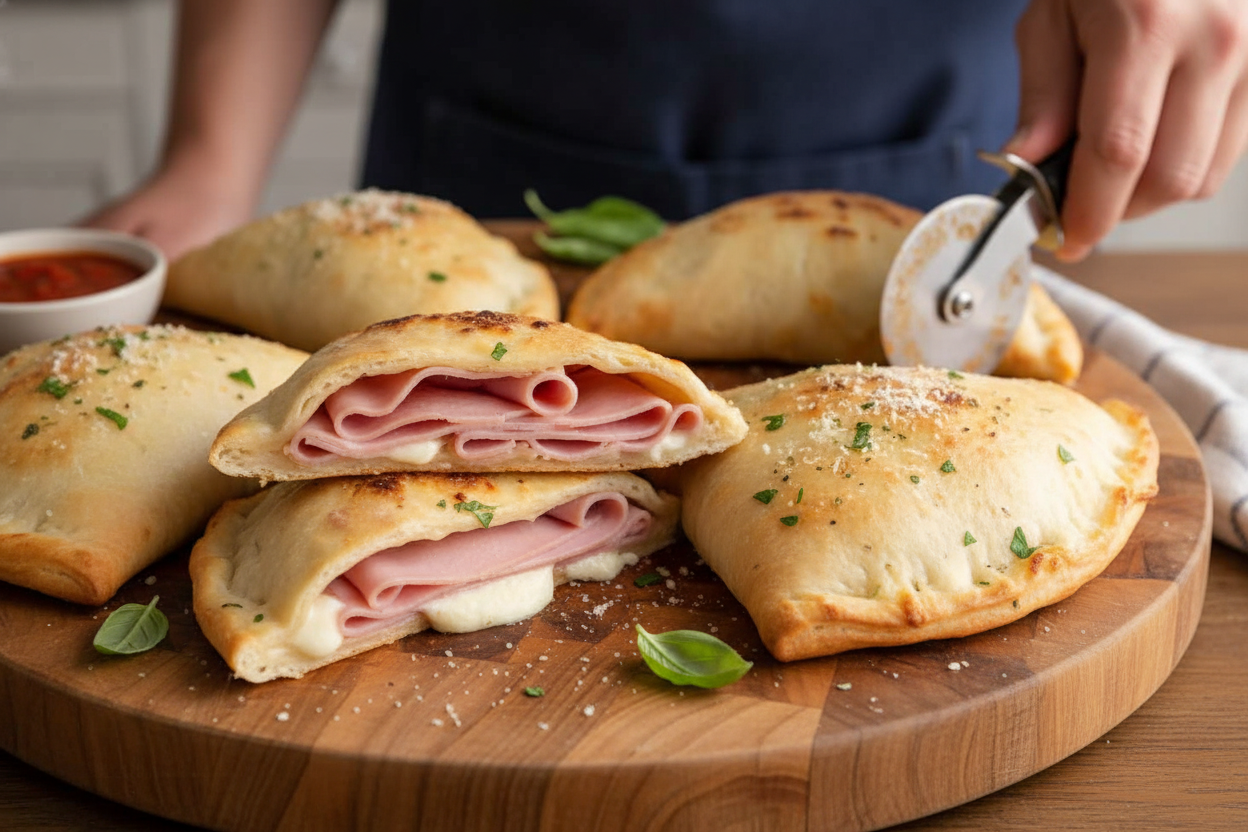
Now for the fun part. Sprinkle with Parmesan and herbs. I like a little basil. Slice it up and dip in warm sauce.
This recipe matters because it’s yours to change. Add peppers or pepperoni. The folding method works for any filling. What would you put inside your dream calzone? Tell me your ideas.
The Joy of Sharing
Food tastes better shared. I learned that from my grandma. These calzones are perfect for cutting and passing around.
That’s the second reason this matters. It creates a moment together. Everyone gets their own piece. It’s simple, warm, and filling. Do you prefer eating in the kitchen or at the table? I’m a kitchen eater myself.

Ingredients:
| Ingredient | Amount | Notes |
|---|---|---|
| Refrigerated pizza dough | 8 ounces (1 can) | Use a larger can for more calzones |
| Deli ham | 8 slices | Add more slices if desired |
| Mozzarella cheese | 8 slices | Add more slices if desired |
| Parmesan cheese | To taste | Optional |
| Dried Basil or Oregano | To taste | Optional |
| Spaghetti sauce | For serving | Optional, heat before serving |
My Easy Ham & Cheese Calzones
Hello, dear! Let’s make a cozy lunch. These calzones are like warm, toasty pockets. My grandkids call them “pizza pillows.” I still laugh at that. We’ll use simple dough from a can. It’s a wonderful shortcut. Doesn’t that smell amazing when it bakes? Let’s begin.
Step 1:
First, preheat your oven to 400 degrees. Grease a baking sheet lightly. Now, unroll your pizza dough onto a clean counter. Gently stretch and pat it. You want a nice rectangle shape. Don’t worry about perfection. My first one looked like a map of Italy! (Hard-learned tip: If the dough springs back, let it rest for 5 minutes. It will behave.)
Step 2:
Lay cheese slices on only HALF of the dough. Leave a small border around the edges. Then, layer your ham on top. Finish with more cheese on the ham. This keeps everything melty and happy. I always add one extra slice. It’s my secret.
Step 3:
Carefully fold the empty dough half over the filling. It’s like closing a book. Now, pinch the edges together very firmly. You want a good seal. This keeps the cheese inside while it bakes. I use my fingertips to make a little crimped edge. Sweet or savory: what’s your favorite filling? Share below!
Step 4:
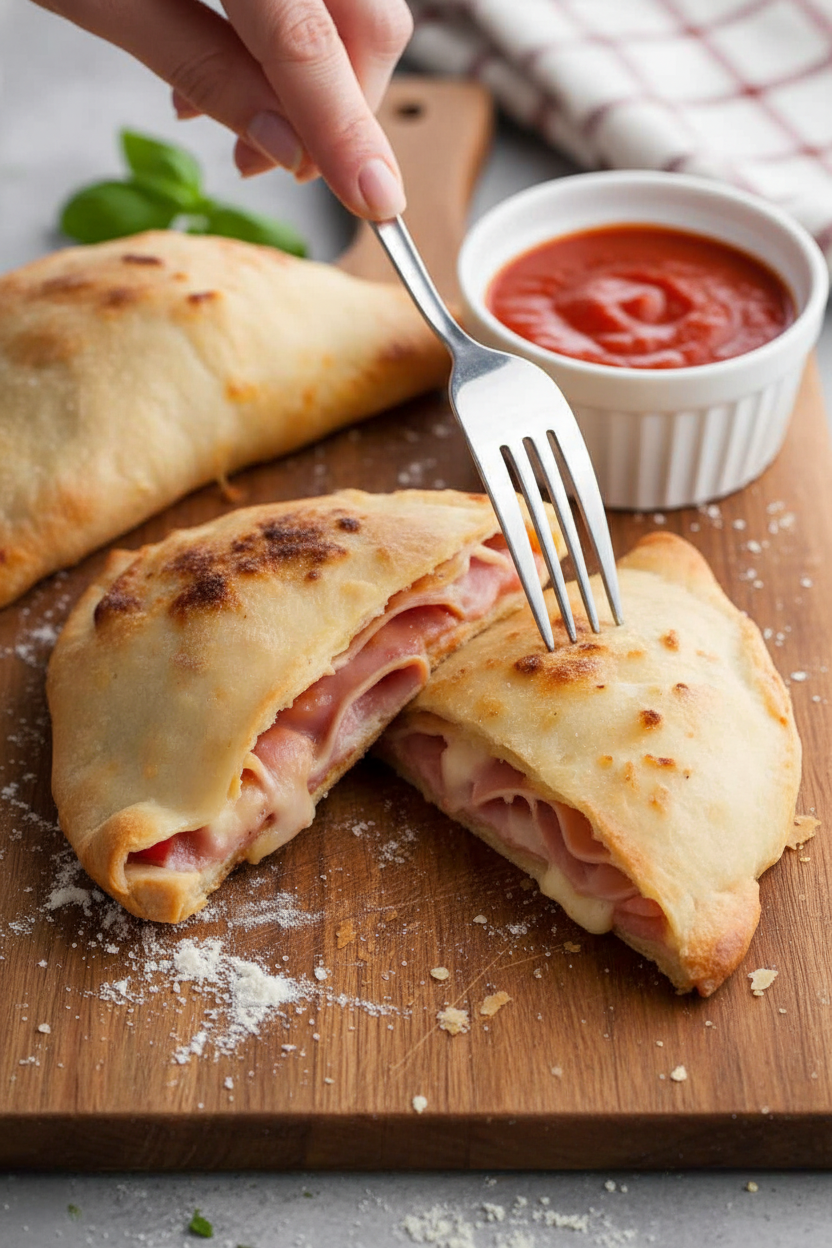
Lift your calzone onto the greased baking sheet. Bake for 15 to 20 minutes. Watch for a lovely golden brown color. Let it cool for just 5 minutes. Then slice and serve. The steam inside is very hot! I serve mine with warm spaghetti sauce for dipping.
Cook Time: 15–20 minutes
Total Time: 30 minutes
Yield: 2 large servings
Category: Lunch, Snack
Three Fun Twists to Try
You can make this recipe your own. It’s so easy to change. Here are three ideas my family loves. Try one next time!
- The Pizza Lover: Add a few spoonfuls of pizza sauce inside with pepperoni.
- The Garden Veggie: Swap the ham for chopped spinach and sliced mushrooms.
- The Breakfast Pocket: Use scrambled eggs and cheddar cheese instead. Perfect for mornings.
Which one would you try first? Comment below!
Serving Your Masterpiece
These calzones are a full meal. But I love adding a small side. A crisp green salad is perfect. So are some carrot sticks with ranch dip. For drinks, a cold glass of milk is classic. Grown-ups might enjoy a chilled lager beer. It cuts through the richness nicely.
Which would you choose tonight? A salad or the carrot sticks? I can never decide. Both are so good.
Keeping Your Calzones Happy and Handy
Let’s talk about storing these tasty pockets. Cool them completely first. Then wrap each one tightly in foil. They will be happy in your fridge for three days. For longer stays, use the freezer. Wrap them in foil and then pop them into a freezer bag. They will keep for two months. This is a great way to have a fast lunch ready. I once froze a whole batch for my grandkids. They loved having a warm snack after school.
To reheat, just bake them again. Use your oven at 350 degrees for about 15 minutes. This keeps the crust crispy. The microwave makes the crust soft and chewy. That is okay if you are in a hurry. Batch cooking matters because life gets busy. Having good food ready saves your day. Have you ever tried storing it this way? Share below!
Simple Fixes for Common Calzone Troubles
Sometimes the dough can be tricky. If it keeps shrinking back, just walk away. Let the dough rest for five minutes. It will relax and stretch easily. I remember when I used to fight with dough. Now I let it have a little nap. Another issue is a leaky calzone. Make sure you pinch the edges very well. Seal them like you are closing an envelope. This keeps all the cheesy goodness inside.
A soggy bottom is no fun. Always bake on a greased sheet, not a cold pan. This gives you a crisp crust. Fixing these small things builds your cooking confidence. It also makes your food taste so much better. Good technique makes a simple recipe shine. Which of these problems have you run into before?
Your Calzone Questions, Answered
Q: Can I make this gluten-free? A: Yes! Just use your favorite gluten-free pizza dough from the store.
Q: Can I make them ahead? A: Absolutely. Assemble them, but do not bake. Keep them in the fridge for a few hours.
Q: What other fillings work? A: Try cooked sausage, peppers, or different cheeses. Use what you love. *Fun fact: The calzone was invented as a portable meal for workers in Italy.*
Q: Can I make a bigger batch? A: Of course. Just double or triple the ingredients. Use two baking sheets.
Q: Are the herbs important? A: They add lovely flavor. But your calzone will still be delicious without them. Which tip will you try first?
From My Kitchen to Yours
I hope you love making these easy calzones. Cooking should be fun, not fussy. It is about sharing food and stories. I would love to see what you create in your kitchen. Did you add a special ingredient? Please share your photos with me. It makes my day to see your cooking adventures. Have you tried this recipe? Tag us on Pinterest! You can find me at @AnnasCozyKitchen. Happy cooking!
—Anna Whitmore.

Easy Ham and Cheese Calzones: Easy Ham and Cheese Calzone Recipe
Description
Easy ham and cheese calzones are the perfect handheld dinner! Simple to make and packed with melty cheese and savory ham. Family-friendly meal idea.
Ingredients
Instructions
- Unroll one pizza crust and stretch it gently to make it a 14 inch by 11 inch rectangle.
- Lay 4 (or more, if desired) slices of mozzarella cheese across HALF of the pizza dough to about 1″ from the edges. Layer the ham on top of the cheese. Layer the remaining pieces of mozzarella cheese on top of the ham – use more if desired.
- Fold the unfilled side of the dough over the filled half and pinch the edges together firmly to seal.
- Transfer to a greased baking sheet. Bake on a baking sheet at 400 degrees for 15-20 minutes or until golden brown.
- Allow to cool slightly for about 5 minutes. Sprinkle the top with some Parmesan and basil or oregano. Slice into individual serving pieces (or desired sizes). Serve warm with warmed spaghetti sauce for dipping or check out the post for additional ideas.
Notes
- Nutrition Facts (per serving): Calories: 297kcal, Carbohydrates: 19g, Protein: 19g, Fat: 16g, Saturated Fat: 7g, Polyunsaturated Fat: 1g, Monounsaturated Fat: 5g, Cholesterol: 53mg, Sodium: 953mg, Potassium: 135mg, Fiber: 1g, Sugar: 3g, Vitamin A: 255IU, Calcium: 193mg, Iron: 2mg


Leave a Reply