

A Spoonful of Magic
Hello, my dear. Come sit. Let’s make some magic. This is not just ice cream. It is a cloud you can eat. It tastes like a carnival and a birthday party had a sweet, chilly baby. I still laugh at that thought.
We are making it without a fancy machine. Just a bowl and a whisk. This matters because anyone can do it. You don’t need special tools to make something special. What is your favorite carnival or fair food? I would love to know.
The Story in the Swirl
That cotton candy smell takes me back. I remember my grandson’s face at his first fair. His eyes were so wide. He held that pink cloud like a treasure.
Now we can keep that joy in our freezer. We will make pink and blue clouds in a bowl. Then we swirl them together. Every scoop will be a little different. That is the fun of it. Life is better with a little swirl, don’t you think?
Why the Little Things Count
Let me tell you a secret. The cold is your friend here. Use chilled cream and milk. It whips up faster and fluffier. This matters. It makes the ice cream smooth, not icy.
And that cling wrap? Press it right on the cream. It stops ice crystals from forming. It keeps our cloud soft. *Fun fact: This “no-churn” trick uses sweetened condensed milk to keep it scoopable straight from the freezer.* Isn’t that clever?
Make It Your Own
Now for the best part. The colors! I like a soft pink and a sky blue. But you choose. Make it purple and green if you wish. It is your carnival.
Drop the blue spoonfuls on the pink. Then gently swirl. Don’t mix it all up. We want pretty ribbons. Are you a gentle swirler or a bold mixer? I am always a swirler.
The Sweet Wait
Into the freezer it goes. Waiting is the hardest part. I like to make it before bed. Then it is a happy surprise the next day. Doesn’t that smell amazing already?
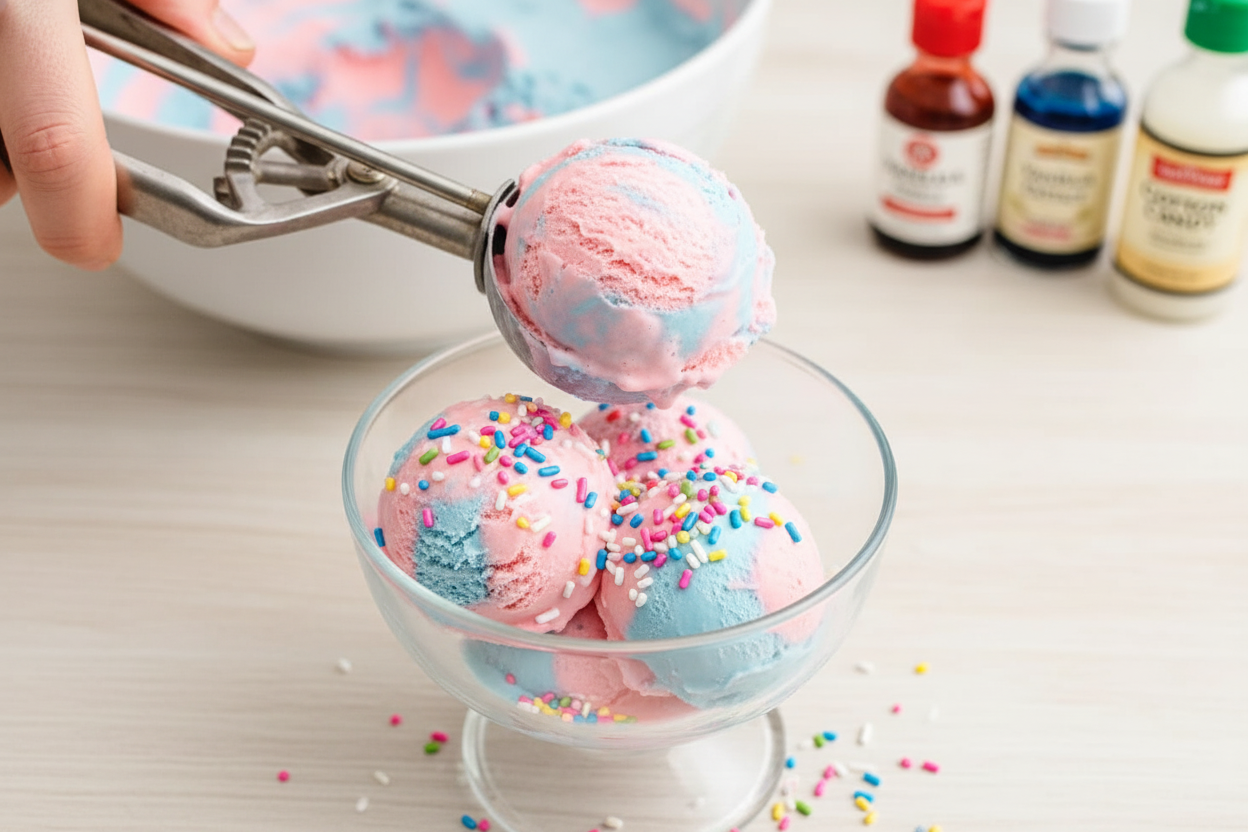
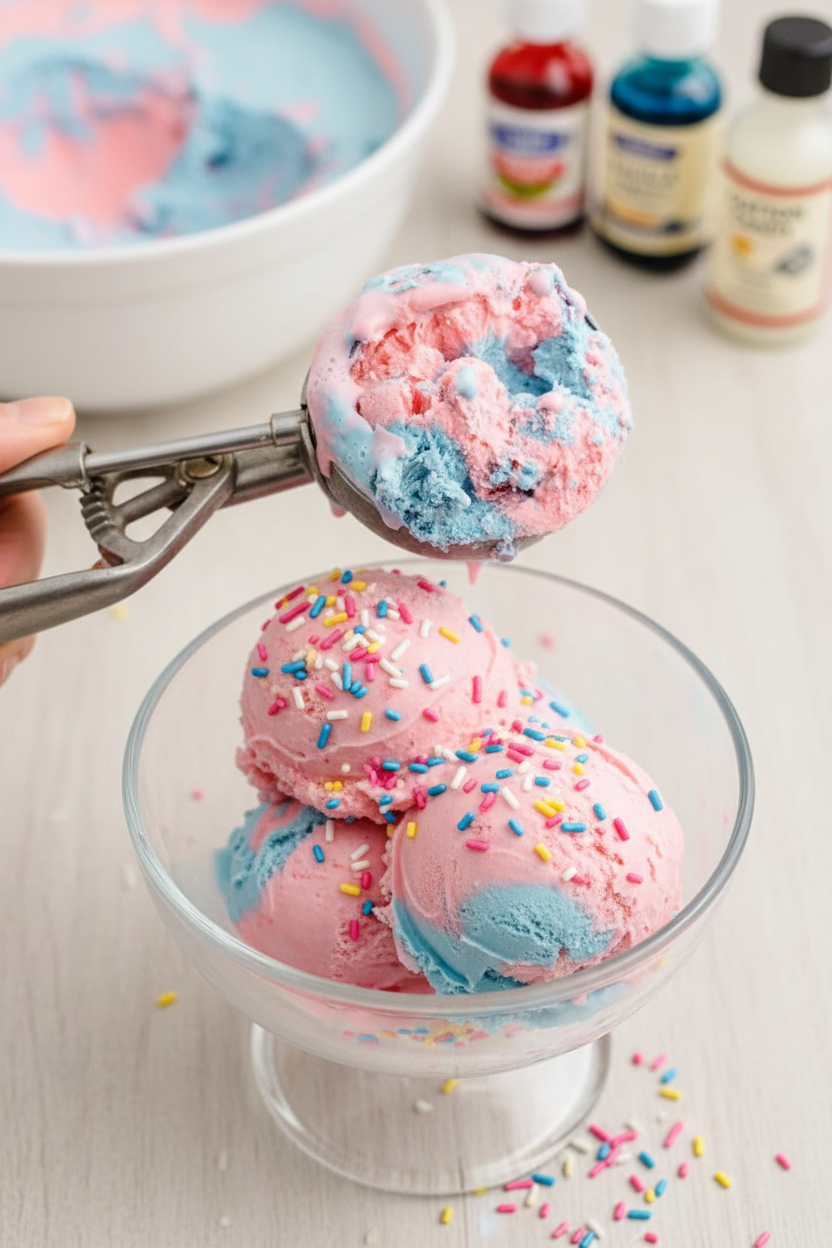
When it is ready, scoop it high. Add sprinkles for crunch. Share it with someone you love. Food made with a happy heart tastes sweeter. That is the truest thing I know. What is the first thing you like to make for a friend?
Ingredients:
| Ingredient | Amount | Notes |
|---|---|---|
| Heavy whipping cream | 2 cups | 35% cream, chilled |
| Sweetened condensed milk | 1 can (10 ounce) | Chilled |
| Vanilla extract | 1 teaspoon | |
| Cotton candy extract | ½ teaspoon | |
| Red and blue food coloring | As desired | |
| Sprinkles | For garnish | Optional |
My Magical No-Churn Cotton Candy Ice Cream
Hello, my dear! Come sit with me. Today we are making magic. We are turning fluffy pink and blue clouds into ice cream. No fancy machine is needed. Just a bowl, a whisk, and a dreamy afternoon.
This recipe reminds me of county fairs. I loved the sticky-sweet smell of cotton candy. My grandson once got it all over his nose. I still laugh at that. Now we can keep that happy taste in our freezer. Let’s begin our sweet adventure together.
Step 1: First, line your loaf pan with parchment paper. This little paper sling is a big help. It lets you lift the frozen ice cream right out. Trust me, it saves a lot of fussing later. (My hard-learned tip: crumble the paper into a ball first. Then smooth it out. It will fit the pan much easier!) Step 2: Now, pour the cold heavy cream into a big bowl. Whip it until it looks like soft, fluffy clouds. This takes about four minutes. Doesn’t that smell amazing? It’s like sweet, rich milk. Be careful not to whip it too long. We want soft peaks, not stiff butter. Step 3: Gently stir in the sweetened condensed milk. Add the vanilla and cotton candy extracts too. That cotton candy smell will fill your kitchen! Then, split this fluffy mixture right in half. Put each half into its own bowl. What’s your favorite fairground treat? Share below! Step 4: Time for color! Add a few drops of red food coloring to one bowl. Stir until it’s a pretty pink. Do the same with blue in the other bowl. Make a lovely light blue. You are painting with food. Isn’t that fun? Step 5: Pour all of the pink ice cream into your lined pan. Smooth it down with a spoon. Now, drop big spoonfuls of the blue ice cream on top. Let them plop down randomly. Then, use your spoon to swirl them together. Just a little! We want beautiful swirls, not a muddy purple. Step 6: This step is very important. Place a piece of cling wrap right on the ice cream. Press it down gently. This stops icy crystals from forming on top. Then cover the whole pan with foil. Tuck it into your freezer for at least two hours. Overnight is even better. The waiting is the hardest part! Cook Time: 2+ hours freezingTotal Time: 2 hours 15 minutes
Yield: About 8 servings
Category: Dessert, Ice Cream
Three Fun Twists to Try
Once you master the basic recipe, you can play! Here are three silly and sweet ideas. They make this treat feel brand new. My neighbor’s kids love the unicorn version. It always makes them giggle.
Fairy Sprinkle Crunch: Mix a handful of pop rocks candy into the cream. It will fizz and pop in your mouth!Unicorn Swirl: Divide the cream into three bowls. Color them pink, blue, and purple. Layer and swirl for a magical look.
Cotton Candy Sundae: Before freezing, fold in small chunks of real, puffy cotton candy. It adds a fun, chewy surprise.
Which one would you try first? Comment below!
Serving Your Sweet Creation
Scoop your ice cream into a pretty bowl. The pink and blue swirls always make me smile. For a special touch, add a cone on the side. Or pile on rainbow sprinkles. They look like tiny confetti.
This is wonderful with a glass of cold, fizzy lemonade. The tartness balances the sweet. For the grown-ups, a little glass of pink champagne is lovely. It feels like a true celebration. Which would you choose tonight?
Keeping Your Cotton Candy Dreams Frozen
This ice cream is best eaten within two weeks. Keep it covered tightly in the pan. Use that cling wrap right on the surface. This stops ice crystals from forming.
You can also scoop it into a sealed container. I once used an old butter tub. It worked perfectly for a single serving! Batch cooking is easy with this recipe.
Just double everything and use a bigger pan. Storing food well matters. It saves money and prevents waste. You get a sweet treat whenever you want.
Have you ever tried storing it this way? Share below!
Cloudy Cream and Other Little Hiccups
First, your cream won’t whip? Make sure it is very cold. I remember when my kitchen was too warm. The cream just stayed soupy. Chill your bowl and beaters first.
Second, the colors mix into mud. Gently swirl the blue into the pink. Do not stir it completely. This keeps the dreamy cotton candy look. Getting the color right matters. It makes the treat as fun to look at as it is to eat.
Third, the ice cream is too hard. Let it sit on the counter for five minutes before scooping. This softens it just right. Fixing small problems builds your confidence. You learn that every mistake has a simple fix.
Which of these problems have you run into before?
Your Quick Questions, Answered
Q: Is this gluten-free? A: Yes, it is! Just check your sprinkles and extracts for gluten-free labels.
Q: Can I make it ahead? A: Absolutely. Make it the day before your party. It needs time to freeze anyway.
Q: No cotton candy extract? A: Use two teaspoons of vanilla instead. The color will still give that cotton candy feeling.
Q: Can I double the recipe? A: You can. Use a 9×13 inch pan instead of a loaf pan.
Q: Any fun add-ins? A: Crushed up sugar cones or mini marshmallows are delightful. Fun fact: Cotton candy was first called “fairy floss.”
Which tip will you try first?
A Sweet Send-Off from My Kitchen
I hope you have fun making this magical ice cream. It always makes me smile. I love seeing your creations even more. Share a picture of your swirled masterpiece with me.
It connects our kitchens across the miles. Your version might inspire another young cook. Let’s build a community of happy bakers and treat-makers together.
Have you tried this recipe? Tag us on Pinterest!
Happy cooking!
—Anna Whitmore.

No Churn Cotton Candy Ice Cream: Easy No Churn Cotton Candy Ice Cream Recipe
Description
Dreamy, fluffy Cotton Candy Ice Cream with no machine needed! Sweet, colorful, and magically easy. Perfect for summer treats and birthday parties.
Ingredients
Instructions
- Line a baking pan with parchment paper.
- Whip the whipping cream for approximately 4 minutes until soft peaks form.
- Stir in the vanilla, sweetened condensed milk, and cotton candy extract, and then split the mixture in half into two bowls.
- Using your food coloring, dye one bowl of the ice cream pink and the other bowl light blue.
- Pour the pink ice cream into the loaf pan. Smooth down with a spoon or spatula.
- Drop spoonfuls of the blue ice cream randomly over the pink ice cream, and then use the spoon to swirl it in.
- Place a piece of cling wrap on top of the ice cream batter letting it rest right on top of the cream. Cover the whole pan with foil.
- Freeze for 2 hours or overnight.
- Scoop, top with sprinkles, and serve!


Leave a Reply