
My Messy, Happy Kitchen
Let me tell you about my first truffles. I made them for my grandson’s birthday. My kitchen looked like a peanut butter tornado hit it. I still laugh at that.
But those messy, lopsided treats were the hit of the party. This matters because food made with love always tastes best. It doesn’t have to be perfect. What was your first kitchen mess? I’d love to hear your story.
The Simple Magic of Three
These truffles start with just three things. Peanut butter, powdered sugar, and vanilla. You just mix them in a bowl. Doesn’t that smell amazing already?
Use your hands to roll the mix into little balls. The peanut butter gets soft and sticky. I wash my hands in cold water to help. It feels like playing with edible clay.
The Big Chill
Now, the secret step. You must freeze those little balls. I pop the whole tray in the freezer for an hour. This matters so much.
A frozen truffle is much easier to dip. It keeps its perfect round shape. A warm one would melt into a puddle in the chocolate. Patience makes a better treat.
A Chocolate Bath
Melting chocolate is my favorite part. I use a bowl over a pot of simmering water. I stir and stir until it’s silky smooth.
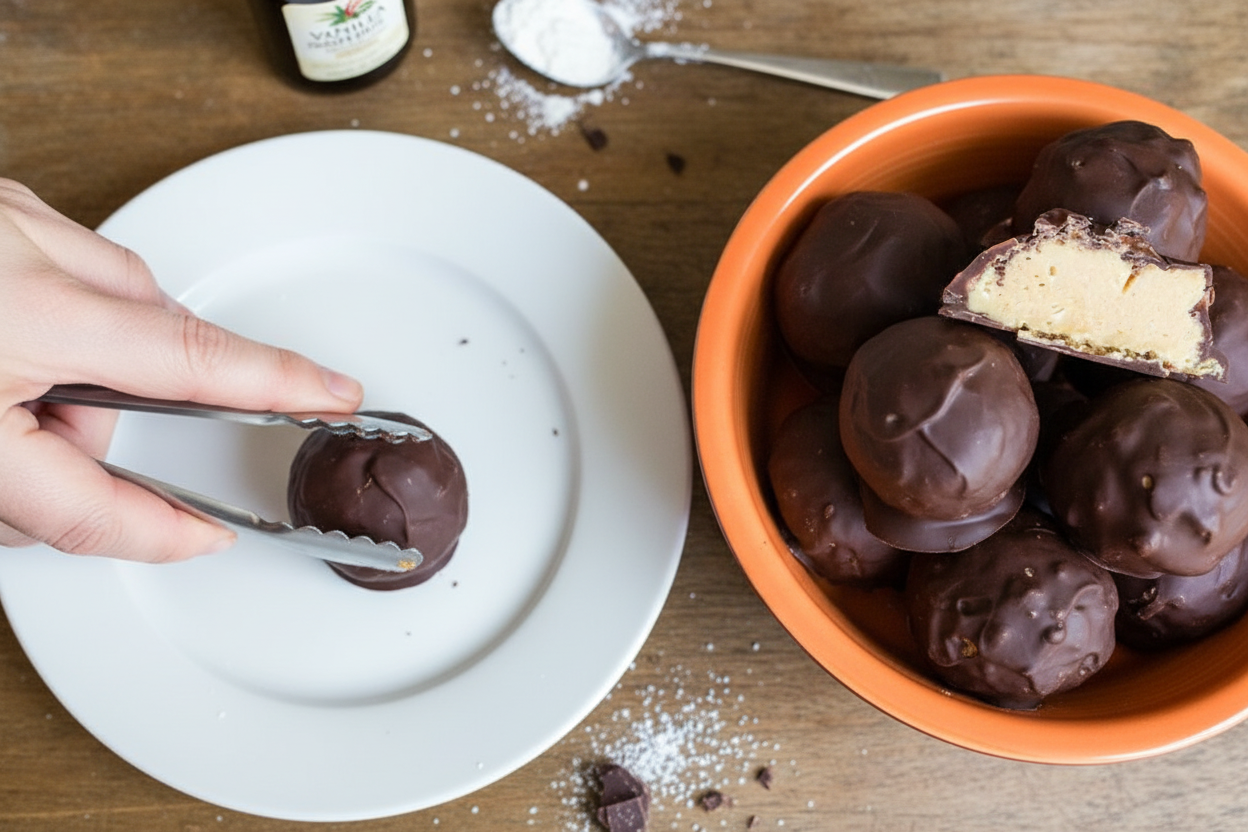
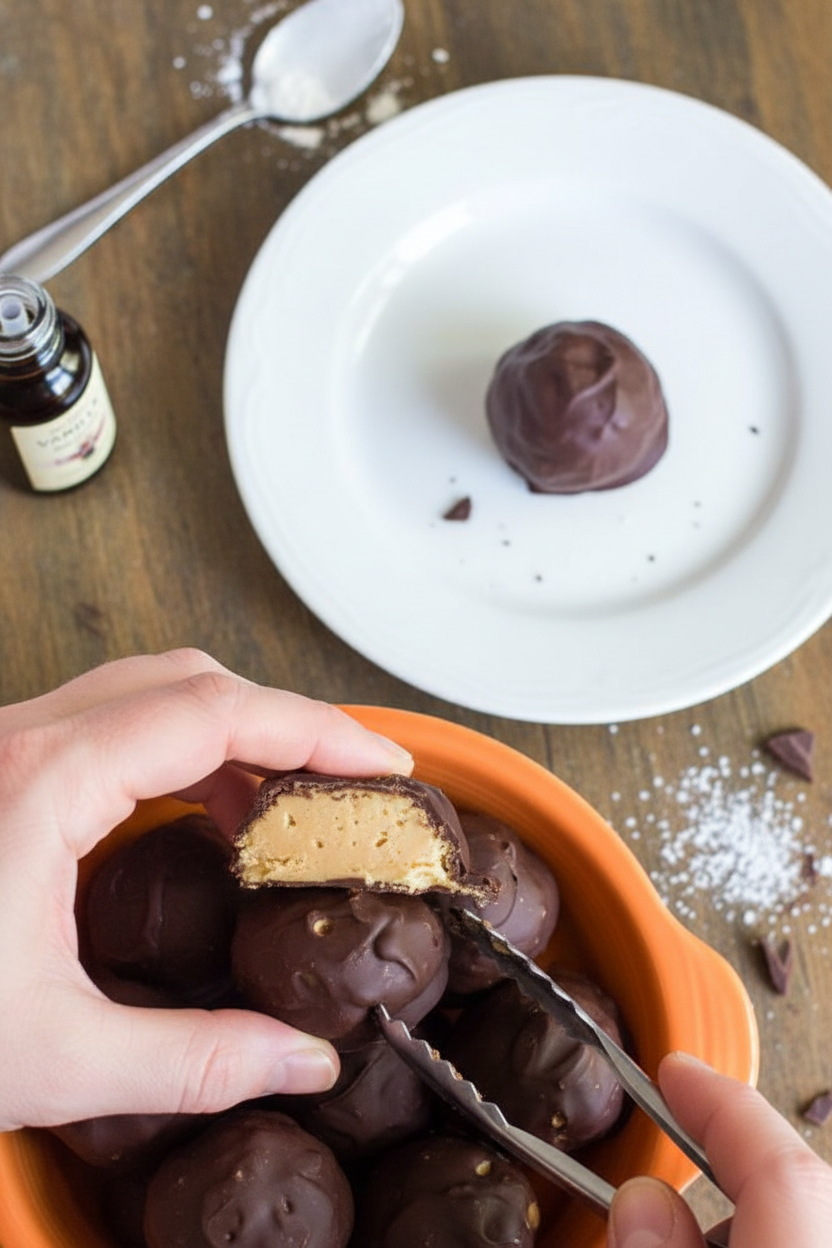
Then, the fun part! I dip each frozen ball. I use a fork to roll it around. Tap off the extra chocolate. *Fun fact: This tapping sound is called “dripping the feet.” It gives the truffle a flat bottom to sit on.
Sharing the Sweetness
Let the chocolate set in the fridge. Then, pile them on a plate. These are rich, so one or two is plenty.
They are perfect for sharing. Do you prefer milk, dark, or semisweet chocolate for dipping? I always use semisweet. It’s just right with the sweet peanut butter.

Ingredients:
| Ingredient | Amount | Notes |
|---|---|---|
| Vegetable oil spray | as needed | For coating the pan |
| Smooth peanut butter | 2 cups | |
| Powdered sugar | 1 cup | |
| Pure vanilla extract | 2 teaspoons | |
| Semisweet chocolate | 12 ounces | Finely chopped |
My No-Bake Chocolate Peanut Butter Balls
Hello, dear! Come sit at the counter. Let’s make something sweet. These are my chocolate peanut butter balls. They are pure joy, with no oven needed. I remember making these with my grandson. His hands were covered in peanut butter. We laughed so much. Your hands will get messy, too. That is part of the fun. Doesn’t that smell amazing already? Just thinking about it makes me smile. Let’s begin our little project together.
Step 1: First, line a baking sheet with parchment paper. Grab a big bowl. Put your smooth peanut butter right in. Add the powdered sugar and vanilla. Now, mix it all up until it’s one happy, creamy family. (A hard-learned tip: Use cold utensils if you can. It keeps the peanut butter from getting too soft and sticky.)
Step 2: Scoop little mounds of your mixture. Roll them into balls with your palms. The warmth of your hands softens the peanut butter. Wash your hands in cold water now and then. Dry them well. This keeps the balls from sticking to you! Place all your little balls on the sheet. Pop the whole tray into the freezer for one hour. This chill makes them strong for their chocolate bath.
Step 3: Time for the chocolate! Chop your chocolate bar finely. Melt it gently in a bowl over simmering water. Stir it slowly until it’s silky. I still love watching chocolate melt. It’s like a little magic show in a pot. Do you think milk or dark chocolate would be better here? Share below!
Step 4: Take your peanut butter balls from the freezer. Dip each one in the melted chocolate. I use a fork and a spoon to help. Coat it completely. Let the extra chocolate drip back into the bowl. Place each coated ball back on the tray. When they’re all dressed, let them set in the fridge. I wait about an hour. The waiting is the hardest part, I know!
Cook Time: 1 hour (chilling)
Total Time: 1 hour 30 minutes
Yield: About 24 truffles
Category: Dessert, No-Bake
Three Fun Twists to Try
Once you master the classic, try a new version! It’s like giving the recipe a new outfit. Here are three of my favorites. They are all so simple. The Crunchy Twist: Roll your set truffles in crushed pretzels or peanuts before the chocolate sets. The Fancy Twist: Sprinkle a tiny bit of sea salt on top of the wet chocolate. The Cookie Twist: Mix a handful of mini chocolate chips right into the peanut butter filling. Which one would you try first? Comment below!
Serving Them Up With Style
These treats are perfect all on their own. But for a special touch, place each one in a tiny paper cup. It looks so pretty on a plate. You could also stack them in a little glass jar as a gift. For drinks, a cold glass of milk is the classic friend. For the grown-ups, a small glass of creamy bourbon or a coffee liqueur is lovely. It sips so nicely with the chocolate. Which would you choose tonight?
Keeping Your Truffles Happy
These truffles love the cold. Store them in the fridge for a week. They can live in the freezer for three months. Just use a tight container. This keeps them fresh and tasty.
I once left a batch on the counter. The summer heat made them soft. It was a melty, delicious mess. Now I always chill them right away. Batch cooking is a wonderful trick. Make a double batch and freeze half. You will have sweet treats ready for surprises.
Why does this matter? Good storage saves your hard work. It also means you always have a little joy to share. Have you ever tried storing it this way? Share below!
Little Fixes for Big Smiles
Is your peanut butter mix too sticky? Chill it for twenty minutes. Cold hands work better too. I remember when my first batch was like glue. A quick chill fixed everything.
Is the chocolate seizing or getting lumpy? Make sure no water gets in the bowl. Water makes chocolate act strange. Stir it gently and constantly over low heat.
Are the truffles losing shape when you dip them? Freeze them solid first. I chose the freezer for my second try. It made all the difference. Why fix these issues? It builds your cooking confidence. It also makes your treats look and taste perfect. Which of these problems have you run into before?
Your Truffle Questions, Answered
Q: Are these gluten-free?
A: Yes, if your peanut butter and chocolate have no gluten additives.
Q: Can I make them ahead?
A: Absolutely! They are perfect for making days before a party.
Q: What if I only have crunchy peanut butter?
A: That works! You will get a nice little crunch inside.
Q: Can I double the recipe?
A: You sure can. Just use a bigger bowl for mixing.
Q: Any fun extras?
A: Try rolling them in crushed nuts or coconut after dipping. Fun fact: Peanuts are not nuts. They are legumes, like beans! Which tip will you try first?
From My Kitchen to Yours
I hope you love making these sweet bites. Cooking is about sharing joy. It is about making memories with sticky fingers and chocolate smiles. I would love to see your creations.
Have you tried this recipe? Tag us on Pinterest! You can find me at @AnnasCozyKitchen. Share your photos and stories. It makes my day to see them.
Happy cooking!
—Anna Whitmore.
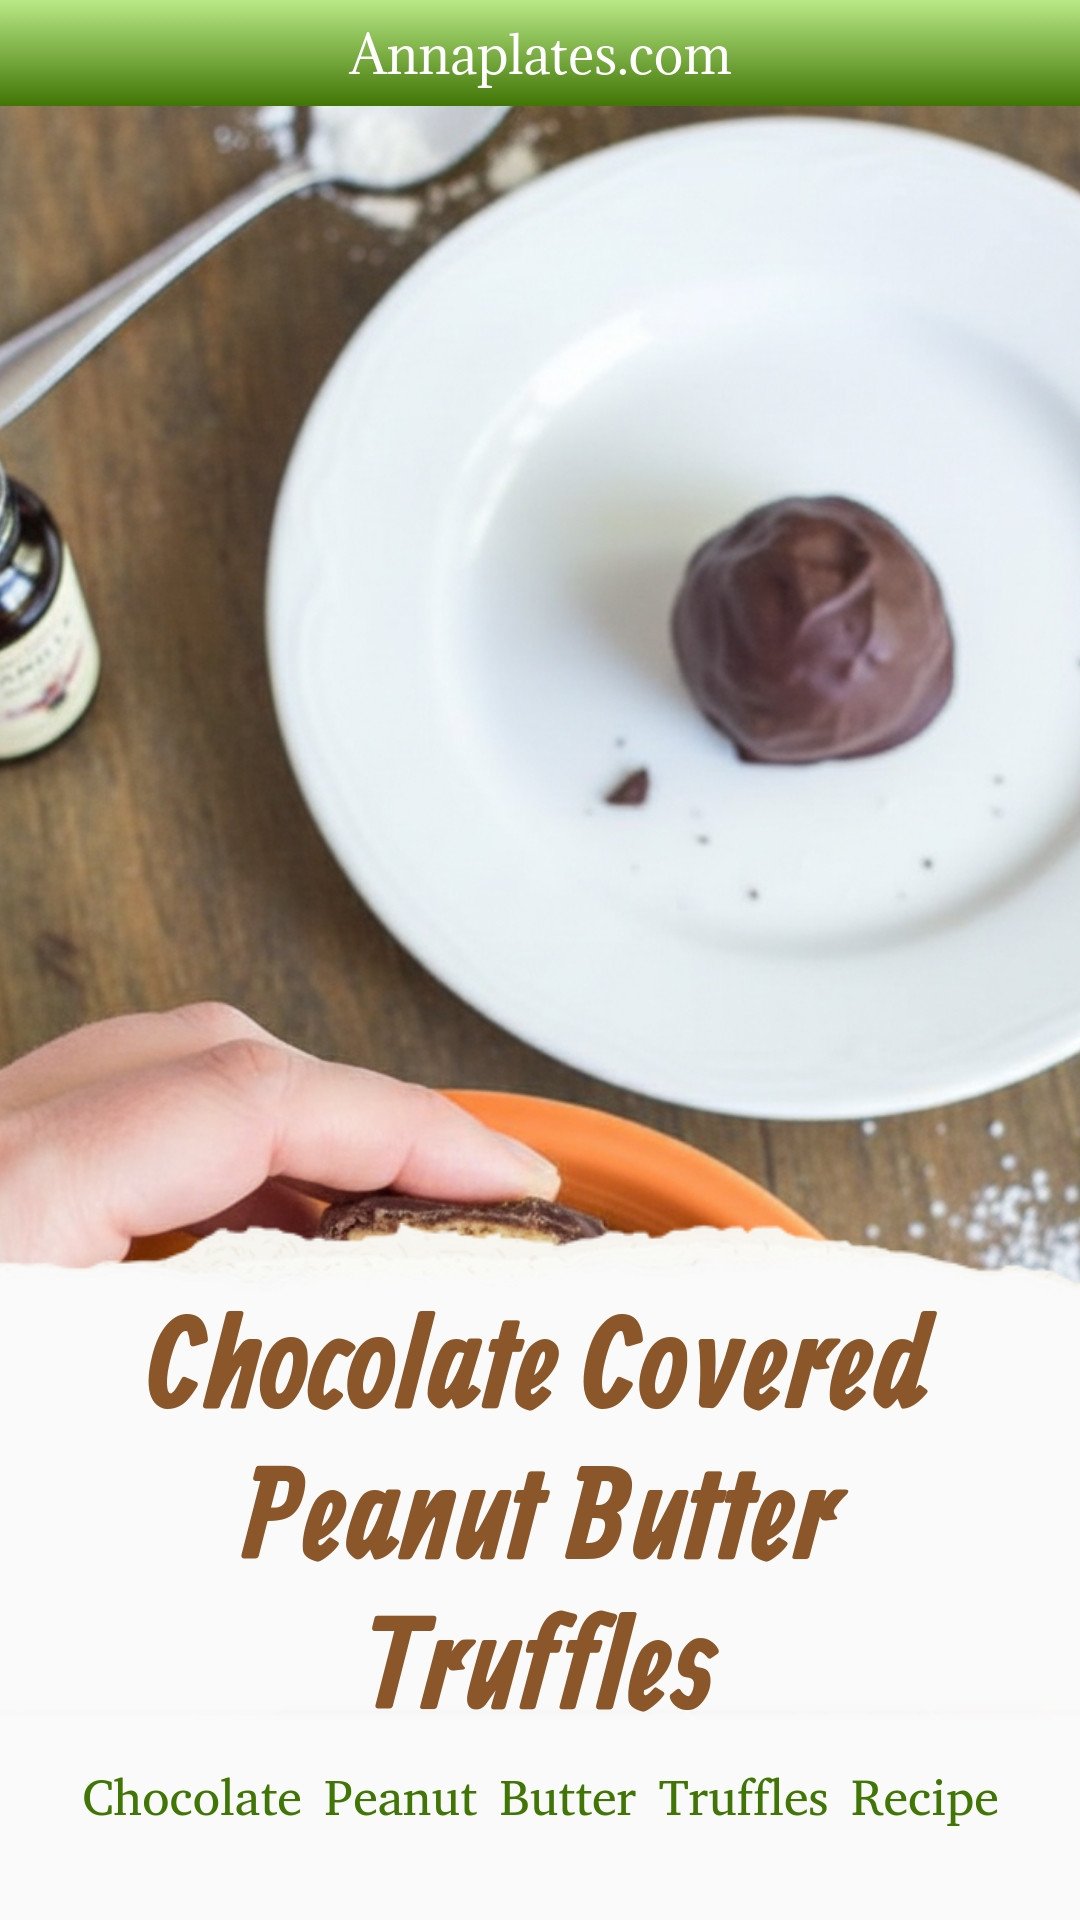
Chocolate Covered Peanut Butter Truffles: Chocolate Peanut Butter Truffles Recipe
Description
Decadent chocolate peanut butter truffles! Easy no-bake recipe with simple ingredients. Perfect for holidays, gifts, or a sweet homemade treat.
Ingredients
Instructions
- Line a baking sheet with parchment paper. In a bowl, combine the peanut butter, powdered sugar, and vanilla extract. Mix until completely blended.
- Scoop the mixture and roll into balls. Place on the prepared sheet. Wash hands in cold water as needed to prevent sticking. Chill in the freezer for 1 hour.
- Melt the chopped chocolate in a double boiler or a heatproof bowl over simmering water, stirring until smooth.
- Dip each frozen peanut butter ball into the melted chocolate to coat completely. Tap off excess and return to the parchment-lined sheet.
- Refrigerate the coated truffles for about 1 hour to set the chocolate before serving.
Notes
- For easier dipping, ensure peanut butter balls are very cold. Store finished truffles in the refrigerator.


Leave a Reply