

A Spoonful of Summer
I think every kitchen needs a happy smell. For me, it’s fresh mint. It reminds me of my grandpa’s garden. He grew it by the back porch.
We would pick leaves for tea. I still laugh at that. Now, I use that same minty smell in ice cream. It feels like a hug from the past. Making this is about more than a treat. It’s about keeping good memories alive.
Why We Freeze the Chocolate
Let me tell you a little secret. Freeze your chocolate bar first. I learned this the messy way. My first batch had big, melty clumps.
A frozen bar is easy to grate. You get perfect little shavings. They look like chocolate snow. This matters because tiny bits mix in better. You get a little chocolate in every single bite. What’s your favorite chocolate bar to use for baking?
The Simple Stir-Together
The base is so easy. Just milk, cream, sugar, and peppermint. Whisk it until the sugar disappears. Doesn’t that smell amazing? The green dye is just for fun. You can skip it if you like.
Then let your machine do its magic. I love watching it churn. It goes from soup to soft-serve right before your eyes. Fun fact: The churning keeps ice crystals small. That’s what makes homemade ice cream so creamy!
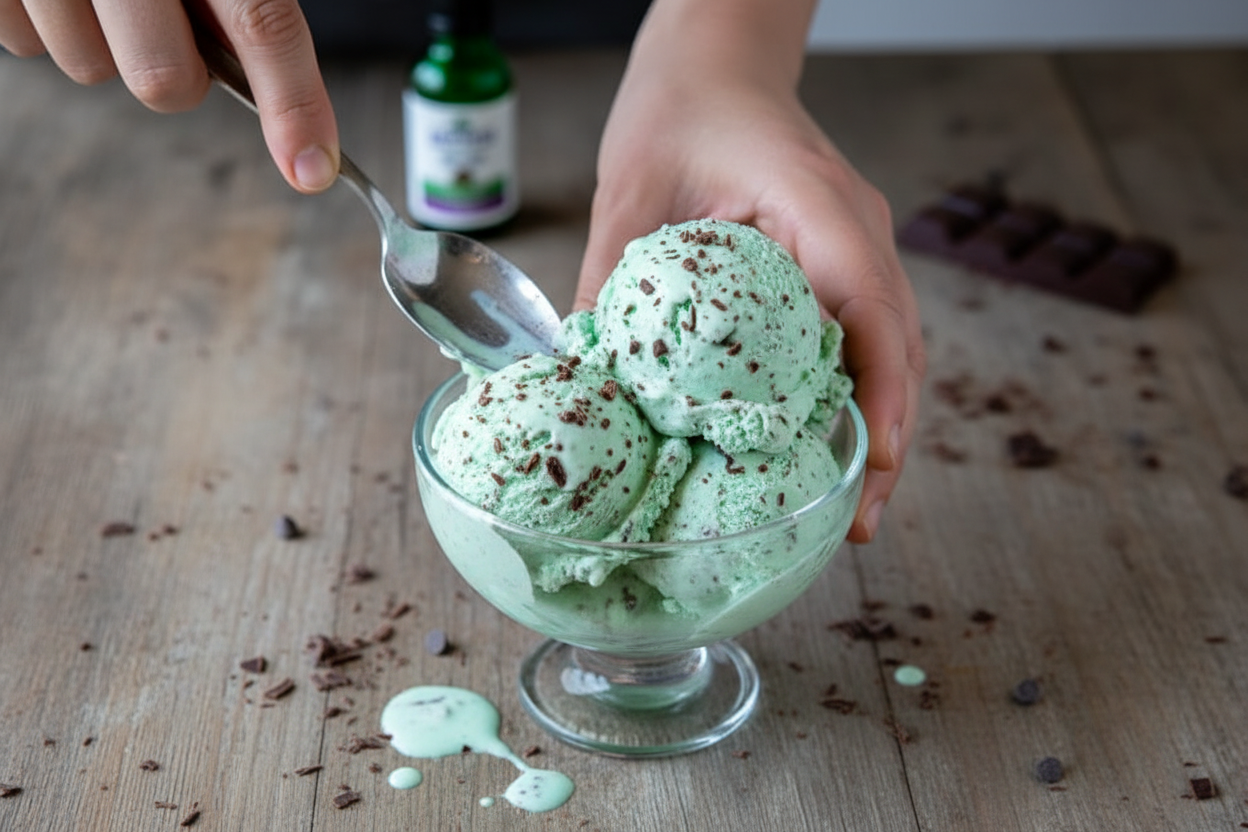
The Best Part
Listen for the machine’s sound to change. It gets slower and thicker. In the last few minutes, add your chocolate snow. Watch it swirl through the minty cream. It is the prettiest sight.
Now, you have a choice. You can eat it soft right now. I always sneak a spoonful. Or, freeze it for a few hours. It becomes firm, like shop-bought ice cream. Which do you prefer, soft-serve or firm?
Sharing the Joy
This recipe makes about six servings. But it never lasts long in my house. We eat it in bowls or on cones. Sometimes, we just stand by the freezer with spoons.
Sharing food you made yourself feels special. It shows you care. That’s the real reason we cook. It’s a sweet way to say “I love you.” What’s the first food you loved helping to make?
Ingredients:
| Ingredient | Amount | Notes |
|---|---|---|
| Milk | 1 1/2 cups | |
| Heavy cream | 1 1/2 cups | |
| Sugar | 3/4 cup | |
| Peppermint extract | 1 1/2 teaspoons | |
| Chocolate bar | 1 (1.55 oz) | Frozen, such as Hershey’s Milk Chocolate |
| Green food dye | 10 drops |
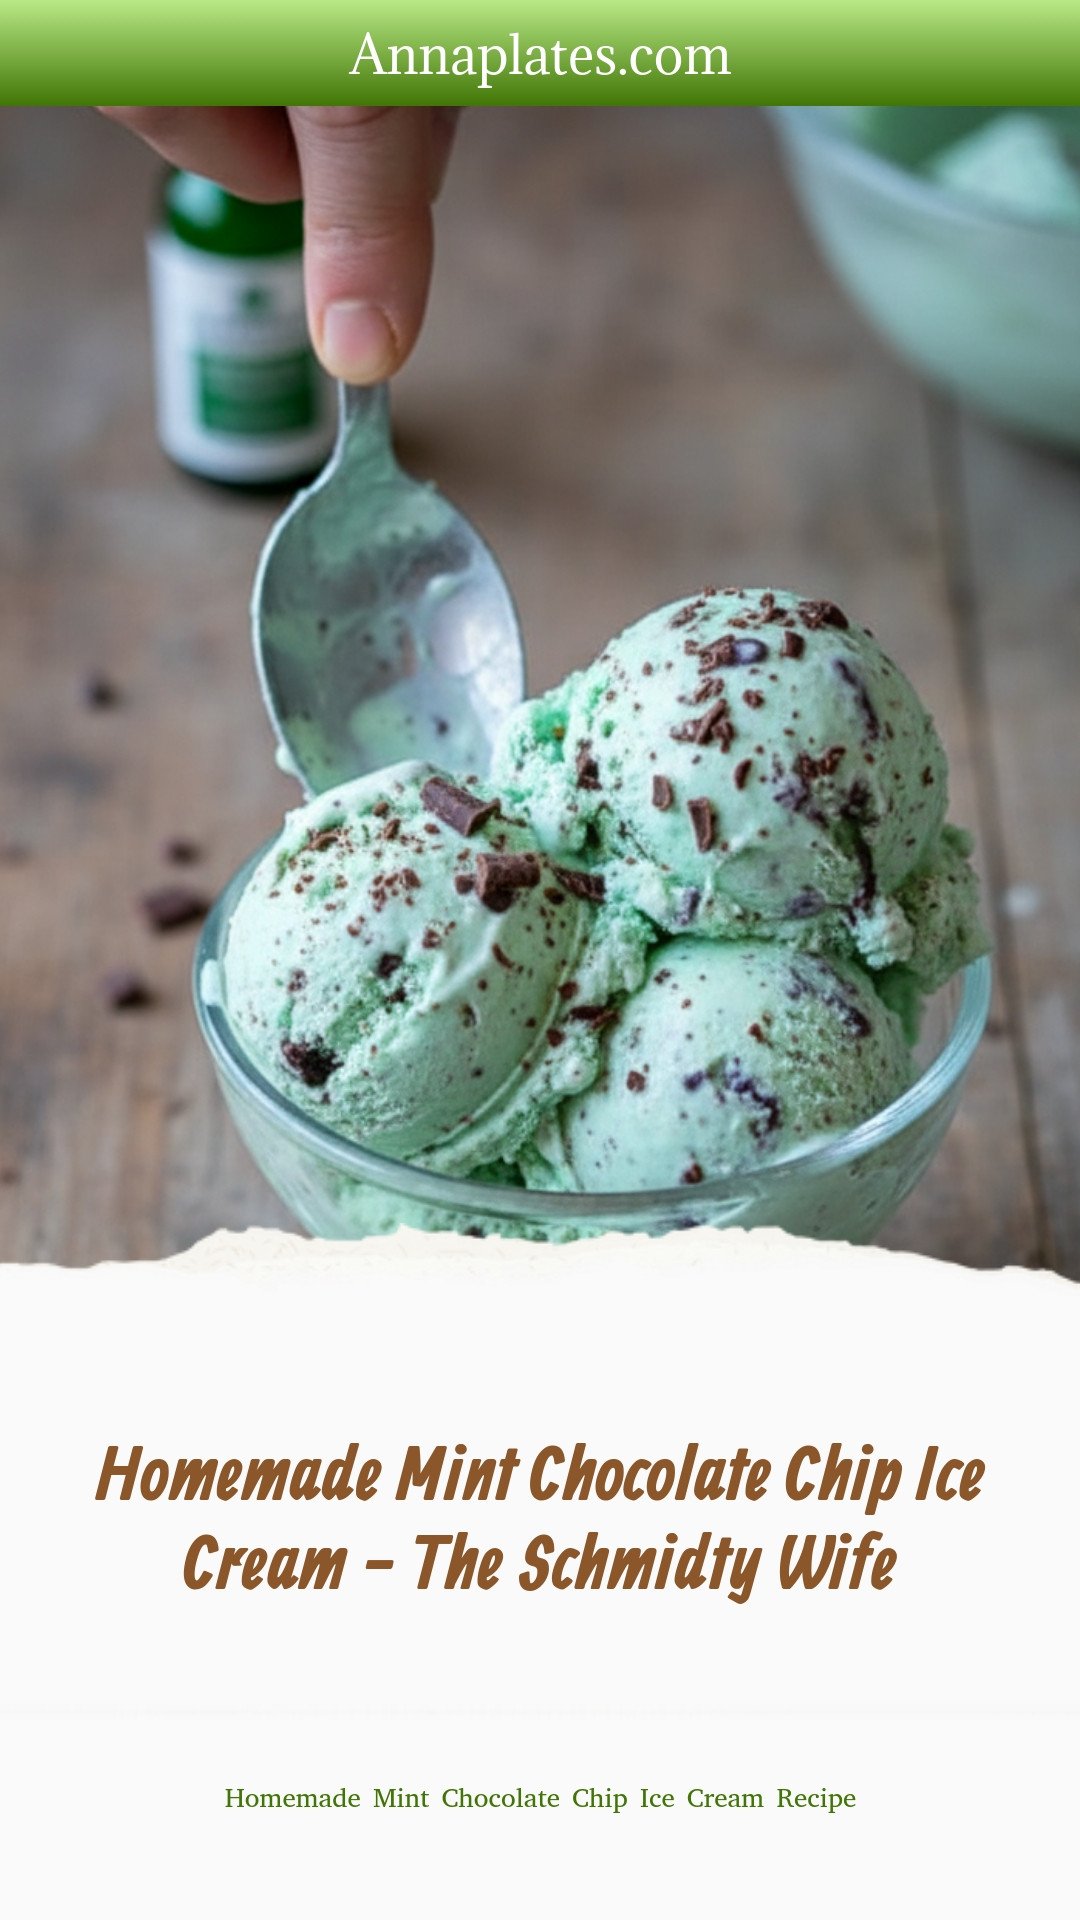
My Favorite Mint Chocolate Chip Ice Cream
Hello, my dear. Come sit at the counter. Let’s make some magic. Today we’re making mint chocolate chip ice cream. This recipe always reminds me of my grandkids. They love the bright green color. Doesn’t that smell amazing already? It’s like a cool, sweet garden. The best part is how simple it is. You just mix, churn, and eat. I still laugh at that. My grandson once tried to skip the freezing step. He ate it with a spoon right from the machine. He said it was the best soup ever!
Now, let’s get our hands busy. You’ll need your ice cream maker ready. I’ll tell you my little secrets as we go. (A hard-learned tip: freeze that chocolate bar solid. It makes tiny, perfect shavings, not a melted mess.) Ready? Here we go.
Step 1: Grab a big mixing bowl. Pour in the milk and heavy cream. Add the sugar and peppermint extract. Now, for the fun green color. Add about ten drops of food dye. Whisk it all together until the sugar disappears. It should look like a minty pond. See how the color swirls? That’s my favorite part.
Step 2: Carefully pour your minty mixture into the ice cream machine. Put the lid on tight. Now, just turn it on. Let the machine do its happy churning dance. Mine usually takes about thirty minutes. You’ll hear the sound change. It will get thicker and slower. That’s how you know it’s working. What’s your favorite ice cream flavor? Share below!
Step 3: While it churns, get your frozen chocolate bar. Use a simple box grater. Gently rub the bar against the grater. You’ll get beautiful chocolate flakes. They look like little brown leaves. (Keep your fingers back, sweetie!) This is so much better than chocolate chips. The thin flakes melt perfectly on your tongue.
Step 4: Listen to your machine. In the last five minutes, open the lid. Sprinkle all those chocolate shavings right into the soft ice cream. Let it churn them in. It mixes the chocolate all through. You’ll see lovely speckles everywhere. It’s almost time to taste!
Step 5: Scoop the soft ice cream into a container. Now, you must be patient. Pop it in the freezer for a few hours. This lets it get nice and firm. Or, be like my grandson. Eat a small bowl of the soft-serve right now. I won’t tell a soul.
Cook Time: 30 minutes churning + 4 hours freezing
Total Time: 4 hours 30 minutes
Yield: 6 servings
Category: Dessert, Frozen Treats
Let’s Mix It Up!
This recipe is like a good friend. It’s wonderful as it is. But you can dress it up for different occasions. Here are three fun twists I love to try. They make it feel brand new.
Christmas Mint: Skip the green dye. Use a teaspoon of vanilla extract too. Add crushed candy canes instead of chocolate. It’s so festive!
Chocolate Swirl: Melt some chocolate sauce. After churning, layer the ice cream with sauce in your container. Don’t mix it. You’ll get pretty ribbons.
Cookie Crunch: Use chocolate sandwich cookies. Crush them up. Add them with the chocolate shavings. It’s a creamy, crunchy dream.
Which one would you try first? Comment below!
The Perfect Scoop
Serving this ice cream is the final joy. A plain bowl is just fine. But sometimes, I like to make it special. For a pretty plate, use a warm cookie scoop. It makes perfect round balls. Place two scoops in a chilled bowl. Drizzle a little chocolate syrup on top. Add a fresh mint leaf. It looks so fancy!
What to drink with it? On a hot day, nothing beats a glass of cold milk. It’s a classic for a reason. For the grown-ups, a little coffee liqueur over the top is divine. The bitter coffee and sweet mint are wonderful friends.
Which would you choose tonight?

Keeping Your Ice Cream Perfect
Let’s talk about storing your homemade ice cream. First, use a container with a tight lid. This keeps out freezer smells and ice crystals. I use an old bread loaf pan wrapped in plastic.
Press a piece of parchment right on the ice cream surface. This little trick prevents a frosty shell. I learned this after my first batch turned icy! Batch cooking is easy with this recipe. Simply double everything if your machine can handle it.
Storing it well matters for joy. You want every scoop to taste fresh and creamy. It makes your effort feel worth it. Have you ever tried storing it this way? Share below!
Ice Cream Hiccups and Simple Fixes
Sometimes ice cream stays too soft. This usually means it needs more freezer time. Freeze it for a full four hours for a firmer scoop. I once served soup-like ice cream! We just laughed and ate it with spoons.
The chocolate clumps together instead of shaving. Freeze your chocolate bar solid. Grate it right over the churning ice cream. This gives you lovely little chocolate flakes. Why does this matter? Good texture makes every bite fun and interesting.
The mint flavor is too weak or too strong. Start with one teaspoon of extract. You can always add a tiny bit more. Tasting as you go builds your cooking confidence. Which of these problems have you run into before?
Your Ice Cream Questions, Answered
Q: Is this recipe gluten-free?
A: Yes, all the ingredients listed are naturally gluten-free.
Q: Can I make it ahead?
A: Absolutely! Make it up to two weeks before you need it.
Q: What can I use instead of food dye?
A: Just leave it out. The mint flavor is what truly matters.
Q: Can I double the recipe?
A: Only if your ice cream maker’s bowl is big enough. Check its size first.
Q: Any optional tips?
A: Try using a dark chocolate bar for a richer taste. Fun fact: The first chocolate chip ice cream was made by hand in 1939! Which tip will you try first?
Share Your Sweet Creation
I hope you love making this cool, minty treat. It always reminds me of summer evenings on the porch. I would love to see your kitchen creations. Your photos and stories make my day so much brighter.
Have you tried this recipe? Tag us on Pinterest at @AnnaWhitmoreEats. Let’s build a community of happy home cooks together. Thank you for spending this time with me in my kitchen.
Happy cooking!
—Anna Whitmore.
Homemade Mint Chocolate Chip Ice Cream
Description
Creamy homemade mint chocolate chip ice cream recipe that’s easy & refreshing. Perfect for summer treats and satisfying your sweet tooth.
Ingredients
Instructions
- In a bowl whisk together the milk, cream, sugar, peppermint extract, and food dye if using until the sugar is dissolved.
- Pour into your ice cream machine, follow manufacturers instructions for how long it takes. My usually takes about 30 minutes.
- While ice cream is churning, shave your chocolate bar using a grater. If you follow my notes you’ll see that freezing the chocolate bar is easier to shave, especially if it is warm out.
- In the last few minutes of churning add the chocolate shavings so they can be mixed in.
- Transfer ice cream to a freezer safe container, and freeze for at least 3-4 hours. (Or if you like it really soft eat immediately.) Serve in a dish or on a cone.
Notes
- Nutrition Information per serving: Calories: 378, Total Fat: 26g, Saturated Fat: 16g, Cholesterol: 89mg, Sodium: 56mg, Carbohydrates: 34g, Fiber: 0g, Sugar: 34g, Protein: 4g.


Leave a Reply