

My Kitchen Helper
My grandson, Leo, helped me make these last week. He is seven. He got sugar everywhere. I still laugh at that. His little face was so serious while rolling the dough balls.
Baking together is about more than cookies. It is about messy hands and shared stories. That time together matters. It builds sweet memories, not just a sweet treat.
Why We Chill the Dough
The dough can get sticky. Your hands might feel like a peanut butter monster! Do not worry. Just pop the bowl in the fridge.
Chilling the dough for a bit makes it easier to handle. It also helps the cookies keep their shape. This little wait makes a big difference. Who is your favorite kitchen helper? A child, a friend, or a pet?
The Magic Moment
You bake them just until the edges are golden. The centers will look soft. This is perfect. Take them out and act fast!
Press a chocolate kiss right into the middle of each warm cookie. The heat makes it melt just enough. Doesn’t that smell amazing? That warm chocolate and peanut butter smell is my favorite part. *Fun fact: The first peanut butter blossom recipe appeared in the 1950s!
Making Them Your Own
You can use regular butter or a plant-based kind. The egg can be an egg, or applesauce for a vegan cookie. I have tried both ways. They are all good.
Rolling the dough balls in sugar gives them a pretty sparkle. It adds a tiny crunch, too. Do you prefer your cookies classic, or do you like to change things up?
A Cookie for Sharing
These cookies are for sharing. I always make a double batch. I keep some for home and give some away. A plate of cookies says “I am thinking of you.”
Food made with care connects us. It is a simple, powerful thing. What is your favorite cookie to share with neighbors or friends? I would love to hear your stories.
Ingredients:
| Ingredient | Amount | Notes |
|---|---|---|
| brown sugar | 1/2 cup (100g) | |
| salted butter, cold | 1/3 cup (75g) | *plant-based or regular |
| smooth no-stir peanut butter | 1/4 cup (60g) | |
| large egg, cold | 1 | *can sub 1/4 cup unsweetened applesauce |
| vanilla | 1 teaspoon | |
| gluten-free flour 1:1 baking blend | 1 cup (120g) | |
| baking soda | 3/4 teaspoon | |
| salt | 1/2 teaspoon | |
| chocolate kisses | 22 | *plant-based or regular |
| coarse sanding sugar or granulated sugar | 1/2 cup | optional |
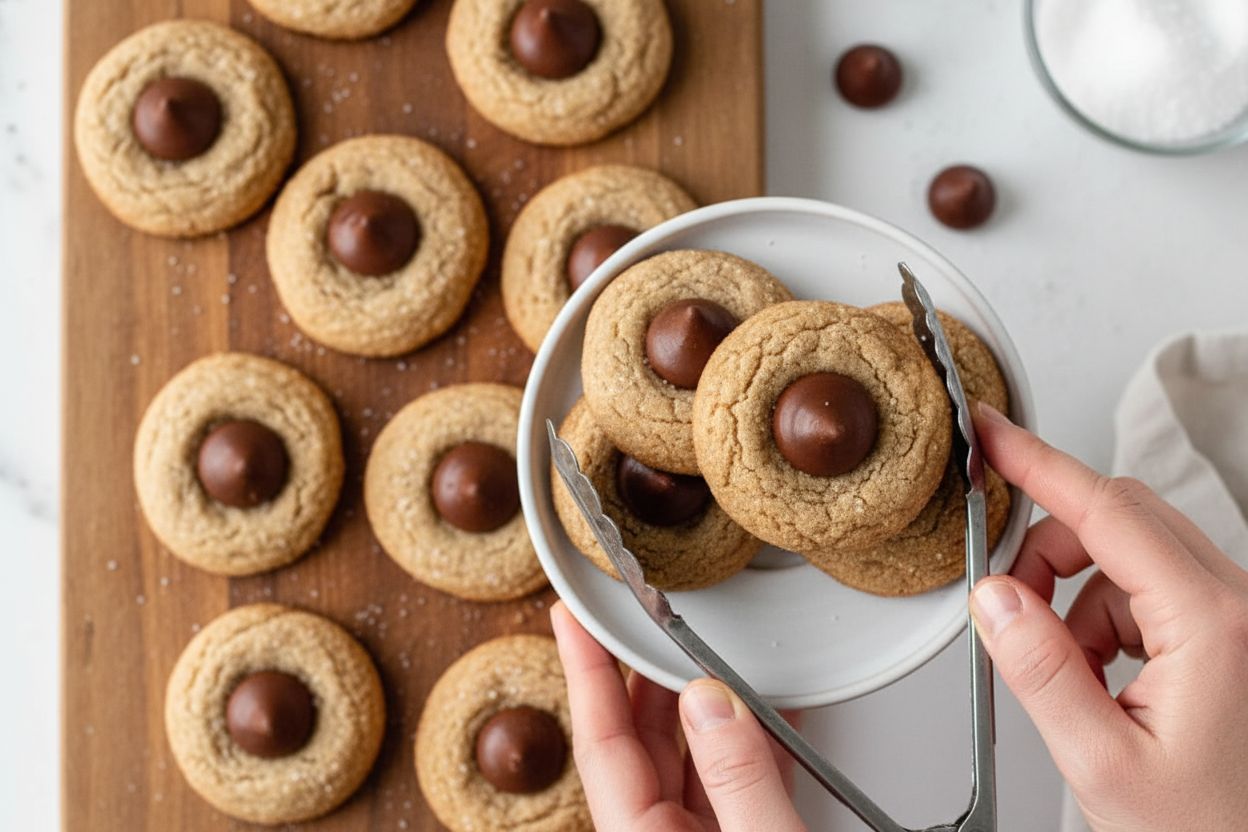
My Favorite Gluten-Free Peanut Butter Blossoms
Hello, my dear! Come sit at the counter. I want to tell you about these cookies. They are my grandson Leo’s favorite. He calls them “the cookies with the hat.” I still laugh at that. We make them every holiday, but really, any Tuesday is a good day for cookies. This recipe works for almost everyone. You can use regular butter or plant butter. An egg or applesauce. Doesn’t that smell amazing already? Let’s get our bowls dirty.
Step 1
First, turn your oven to 375ºF. Line your cookie sheets with parchment paper. Now, unwrap all your chocolate kisses. Do this now, trust me. You do not want to be scrambling with sticky fingers later. I learned that the hard way! Set them aside in a little bowl.
Step 2
Grab your mixer. Put in the brown sugar, peanut butter, and cold butter. Mix it on high for a few minutes. You want it light and fluffy. It looks like creamy peanut butter clouds. Scrape the bowl sides with a spatula. Then add your egg or applesauce and vanilla. Mix again until it’s all smooth and happy.
Step 3
Now, sprinkle in the flour, baking soda, and salt. Mix just until a soft dough forms. (Here’s a hard-learned tip: If the dough is too sticky, chill it for 30 minutes. It makes rolling so much easier.) Use a tablespoon to scoop the dough. Roll it into little balls in your hands.
Step 4
You can roll each ball in sugar if you like. It gives a pretty, sparkly crunch. Place them on your baking sheets. Now, bake for only 6 to 8 minutes. They will look a little underdone in the middle. That’s perfect! It keeps them soft. What’s the secret to a soft cookie? Share below!
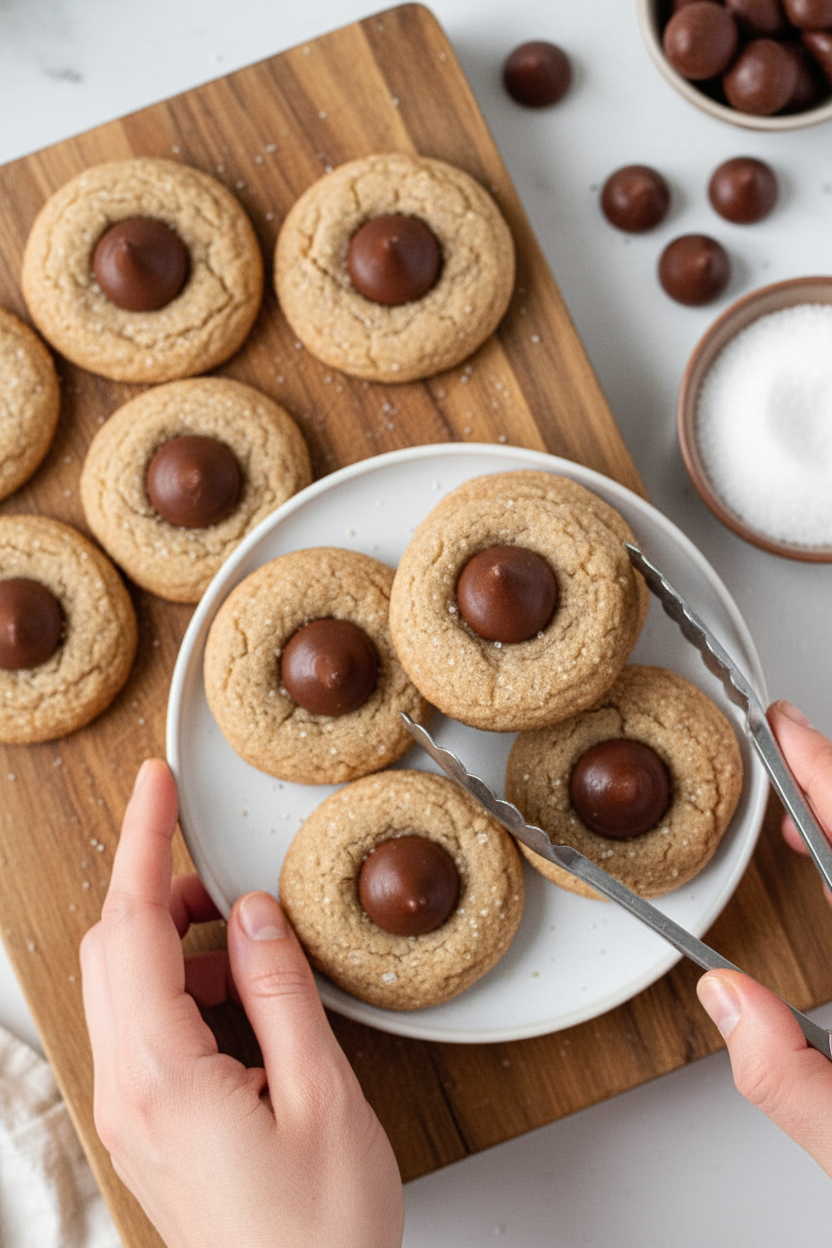
Step 5
The moment they come out, press a chocolate kiss into each warm center. Gently now! The cookie will puff around it. Let them cool completely on the sheet. The chocolate will set, and the cookie will firm up. Then, try not to eat them all in one sitting. I believe in you.
Cook Time: 8 minutes per batch
Total Time: 30 minutes
Yield: about 22 cookies
Category: Dessert, Cookies
Three Fun Twists to Try
Once you master the classic, you can play. I love adding little changes. It keeps things exciting. Here are three of my favorite twists. They are all so simple.
Chocolate Swap: Use a dark chocolate square or a peppermint patty instead of a kiss.
Jam Thumbprint: Skip the chocolate. Press your thumb in the warm cookie and add a dollop of raspberry jam.
Cookie Sandwich: Let two cookies cool completely. Spread a little extra peanut butter between them.
Which one would you try first? Comment below!
Serving Them Up With Style
These cookies are stars on their own. But I love making a little moment. For a treat, place a few on a vintage plate. Add some fresh berries on the side. The red looks so cheerful. A small glass of cold milk is the classic pairing. My husband prefers a hot coffee with his. The bitterness of the coffee loves the sweet cookie. For a special night, a glass of almond milk nog is so cozy.
Which would you choose tonight? A frosty glass of oat milk or a steaming mug of herbal tea? I think I can guess.
Keeping Your Blossoms Fresh and Ready
These cookies are best stored in a simple tin. Layer them with parchment paper. They will stay soft for up to five days. You can also freeze them for a sweet surprise later. Just place them in a freezer bag once they are fully cool.
I remember my first batch of these. I left them on a plate overnight. They were a bit dry by morning. Now I always use my old cookie tin. It keeps them perfectly chewy. Batch cooking is a wonderful gift to your future self.
Making a double batch is so smart. You can freeze half the dough balls before baking. Then you have fresh cookies anytime. This matters because a little planning brings so much joy later. Have you ever tried storing it this way? Share below!
Simple Fixes for Common Cookie Troubles
Is your dough too sticky to roll? Do not worry. This happens to everyone. Just chill the dough for thirty minutes. I once tried to rush this step. My kitchen counter was covered in sticky dough!
Do your cookies spread too much? Your butter might have been too soft. Always use cold butter right from the fridge. This helps the cookies keep their pretty shape. Getting this right builds your baking confidence.
Is the chocolate kiss sliding off? The cookies are too cool. You must press the kiss in right when they come out of the oven. This small step makes all the difference for flavor. Which of these problems have you run into before?
Your Quick Cookie Questions, Answered
Q: Can I make these ahead of time? A: Yes! You can freeze the dough balls for up to three months. Bake them straight from the freezer.
Q: What other nut butter can I use? A: Almond or sunflower butter work great. Just make sure they are the smooth, no-stir kind.
Q: How do I make these vegan? A: Use plant-based butter and the applesauce swap. Also, find plant-based chocolate kisses.
Q: Can I double the recipe? A: Absolutely. Just mix everything in a bigger bowl. *Fun fact: Doubling a recipe is called “scaling up”.
Q: Is the sugar roll necessary? A: No, but it gives a lovely sparkle and crunch. It is my favorite little extra step. Which tip will you try first?
Bake Some Joy and Share It
I hope your kitchen is filled with the smell of peanut butter and happiness. These little blossoms always make me smile. I love seeing your baking adventures too. Sharing food is one of life’s sweetest pleasures.
If you make these, I would be so delighted to see. You can share a photo of your beautiful cookies. Have you tried this recipe? Tag us on Pinterest! My handle is @AnnasCozyKitchen. Thank you for baking with me today.
Happy cooking!
—Anna Whitmore.
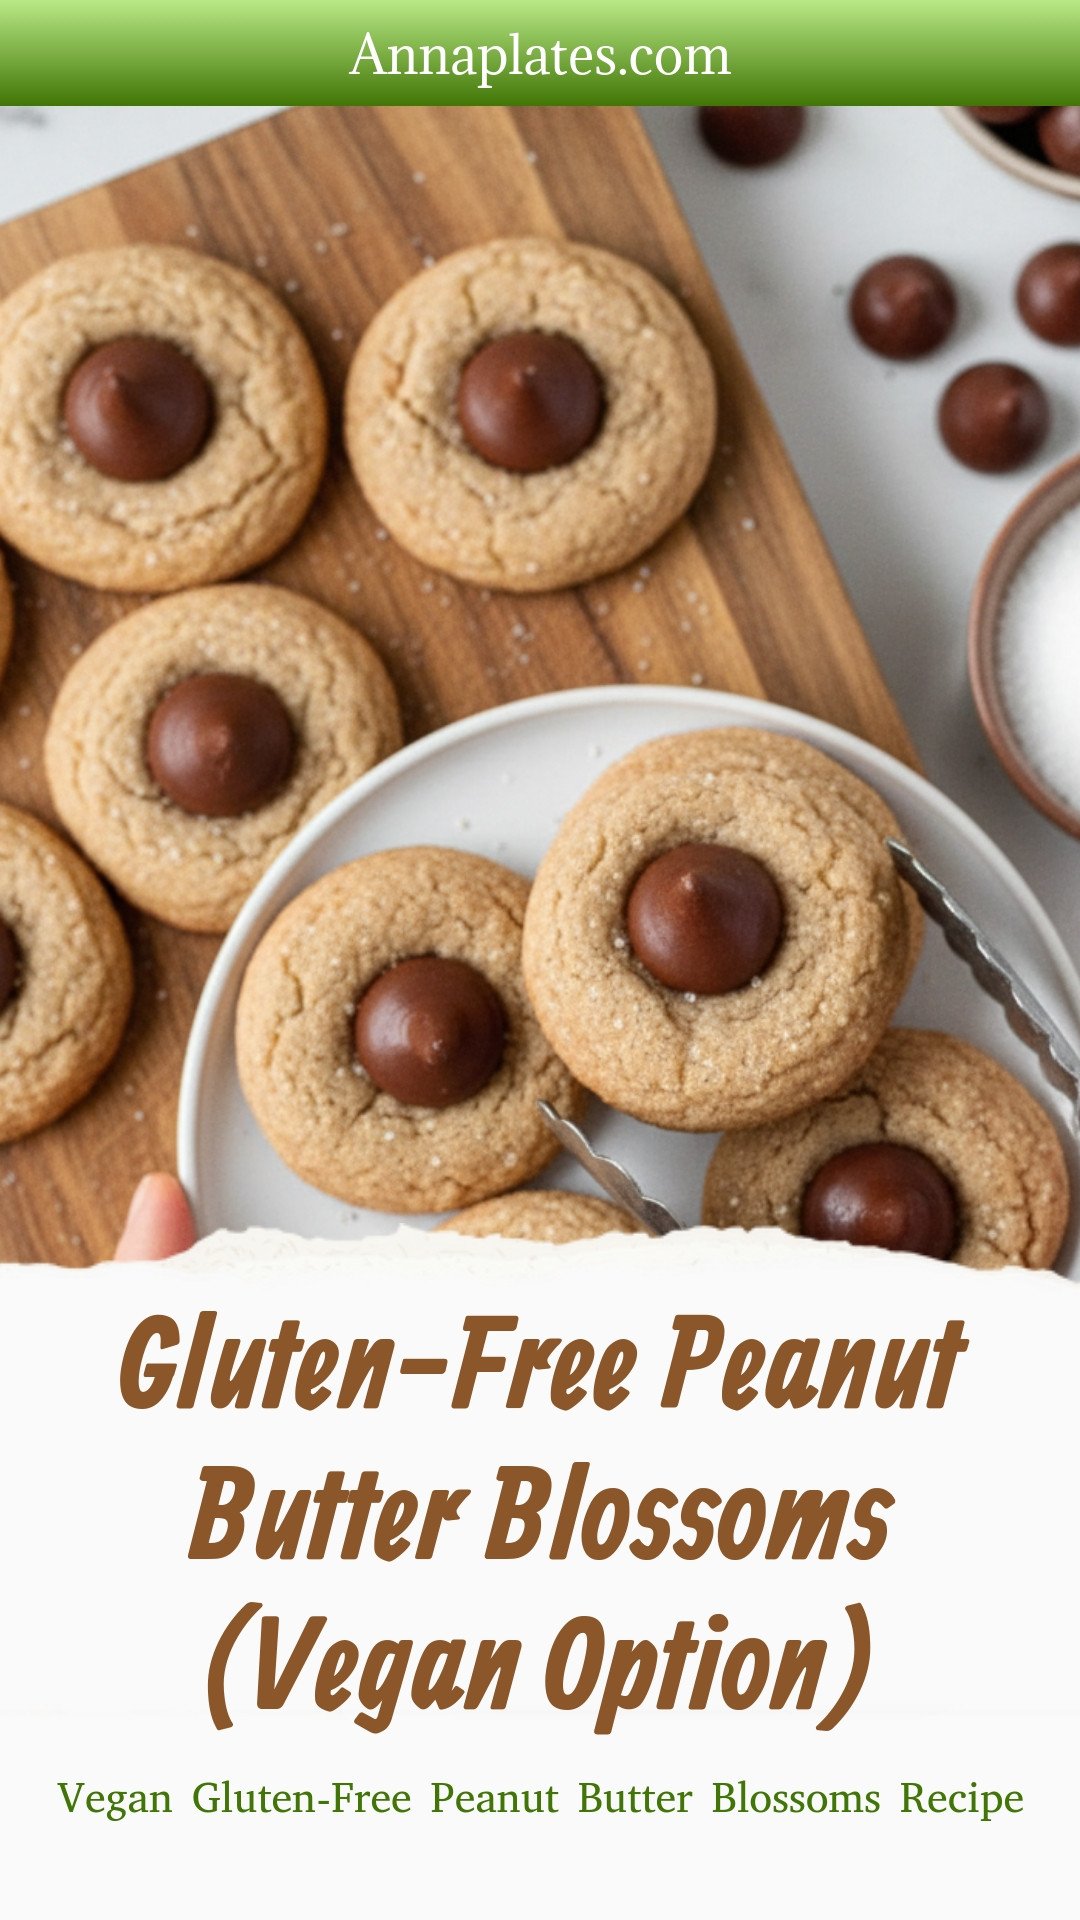
Gluten-Free Peanut Butter Blossoms (Vegan Option): Vegan Gluten-Free Peanut Butter Blossoms Recipe
Description
Irresistible gluten-free peanut butter blossoms with a vegan option! A classic holiday cookie made allergy-friendly and delicious for everyone.
Ingredients
Instructions
- Preheat the oven to 375ºF and prepare two large cookie sheets with parchment paper. Unwrap the chocolate kisses if needed and set aside.
- In a stand mixer or large mixing bowl with a handheld mixer, combine the brown sugar, peanut butter, and butter and mix on high speed for 2-3 minutes or until light and fluffy. Scrape down the sides of the bowl as needed.
- Add the egg (or applesauce) and vanilla and mix on high until fully combined and smooth.
- Measure in the flour, baking soda, and salt and mix until a dough forms.
- With a small 1-tablespoon cookie scoop, scoop the dough and roll it into balls. Note that if the dough is too sticky to roll, it needs to be chilled for 30-60 minutes.
- Roll each cookie dough ball in coarse sanding sugar or granulated sugar if desired and place it onto the prepared cookie sheets.
- Bake for 6-8 minutes or until the edges are a light golden brown and the center appears slightly underbaked.
- Remove from the oven and immediately place a chocolate kiss in the center of each cookie and gently press down. Allow the cookies to fully cool on the cookie sheets. Enjoy!
Notes
- Store leftover cookies in an airtight container at room temperature for up to 5 days or frozen for up to 6 months.


Leave a Reply