
A Silly Idea That Stuck
I once made a simple bean dip for a party. It looked a little plain. So I got silly with olives and cheese. I tried to make little penguins. My first one looked like a lumpy snowman! I still laugh at that.
But the kids at the party loved them. They giggled and ate them right up. That’s why this matters. Food should be fun. It brings people together with smiles. Have you ever made a funny food creature?
Let’s Make the Snowy Base
First, we make the “snow” for our penguins to stand on. It’s just a creamy bean dip. Put all the bean dip ingredients into a food processor. Blend it until it’s super smooth.
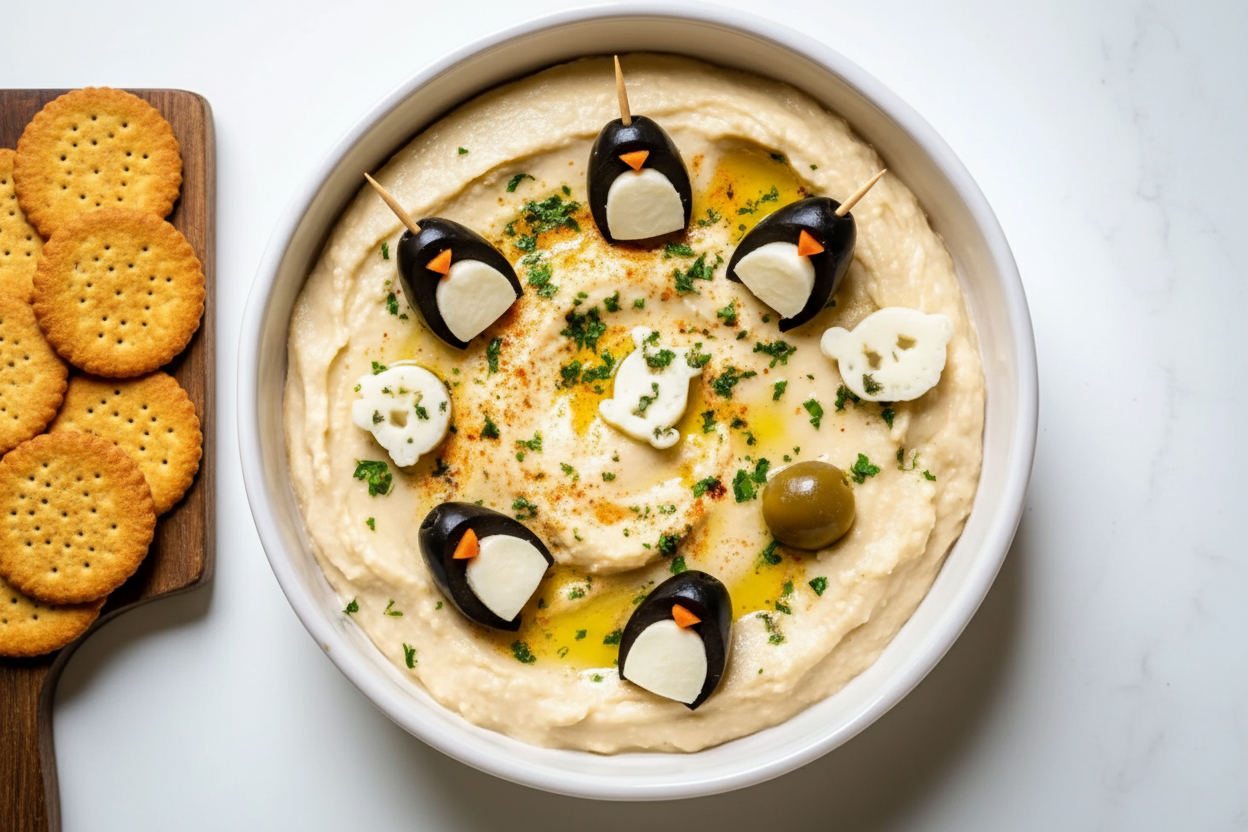
Scrape it into a pretty bowl. Smooth the top with a spoon. Doesn’t that smell amazing? The lemon and garlic make it so fresh. *Fun fact: Cannellini beans are also called white kidney beans!*
Building Our Waddling Friends
Now for the fun part. Dry your black olives with a paper towel. This helps the cheese stick. Cut a slit in six olives. Gently push a little mozzarella ball inside each one.
This is the penguin’s white belly. See how clever that is? The carrot slices become little feet and a bright orange beak. Which part do you think is the most fun to make?
Why This Little Project Matters
This is more than a snack. It’s a tiny moment of play. In our busy world, that’s important. Cooking together creates happy memories. It’s not about being perfect.
My lumpy first penguin taught me that. The joy is in the trying. That’s the second reason this matters. It turns cooking into sharing joy, not just a chore.
Your Turn to Create
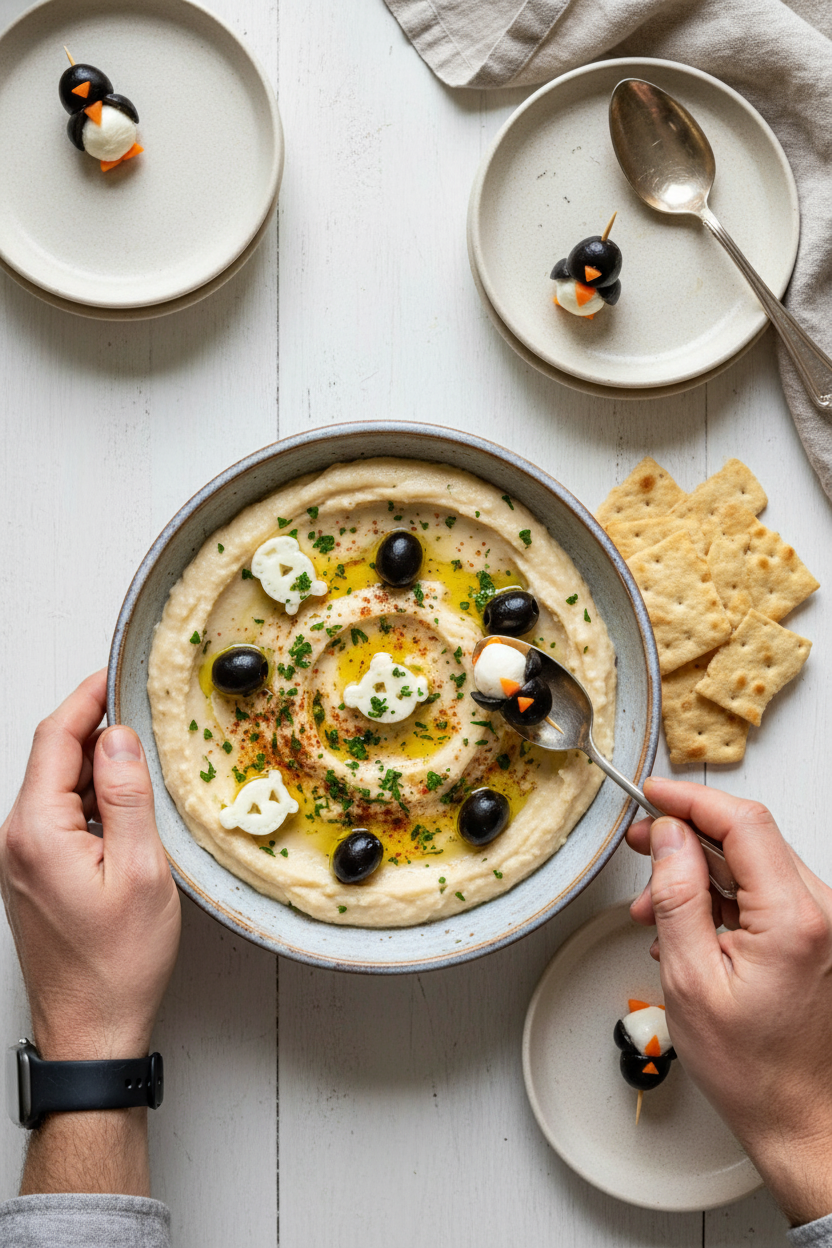
Arrange your penguins on the “snowy” dip. They can stand in a circle or march across the top. Use the toothpicks to keep them steady. They are ready for your table!
Watch people’s faces light up. It’s the best feeling. I’d love to see your penguin parade. Will you send me a picture of your creation? Tell me, what other animals should we make from food?
Ingredients:
| Ingredient | Amount | Notes |
|---|---|---|
| Cannellini beans | 1 can (15 oz) | Drained and rinsed |
| Extra-virgin olive oil | 2 tbsp | |
| Fresh lemon juice | 2 tbsp | |
| Garlic | 1 clove | Minced |
| Fresh parsley | 2 tbsp | Chopped |
| Sea salt | 1/2 tsp | |
| Ground black pepper | 1/4 tsp | |
| Smoked paprika | 1/4 tsp | Optional |
| Large black olives | 18 | Whole and pitted |
| Small mozzarella balls | 6 | Bocconcini or ciliegine |
| Carrot | 1 large | |
| Toothpicks | 6 |
My Silly Penguin Party Appetizer
Hello, my dear! Come sit with me. I want to tell you about my penguin friends. They are made from olives and cheese. I first made them for my grandson’s birthday. He giggled so much. He said they looked like little butlers. I still laugh at that. This recipe is playful and simple. You will have fun putting them together. Let’s make a tasty bean dip for them to swim in. Doesn’t that smell amazing? It’s like a little party on a plate.
Step 1: Let’s make the bean dip first. Put all the dip ingredients into a food processor. Blend it until it’s super smooth. You might need to stop and scrape the sides. My old machine makes a funny humming sound. (A hard-learned tip: rinse those beans well. It makes the dip taste fresher, I promise.)
Step 2: Scoop your creamy dip into a pretty bowl. Smooth the top with a spoon. Imagine it’s a snowy hill for our penguins. I like to use my blue ceramic bowl. It looks like a chilly pond. Set this aside for now.
Step 3: Now, grab your carrot. Peel it and slice some thin circles. These are the penguin feet. Then cut little triangles for beaks. This is the fiddly part, but it’s fun. What other vegetable could make a good beak? Share below!
Step 4: Time for the penguin bodies. Dry your olives with a paper towel. This helps the cheese stick. Carefully cut a slit in six olives. Gently push a mozzarella ball inside. See the white belly? It makes me smile every time.
Step 5: Let’s build them! Place a carrot circle down. Stand your stuffed olive on it. Add a whole olive on top for the head. Poke a carrot triangle into the head for a beak. It’s starting to look real!
Step 6: Finally, use a toothpick to hold each penguin together. Push it down through the head and body into the feet. Be gentle so you don’t split the olive. Now, march your penguin parade onto the dip bowl. Aren’t they charming?
Cook Time: 0 minutes
Total Time: 25 minutes
Yield: 6 servings
Category: Appetizer, Snack
Let’s Get Creative with Our Penguins!
You can dress these little fellows up for any season. Change one thing, and you have a whole new party. Here are three of my favorite twists. They are all so simple.
Sunny Citrus Dip: Add a teaspoon of orange zest to the bean mixture. It tastes bright and happy, like summer.
Spicy Snow Birds: Mix a tiny pinch of cayenne into the dip. Your penguins will have a little kick! It warms you right up.
Holiday Huddle: Use tiny cubes of red pepper for scarves. It’s perfect for a Christmas table. So festive and cute.
Which one would you try first? Comment below! I’d love to hear your ideas too.
Serving Your Penguin Parade
Presentation is part of the fun. I like to surround the dip bowl with crackers. The penguins stand proudly in the center. You could also add some crisp cucumber slices. They make a nice, cool landing pad. For a drink, a crisp white wine pairs nicely. For the kids, I love sparkling apple cider. The bubbles feel like a celebration. Which would you choose tonight? I think I’ll have the cider. It reminds me of autumn afternoons.
Keeping Your Penguins Perky
Let’s talk about keeping your penguins happy. The bean dip loves the fridge. Cover it tightly for up to three days. The penguins are best made fresh.
You can batch-cook the dip, though. Make a double batch and freeze half. Just thaw it in the fridge overnight. Stir it well before serving.
I once froze the whole penguin assembly. It was a soggy mess! Now I only freeze the dip. Storing food well saves time and money. It means a quick, tasty snack is always ready.
Have you ever tried storing it this way? Share below!
Little Fixes for Big Smiles
Sometimes cooking has little hiccups. Here are easy fixes. First, if your dip is too thick, add a teaspoon of water. Blend again until creamy.
Second, olives can be slippery. Pat them very dry with a paper towel. I remember when my first penguin belly slid right out! Dry olives stick better.
Third, carrot beaks might not stay. Make the triangle cut a bit thicker. This gives the toothpick more to hold onto. Fixing small problems builds your cooking confidence. It also makes your food look and taste just right.
Which of these problems have you run into before?
Your Penguin Questions, Answered
Q: Is this recipe gluten-free? A: Yes, all the ingredients are naturally gluten-free. Just check your labels to be sure.
Q: Can I make any part ahead? A: Absolutely. Make the dip a day early. Assemble the penguins the day you serve.
Q: What if I don’t have mozzarella balls? A: A small slice of white cheese works. You can even use a bit of cream cheese.
Q: Can I make more penguins? A: Of course! Just double or triple the olive and carrot amounts. You might need more dip too.
Q: Any fun optional tips? A: Add that smoked paprika to the dip. *Fun fact: It gives a cozy, campfire smell.* Which tip will you try first?
From My Kitchen to Yours
I hope you have fun making these little penguins. They always make people smile at my table. Cooking is about sharing joy and good food.
I would love to see your creations. Did your penguins turn out cute? Have you tried this recipe? Tag us on Pinterest! You can find me at @AnnasCozyKitchen. Thank you for cooking with me today.
Happy cooking! —Anna Whitmore.
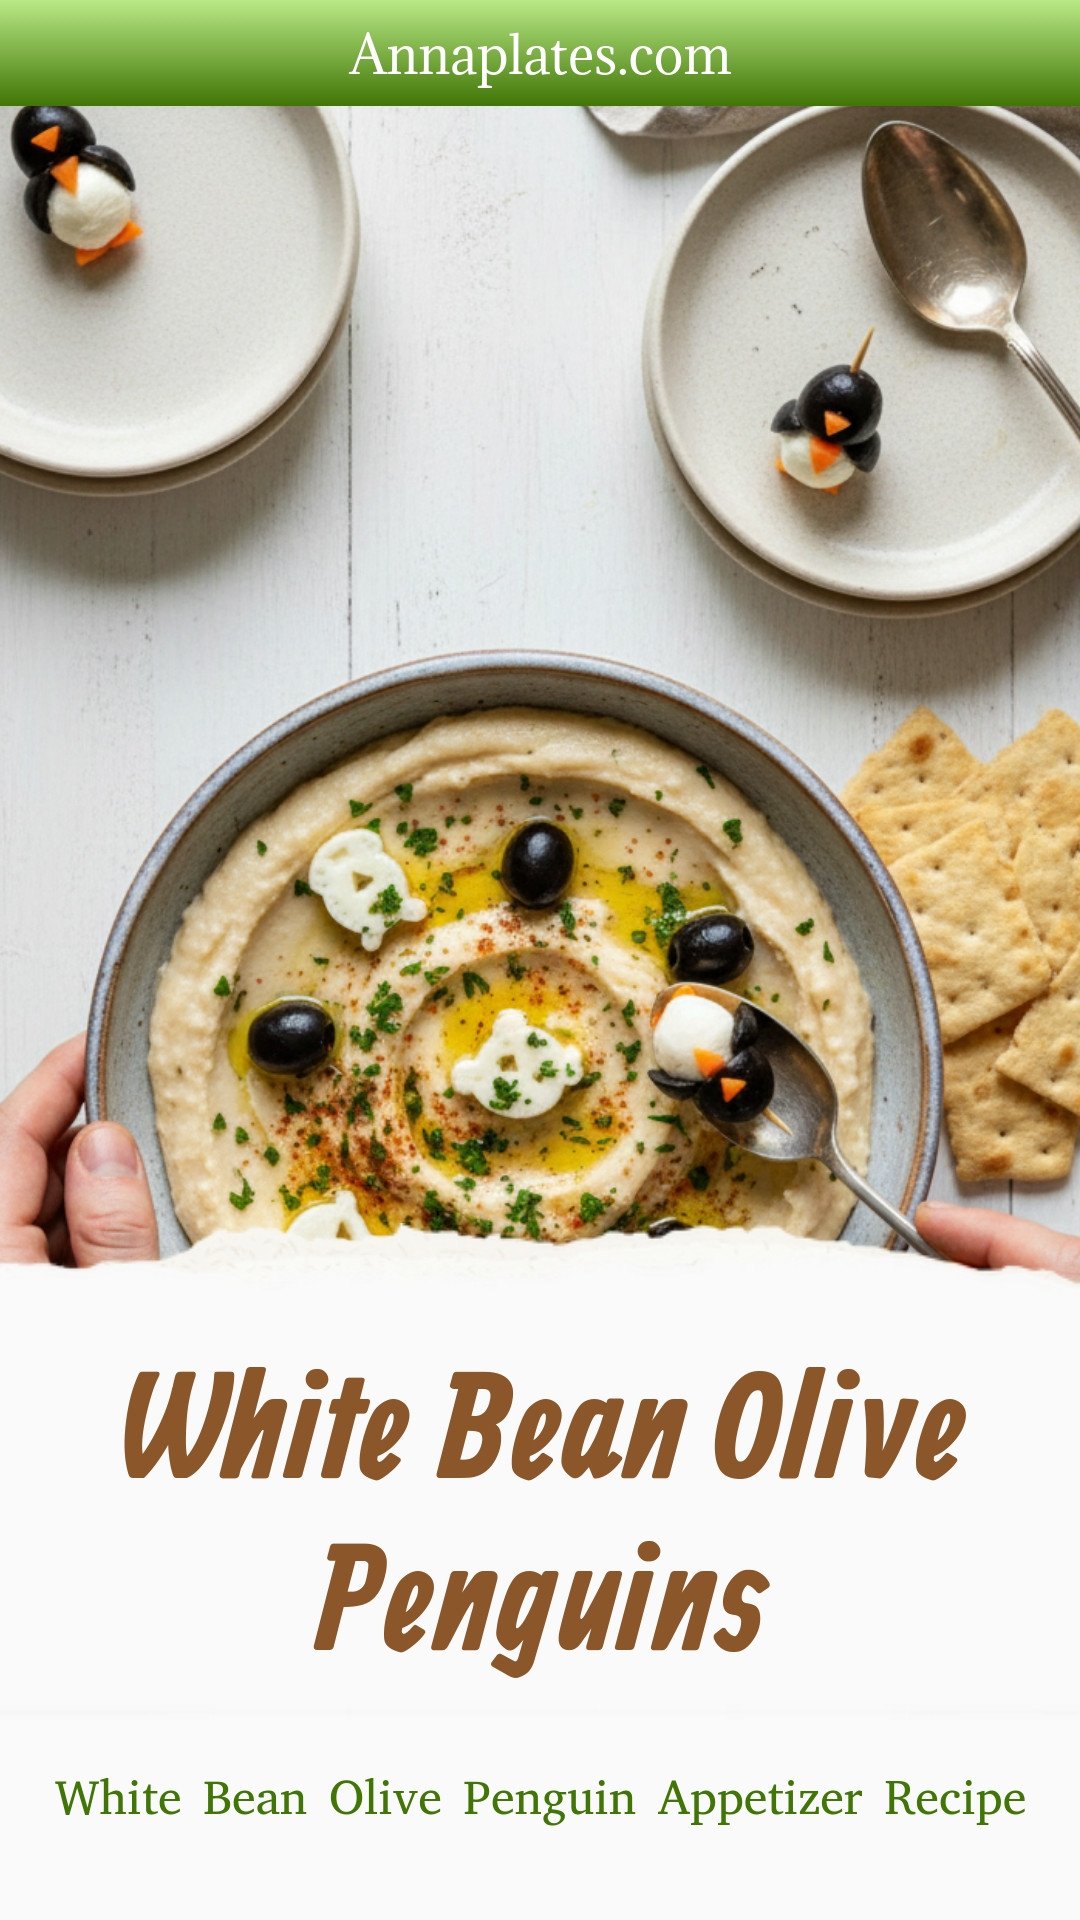
White Bean Olive Penguin Appetizer Recipe
Description
Adorable white bean and olive penguin appetizers! A fun, easy, and healthy snack idea perfect for kids, parties, and holiday platters.
Ingredients
White Bean Dip
Olive Penguin Decoration
Instructions
- Prepare White Bean Mixture: Combine cannellini beans, olive oil, lemon juice, garlic, parsley, salt, pepper, and smoked paprika in a food processor. Blend until smooth and creamy, scraping down sides as needed. Adjust seasoning to taste.
- Transfer and Smooth: Transfer the mixture to a serving bowl and smooth the surface with a spatula.
- Prepare Carrot Pieces: Peel the carrot. Slice into 12 thin coins approximately 1/8 inch thick for feet, and cut 6 small triangles from additional slices for the beaks.
- Assemble Penguin Bodies: Pat olives dry. Cut a lengthwise slit in 6 olives and gently stuff each with a mozzarella ball to create the penguins’ white bellies.
- Build Penguin Figures: On a work surface, place a carrot coin flat for feet. Stand a stuffed olive vertically atop the carrot. Add a whole olive as the head. Insert a carrot triangle into each head olive’s pitted hole to form the beak.
- Secure Penguins: Anchor each penguin by threading a toothpick through the head, body, and feet.
- Arrange and Serve: Repeat assembly for all 6 penguins and arrange them on or around the white bean mixture for serving.
Notes
- For a vegan version, ensure the mozzarella balls are a vegan-friendly cheese alternative. Penguins can be assembled a few hours ahead and refrigerated.


Leave a Reply