

My First Kitchen Disaster
I first made these puffs for a party. I was so nervous. I forgot to use a rack in the pan.
The bacon fat pooled at the bottom. The bottoms got a bit soggy. I still laugh at that. Now I always use a rack. It lets the heat circle each puff perfectly. This matters because it makes every bite crispy.
Why We Make Them
These are more than a snack. They are little hugs on a plate. They say, “I’m glad you’re here.”
Food shared with love fills the heart. It is not just about filling the belly. That is a life lesson from my grandma. Do you have a food that feels like a hug?
Let’s Get Rolling
First, chop your bacon. Cook it just until it’s soft, not crispy. It will finish in the oven. Doesn’t that smell amazing?
Cut your bread and remove crusts. Spread that cream cheese thick. A little cheddar on top is like a happy secret. Roll it up tight with the bacon. The toothpick is its little belt.
A Crispy Secret
Here is the key step. Stand each roll on its edge on a rack. This is very important. It lets the bacon cook evenly all around.
Pop them in a hot oven. Watch them turn golden. Fun fact: the bread soaks up the bacon flavor as it bakes. It becomes so tasty. Which do you think is better, extra crispy bacon or just a little soft?
Serving With a Smile
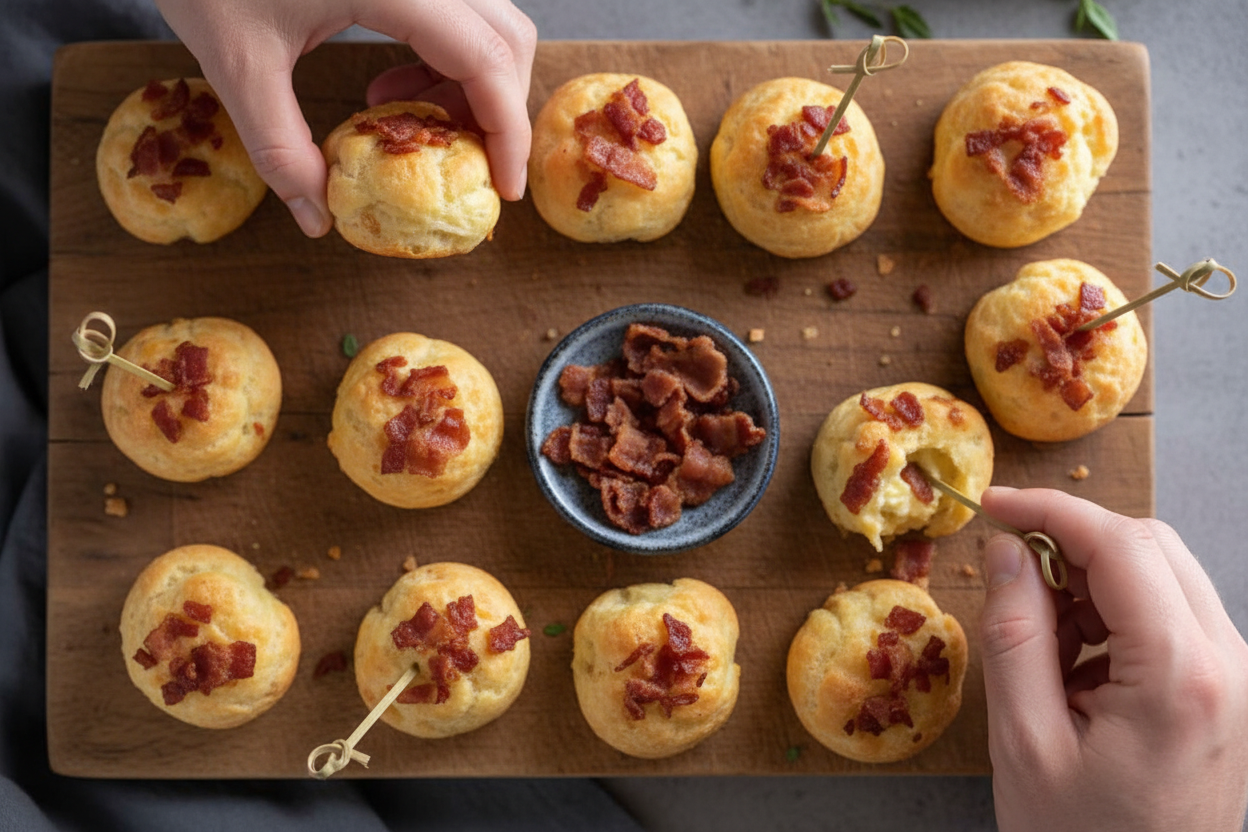
Serve these puffs hot. The cheese will be wonderfully warm. Be careful of the hot toothpicks. I always put a little bowl on the table for them.
They are perfect for game night or when friends visit. Seeing people enjoy your food is the best feeling. What is your favorite thing to cook for a crowd?
Ingredients:
| Ingredient | Amount | Notes |
|---|---|---|
| Bacon | 10 strips | Chopped |
| Sandwich bread | 8 slices | |
| Cream cheese | 2 cups | |
| Cheddar cheese | ½ cup | Shredded |
| Toothpicks | As needed | For securing |
My Cheesy Bacon Puffs: A Bite of Happy Memory
Hello, dear! Come sit at my kitchen table. I want to tell you about my Cheese and Bacon Puffs. They are my grandson’s favorite. He always asks for them on game night. I still laugh at that. He calls them “little flavor pillows.” Isn’t that sweet? Making them is simple and fun. You just need a few things. Let’s make some happy memories together, shall we?
Step 1
First, let’s get our bread ready. Take your soft sandwich bread. Carefully cut off the crusts all around. I know, it seems a shame. But it helps them roll up nicely. Then, cut each slice right in half. You’ll have little rectangles. My grandkids love to eat the crusts while I work. Doesn’t that smell amazing? It’s the smell of bacon cooking!
Step 2
Now, cook your chopped bacon just until it’s soft. It shouldn’t be crispy yet. (A hard-learned tip: if the bacon is too crisp, it will crack when you roll it). Lay one strip on your counter. Place two bread halves end-to-end right on top of it. This makes a perfect base for our roll-up.
Step 3
Time for the cheese! Spread a good layer of cream cheese on each bread piece. Use a butter knife. Then, sprinkle a little shredded cheddar over the top. Don’t overfill it, or it will ooze out. I learned that the messy way! Sweet or savory: which do you prefer? Share below!
Step 4
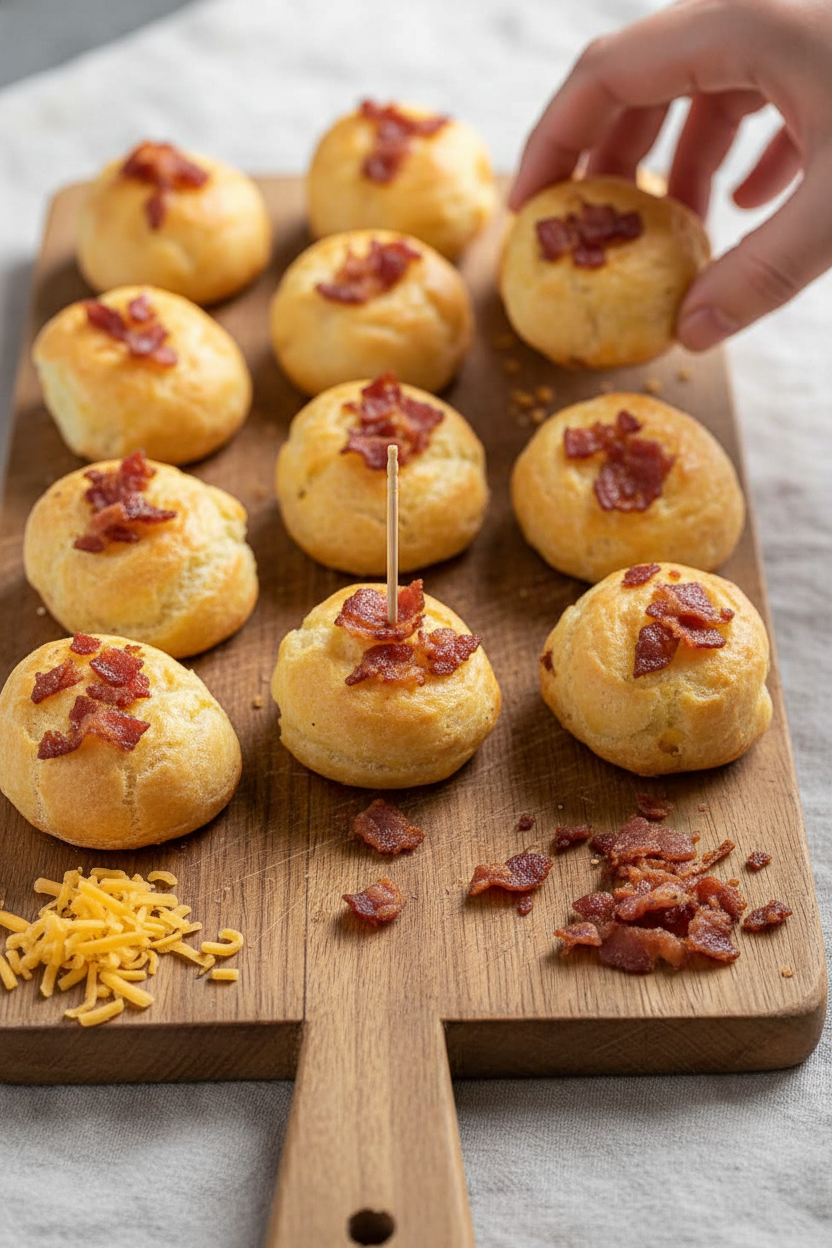
Here’s the fun part. Gently roll it all up, starting from the short end. The bacon will wrap around the outside. Secure your little puff with a toothpick. Stand each roll on its edge on a baking rack. This lets the heat cook everything evenly. Your pan will have ten lovely little soldiers ready to bake.
Step 5
Pop them in a hot oven. Bake until they turn golden and the bacon is cooked. Your whole house will smell incredible. Let them cool just a minute before serving. They are best when warm and gooey inside. I always make a double batch. They disappear so fast!
Cook Time: 15–20 minutes
Total Time: 35 minutes
Yield: 10 puffs
Category: Appetizer, Snack
Three Fun Twists to Try
This recipe is like a friendly blank canvas. You can paint it with different flavors! Feel free to play. Here are three ideas I love. They each bring a different smile to my face.
The Garden Twist
Skip the bacon. Use a thin slice of zucchini or bell pepper strip instead.
The Sweet Heat Twist
Add a tiny drizzle of honey and a pinch of chili flakes to the cream cheese.
The Pizza Twist
Mix a spoonful of tomato paste and some dried oregano into the cheese. So good!
Which one would you try first? Comment below!
Serving Them Up With Style
These puffs are wonderful all on their own. But I love to make a little plate special. For a party, I spear each puff on a longer skewer. I add a cherry tomato and a basil leaf. It looks so pretty. For a cozy snack, just serve them on a napkin. A simple salad with a tangy vinaigrette is perfect alongside. It cuts through the richness.
For drinks, a cold glass of apple cider is lovely. The sweetness is a nice friend for the salty bacon. Grown-ups might enjoy a crisp lager beer. It cleans the palate beautifully. Which would you choose tonight?
Keeping Your Puffs Perfect
These puffs are best fresh and hot. But you can make them ahead. Let them cool completely first. Then store them in the fridge for two days.
You can freeze them for a month, too. I once froze a whole batch for my grandson’s visit. He loved them just as much reheated. Place them on a baking sheet to reheat.
Warm them in a 350-degree oven until hot. This keeps them crispy. Batch cooking saves you time on busy days. It means a tasty snack is always ready. Have you ever tried storing it this way? Share below!
Little Fixes for Big Flavor
Is your bacon not crispy? Your bread might be too thick. I remember when my first batch was soggy. Now I gently flatten the bread with a rolling pin. Thinner bread cooks better.
Is the cream cheese oozing out? You might be using too much. A thin layer is all you need. This matters because it holds the roll together. Is the roll coming undone? Your toothpick might be in wrong.
Push it through the seam and out the top. Fixing small issues builds your cooking confidence. It also makes every bite delicious. Which of these problems have you run into before?
Your Quick Questions, Answered
Q: Can I make these gluten-free?
A: Yes! Use your favorite gluten-free bread. Just handle it gently.
Q: Can I make them ahead?
A: Absolutely. Assemble them and keep them chilled. Bake just before your guests arrive.
Q: What are easy ingredient swaps?
A: Try turkey bacon or a different cheese. Use what you love.
Q: Can I double the recipe?
A: You sure can. Just use two baking sheets. Fun fact: These were called “Angels on Horseback” in my old cookbook!
Q: Any optional tips?
A: A tiny sprinkle of garlic powder adds nice flavor. Which tip will you try first?
From My Kitchen to Yours
I hope you love making these cheesy puffs. They always make my kitchen smell wonderful. I would love to see your creations. Sharing food is how we connect.
Please show me your version. Your photos inspire me and other readers too. Have you tried this recipe? Tag us on Pinterest! Thank you for cooking with me today.
Happy cooking!
—Anna Whitmore.

Cheese and Bacon Puffs: Cheese and Bacon Puff Recipe
Description
Flaky puff pastry bites loaded with gooey cheese and crispy bacon. The perfect easy appetizer for any party or cozy night in.
Ingredients
Instructions
- Remove the crusts from each slice of bread. Then cut the bread in half.
- For each puff, place 2 bread halves, end to end, on a strip of bacon.
- Spread some cream cheese on each slice. Sprinkle just a bit of cheddar cheese on top.
- Roll up and fasten with a toothpick.
- Stand rolls on edge on a rack in a shallow baking pan. Bake at 375 degrees for 15-20 minutes, or until lightly browned and bacon is cooked. Serve hot.


Leave a Reply