
A Little Story About My First Danish
I made my first cherry danish when I was about your age. My grandma was visiting. She showed me how to pinch the dough. I remember my hands were so clumsy. I still laugh at that.
The kitchen smelled like warm sugar and almonds. That smell takes me right back to that sunny afternoon. It is a happy memory for me. What is a food that brings back a happy memory for you?
Why We Chill the Dough
You will see I ask you to put the rolls in the freezer. This is a small step that matters a lot. Cold dough is much easier to handle. It does not stick to your fingers.
This little trick helps the danish keep its shape. It makes the layers nice and flaky when it bakes. I think small steps like this are what make a recipe special. They turn simple ingredients into something wonderful.
The Magic of Two Fillings
First, we make the creamy filling. The cream cheese and sugar get all smooth. Then we add the almond extract. Doesn’t that smell amazing? It is like a sweet, cozy hug.
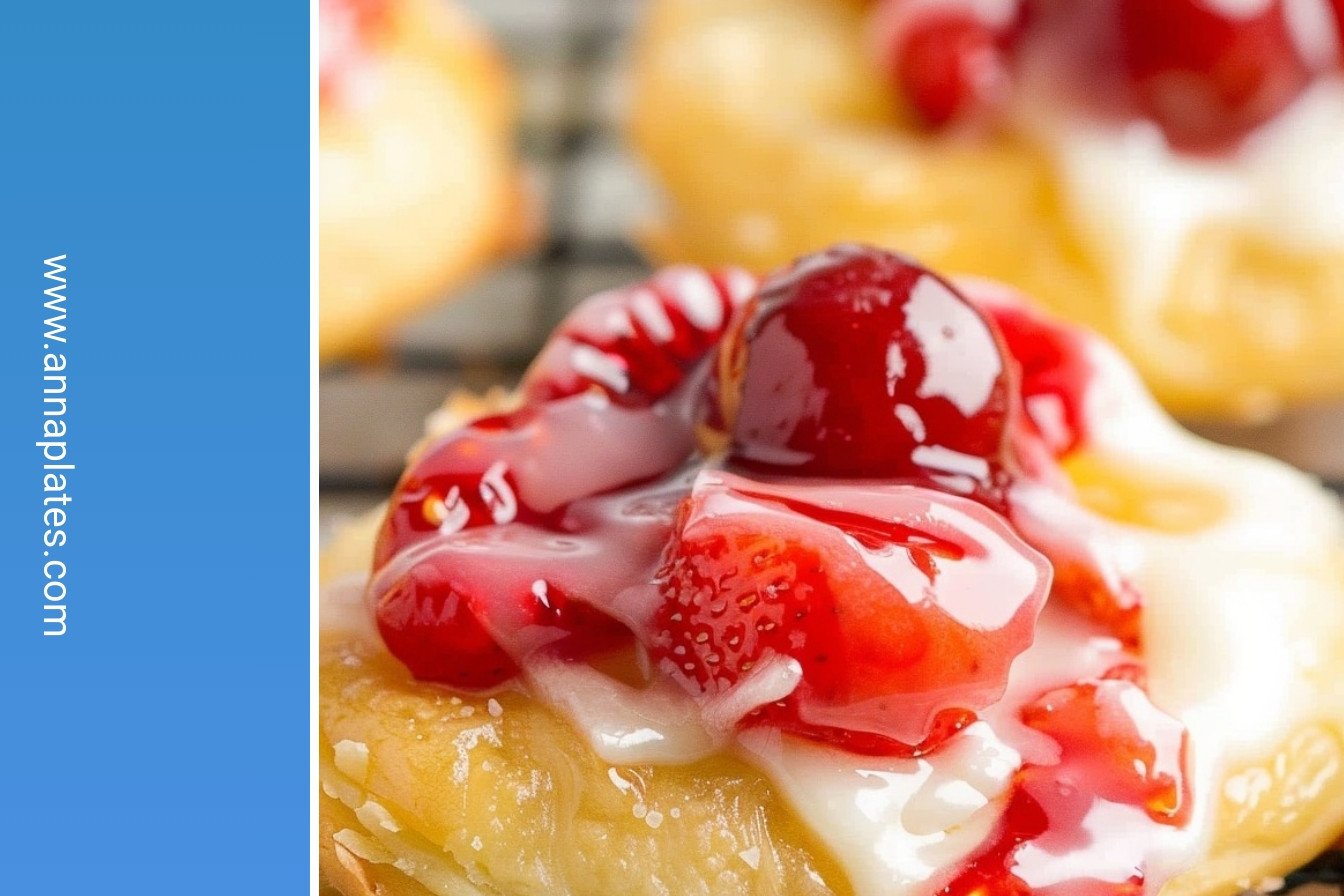
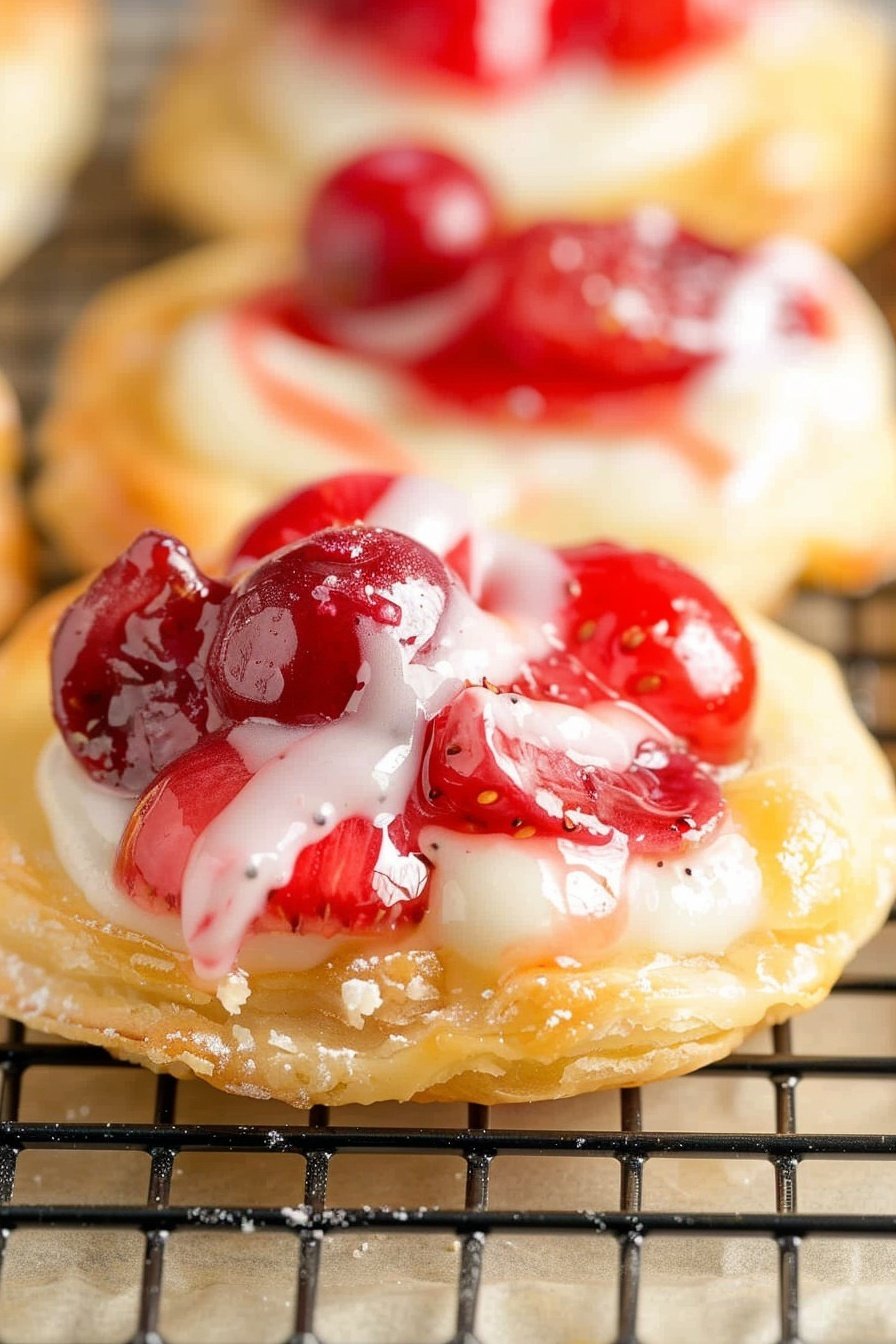
Then comes the bright red cherry pie filling. The two tastes together are just perfect. The creamy and the fruity are best friends. Fun fact: Almond extract doesn’t come from the same kind of tree as the almonds we eat. They are cousins! Do you like your pastries more creamy or more fruity?
Shaping Your Little Pastries
Do not unroll the dough. Just cut the whole roll into slices. Then you flatten the middle with your thumb. This makes a little nest for the filling. It is fun to do.
Painting the edges with egg wash is my favorite part. It makes the baked danish shiny and golden. It is like giving each one a little coat of sunshine before it goes in the oven.
Sharing What You Make
This recipe makes two dozen danishes. That is a lot for one person. I always make the full batch. I keep a few for myself. Then I share the rest.
Taking a plate of warm pastries to a neighbor is a wonderful thing. It is a small way to show you care. Food made with love just tastes better. Who would you love to share a plate of warm danishes with?

Ingredients:
| Ingredient | Amount | Notes |
|---|---|---|
| cream cheese | 5 ounces | softened |
| almond extract | ½ teaspoon | |
| sugar | ¼ cup | |
| cherry pie filling | 21 ounces | |
| egg | 1 | |
| water | 1 tablespoon | |
| flaky crescent rolls | 16 ounces | two 8-ounce tubes, placed in the freezer for 30 minutes |
| slivered almonds | ¼ cup | optional |
| Glaze | ||
| powdered sugar | 1 cup | |
| whole milk | 3 tablespoons | |
My Cherry Danish Dream
Oh, these little pastries bring back such happy memories. My granddaughter, Lily, calls them “Grandma’s Cherry Clouds.” I think that’s the sweetest name. We make them together on slow Saturday mornings. The smell of almond and baking dough fills the whole house. Doesn’t that smell amazing?
They look fancy, but they are so simple. You just need a few ingredients from the store. The secret is keeping the dough cold. (My hard-learned tip: pop those crescent roll tubes in the freezer for 30 minutes first. It makes them so much easier to handle!). Let’s get our hands a little dusty with flour, shall we?
Step 1
First, let’s wake up the oven. Set it to 350°F. Then, line your baking sheets with parchment paper. This little trick saves you from so much scrubbing later. I still laugh at the time I forgot the paper. What a sticky mess that was!
Step 2
Now, let’s make the creamy filling. Grab a bowl and your mixer. Beat the soft cream cheese, sugar, and almond extract together. Keep mixing until it’s smooth and dreamy. This is the heart of the Danish. It tastes like a sweet, creamy hug.
Step 3
Next, make the egg wash. Just beat one egg with a tablespoon of water in a small bowl. This is like magic glue for the pastry. It will make the edges turn a beautiful golden brown in the oven. Do you know what the egg wash does? Share below!
Step 4
Time for the dough! Only open one tube for now. Do not unroll the dough. Keep it in its log shape. Place it on a cutting board. Use a sharp knife to slice it into 12 equal pieces. I always count them out loud.
Step 5
Now, use your fingers to flatten each piece. Make a little well in the middle for the filling. Place them on your baking sheet. Give them some space to grow. Then, paint the edges with your egg wash using a pastry brush.
Step 6
Spoon a bit of the cream cheese filling into each center. Then, place two cherries on top of the cream cheese. Don’t be shy with the cherries! They add such a wonderful, tart pop of flavor. Now, they are ready for their oven nap.
Step 7
Bake them for 10 to 11 minutes. Watch for those golden-brown edges. Let them cool for just five minutes. Meanwhile, whisk the powdered sugar and milk for the glaze. Drizzle it over the warm Danishes. It makes them look so pretty.
| Cook Time: | 10–11 minutes |
| Total Time: | 22 minutes |
| Yield: | 24 Danishes |
| Category: | Breakfast, Dessert |
Three Tasty Twists to Try
This recipe is like a blank canvas. You can paint it with so many different flavors. Feel free to get creative. Here are a few of my family’s favorite ways to change it up.
Blueberry Lemon Sunshine
Use blueberry pie filling instead of cherry. Add a tiny bit of lemon zest to the cream cheese. It tastes so fresh and sunny.
Chocolate-Hazelnut Swirl
Skip the cream cheese filling. Use chocolate-hazelnut spread instead. Top it with a single raspberry. My grandson dreams about this one.
Apple Pie Spice
Use apple pie filling with a dash of cinnamon. It’s like a mini apple pie for breakfast. So cozy on a fall morning. Which one would you try first? Comment below!
The Perfect Way to Serve Them
These Danishes are wonderful all on their own. But I love making a little occasion out of them. For a special brunch, place them on a lovely cake stand. It makes everyone feel so fancy. You could also add a dollop of whipped cream on the side.
Now, what to drink? A cold glass of milk is always a classic choice. It pairs so well with the sweetness. For the grown-ups, a hot cup of coffee is just perfect. The bitter coffee and the sweet Danish are a match made in heaven. Which would you choose tonight?
Keeping Your Danishes Delicious
Let’s talk about keeping these treats fresh. They are best eaten the same day. But they will keep for two days in the fridge.
Just place them in an airtight container. You can also freeze them before baking. Assemble the Danishes and freeze them on the baking sheet.
Once frozen, pop them into a freezer bag. I once forgot a batch in the freezer for a month. They baked up perfectly when my grandkids visited!
Batch cooking like this saves so much time. It means a fresh, warm breakfast is always ready. This matters on busy school mornings.
To reheat, warm them in a 300°F oven for five minutes. This brings back their flaky texture. Have you ever tried storing it this way? Share below!
Simple Fixes for Common Danish Troubles
Sometimes the filling can bubble over. Just make a small well in the dough first. This creates a little bowl for the cream cheese.
If your dough gets too warm, it becomes sticky. That’s why we chill it first. I remember when my dough melted all over my hands.
It was a mess! A cool dough is much easier to handle. This matters because it builds your confidence in the kitchen.
The glaze might be too thick or too thin. Add more milk for a thinner drizzle. Add more sugar for a thicker one.
Getting the glaze right makes the Danish look beautiful. A pretty treat always tastes a little better. Which of these problems have you run into before?
Your Danish Questions Answered
Q: Can I make these gluten-free?
A: Yes! Use a gluten-free crescent roll dough. The method stays exactly the same.
Q: Can I make them ahead?
A: You can prepare them the night before. Keep them covered in the fridge until morning.
Q: What can I use instead of cherries?
A: Blueberry or apple pie filling works wonderfully. *Fun fact: I love using peach filling in the summer.*
Q: Can I make a smaller batch?
A: Of course. Just use one tube of dough. Halve the filling and glaze ingredients.
Q: Are the almonds important?
A: They are optional but add a nice crunch. Which tip will you try first?
Bake Some Joy
I hope you love baking these cherry Danishes. They always make my kitchen feel warm and happy. Sharing them with family is the best part.
I would love to see your beautiful creations. Have you tried this recipe? Tag us on Pinterest!
You can find me there sharing more kitchen stories. Happy cooking!
—Anna Whitmore.
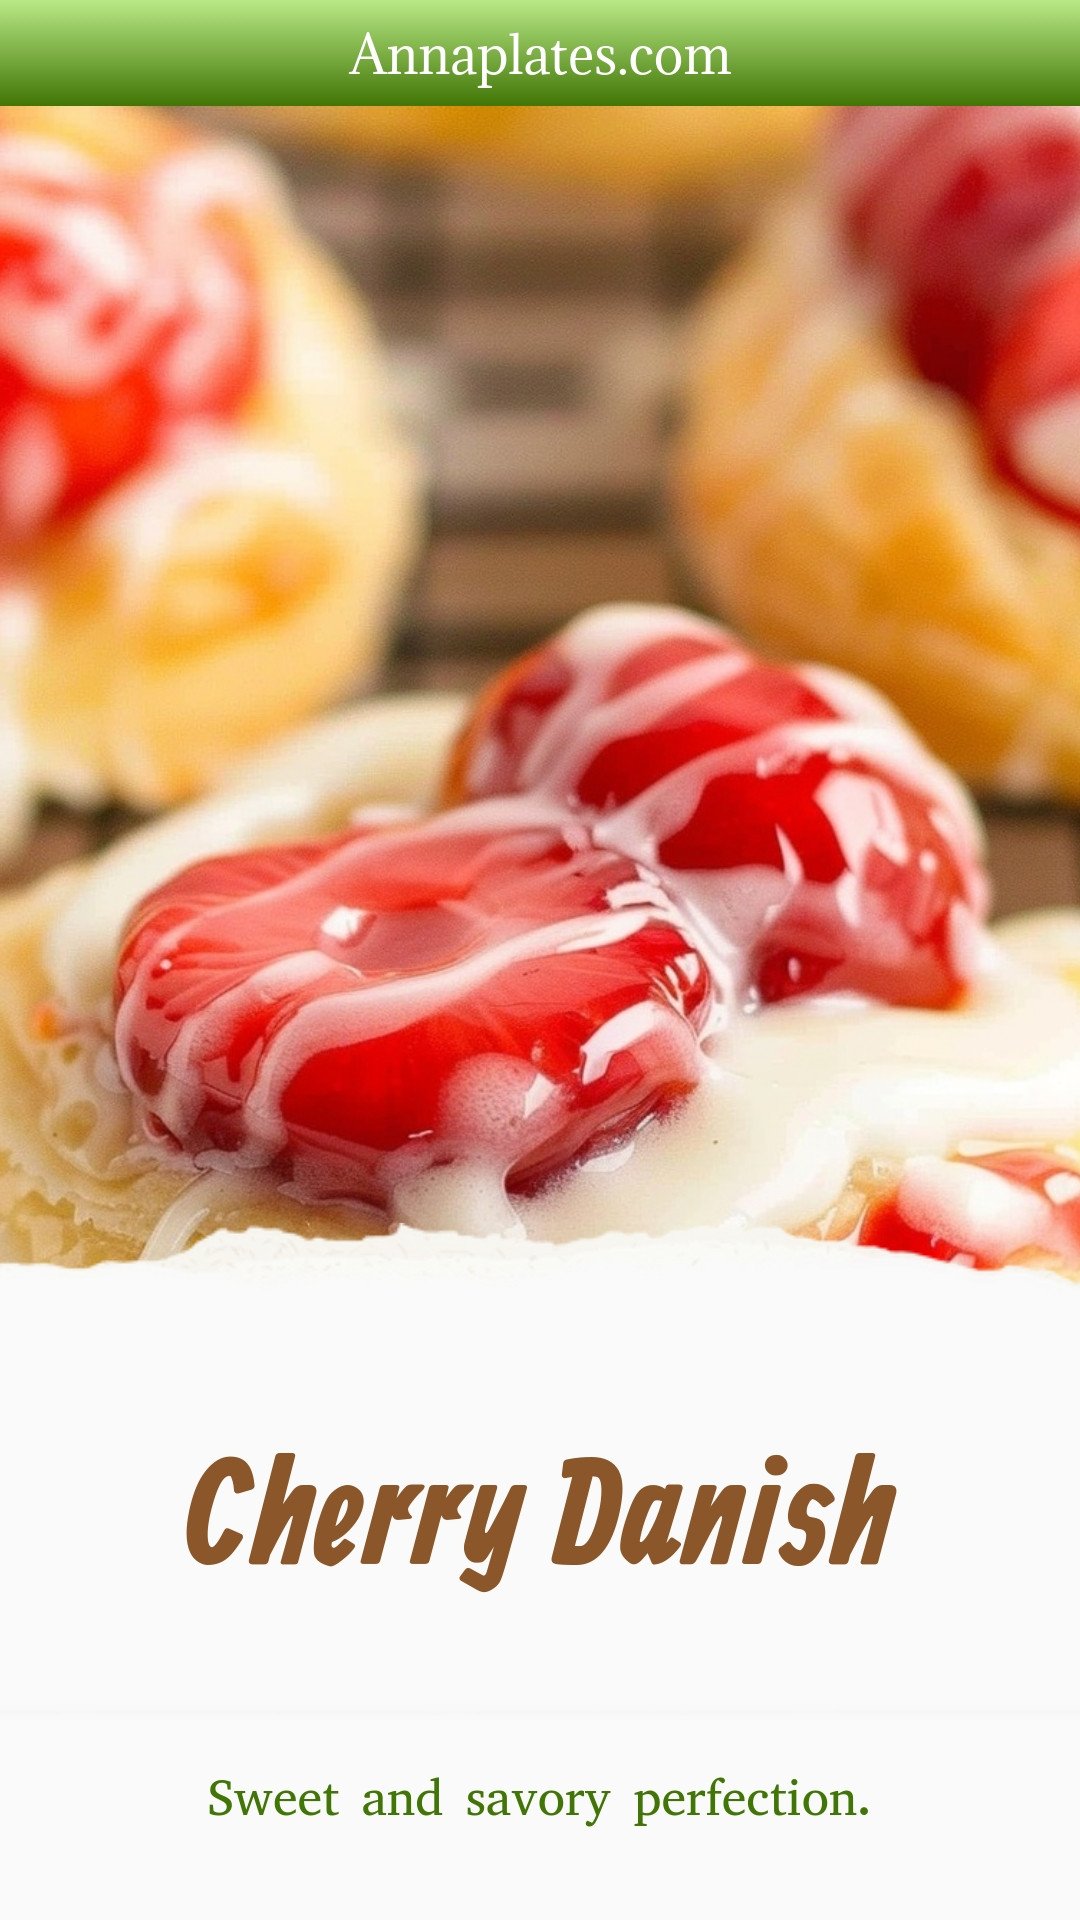
Cherry Danish: Sweet and savory perfection.
Description
Bake the perfect, flaky Cherry Danish with this easy recipe! A sweet cream cheese filling and tart cherry topping make a delicious homemade breakfast or brunch treat.
Ingredients
=== Glaze ===
Instructions
- Preheat your oven to 350°F. Line 2 baking sheets with parchment paper, set it aside.
- Using a medium bowl and a handheld electric mixer on medium-high speed, cream together the cream cheese, granulated sugar and almond extract until smooth. Set it aside.
- In a small mixing bowl using a fork, beat the egg and water to make an egg wash. Set it aside.
- Open only 1 package of crescent rolls, and remove them from the tube. Do not unroll them, instead, keep them in the long cylinder shape and place them on the cutting board.
- Using a sharp knife, cut the long cylinder into 12 equal pieces.
- Using your fingers and thumb, flatten each round circle in the middle. Place each circle on the prepared baking sheet 2 inches apart. With a pastry brush, paint the edges and sides of the dough circle with the egg wash.
- Using a small spoon, spoon a small amount of the cream cheese filling into the center of the crescent dough.
- Using a small spoon, place 2 cherries on top of the cream cheese filling.
- Bake in the oven for 10 to 11 minutes, or until the edges are golden brown. Allow the Danishes to cool for 5 minutes before drizzling with glaze.
- In a small bowl, whisk together the powdered sugar and milk until no lumps are visible. Lightly drizzle the glaze over each Danish. You can garnish the Danish with a few sliced almonds.
- Open your second tube of crescent rolls and repeat.
Notes
- Nutrition: Calories: 153kcal | Carbohydrates: 22g | Protein: 2g | Fat: 7g | Saturated Fat: 3g | Polyunsaturated Fat: 2g | Monounsaturated Fat: 2g | Trans Fat: 0.001g | Cholesterol: 13mg | Sodium: 175mg | Potassium: 48mg | Fiber: 0.3g | Sugar: 9g | Vitamin A: 143IU | Vitamin C: 1mg | Calcium: 15mg | Iron: 0.4mg


Leave a Reply