

My First Cherry Pie Bars
I first made these for a church picnic. I was in a big hurry. I wanted cherry pie, but a whole pie takes so long. So I tried this bar idea instead. It was a happy accident.
Everyone loved them. They were gone in minutes. I still laugh at that. Now, these bars are my go-to for a sweet treat. They feel special but are so simple. What’s your favorite dessert to bring to a party?
Why This Recipe Matters
This recipe matters because it brings people joy. A shared dessert starts conversations. It makes an ordinary day feel like a celebration. That’s a wonderful thing.
It also matters because it’s forgiving. The dough is thick, don’t worry. Just press it in. Clump the topping. It will turn out fine. Cooking should feel friendly, not fussy.
Making Your Bars
Preheat your oven. Mix the cake mix, egg, and oil. It will be very thick. That’s okay. Press half into your greased pan. Bake it for 15 minutes. Doesn’t that smell amazing already?
Now, spread the glossy cherry filling. Use one can or two. I like two for extra fruit. Crumble the rest of the dough on top. Bake again until golden. Let it cool completely. This takes patience!
The Magic Glaze
The glaze is the fancy finish. Just powdered sugar, a tiny bit of milk, and almond extract. That extract is the secret. It makes the cherries taste even more cherry-like.
Fun fact: Almond extract often comes from peach pits! Isn’t that strange? Whisk it until it’s smooth. Drizzle it all over the cool bars. Do you prefer your desserts with glaze or without?
Stories from Your Kitchen
My grandson calls these “cherry pizza.” He eats the corners first. I love seeing how families make recipes their own. You could try blueberry filling instead. Or add a sprinkle of oats to the topping.
These bars are perfect for lunchboxes. They travel so well. I wrap them in little squares of parchment paper. It feels old-fashioned and nice. What’s the best treat you’ve ever found in a lunchbox?
Ingredients:
| Ingredient | Amount | Notes |
|---|---|---|
| vanilla cake mix | 2 packages | |
| large egg | 2 | |
| vegetable oil | ⅔ cup | |
| cherry pie filling | 1 to 2 cans | 21-ounce cans |
| powdered sugar | ½ cup | |
| almond extract | ½ teaspoon | |
| whole milk (or cream) | ½ tablespoon |
My Easy Cherry Pie Bars: A Sweet Shortcut Story
Hello, my dear! Come sit at the counter. Let’s bake something sweet and simple today. I’m thinking of my grandson, Ben. He always asks for these cherry pie bars. They taste like summer, but we can make them any time. Doesn’t that sound lovely?
This recipe is my little secret for a fast treat. It starts with a box of cake mix. I know, I know. But sometimes, a shortcut is just smart. It leaves more time for stories and sprinkles. Ready to begin? Let’s get our hands dusty with powdered sugar.
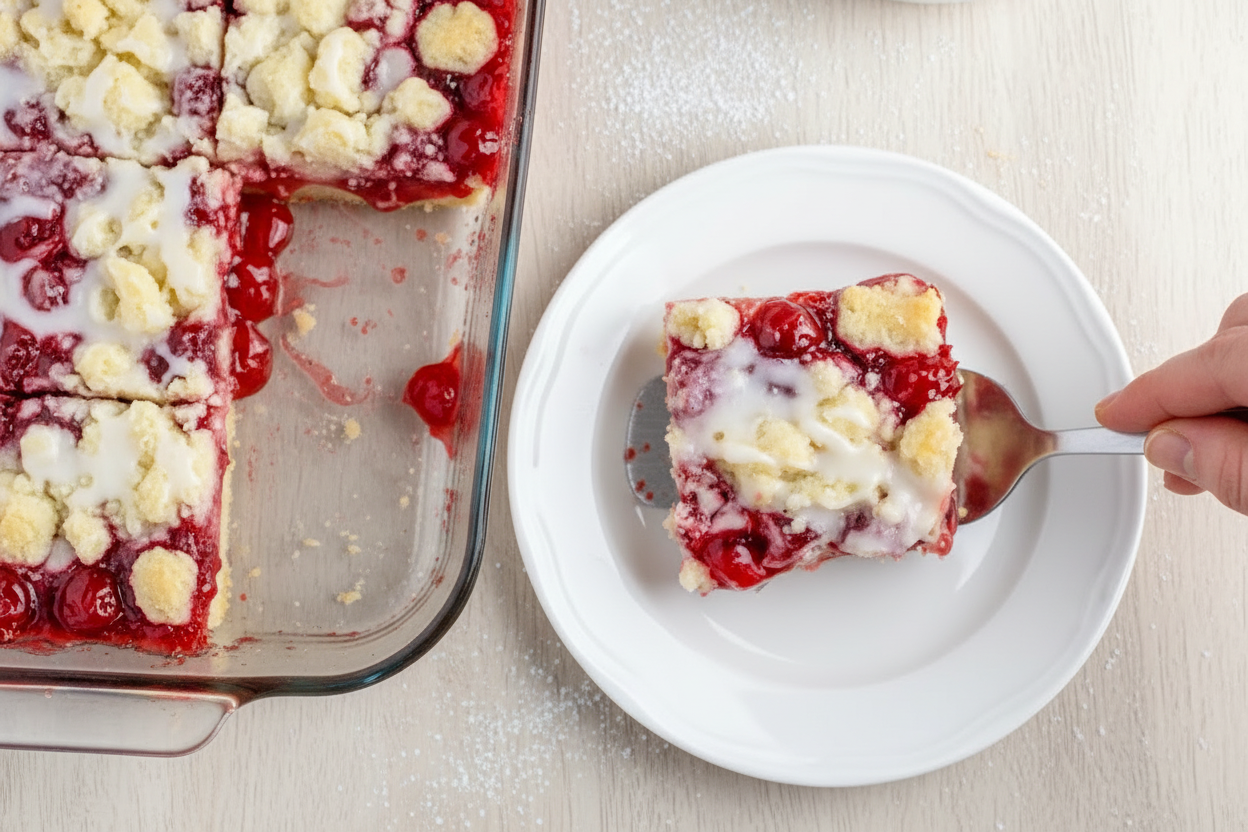
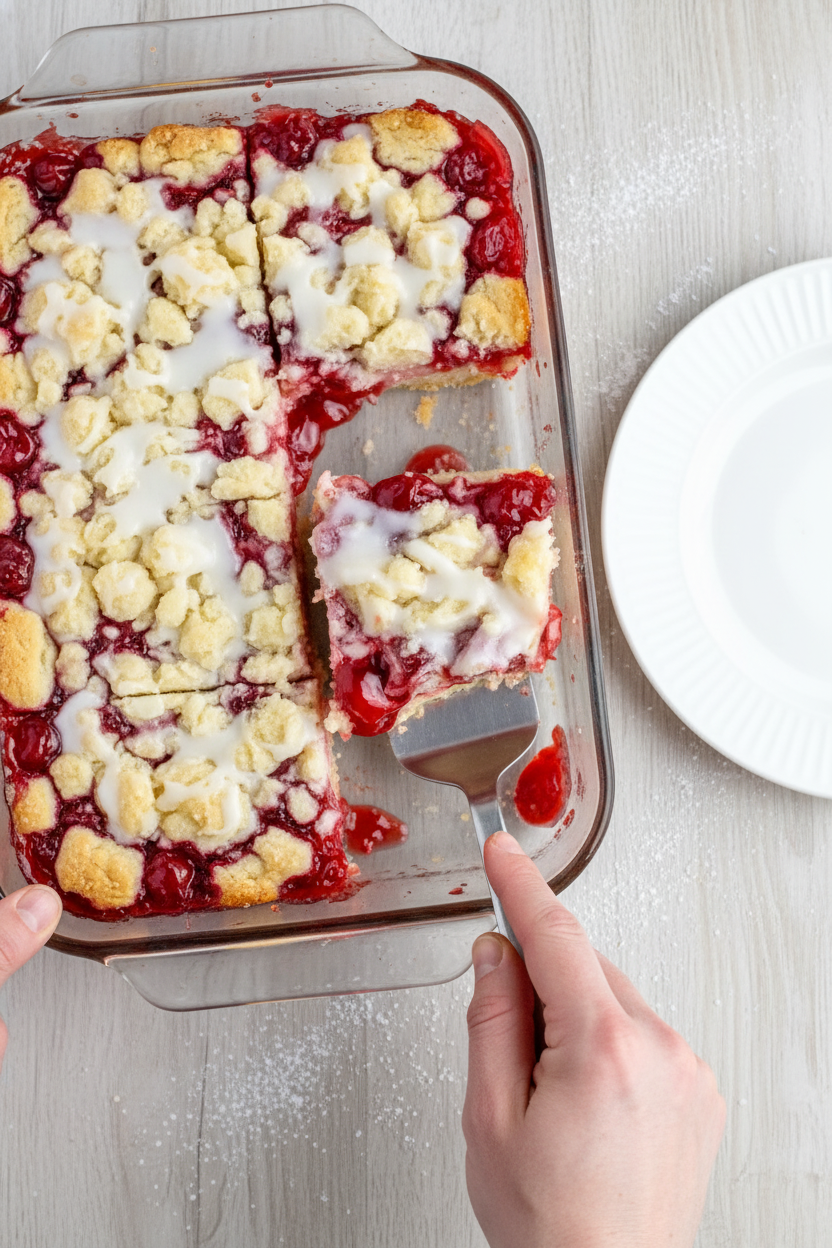
Step 1: First, warm your oven to 350°F. Grease your trusty 9×13 pan well. I use my fingers and a bit of butter. It feels like old times. Now, beat the cake mix, eggs, and oil together. It will be very thick and crumbly. That’s perfect! (Hard-learned tip: Really press that first layer down. It makes a sturdy base for all those juicy cherries.) Step 2: Take half of that dough out. Set it aside in the bowl. Press the rest firmly into your greased pan. Pop it in the hot oven for 15 minutes. The smell will start to get cozy. I still laugh at how Ben would hover right here. Step 3: Pull the pan out carefully. Spread your cherry pie filling over the warm base. Use one can for a light layer. Use two if you want it extra fruity! I always use two. Life is short, add more cherries. Step 4: Now, grab that reserved dough. Crumble it right over the red cherry sea. Don’t try to make it perfect. Those clumps will bake into a lovely, bumpy top. Bake it for 15-20 more minutes. You’ll know it’s done when the top is golden. What’s your favorite fruit pie filling? Share below! Step 5: This is the hardest part. Let the pan cool completely. I know, the smell is amazing! But if you cut it warm, it will be messy. While you wait, whisk powdered sugar, almond extract, and a splash of milk. Drizzle this shiny glaze over the cool bars. Then, cut into squares and share. Cook Time: 30–35 minutesTotal Time: 1 hour (with cooling)
Yield: 12-16 bars
Category: Dessert, Snack
Three Fun Twists for Your Next Batch
Once you master the basic recipe, try playing! These bars are like a blank canvas. You can change them with the seasons or your mood. Here are three of my favorite ideas.
Blueberry Lemon: Use blueberry pie filling. Add a teaspoon of lemon zest to the dough. It tastes so bright and sunny.
Chocolate Cherry: Use a chocolate cake mix instead of vanilla. The chocolate and cherry together? Simply divine.
Almond Crunch: Sprinkle sliced almonds on top before the second bake. They get all toasty and wonderful.
Which one would you try first? Comment below! I’d love to hear your pick.
Serving Them Up With Style
These bars are fantastic all on their own. But if you want to make them special, try this. Serve a bar slightly warm with a scoop of vanilla ice cream. The cold cream melting on the sweet bar is magic. For a pretty plate, dust a little extra powdered sugar on top.
What to drink? A cold glass of milk is always my first choice. It’s the classic pairing for a reason. For the grown-ups, a little glass of sweet dessert wine is nice. It sips like liquid cherries. Which would you choose tonight? The milk or the wine?
Keeping Your Cherry Pie Bars Fresh
These bars keep well for three days. Just cover the dish with foil. You can also freeze them for a sweet treat later. Cut them into squares first. Then wrap each bar tightly in plastic wrap.
Pop the wrapped bars into a freezer bag. They will keep for two months. To reheat, let a bar thaw on the counter. Then warm it in the microwave for 15 seconds.
I once forgot a whole pan in my freezer. Finding it weeks later felt like a treasure. Batch cooking matters because life gets busy. A ready-made dessert brings a little joy to a hectic day.
Have you ever tried storing it this way? Share below!
Simple Fixes for Common Baking Hiccups
Is your dough too sticky? This is very common. Just wet your fingertips with a little water. Then press the dough into the pan. It will not stick to your hands.
The top might brown too fast. If this happens, lay a piece of foil loosely over the pan. I remember when my first batch got too dark. A little foil saved the day. Getting the color right matters for both flavor and looks.
Is your glaze too runny or too thick? Add milk one tiny drop at a time. Or add a bit more powdered sugar. Controlling the glaze builds your kitchen confidence. You learn to trust your own eyes.
Which of these problems have you run into before?
Your Cherry Pie Bar Questions, Answered
Q: Can I make these gluten-free?
A: Yes! Use a gluten-free vanilla cake mix. The method stays exactly the same.
Q: Can I make them ahead?
A: Absolutely. Bake them a day before you need them. Add the glaze just before serving.
Q: What other pie fillings work?
A: Blueberry or apple filling are wonderful swaps. Use what you love best.
Q: Can I halve the recipe?
A: You can. Use an 8×8 inch pan. Just bake it for the same amount of time.
Q: Any optional tips?
A: A fun fact: a tiny bit of lemon zest in the dough is lovely. It makes the cherry flavor pop.
Which tip will you try first?
Bake, Share, and Enjoy
I hope you love making these sweet, simple bars. They always remind me of summer picnics. I would love to see your kitchen creations. Sharing food is one of life’s great pleasures.
Have you tried this recipe? Tag us on Pinterest! You can find me at @AnnasCozyKitchen. I look at every single photo. Thank you for baking with me today.
Happy cooking!
—Anna Whitmore.
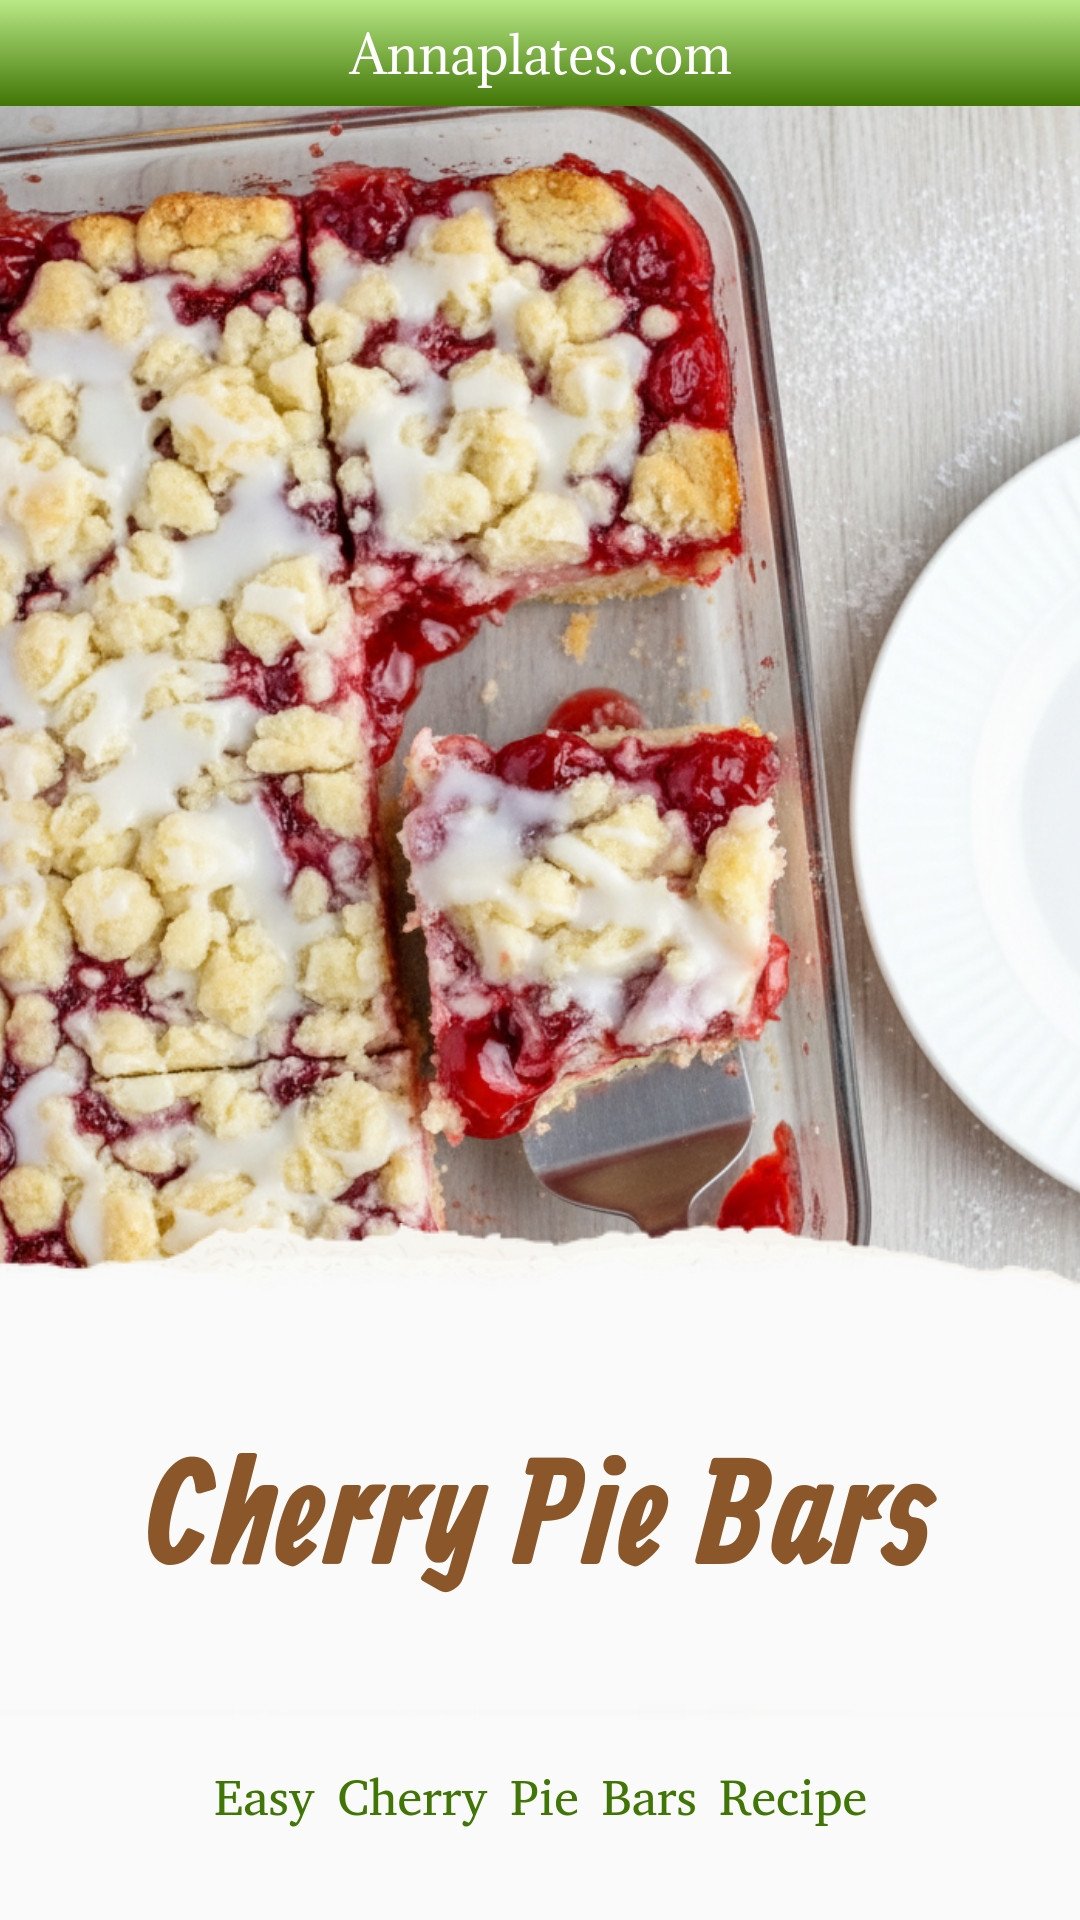
Cherry Pie Bars: Easy Cherry Pie Bars Recipe
Description
Easy cherry pie bars with a buttery crust & sweet cherry filling! Perfect for summer potlucks, picnics, or a simple dessert. No fork required.
Ingredients
Instructions
- Preheat the oven to 350°F. Grease a 9×13 baking dish.
- In a medium mixing bowl, beat together the cake mix, eggs, and vegetable oil. Beat with a hand (or stand) mixer until combined. The mixture will be thick.
- Remove half of the mixture and set aside. Press the remaining dough into the bottom of the prepared baking dish.
- Bake for 15 minutes, then remove from the oven.
- Spread cherry pie filling over the top of the baked base. One can of pie filling will cover the pie bars lightly. Use up to 2 cans of pie filling for extra cherry-filled pie bars.
- Sprinkle the reserved dough in clumps over the top of the cherry pie filling.
- Return the baking dish to the oven and bake for 15 to 20 minutes longer, until the top of the bars is just beginning to brown.
- Cool bars completely.
- Whisk together powdered sugar, almond extract, and enough milk to make a sugar glaze. Drizzle over the top of the cooled cherry pie bars.
- Cut into bars and serve.


Leave a Reply