

The Best Kind of Mess
My kitchen was a happy mess. There was chocolate batter on my apron. My grandson had peanut butter on his nose. We were making our Chocolate Peanut Butter Dream Roll. It was pure joy. I still laugh at that day.
This recipe matters because it’s about sharing. It’s not about being perfect. It’s about making memories with someone you love. The mess just means you had fun. What’s your favorite memory of cooking with someone?
A Little Cake Trick
Here is the only tricky part. You must roll the cake while it is warm. This sounds scary. But it is easy. Just use the parchment paper to help you.
Roll it up gently. Let it cool like a little sleeping bag. This keeps it soft. It will not crack when you add the filling later. I promise it works!
The Dreamy Filling
Now for the best part. Mix peanut butter and whipped topping. Doesn’t that smell amazing? It becomes so light and fluffy. Then, fold in those chopped peanut butter cups.
*Fun fact: The peanut butter cup was invented because a man saw people putting peanut butter on chocolate bars. He thought to put them together!* Spread this dreamy filling on your unrolled cake. Be generous.
Why Rolling It Up Matters
Rolling the cake up again is an act of faith. You think it might break. But it holds together. This matters in cooking and in life. Sometimes you just have to be gentle and try.
The roll gets a nice chill in the fridge. This lets all the flavors get to know each other. It makes every slice neat and pretty. Do you like your desserts cold from the fridge or at room temperature?
Your Turn to Create
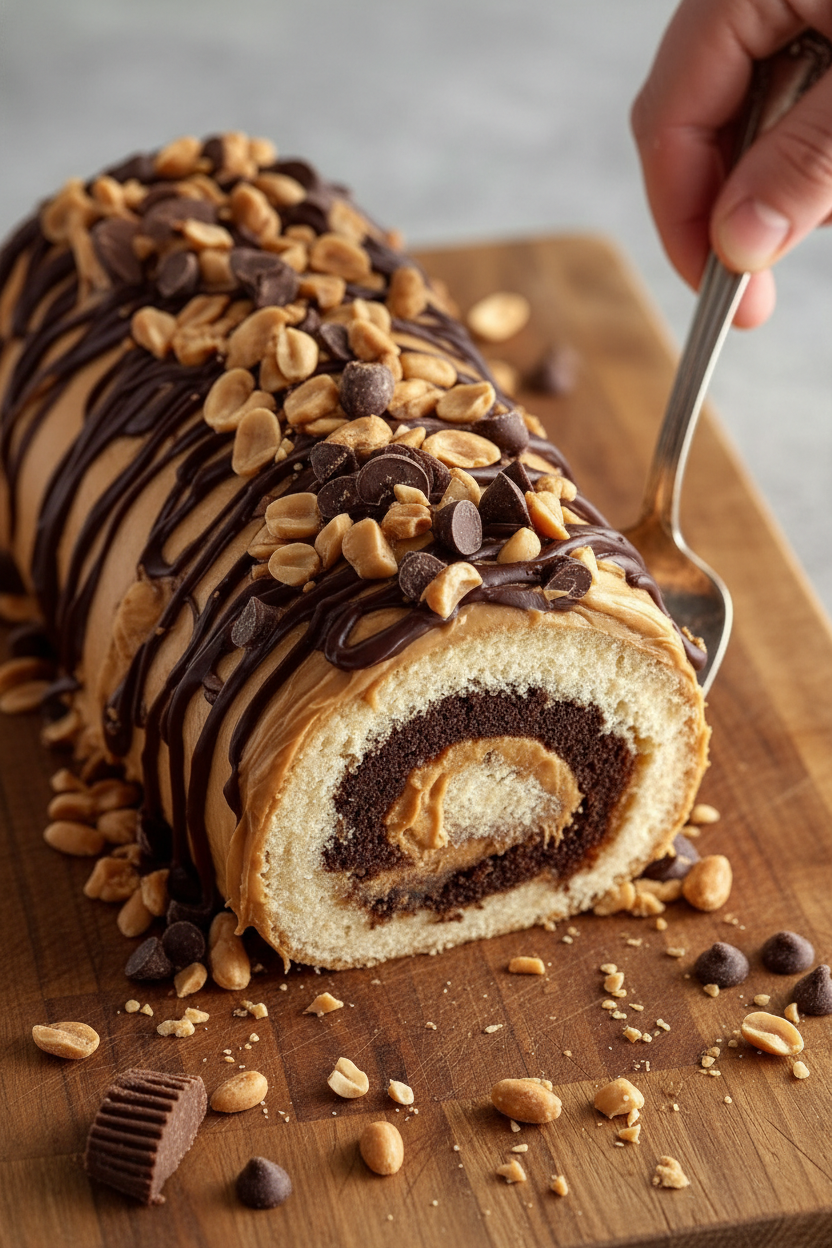
Finally, add more whipped topping on top. Sprinkle the last peanut butter cups. It looks like a party. Every slice is a swirl of chocolate and peanut butter joy.
This recipe is a hug on a plate. It is simple but feels special. That is its magic. What would you name this dessert if it was yours? I would love to hear your ideas.
Ingredients:
| Ingredient | Amount | Notes |
|---|---|---|
| Chocolate cake mix | 1 box | |
| Eggs, water, and oil | As listed on box | For the cake batter |
| Creamy peanut butter | 1 cup | For the filling |
| Whipped topping | 2 cups | For the filling (e.g., whipped cream) |
| Chopped Reese’s peanut butter cups | 1 cup | For the filling |
| Whipped topping | Extra | For garnish |
| Chopped Reese’s peanut butter cups | Extra | For garnish |
Chocolate Peanut Butter Dream Roll: A Sweet Story
Hello, my dear. Come sit at the table. Let’s bake something wonderful today. I’m thinking of my grandson, Tommy. He always asks for this chocolate roll. It reminds me of a funny day. I first made it for his birthday. The cake cracked a little, but he didn’t care. He just smiled with a chocolate face. I still laugh at that.
This recipe is like a sweet hug. It looks fancy but is quite simple. You just need a box of chocolate cake mix. The magic is in the peanut butter filling. Doesn’t that smell amazing? We’ll make it fluffy and dreamy. Then we add little candy surprises inside. Are you ready? Let’s begin our story step-by-step.
Step 1: First, turn your oven on. Use the temperature on the cake mix box. Now, line your pan with parchment paper. This paper is our best friend. It stops the cake from sticking. Lightly grease the paper too. It makes everything slide out nicely.
Step 2: Make the cake batter just like the box says. You’ll need eggs, water, and oil. Pour it into your prepared pan. Spread it smooth with a spoon. Now, bake it. Watch it carefully for 12 to 15 minutes. The cake should be set but still soft. (My hard-learned tip: overbaking makes the cake crack when you roll it!).
Step 3: This part is fun. Take the hot cake out of the oven. Use the parchment paper to help you. Gently roll it up from the short end. Roll it while it’s warm. Let the rolled cake cool completely like a log. This teaches it a new, curved shape.
Step 4: Time for the dreamy filling. Mix creamy peanut butter with whipped topping. Stir until it’s smooth and fluffy. It tastes like a cloud. Now, carefully unroll your cool cake. Spread this fluffy filling all over. Sprinkle your chopped peanut butter cups on top. Sweet or salty—which do you like more? Share below!
Step 5: Gently roll the cake back up. This time, leave the parchment paper behind. Roll it tight but be kind to it. Place it seam-side down on a plate. Pop it in the fridge for an hour. This lets all the flavors become friends. Before serving, add more whipped cream and candy on top. It’s like putting a bow on a gift.
Cook Time: About 15 minutes
Total Time: 1 hour 30 minutes (plus chilling)
Yield: 8-10 slices
Category: Dessert, Cake
Dreamy Twists for Your Roll
I love recipes you can make your own. Here are three fun twists. They make the story new each time. Try one if you’re feeling adventurous.
Banana Split Roll: Add sliced bananas inside with the filling. Top with a drizzle of strawberry sauce.
Cookie Crunch Roll: Swap the peanut butter cups for crushed chocolate sandwich cookies. So crunchy and good.
Sunshine Roll: Use a yellow cake mix instead of chocolate. Fill it with vanilla frosting and rainbow sprinkles.
Which one would you try first? Comment below! I’d pick the banana one myself.
Serving Your Sweet Masterpiece
This cake roll is a star all by itself. But I like to make it special. Slice it thick and place it on a pretty plate. A little dusting of cocoa powder looks lovely. You could serve it with a scoop of vanilla ice cream. The cold and creamy is perfect.
For drinks, I have two ideas. A cold glass of milk is the classic choice. It’s my favorite. For the grown-ups, a little coffee with cream pairs nicely. It cuts the sweetness just right. Which would you choose tonight? I think I can hear the milk calling my name.
Keeping Your Dream Roll Dreamy
This cake is best kept in the fridge. Cover it well with plastic wrap. It will stay fresh for about three days.
You can also freeze it for a month. Wrap the whole roll tightly in foil first. Thaw it overnight in your refrigerator.
I once tried to freeze it without wrapping. It got a little dry. A good wrap keeps the magic inside.
Batch cooking matters for busy families. Make two rolls and freeze one. You will have a sweet treat ready anytime.
Have you ever tried storing it this way? Share below!
Fixing Common Cake Roll Hiccups
First, the cake might crack when rolling. This happens if it bakes too long. The cake must be soft and warm to roll.
I remember when my first cake cracked. I was so sad. Now I set a timer and check it early.
Second, the filling can be too thick. Let your peanut butter sit out first. Room temperature peanut butter mixes smoothly.
Third, the roll can be messy to slice. Use a sharp, clean knife. Dip the knife in hot water between cuts.
Fixing these issues builds your confidence. A neat slice also makes the flavor taste even better. Which of these problems have you run into before?
Your Quick Questions, Answered
Q: Can I make this gluten-free? A: Yes! Use a gluten-free chocolate cake mix. Check all other labels too.
Q: Can I make it ahead? A: Absolutely. Make it the day before. Chill it overnight for easier slicing.
Q: What can I swap for peanut butter? A: Try sunflower seed butter. It gives a similar creamy, nutty taste.
Q: Can I make a smaller batch? A: You can bake the cake in a smaller pan. Just watch the baking time closely.
Q: Any optional tips? A: A *fun fact*: dusting the parchment with cocoa powder helps prevent sticking. Which tip will you try first?
From My Kitchen to Yours
I hope you love making this dreamy roll. It is a recipe full of happy memories for me. I would love to see your creation.
Share a photo of your beautiful slice. Let me know how your family liked it. Have you tried this recipe? Tag us on Pinterest!
Thank you for baking with me today. Happy cooking!
—Anna Whitmore.
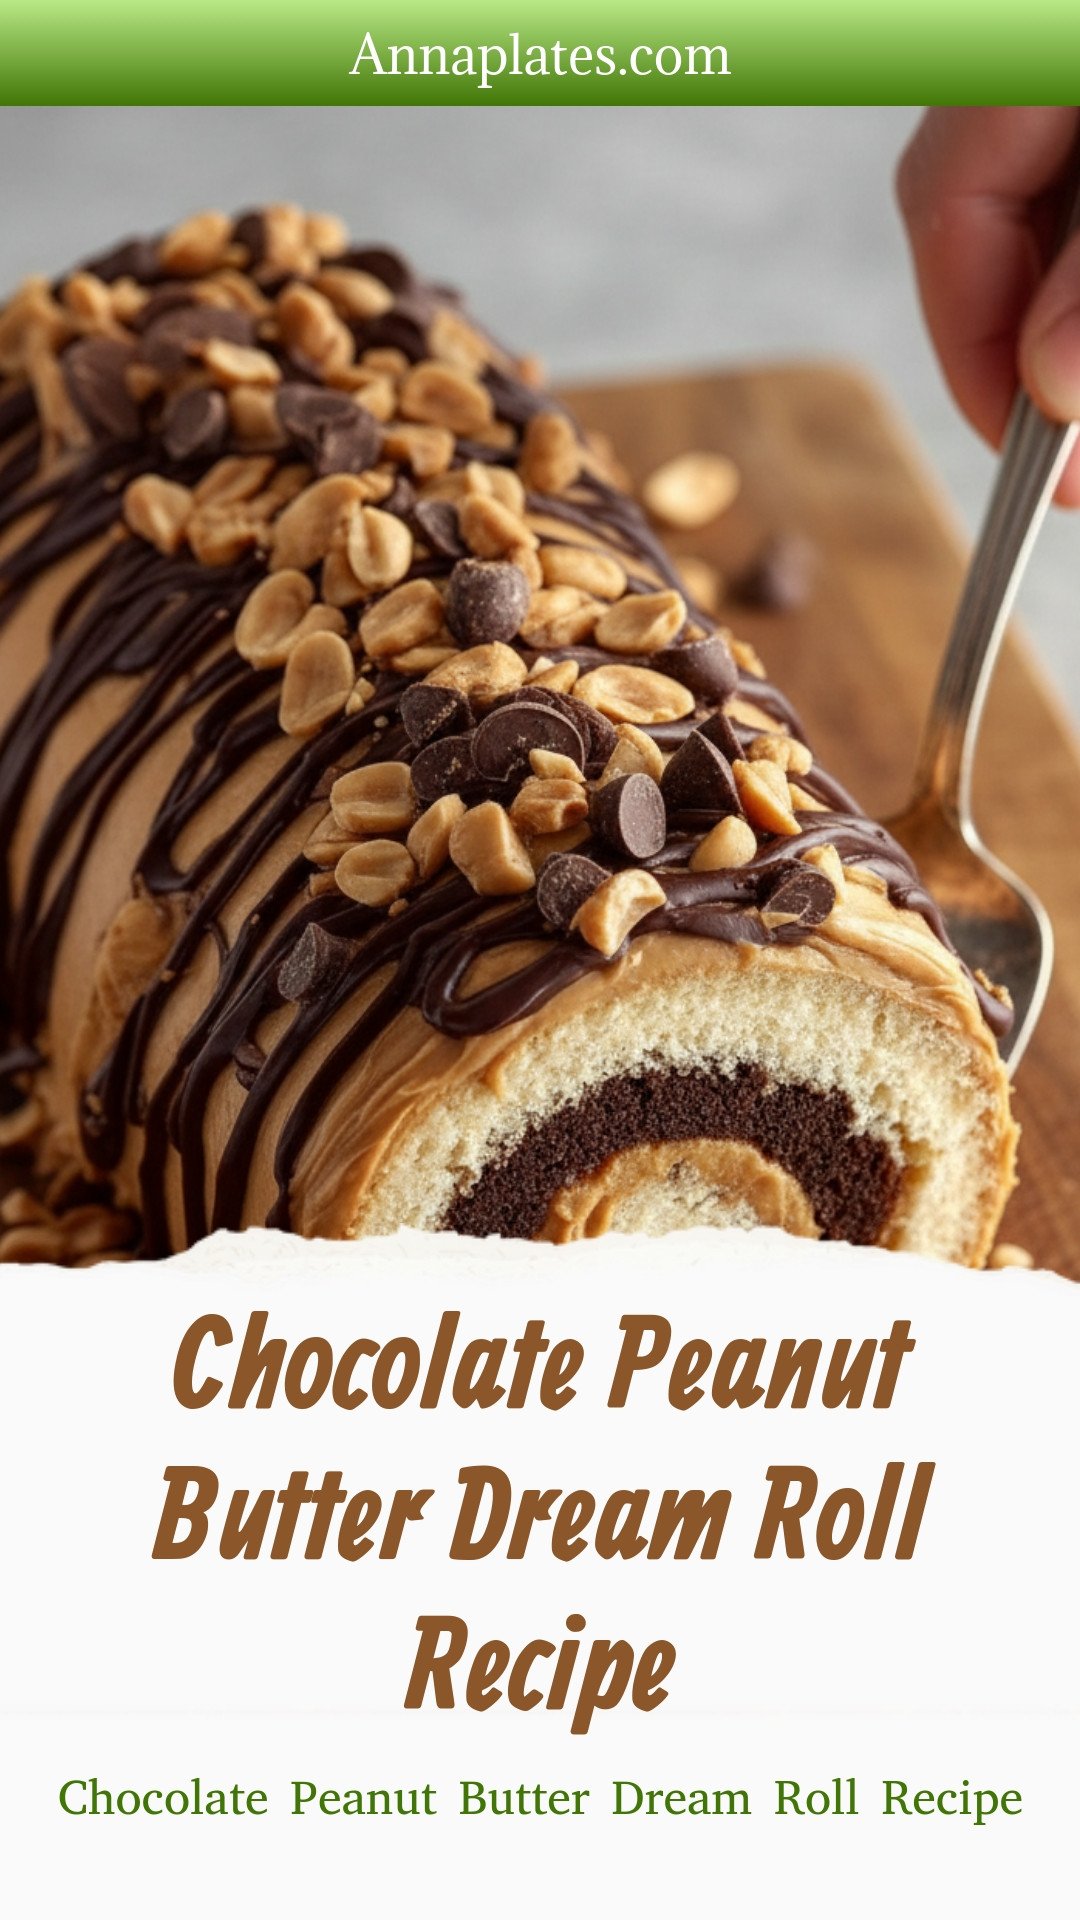
Chocolate Peanut Butter Dream Roll Recipe
Description
Indulge in this easy Chocolate Peanut Butter Dream Roll! A stunning, no-bake dessert that’s perfect for parties and guaranteed to impress.
Ingredients
Cake
Filling
Garnish
Instructions
- Preheat your oven to the temperature directed on the chocolate cake mix box, usually 350°F (175°C). Line a 10×15-inch jelly roll pan with parchment paper and lightly grease it to prevent sticking.
- Follow the package instructions on the cake mix box to prepare the batter using the specified eggs, water, and oil. Pour the batter evenly into the prepared pan, spreading it smooth.
- Bake the cake for 12 to 15 minutes, or until it is set but still soft. Be careful not to overbake, as the cake needs to be pliable for rolling without cracking.
- Immediately after baking, use the parchment paper to gently roll the cake from the short end into a log. Let the cake cool completely while rolled to help it maintain its shape.
- In a mixing bowl, combine the creamy peanut butter and whipped topping. Mix until smooth and fluffy to create the filling.
- Carefully unroll the cooled cake. Spread the peanut butter filling evenly over the cake surface, then sprinkle the chopped Reese’s peanut butter cups evenly on top.
- Gently re-roll the cake tightly but carefully to avoid cracks, this time without the parchment paper. Place the rolled cake seam-side down on a serving plate.
- Refrigerate the roll for at least 1 hour to set the filling. Before serving, decorate with extra whipped topping and sprinkle additional chopped Reese’s cups for garnish.
Notes
- For best results, ensure the cake is completely cool before adding the filling to prevent the whipped topping from melting.


Leave a Reply