
The Apples of My Eye
Let’s talk apples. I always use Granny Smiths. They are tart and firm. They hold their shape in the oven. No one wants a mushy pie.
I remember my first pie. I used sweet red apples. It turned into apple soup! I still laugh at that. Now I know tart apples are best. They balance the sweet sugar. This matters because texture is everything in a pie.
A Little Sweet Magic
Next, the sugar mix. Brown and white sugar together. Brown sugar gives a deep, caramel flavor. White sugar makes it bright and sweet.
Add your cinnamon and nutmeg. Doesn’t that smell amazing? It smells like home. Stir it all with the apples. Coat every slice. This coating thickens the juices. That’s why your pie won’t run. What’s your favorite spice smell? Mine will always be cinnamon.
Building Your Pie
Now, the crust. Use a store-bought one. It’s just fine. Place the first crust in your plate. Pile those sugary apples high. It will look like a mountain. That’s good. It will cook down.
Top it with the second crust. You can cut pretty lattice strips. Or just lay it on top. Just remember to cut slits. The steam needs to escape. Press the edges to seal it. This step matters. It keeps all the goodness inside.
The Golden Touch
Here’s my secret shine. The egg wash. Whisk one egg with water. Brush it all over the top crust. Then sprinkle sugar on it.
This makes the pie golden and sparkly. It also makes the crust crisp. Fun fact: This trick is called “docking.” Do you like a shiny top crust or a rustic, matte one? I love the sparkle.
Watching It Bake
Protect the crust edges with foil. They burn fast. Bake your pie. Watch for the golden color. Listen for the bubbling juice. That’s the sound of success.
The waiting is the hardest part. The smell fills the whole house. It brings everyone to the kitchen. That’s the real magic of baking. It gathers people. What memory does apple pie smell bring back for you? Tell me.

Ingredients:
| Ingredient | Amount | Notes |
|---|---|---|
| Granny Smith apples | 10 cups | peeled and thinly sliced |
| brown sugar | ⅓ cup | |
| granulated sugar | ⅓ cup + 1 tbsp | 1 tbsp reserved for the crust |
| cinnamon | 1 tsp | |
| nutmeg | ¾ tsp | |
| salt | ¼ tsp | |
| flour | ¼ cup | |
| unbaked pie crusts | 2 | 9 inch |
| large egg | 1 | |
| water | 1 tbsp |
My Cozy Kitchen Apple Pie
Hello, my dear. Come sit a spell. The smell of cinnamon and apples is in the air. It reminds me of my own grandma’s kitchen. She taught me this very recipe. I still laugh at that. I was so small, I needed a stool to see the counter. Let’s make a memory together, shall we? This pie is full of love and simple, good things. Doesn’t that smell amazing?
First, we gather our friends. You’ll need about six Granny Smith apples. They are tart and perfect for pie. Now, preheat your oven to 425 degrees. Grease your pie plate lightly. This is where the magic happens. My old plate is chipped, but I love it. It has seen so many family dinners.
- Step 1: Peel and slice your apples nice and thin. I use a little crank peeler. It makes curly ribbons of peel. My grandson loves to eat them. Toss all the slices into a big bowl. They will look like a mountain. That’s a good sign.
- Step 2: In a smaller bowl, mix both sugars. Add the cinnamon and nutmeg. A little salt and flour go in, too. Stir it all with a fork. Now, pour this sweet dust over your apple mountain. Mix it gently until every slice is coated. It will already smell like heaven.
- Step 3: Lay your first pie crust in the plate. Let the edges drape over. Now, pour in every last apple. Pile them high in the middle. (My hard-learned tip: Put the pie plate on a baking sheet first. Juices might bubble over. This saves a big oven mess!)
- Step 4: Top it with the second crust. You can just lay it on and cut slits. Or try a simple lattice. I weave mine like a checkerboard. Press the edges together to seal. This is your pie’s cozy blanket.
- Step 5: Whisk one egg with a tablespoon of water. Brush this wash all over the top crust. It makes the pie shine. Sprinkle a spoon of sugar over it. Then, cover the crust edges with foil. This stops them from burning. We want golden, not black.
- Step 6: Bake for about 50 minutes. Your kitchen will fill with the best smell. The pie is done when it’s golden and bubbly. Let it cool on the stove. This is the hardest part. Waiting! What’s your favorite pie memory? Share below!
Cook Time: 50 minutes
Total Time: 1 hour 30 minutes
Yield: 8 slices
Category: Dessert, Pie
Three Fun Twists to Try
This pie is a wonderful friend. But sometimes, I like to dress it up. Here are three easy ideas. They make it feel new again. Try one next time you bake.
- Cheddar Apple Pie: Sprinkle sharp cheddar cheese on the crust before adding apples. It sounds funny, but trust me. The salty cheese with sweet apples is magic.
- Maple Walnut Pie: Use maple syrup instead of white sugar. Toss a handful of chopped walnuts in with the apples. It tastes like a fall afternoon.
- Ginger Spice Pie: Add a teaspoon of grated fresh ginger to the sugar mix. It gives the pie a little warm zing. My sister loves this version.
Which one would you try first? Comment below!
Serving It Up With Style
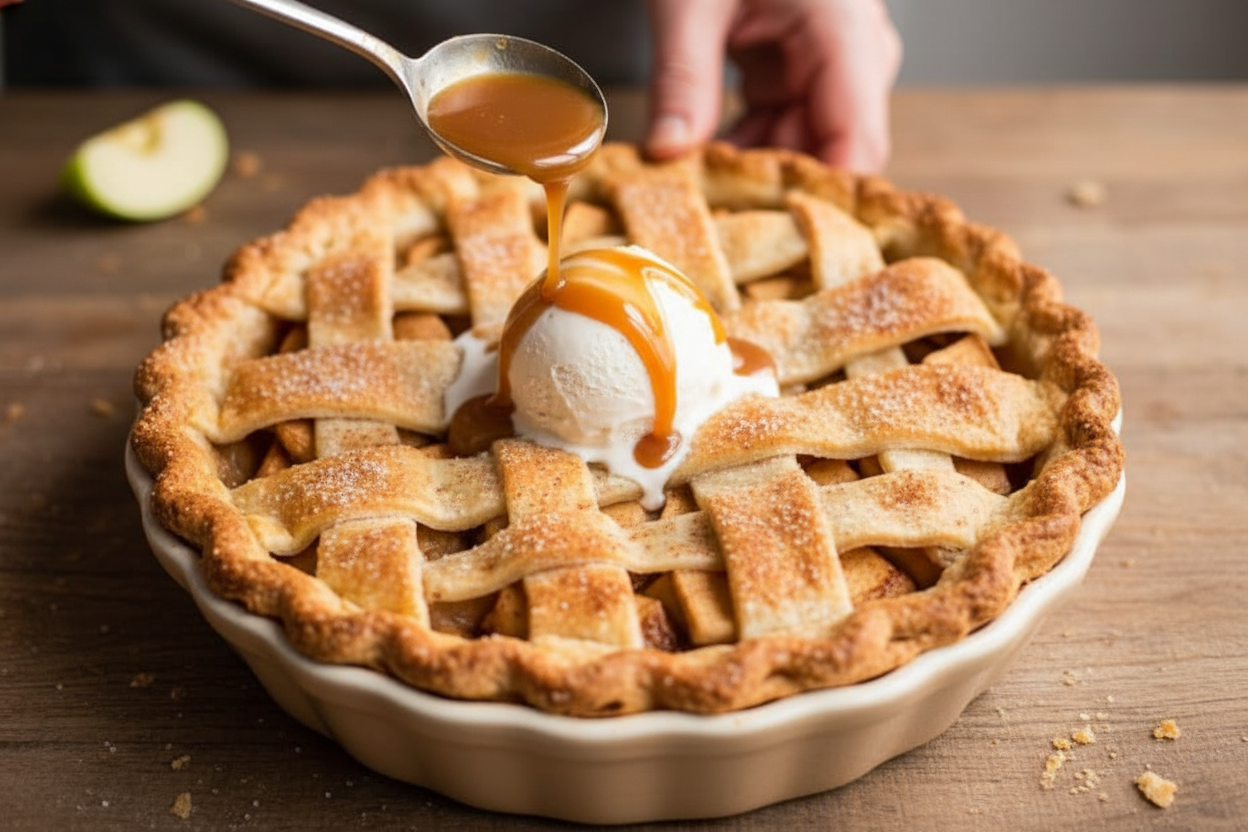
A warm slice of pie is a happy thing. But it can be even happier. I love to add a scoop of vanilla ice cream. It melts into the slices. A dollop of fresh whipped cream is lovely too. For a pretty plate, drizzle a little caramel sauce around the slice.
What to drink? For the grown-ups, a small glass of sweet apple cider whiskey is nice. It echoes the pie’s own flavor. For everyone, a cold glass of milk is the classic choice. Or a mug of spiced herbal tea. It feels like a hug from the inside.
Which would you choose tonight?
Keeping Your Apple Pie Perfect
Fresh apple pie is best the day you bake it. But leftovers are a treat! Let the pie cool completely first. Then, cover it loosely and keep it on the counter for two days. For longer storage, the fridge is your friend. Wrap slices tightly in plastic wrap. They will keep for about four days.
You can freeze a whole unbaked pie for later. Assemble it but do not bake. Wrap it very well in plastic and foil. It will keep for three months. Bake it straight from the freezer, just add 20 extra minutes. I once forgot to wrap a pie well. It tasted like my freezer felt! Proper storage keeps flavors fresh.
To reheat, warm a slice in the oven at 350 degrees. This keeps the crust crisp. A microwave makes the crust soggy. Batch cooking means you can have pie anytime. That matters for busy weeks or surprise guests. A homemade pie in the freezer is a little hug for future you.
Have you ever tried storing it this way? Share below!
Fixing Common Apple Pie Troubles
Is your bottom crust soggy? Try this. Place your pie plate on a preheated baking sheet. The extra heat cooks the bottom crust faster. I remember when my pie had a soggy bottom. My grandson called it “apple soup in a bowl!” Fixing this gives you a perfect, crisp slice.
Are the apples too watery? Let your sugared apples sit for 30 minutes. Then, drain off some of the juice. Too much juice makes a runny pie. A good thick filling matters for clean slices. It also means every bite is packed with apple and spice flavor.
Is the crust edge burning? Use a pie shield or foil. Cover the edges for the first 30 minutes of baking. Then remove it for the last part. This lets the center get golden without burning the edges. Protecting the crust builds your baking confidence. You learn to control the oven’s heat.
Which of these problems have you run into before?
Your Apple Pie Questions, Answered
Q: Can I make this gluten-free?
A: Yes! Use a gluten-free pie crust from the store. Also use a gluten-free flour blend instead of regular flour.
Q: Can I make the filling ahead?
A: You can mix the apples and sugar a day early. Keep it covered in the fridge. The spices will get even better.
Q: What if I don’t have nutmeg?
A: That’s okay. Just use a little extra cinnamon. A pinch of allspice is a nice swap too.
Q: Can I make a smaller pie?
A: Sure. Halve all the ingredients. Use a smaller pie plate. The baking time will be a bit shorter.
Q: Any optional tips?
A: Add a tablespoon of lemon juice to the apples. Fun fact: This little splash keeps your apples from turning brown and adds a bright taste.
Which tip will you try first?
From My Kitchen to Yours
I hope you bake this pie for someone you love. The smell of baking apples is pure happiness. It fills your whole house with warmth. I have made this pie for decades. It never fails to bring smiles.
I would love to see your creation. Share a picture of your golden-brown masterpiece. Let me know how your family liked it. Your stories are my favorite thing to read.
Have you tried this recipe? Tag us on Pinterest!
Happy cooking!
—Anna Whitmore.
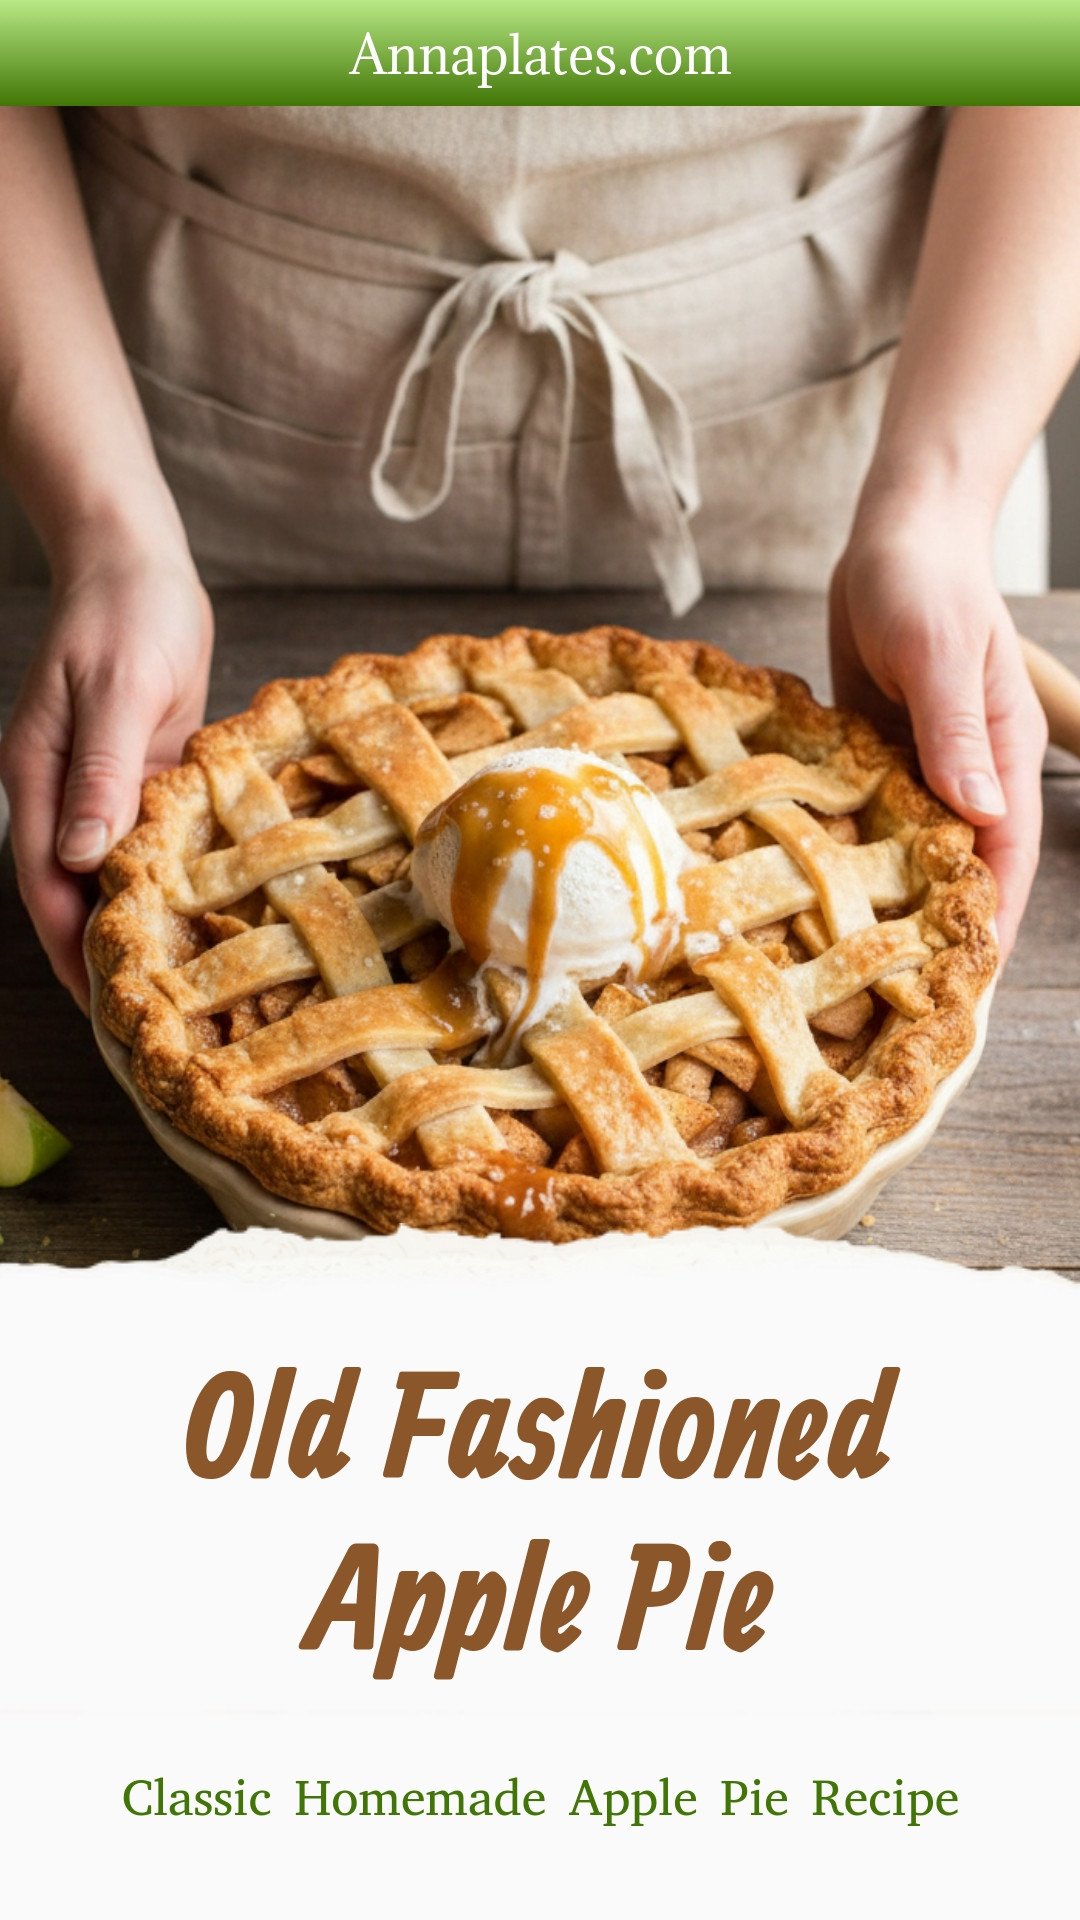
Old Fashioned Apple Pie: Classic Homemade Apple Pie Recipe
Description
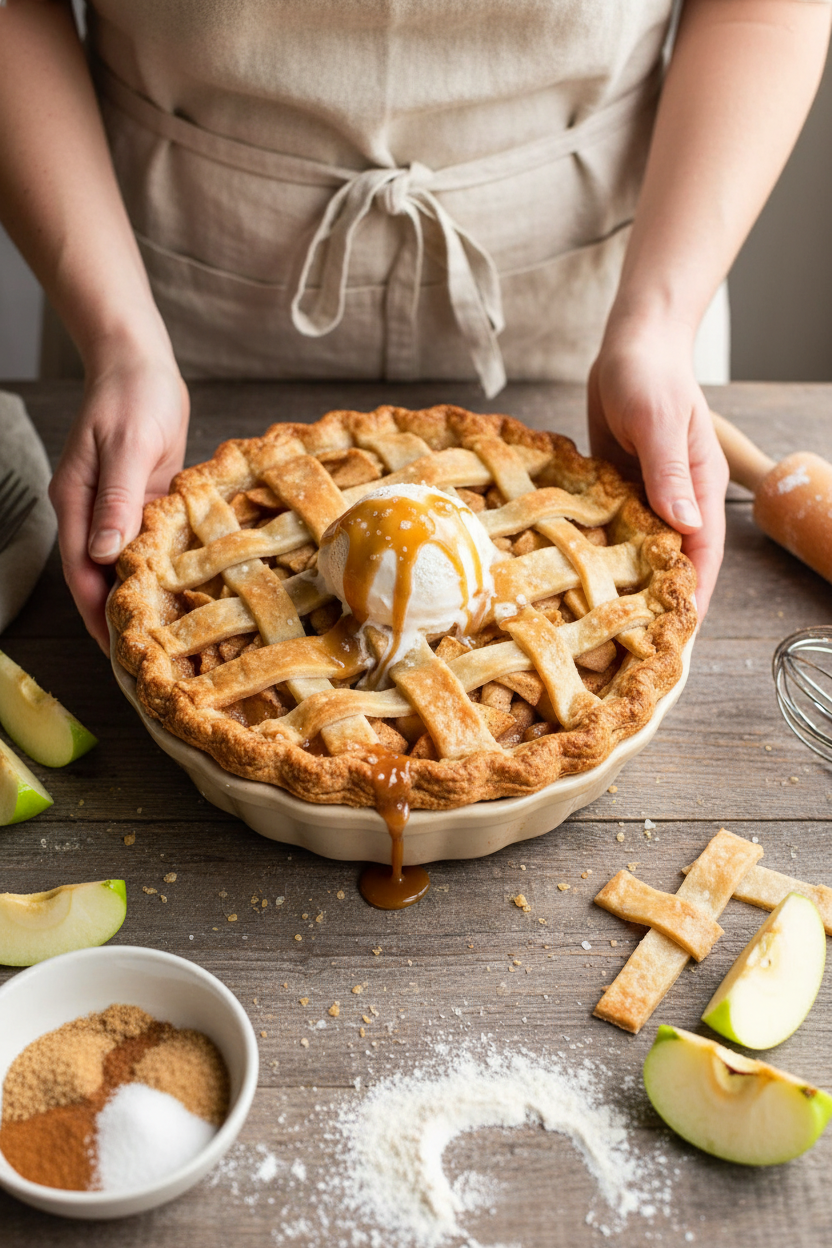
Warm, flaky crust filled with cinnamon-spiced apples. This classic homemade dessert is pure comfort food perfection. Serve with a scoop of vanilla ice cream.
Ingredients
Instructions
- Preheat oven to 425 degrees and spray your 9” pie plate with cooking spray.
- Peel and thinly slice apples and place them in a large mixing bowl. I use an apple peeler and slicer to make this super quick and easy.
- In a small bowl mix brown sugar, white sugar, cinnamon, nutmeg, salt and flour. Pour this mixture on top of the apples. Using a wooden spoon stir the sugar mixture with the apples until the apples are evenly coated.
- Place one pie crust in your pie plate. Pour the apple mixture in to the pie crust. Your pie will be full and may even mound up in the middle.
- Top the apples with the second pie crust. I like to do a lattice top on my apple pie, but you can keep it simple! Just make sure you cut slits in the top crust so the pie can vent. Press the edges of the top and bottom crust together to seal the pie.
- In a small bowl make an egg wash by whisking together the egg and water. Brush the egg wash on top of the pie. Sprinkle remaining tablespoon of sugar over the top of the pie.
- Cover the edge of the pie with a pie crust shield or aluminum foil to prevent burning. Bake 45-50 minutes until the pie is golden brown and the juices begin to bubble.
Notes
- Serve warm with a scoop of vanilla ice cream.


Leave a Reply