
My First Olive Ball
I made these for a party years ago. I was so nervous. Would anyone like them? The tray emptied in five minutes. I still laugh at that.
This recipe matters because it brings people together. It turns a simple snack into a little celebration. Everyone gathers around the warm plate.
Why They Work So Well
The magic is in the contrast. You get a soft, warm, buttery outside. Then you bite into a cool, salty, juicy olive inside. Doesn’t that sound fun?
Fun fact: The crescent roll dough was invented in the 1920s. It made home baking so much easier!
Have you ever made an appetizer before? What was it? I love hearing about first kitchen tries.
Let’s Get Wrapping
First, drain your olives well. Pat them dry with a towel. This helps the dough stick. Use two crescent triangles to make a square.
Cut the dough into little squares. Place one olive in the center of each. Now, just wrap it up like a tiny present. Seal all the edges.
A Little Extra Love
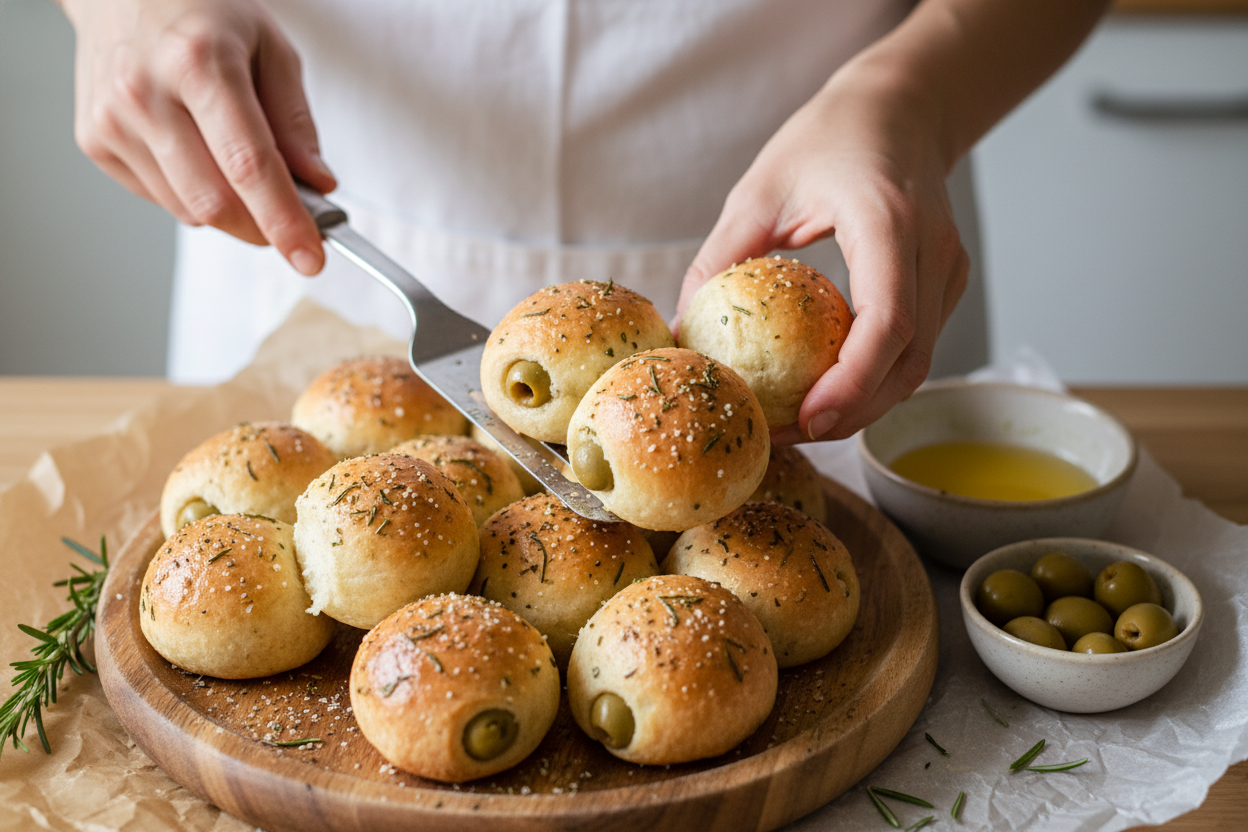
They are perfect plain. But sometimes I add a brush of melted butter. Then a tiny sprinkle of garlic powder and rosemary. It makes the kitchen smell amazing.
Bake them until they are golden brown. This matters. That color means flavor. Serve them warm. Watch them disappear!
Do you prefer green olives or black olives in recipes? Tell me your favorite.
Stories From Your Kitchen
Food is about more than eating. It’s about the stories we make. My grandkids now call these “pop-its.” They love the surprise inside.
This recipe is a great starter. It builds kitchen confidence. You can’t really mess it up. And that’s a wonderful feeling.
What’s a recipe that makes you feel confident? I’d love for you to share it with me.

Ingredients:
| Ingredient | Amount | Notes |
|---|---|---|
| Green olives | 8 ounces | With or without pimentos, or any other type of olive |
| Crescent rolls | 8 slices | |
| Melted butter | As desired | Optional |
| Garlic powder | As desired | Optional |
| Rosemary | As desired | Optional |
My Granddaughter’s Favorite Party Trick
Hello, my dear. Come sit at the counter. Let me tell you about these little olive balls. My granddaughter Lily calls them “party poppers.” She loves to help make them. The smell of baking dough fills our whole kitchen. It reminds me of my own grandma’s house. She always had something warm from the oven. These are just as simple and good.
You only need a jar of olives and a tube of crescent rolls. That’s the magic. The dough gets all puffy and golden. The olive stays nice and salty inside. You can eat them in one happy bite. I still laugh at how fast they disappear at gatherings. Let’s make some together, step by step.
- Step 1: First, drain your olives. Pat them dry with a paper towel. We don’t want soggy dough. A little juice inside the olive is just fine. My tip? Use the green ones with pimentos. They look like little presents inside. (Hard-learned tip: Dry olives well, or the dough can get slippery!)
- Step 2: Now, open the crescent roll tube. That pop always makes me jump! Press two triangles together at the seams. You’ll make four bigger rectangles. Then, just cut each rectangle into little squares. About an inch wide is perfect. This is the part kids love to help with.
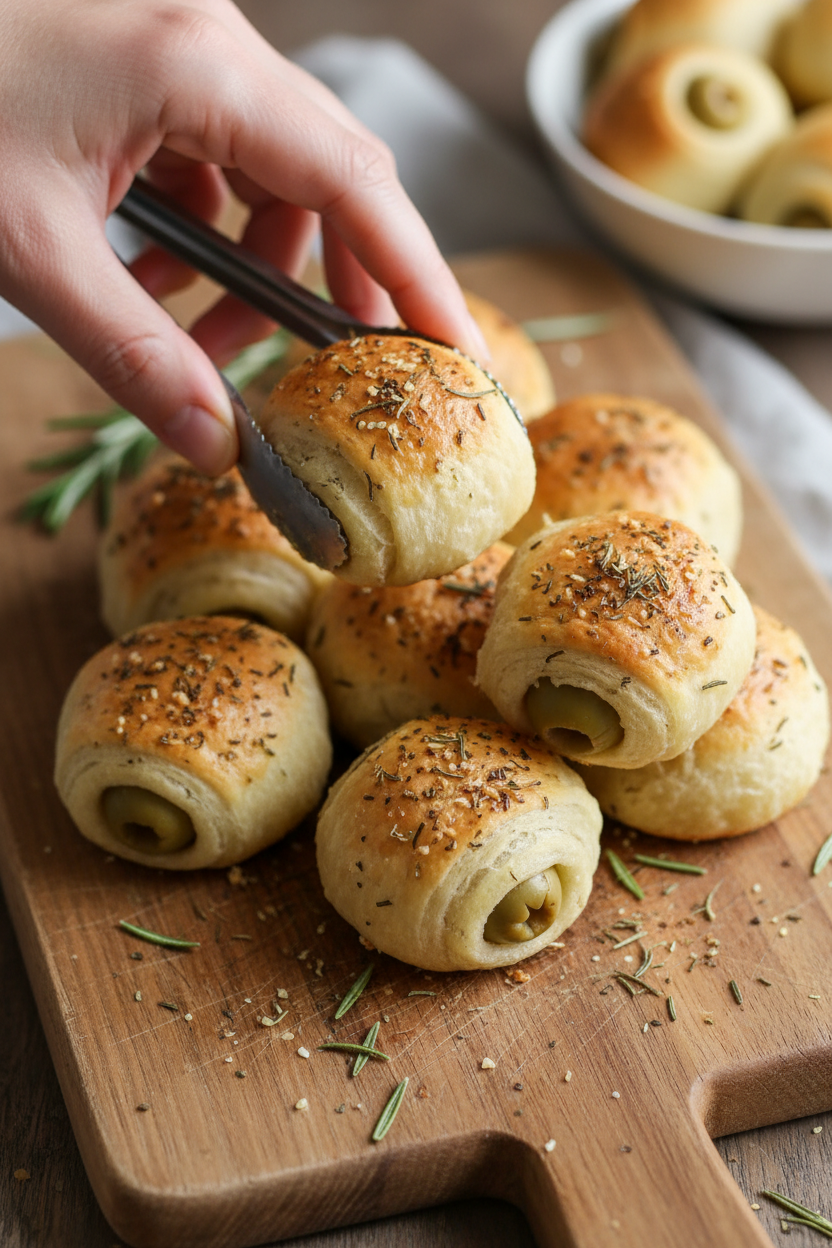
- Step 3: Place one olive on a dough square. Wrap the dough around it like a tiny blanket. Pinch it closed into a ball. No olive should peek out! Roll it gently in your hands. See? It’s like making clay marbles. Do you think a black olive or a green olive would be better here? Share below!
- Step 4: Place your little dough balls on a baking sheet. Don’t grease it. The dough has enough butter. Bake at 350 degrees for about 10 minutes. Watch them turn a beautiful golden brown. Doesn’t that smell amazing? Let them cool just a minute before serving. They are best warm.
Cook Time: 10 minutes
Total Time: 20 minutes
Yield: About 20 balls
Category: Appetizer, Snack
Let’s Get Creative With Them!
Once you know the basic recipe, you can play. Here are three fun twists my family enjoys. They are all so simple.
- Garlic Herb Butter: Brush baked balls with melted butter. Sprinkle on garlic powder and rosemary. It feels very fancy for just a little work.
- Cheesy Surprise: Tuck a tiny cube of cheddar cheese with the olive. The cheese melts inside. It’s a gooey, salty surprise.
- Everything Bagel: Roll the dough ball in “everything” seasoning before baking. It adds such a nice crunch and flavor.
Which one would you try first? Comment below!
Serving Them With Style
These little balls are perfect for a party plate. I like to put them in a pretty basket with a cloth napkin. They stay warm that way. For a bigger snack, serve them with some tomato soup for dipping. Or add them to a plate with cheese cubes and grapes. It makes a lovely spread.
For drinks, a crisp lemonade is wonderful. It cuts through the salty richness. For the grown-ups, a chilled glass of dry white wine pairs nicely. Sip, bite, and chat. That’s what good food is for. Which would you choose tonight?
Keeping Your Olive Balls Perfect for Later
These little bites are best fresh and warm. But I know life gets busy. You can store leftovers in the fridge. Just pop them in a sealed container for up to three days.
You can also freeze them before baking. Assemble the olive balls on a tray. Freeze them solid, then move to a bag. Bake straight from the freezer, adding a few extra minutes. I once forgot I had a batch in the freezer. What a happy surprise on a busy Tuesday!
To reheat, use your oven or toaster oven. This keeps them crispy. A microwave will make them soft. Batch cooking matters because it gives you a head start. You can welcome guests with no fuss. Have you ever tried storing it this way? Share below!
Simple Fixes for Common Olive Ball Troubles
Sometimes the dough can tear. Do not worry. Just pinch it back together. The dough is very forgiving. I remember when my grandson poked a hole. We just added a tiny dough patch.
If your olives are too wet, the dough gets soggy. Dry them well with a paper towel. This small step makes a big difference. It ensures a crisp, golden crust every single time.
Are they browning too fast? Your oven might run hot. Try lowering the temperature by 25 degrees. Fixing these issues builds your cooking confidence. Good technique always makes food taste better. Which of these problems have you run into before?
Your Olive Ball Questions, Answered
Q: Can I make these gluten-free?
A: Yes! Use a gluten-free crescent dough or pie crust.
Q: How far ahead can I make them?
A: Assemble them and refrigerate for two hours before baking.
Q: What other fillings work?
A: Try a small cheese cube or a bit of pepperoni.
Q: Can I double the recipe?
A: Absolutely. Just use two baking sheets and switch their racks halfway.
Q: Are the butter and herbs needed?
A: No, but they add lovely flavor. It is a nice finishing touch. *Fun fact: Rosemary is a symbol of remembrance.* Which tip will you try first?
From My Kitchen to Yours
I hope you love making these as much as I do. They remind me of my bridge club gatherings. Simple food brings people together so nicely.
I would love to see your creations. Share a picture of your snack plate. It makes my day to see your kitchen adventures. Have you tried this recipe? Tag us on Pinterest!
Happy cooking!
—Anna Whitmore.
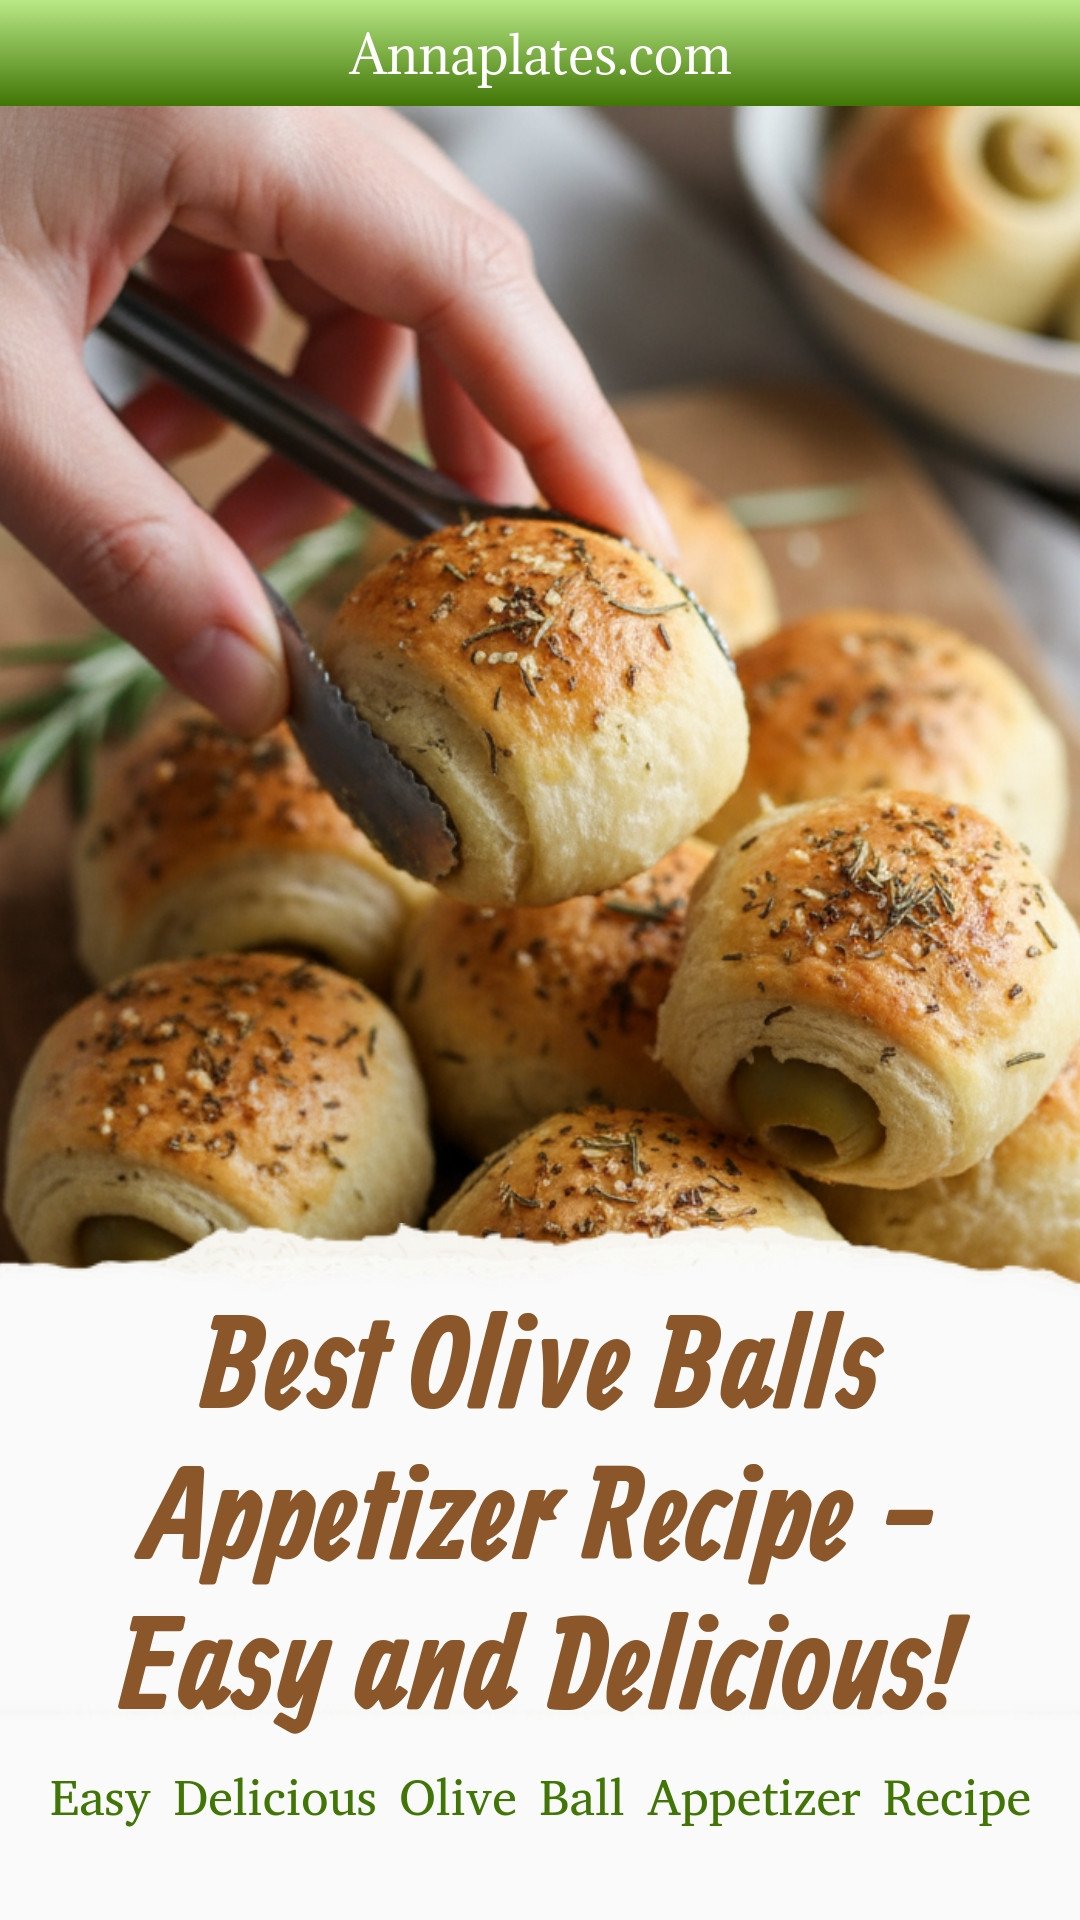
Best Olive Balls Appetizer Recipe – Easy and Delicious!: Easy Delicious Olive Ball Appetizer Recipe
Description
Impress guests with this easy, delicious olive ball appetizer! Cream cheese, olives, and a few simple ingredients make the perfect savory bite.
Ingredients
Instructions
- Drain the jar of olives removing as much moisture as possible from the outsides of the olives (juices still on the inside are perfectly okay).
- Open the can of crescent rolls, take two crescent triangles and pinch two of the perforated edges of the crescent triangles together to form large rectangles. If the can makes eight crescent rolls, you should wind up with four large rectangles.
- Cut them into 1 inch squares.
- Take one olive and put it in the center of one of the dough squares. Wrap the dough around the olive in a ball shape.
- Place on an ungreased cookie sheet and bake at 350 degrees for about 10 minutes or until the rolls are browned. Serve while warm.
- To dress them up a step further, consider brushing some melted butter over the top and then adding a pinch of garlic and a pinch of rosemary before serving.
Notes
- Nutrition Facts (per serving, recipe serves 10): Calories: 36kcal, Carbohydrates: 1g, Protein: 0.3g, Fat: 4g, Saturated Fat: 1g, Polyunsaturated Fat: 0.4g, Monounsaturated Fat: 3g, Sodium: 360mg, Potassium: 10mg, Fiber: 1g, Sugar: 0.2g, Vitamin A: 89IU, Calcium: 12mg, Iron: 0.1mg


Leave a Reply