
My First Caramel Disaster
I once tried to make caramels without a candy thermometer. I thought I could just guess. Oh, what a mess! It never got firm. We had to eat it with spoons from bowls. I still laugh at that.
That’s why a thermometer matters. It takes the guesswork out. You get perfect, chewy candy every time. Do you have a favorite kitchen mistake story? I’d love to hear it.
The Magic of Just Five Things
Look at that ingredient list. Just six simple things. Butter, sugar, milk. They transform into something magical. Doesn’t that smell amazing when it starts to bubble?
This matters because cooking is like a science show in your kitchen. You watch simple things change. It builds confidence. Fun fact: The brown sugar and corn syrup are what stop the sugar from turning back into crystals. They keep your caramel smooth!
Your Stirring Buddy
My grandson is my official stirring helper. His arm gets tired after a minute! But it’s our special time. We talk about his day while the pot bubbles.
Constant stirring matters. It stops the milk from curdling. It keeps the heat even so nothing burns. Will you recruit a helper for your stirring duty? It makes it more fun.
The Perfect Finish
Pouring the hot caramel into the pan is so satisfying. I love the smooth, glossy look. Now, here is the fun part. You get to make them yours.
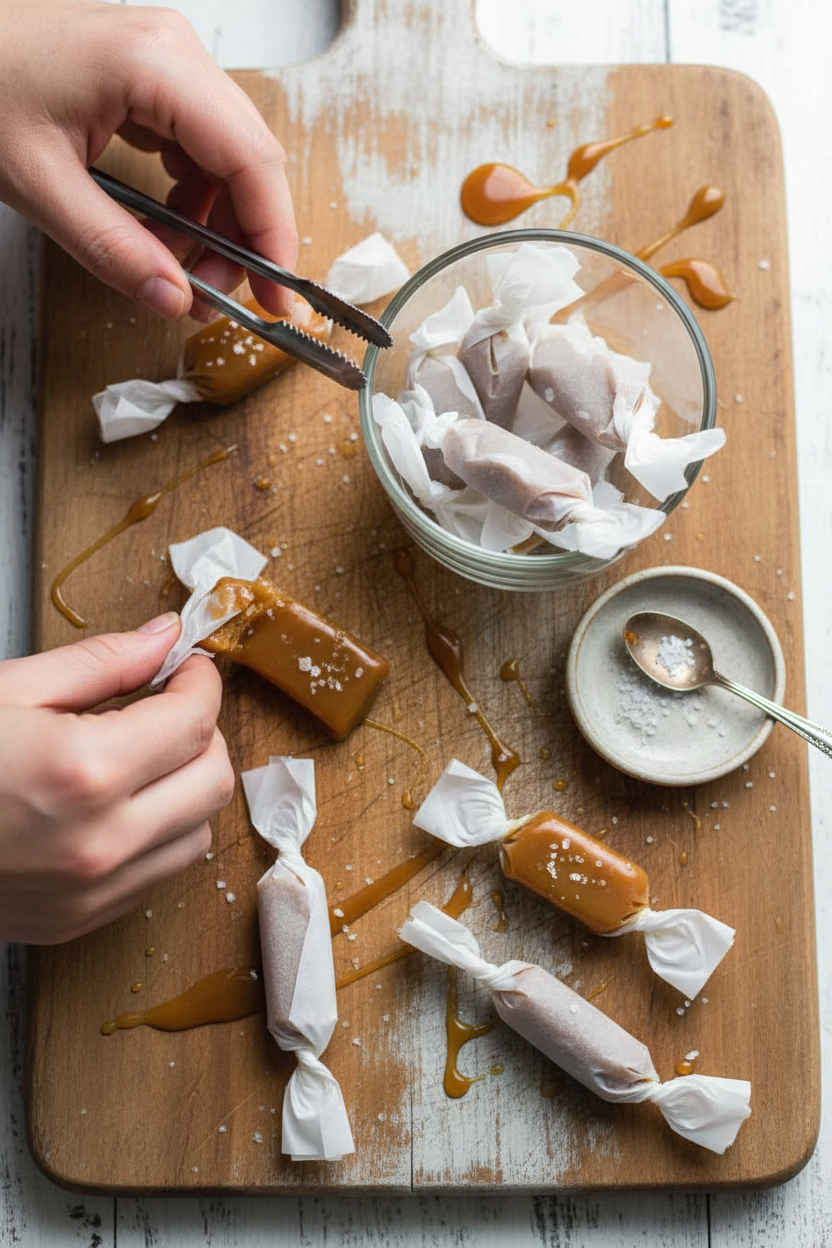
Sprinkle on sea salt right away. Or try crushed pecans. I used a fancy rose salt once. It felt so special. What will you top yours with? Sea salt, nuts, or nothing at all?
Wrapping with Love
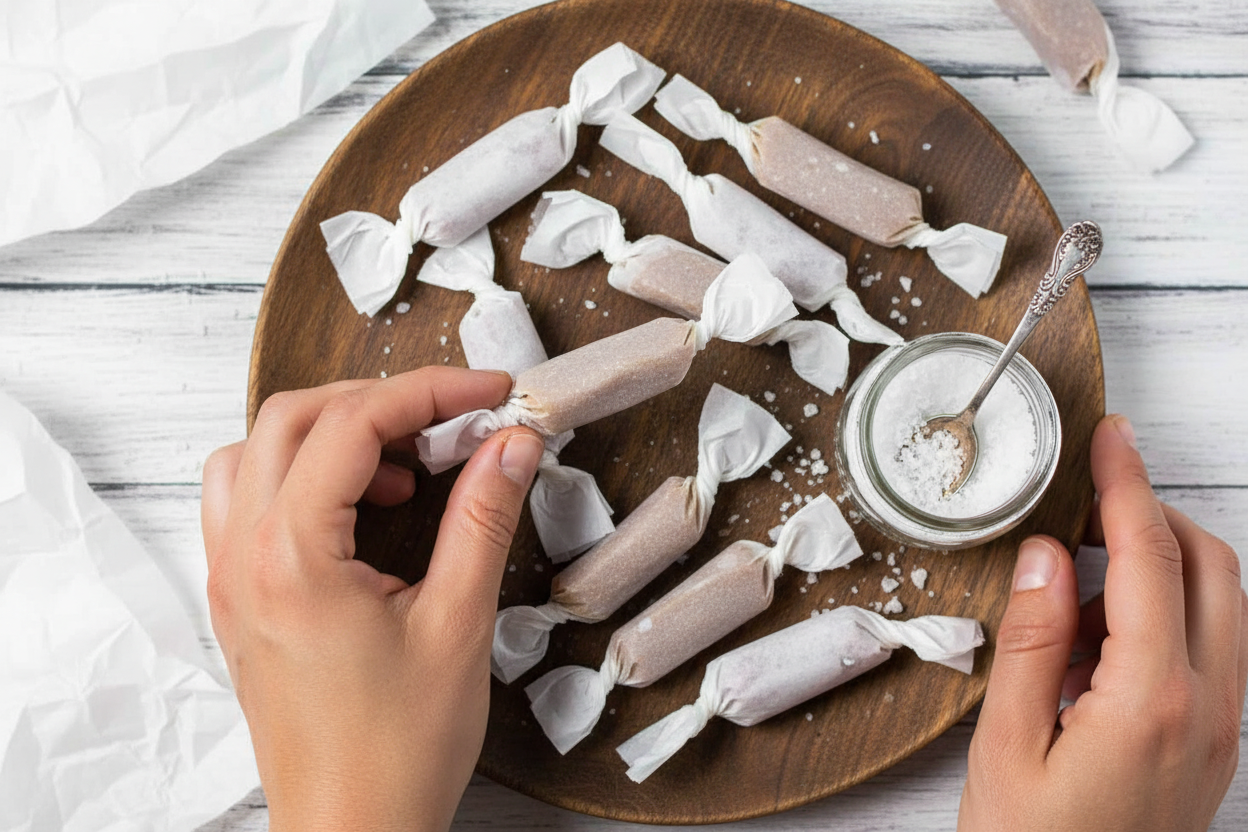
Cutting them into little squares is the best. I use my pizza cutter. Then comes the wrapping. Little parchment paper twists make them feel like a real gift.
This final step matters most. It turns food into a gift of time and care. Giving these away feels so good. It shows someone you thought about them. Who will you make a batch for?

Ingredients:
| Ingredient | Amount | Notes |
|---|---|---|
| Butter | 1 cup | |
| Granulated sugar | 1 cup | |
| Brown sugar | 1 cup | |
| Dark corn syrup | 1 cup | Regular can be used, but dark recommended for richer flavor |
| Sweetened condensed milk (e.g., Eagle Brand) | 1 cup | |
| Vanilla | 1 teaspoon | Optional, but recommended |
My Homemade Salted Caramels
Hello, dear. Come sit at the table. Let’s make something sweet. Today we are making my famous salted caramels. This recipe is like a warm hug. It reminds me of my own grandma’s kitchen. She always had a candy dish full. Doesn’t that smell amazing?
We can make them in the microwave or on the stove. I’ll show you both ways. The stove method is my favorite. It feels more like real candy-making. But the microwave is wonderfully fast. Just remember, the caramel gets VERY hot. I still have a tiny scar from a splash, long ago.
Step 1: First, gather all your ingredients. Put them right on the counter. This is called “mise en place.” It just means everything in its place. It makes cooking so much easier. You won’t be scrambling later. I learned that the hard way with a pot of burnt sugar!
Step 2: For the stove, melt the butter, sugars, and syrup in a big pot. Use medium heat. Stir it almost all the time. This keeps it from burning. It will start to bubble and boil. That’s when you add the sweetened condensed milk.
Step 3: Now, pour the milk in slowly. Keep stirring! Your arm might get tired. This is when I call my grandson for help. Stir until it reaches 240 degrees. (A hard-learned tip: If you don’t have a thermometer, use the ice water test. Drop a bit in cold water. Can you roll it into a firm ball? Then it’s ready!)
Step 4: Take the pot off the heat. Stir in the vanilla. That wonderful smell fills the whole house. Quickly pour the caramel into a buttered pan. Be so careful. This mixture is like hot lava. Sprinkle your salt on top now, before it sets.
Step 5: Let the pan sit until it’s completely cool. You can put it in the fridge to speed things up. Then, cut your caramels. A pizza cutter works perfectly for this. Wrap each piece in a little parchment paper. Twist the ends. You made real candy! What’s your favorite homemade gift to give? Share below!
Cook Time: 15–20 minutes
Total Time: About 3 hours (with setting)
Yield: About 48 pieces
Category: Dessert, Candy
Three Sweet Twists to Try
Once you know the basic recipe, you can play! Here are three fun ideas. They make your caramels special. My neighbor loves the nutty version. I think they’re all wonderful.
- Nutty Crunch: Press chopped pecans or walnuts into the top before it sets.
- Chocolate Dip: After they set, dip half of each caramel in melted dark chocolate.
- Autumn Spice: Add a pinch of cinnamon to the pot with the vanilla. It tastes like fall.
Which one would you try first? Comment below!
Serving Your Sweet Creations
These caramels are perfect all by themselves. But presentation is part of the fun. Put a few in a tiny ceramic bowl. It looks so pretty. You could also stack them on a vintage plate. I use my grandmother’s little glass dish.
For a drink, I love a hot cup of black tea with mine. The bitterness balances the sweet. My husband prefers a small glass of bourbon with his. It’s a nice, cozy pairing for a cold evening. Which would you choose tonight?
Keeping Your Caramels Happy
These caramels keep well at room temperature. Just wrap them tightly in parchment paper. They will stay soft for about two weeks. I keep mine in a pretty tin on the counter.
You can freeze them for later, too. Wrap each piece well and place them in a freezer bag. They thaw perfectly in just an hour. This is perfect for making gifts ahead of time.
I once forgot a batch in my car on a cold day. They froze solid! But they tasted just fine after warming up. Batch cooking means you always have a sweet treat ready.
It matters because life gets busy. Having homemade candy ready is a little victory. Have you ever tried storing it this way? Share below!
Caramel Troubles? Easy Fixes Here
First, the caramel might not set. This means it did not cook long enough. Use a candy thermometer for the best result. The firm ball stage is key.
Second, the mixture can sometimes curdle. This happens if you add the milk too fast. Pour it in slowly while stirring constantly. I remember when my first batch looked grainy.
Third, the caramel can burn on the bottom. You must stir almost the whole time. A heavy pot helps spread the heat evenly. This prevents nasty burnt spots.
Getting the texture right builds your candy-making confidence. Avoiding burnt flavor lets the buttery taste shine. Which of these problems have you run into before?
Your Caramel Questions, Answered
Q: Is this recipe gluten-free? A: Yes, all these ingredients are naturally gluten-free. Just check your corn syrup label to be sure.
Q: Can I make it ahead? A: Absolutely! They keep for weeks. Wrapping them well is the most important step.
Q: What can I use instead of corn syrup? A: You can use golden syrup or honey. The flavor and texture will change a little bit.
Q: Can I double the recipe? A: I do not recommend it. Candy making needs precise heat. Make two separate batches instead.
Q: Any optional tips? A: A pinch of flaky salt on top is wonderful. Fun fact: Salt makes sweet flavors taste even sweeter! Which tip will you try first?
From My Kitchen to Yours
I hope you love making these sweet treats. Sharing them is the very best part. Wrap them up for someone who needs a smile.
I would love to see your creations. Your kitchen stories make my day. Have you tried this recipe? Tag us on Pinterest! You can find me at @AnnasCozyKitchen.
Thank you for cooking with me today. Now, go enjoy a caramel with a glass of cold milk.
Happy cooking!
—Anna Whitmore.
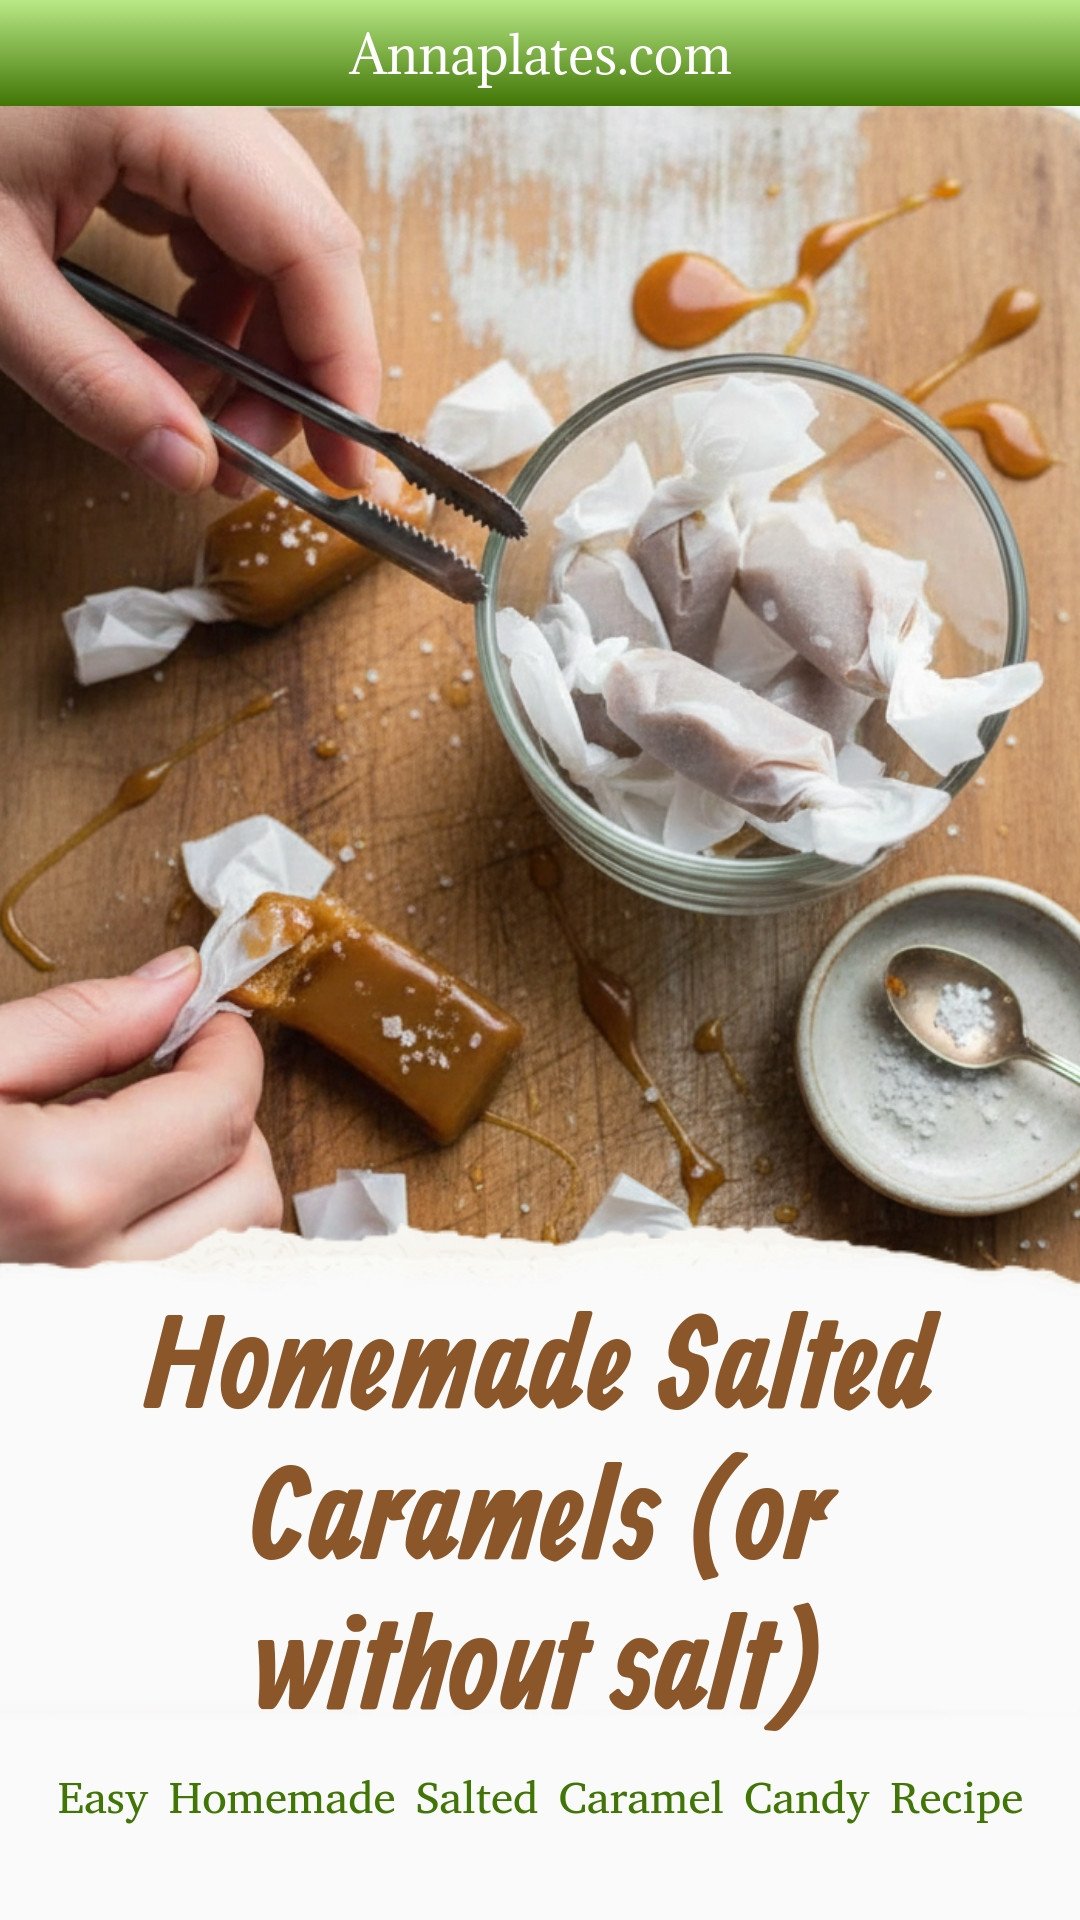
Homemade Salted Caramels (or without salt): Easy Homemade Salted Caramel Candy Recipe
Description
Indulge in rich, buttery homemade salted caramels. An easy, foolproof recipe for soft, chewy candies. Perfect for gifting or a sweet treat!
Ingredients
Instructions
- In the microwave: In at least a 2 quart microwave safe glass dish, melt the butter (took about 1 1/2 minutes in my microwave). When butter is melted, add the rest of the ingredients.
- Microwave on high for 2 minutes and then stir. The mixture will be nice and foamy. Microwave another 2 minutes and stir it again. This is SO hot, so be careful when removing from the microwave to stir.
- If you want really soft caramels, you could just remove them now and let them set, but I will let you know they are VERY soft and runny even when they set up. I recommend microwaving 2 minutes, stirring and then maybe even another 1-2 minutes and stir.
- On the Stove: In a large pot over medium heat, add the butter, both sugars and corn syrup. I don’t recommend using a non-stick pan.
- Stir over medium heat until mixture begins to boil, about 5-10 minutes. Stir often. Like almost continuously. You want to be careful not to burn the mixture at all.
- Add the sweetened condensed milk a little at a time while stirring constantly. You’re making sure the mixture stays a constant boil so the caramels don’t curdle with the added milk.
- Stir the mixture constantly, scraping the sides occasionally until it reaches firm ball stage (about 240 degrees F on a candy thermometer). You can also test by dropping a spoonful into ice water and molding it into a firm ball.
- Once your caramel hits the firm ball stage (240 degrees F), remove from heat. Stir in vanilla if desired.
- When ready to Set: Pour the caramel into a buttered pan (or parchment-lined pan). If you want to sprinkle your caramels with sea salt, crushed nuts, or sprinkles, do this before they set.
- Let it set up. To speed up setting, put them in the fridge for a couple of hours.
- When set, use a pizza cutter or sharp knife to cut into pieces. Roll pieces in parchment paper, twist the ends, and they are ready to gift or enjoy!
Notes
- Nutrition Facts (per serving, based on 48 servings): Calories: 108 kcal, Carbohydrates: 18 g, Protein: 1 g, Fat: 4 g, Saturated Fat: 3 g, Polyunsaturated Fat: 0.2 g, Monounsaturated Fat: 1 g, Trans Fat: 0.2 g, Cholesterol: 12 mg, Sodium: 51 mg, Potassium: 34 mg, Sugar: 18 g, Vitamin A: 135 IU, Vitamin C: 0.2 mg, Calcium: 24 mg, Iron: 0.1 mg.


Leave a Reply