
My Summer of Sweet Mistakes
I first made this cake one hot July. My oven had broken. I was so frustrated. But I tried this no-bake idea instead. It was a happy accident.
That cool, creamy cake saved the day. We ate it on the porch. The sun was setting. I still laugh at that. A broken oven gave me a new favorite. What’s your favorite “happy accident” in the kitchen?
Why This Simple Cake Matters
Some food is just for fun. This cake is pure joy. It’s not fancy. It doesn’t need to be. It’s about sharing something sweet and easy.
That matters. Life can be complicated. A simple, happy dessert helps. It says, “Let’s just enjoy this moment together.” Do you have a food that makes you feel that way?
Let’s Make the Crust
First, crush those graham crackers. A food processor is fast. You can also use a bag and a rolling pin. It’s a good way to get out any grumpy feelings!
Mix the crumbs with melted butter and sugar. Press it into your pan. Use your fingers. Make it nice and even. Now chill it. This chill time is important. It makes the crust firm.
The Magical Filling
Now for the creamy part. Your cream cheese must be soft. Leave it on the counter for an hour. This is the secret to no lumps. Mix it with the Cool Whip and sugar.
Add that little bit of lemon juice. It’s my trick. It makes the flavor sparkle. Doesn’t that smell amazing? Spread it over your cold crust. Give it a quick chill before the cherries.
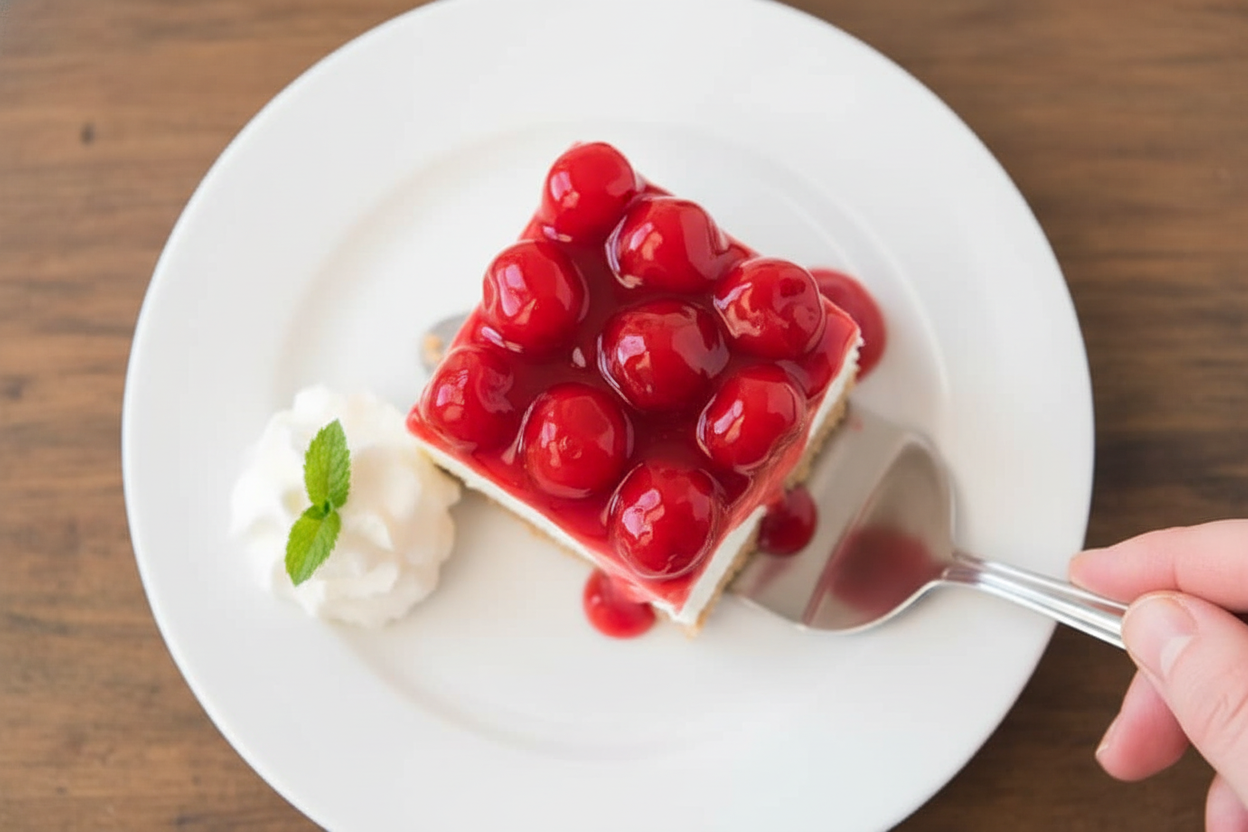
The Cherry on Top
Spoon on that glossy cherry pie filling. Gently spread it. Try to get a cherry in every slice. Now, the hard part. You must wait. Chill it for four whole hours.
This wait matters too. It lets everything set. It becomes sliceable magic. Fun fact: The cherry on top comes from old soda fountain treats. They put a cherry in every sundae! Do you prefer cherries, or another pie filling like blueberry?

Ingredients:
| Ingredient | Amount | Notes |
|---|---|---|
| Graham cracker sheets | 9 sheets (one sleeve) | For the crust |
| Butter | ½ cup | Melted |
| Sugar | 1 tablespoon | For the crust |
| Cream cheese | 16 ounces | Softened |
| Cool Whip | 8 ounces | |
| Powdered sugar | 1 cup | |
| Lemon juice | 1 teaspoon | |
| Cherry pie filling | 21 ounces | For topping |
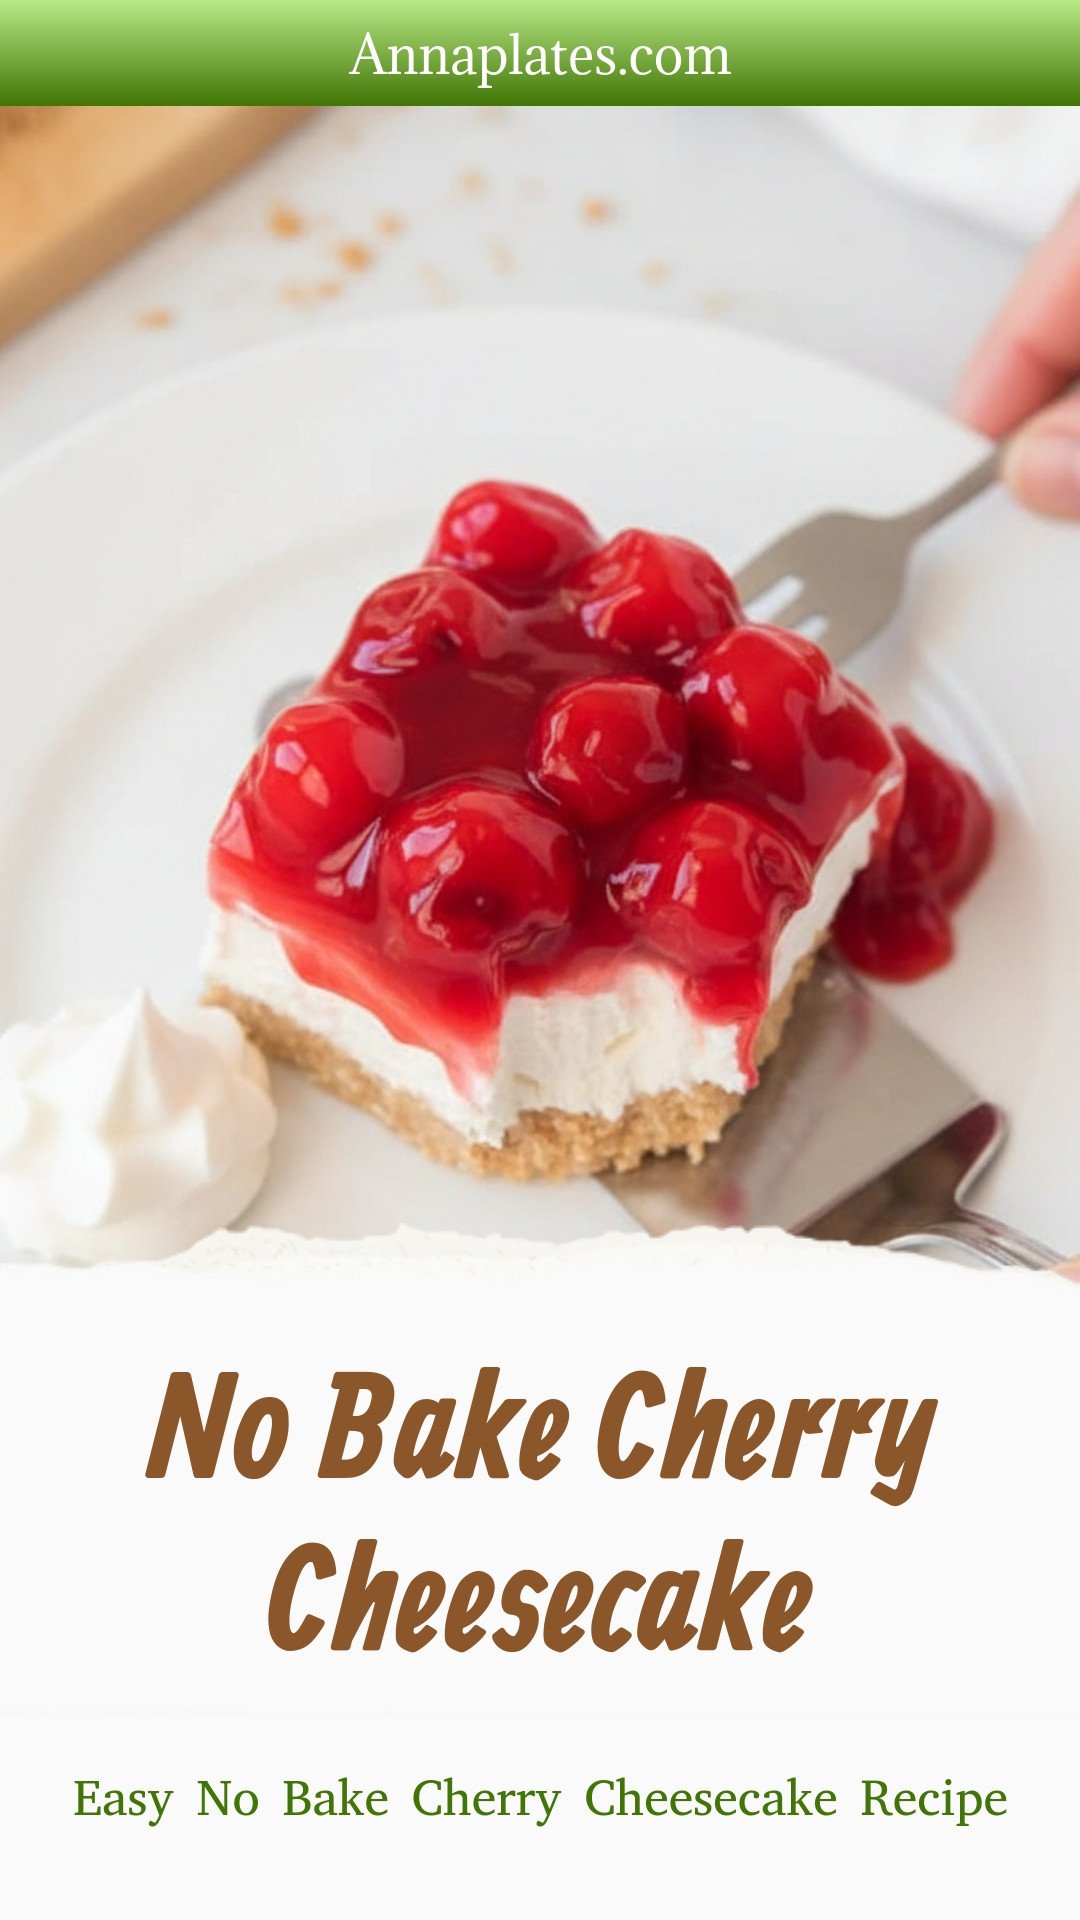
My No-Bake Cherry Cheesecake: A Sweet, Simple Treat
Hello, my dear! Come sit at the counter. Let’s make something wonderful. This no-bake cherry cheesecake is pure joy. It reminds me of summer picnics with my grandkids. The best part? You don’t even need to turn on the oven. Doesn’t that sound perfect for a warm day?
We’ll start with the crust. It’s just graham crackers, butter, and a little sugar. I still laugh at that. My grandson once tried to use saltine crackers. It was… interesting! Our filling is creamy and dreamy. It mixes up in one bowl. My hard-learned tip? Make sure your cream cheese is very soft. (If it’s cold, you’ll get lumps and have to stir forever!).
Now, let’s get our hands busy. Follow these simple steps. You’ll have a beautiful dessert in no time.
- Step 1: Grab your graham crackers. Crumble them up in a food processor. You want them to look like fine sand. No big pieces left! I use a whole sleeve from the box. It’s just the right amount.
- Step 2: Put the crumbs in a bowl. Pour in the melted butter and sugar. Mix it all together. It should feel like wet sand. This will be our delicious crust. Doesn’t that smell amazing already?
- Step 3: Line your pan with parchment paper. This makes life so easy later. Press the crumb mix into the pan. Use a cup to press it flat. Then, pop it in the fridge to chill. Quick quiz: What does the crust feel like before chilling? Share below!
- Step 4: Time for the creamy filling. Beat the soft cream cheese until it’s smooth. Then add the Cool Whip, powdered sugar, and lemon juice. Mix it gently. You want a fluffy cloud. Spread this over your cold crust. Chill it for five more minutes.
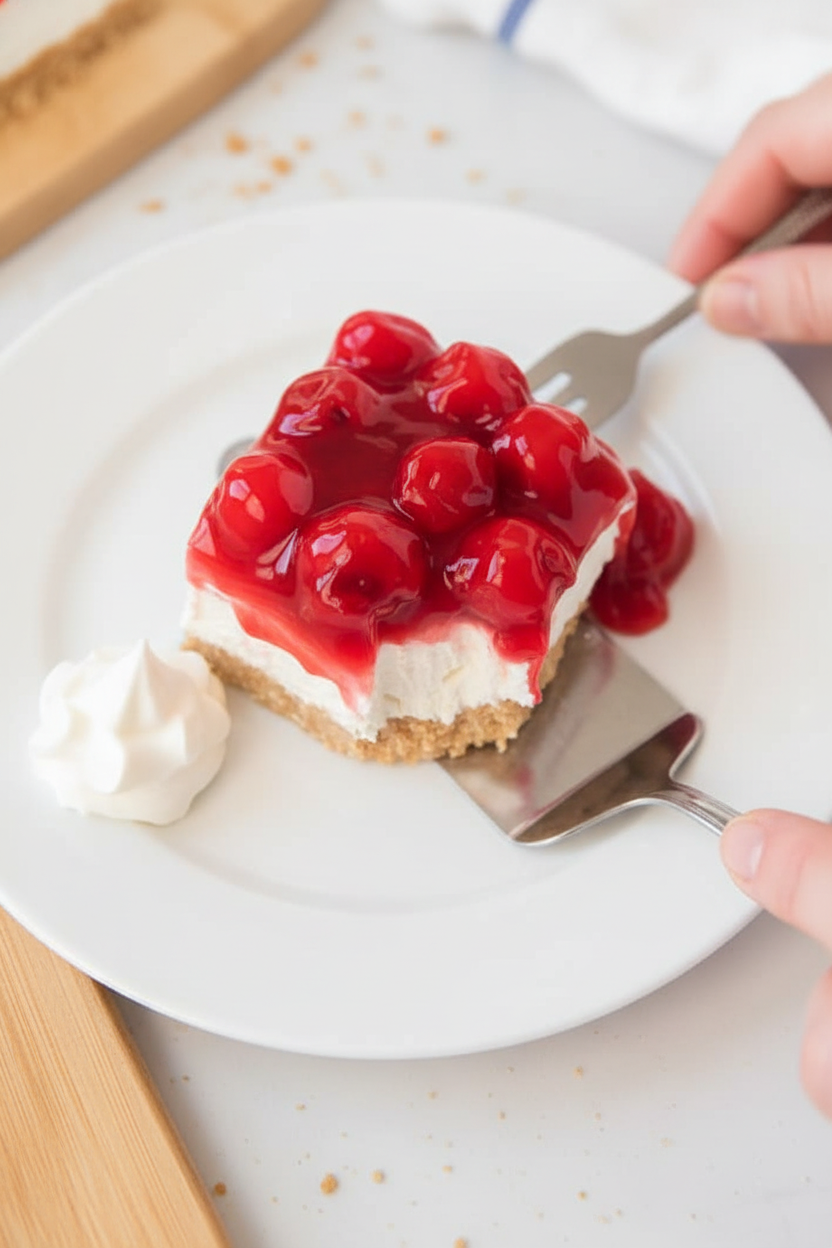
- Step 5: Open your can of cherry pie filling. Spoon those glossy red cherries over the cream layer. Gently spread them to the edges. Try to get a cherry in every slice. It looks so pretty, like a red jewel box.
- Step 6: Now, the hardest part. You must wait! Chill the whole cheesecake for four hours. This lets everything set perfectly. Then, slice it up and enjoy your creation. You did such a good job.
Cook Time: 4–6 hours (chilling)
Total Time: 4 hours 15 minutes
Yield: 9 servings
Category: Dessert, No-Bake
Three Fun Twists to Try Next Time
Once you master this, get creative! It’s fun to play with flavors. Here are three of my favorite twists. They are all so simple.
- Blueberry Bliss: Swap the cherry pie filling for blueberry. It tastes like a summer morning.
- Chocolate Dream: Add two tablespoons of cocoa powder to the cream cheese mix. Use a chocolate cookie crust.
- Sunshine Citrus: Use lemon pie filling on top. Add a little extra lemon zest to the cream layer. So bright and cheerful!
Which one would you try first? Comment below! I’d love to hear your pick.
Serving It Up With Style
This cheesecake is a star on its own. But a little extra touch makes it special. Try a dollop of fresh whipped cream on top. A sprinkle of graham cracker crumbs adds a nice crunch. For a fancy look, serve it on a white plate.
What to drink with it? For the grown-ups, a small glass of sweet dessert wine is lovely. For everyone, a cold glass of milk or sparkling lemonade is perfect. The creamy cheesecake and fizzy lemonade are a happy pair. Which would you choose tonight?
Keeping Your Cheesecake Happy
This no-bake cheesecake loves the cold. Keep it covered in the fridge. It will stay perfect for three days. You can also freeze it for a sweet treat later. Wrap the whole pan tightly in plastic wrap. Then add a layer of foil. It freezes well for up to a month.
I once made a double batch for a summer picnic. I froze one whole pan. A week later, we had a surprise visit from family. That frozen cheesecake saved the day! Thaw it overnight in your refrigerator. This is why batch cooking matters. It turns a simple dessert into a ready-made gift of joy.
Have you ever tried storing it this way? Share below!
Simple Fixes for Common Hiccups
Is your crust too crumbly? You may not have used enough butter. The crumbs should feel like wet sand. Press them firmly into the pan. A good crust matters. It gives your dessert a sturdy, tasty base.
Is the filling lumpy? Your cream cheese must be very soft. I remember rushing this step once. I had tiny white lumps in my filling. Let the cream cheese sit on the counter for an hour. Smooth filling matters for that dreamy, creamy texture we all love.
Are the cherries sinking? Chill the cream cheese layer first. Just five minutes in the fridge helps. It creates a firmer bed for the topping. This small wait makes a big difference in your final slice.
Which of these problems have you run into before?
Your Quick Questions, Answered
Q: Can I make this gluten-free?
A: Yes! Use gluten-free graham crackers. The method stays exactly the same.
Q: How far ahead can I make it?
A: It’s a great make-ahead dessert. Make it the day before your event. The flavor gets even better.
Q: What can I use instead of Cool Whip?
A: You can use an equal amount of whipped heavy cream. Just sweeten it a little. *Fun fact: Cool Whip was invented in the 1960s!*
Q: Can I double the recipe?
A: Absolutely. Use a 9×13 inch pan. Just mix everything in a bigger bowl.
Q: Any optional tips?
A: Try a different pie filling. Blueberry is my grandson’s favorite. A little vanilla in the filling is nice too.
Which tip will you try first?
From My Kitchen to Yours
I hope you love making this easy cheesecake. It holds so many happy memories for me. I can almost hear my own grandkids asking for seconds. Nothing makes me happier than seeing your creations.
Please share your baking stories with me. I would love to see your beautiful dessert plates. Have you tried this recipe? Tag us on Pinterest! Let’s fill that board with sweet, red cherries and smiles.
Happy cooking!
—Anna Whitmore.
No Bake Cherry Cheesecake: Easy No Bake Cherry Cheesecake Recipe
Description
Creamy no-bake cherry cheesecake! Easy, 6-ingredient dessert ready in minutes. Perfect for summer parties & sweet cravings.
Ingredients
Instructions
- Place graham crackers in the food processor and pulse into fine crumbs.
- In a medium bowl, combine graham cracker crumbs, melted butter, and sugar.
- Line 8×8 pan with parchment paper. Press the graham cracker mixture evenly into the bottom of the pan. Chill in the refrigerator.
- In a large bowl, mix softened cream cheese, Cool Whip, powdered sugar, and lemon juice until smooth. Spread into an even layer over the graham cracker crust. Chill for about 5 minutes.
- Spoon cherry pie filling over the cream cheese layer. Gently spread out the cherries to cover the entire pan.
- Chill for at least 4 hours. Slice and enjoy!
Notes
- For best results, ensure the cream cheese is fully softened before mixing. You can use homemade whipped cream instead of Cool Whip if preferred.


Leave a Reply