

My Picnic Secret
I have a favorite picnic trick. It is these sandwich pinwheels. They look fancy but are so simple. I first made them for my grandson’s soccer game. The other parents asked for the recipe. I still laugh at that.
Why does this matter? Food made with love brings people together. A simple snack can turn a regular day into a little party. What is your favorite food to bring to a party? I would love to know.
The Heart of the Pinwheel
Everything starts with the cream cheese spread. Let the cream cheese get soft first. Mix in the green onions and garlic. Doesn’t that smell amazing? The garlic makes it special.
Chilling the spread is my secret step. It makes it easier to spread later. This waiting time matters. It lets the flavors become friends in the fridge. Your patience will be rewarded.
Rolling Them Up Right
Lay your tortilla flat. Spread the cream cheese all the way to the edges. Then layer the ham and turkey. Add a good handful of lettuce for a nice crunch.
Now, roll it up tight, like a sleeping bag. Use toothpicks to hold it together. This is the fun part. Fun fact: These are also called “tortilla roll-ups” or “pinwheel sandwiches.” Which name do you like better?
Why This Works So Well
These pinwheels are perfect for busy days. You can make them ahead of time. Just wrap them in plastic wrap. They wait patiently in the fridge until you need them.
They are also easy for little hands to hold. No messy bread falling apart. Every bite has a bit of everything. Do you have a recipe that saves your busy days? Share it with me.
Slicing and Serving with a Smile
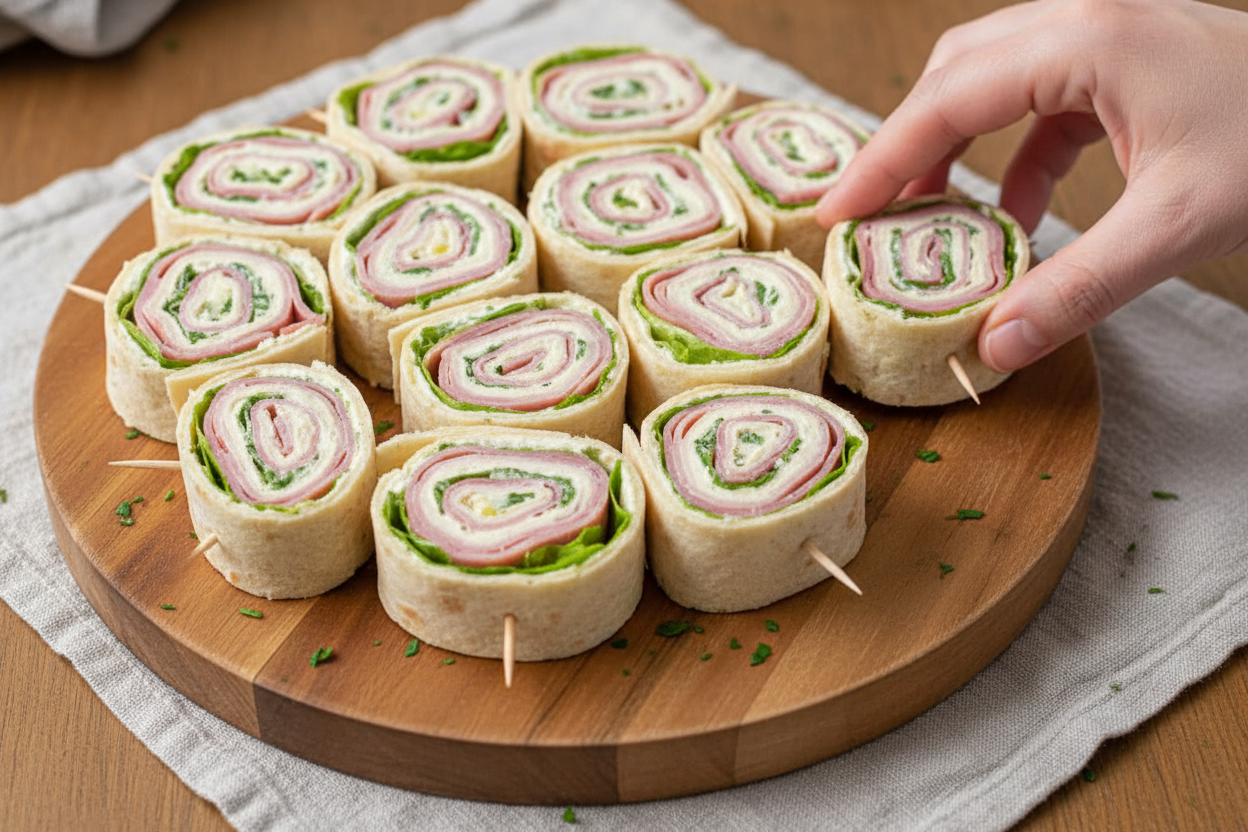
Use a sharp knife to slice the roll. Make each piece about an inch thick. You will see the beautiful spiral inside. It always makes me smile.
Arrange them on a plate. They look so cheerful. The colors are pretty. This final touch matters. We eat first with our eyes. It shows you cared enough to make it nice.
Ingredients:
| Ingredient | Amount | Notes |
|---|---|---|
| Flour tortillas | 5 | 10″ Burrito Size |
| Cream cheese | 8 ounces | |
| Green onions, chopped | 4 Tablespoons | |
| Garlic, finely minced | 2 cloves | |
| Fresh parsley, chopped | 1 Tablespoon | |
| Sea salt | 1 pinch | to taste |
| Deli ham | 10 slices | |
| Deli turkey | 10 slices | |
| Lettuce | as needed |
My Favorite Party Pinwheels
Hello, my dear! Come sit at the counter. I want to tell you about my pinwheel sandwiches. They are my secret for any gathering. I first made them for my grandson’s birthday. The whole plate disappeared in minutes! I still laugh at that. Now, they are my go-to recipe. They look fancy but are so simple. Let’s make them together.
We start with the creamy spread. It’s the heart of the whole thing. Doesn’t that smell amazing? The garlic and green onions make it special. Step 1: Put your cream cheese in a bowl. Add the chopped onions, garlic, parsley, and salt. Mix it all until it’s smooth and green. I let my mixer do the work. (A hard-learned tip: Let the cream cheese sit out first. It blends much easier when it’s soft!)
Now, pop that spread in the fridge. It needs about an hour to firm up. This waiting is the hardest part! Use this time to clear your table. You’ll need space to roll. Step 2: Take a tortilla and lay it flat. Spread the cream cheese mix all the way to the edges. Be generous! This glue holds everything together.
Time for the fun layering. Step 3: Place your ham and turkey slices on top. Cover the whole tortilla. Then, add a good layer of crisp lettuce. I like the crunch it gives. Step 4: Here’s the trick to a tight roll. Start at the edge closest to you. Tuck and roll firmly, but gently. Think of rolling up a sleeping bag!
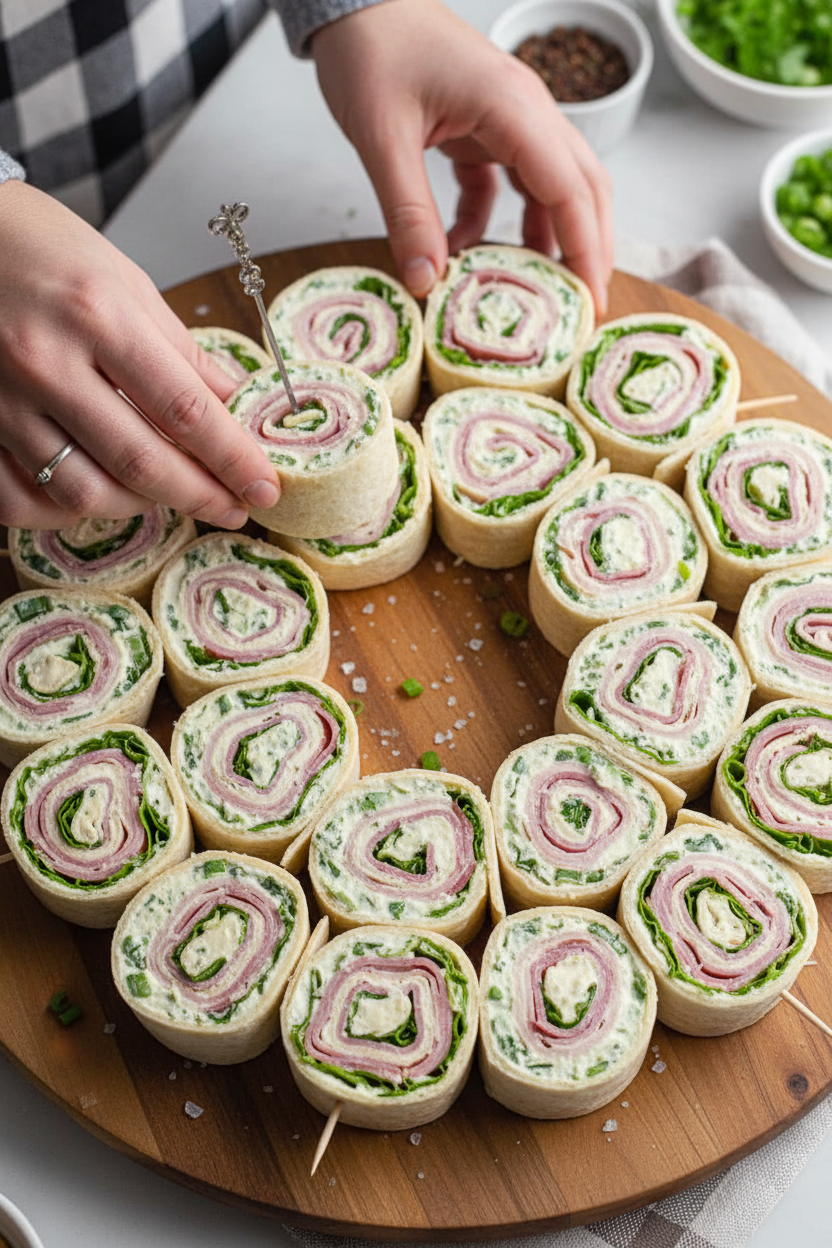
Almost done! Step 5: Stick toothpicks through your long roll. Space them where you will slice. This keeps it from falling apart. Slice between the toothpicks. You’ll get beautiful little spirals. What’s your favorite party food to make? Share below! Arrange them on a plate. Watch them disappear at your next party. I promise they will.
Cook Time: 1 hour (chilling)
Total Time: 1 hour 20 minutes
Yield: About 50 pinwheels
Category: Appetizer, Snack
Three Fun Twists to Try
You can change these pinwheels so easily. It’s fun to play with flavors. Here are three ideas I love. The Garden Twist: Skip the meat. Use thin cucumber slices and shredded carrots instead. The Pizza Lover’s: Mix a spoon of pesto into the cream cheese. Add pepperoni and a sprinkle of mozzarella. The Sweet & Savory: Use a flavored tortilla. Spread with cream cheese, then add sliced strawberries and fresh spinach.
Which one would you try first? Comment below!
Serving Them Up Right
These pinwheels are stars on their own. But I love to make a pretty plate. Serve them with a bowl of pickles and olives on the side. Some potato chips add a nice salty crunch. For a fancier look, lay them on a platter with fresh herb sprigs.
What to drink? For the grown-ups, a chilled glass of crisp white wine is lovely. For everyone, I always make a big pitcher of lemonade with mint. It’s so refreshing. Which would you choose tonight?
Keeping Your Pinwheels Fresh and Ready
These pinwheels are perfect for making ahead. First, roll them up tightly. Wrap each roll in plastic wrap. Then, pop them in the fridge. They will stay fresh for a day. This makes party prep so easy. I once made them for my grandson’s game. I prepared everything the night before. It saved me so much time the next day.
You can also freeze them for later. Wrap the whole roll in foil first. Then, place it in a freezer bag. They will keep for one month. Thaw them in the refrigerator overnight before slicing. Batch cooking like this saves money and reduces waste. It means you always have a tasty snack ready. Have you ever tried storing it this way? Share below!
Fixing Common Pinwheel Problems
Sometimes the tortilla cracks when you roll it. The fix is simple. Let your tortillas sit out for ten minutes. Cold tortillas from the fridge crack easily. Room temperature tortillas are more flexible. This makes rolling much smoother.
The filling might squish out when you slice. Use a very sharp knife. A dull knife will smash your beautiful roll. I remember using a butter knife once. What a mess! A clean, sharp cut keeps the layers neat. This matters because we eat with our eyes first. A pretty pinwheel is more fun to eat.
Your pinwheels might get soggy. Always pat your lettuce completely dry. Wet greens make the tortilla soft. This small step keeps your snack crisp. It builds your confidence when food turns out right. Which of these problems have you run into before?
Your Pinwheel Questions, Answered
Q: Can I make these gluten-free? A: Yes! Use your favorite gluten-free tortillas. Check that your deli meats are gluten-free too.
Q: How far ahead can I make them? A: You can assemble the rolls one day ahead. Just slice them right before you serve.
Q: What can I use instead of cream cheese? A: Try whipped cottage cheese or plain hummus. Both make a delicious, creamy spread.
Q: Can I double the recipe for a big crowd? A: Absolutely. Just mix a double batch of the spread. You can roll many tortillas at once.
Q: Any fun extra tips? A: Add a sprinkle of everything bagel seasoning on the cream cheese. Fun fact: This little trick came from my neighbor, Betty! Which tip will you try first?
From My Kitchen to Yours
I hope you love making these easy pinwheels. They are perfect for lunches, parties, or a quick bite. Cooking should be simple and joyful. I would love to see your creations. Share a photo of your snack plate. It makes my day to see your kitchen adventures. Have you tried this recipe? Tag us on Pinterest! You can find me at @AnnasCozyKitchen. Happy cooking!
—Anna Whitmore.

Easy Sandwich Pinwheels: Easy Sandwich Pinwheel Recipes for Any Occasion
Description
Easy, no-cook pinwheel sandwiches! Perfect for parties, kids’ lunches, or healthy snacks. Endless flavor combinations with tortillas, cream cheese, and your favorite fillings.
Ingredients
Instructions
- For Cream Cheese Spread: Cut the cream cheese into cubes and put it into a bowl (I used my stand mixer). Add the green onions, minced garlic, parsley and sea salt. Blend for about 3 minutes, or until entire mixture is combined and blended.
- Spoon mixture into a sealed container and refrigerate for an hour. It will keep in the refrigerator for up to 2 weeks in a tightly sealed container.
- When ready to serve: Lay flour tortillas on a flat surface. Spread the cream cheese mixture across the entire flour tortilla.
- Layer the deli meats on top of each other completely covering the flour tortilla.
- Layer the lettuce on top – use enough lettuce to completely cover the deli meat.
- Roll up each flour tortilla.
- Use toothpicks to secure the tortilla. Depending on how thick you want them, will determine how many toothpicks you use. I was able to slice 10 pinwheels so I used 10 toothpicks. If you are able to slice 10 per tortilla you will wind up with 50 pinwheels at the end.
Notes
- Nutrition Facts (per serving): Calories: 81kcal, Carbohydrates: 4g, Protein: 4g, Fat: 6g, Saturated Fat: 3g, Polyunsaturated Fat: 0.5g, Monounsaturated Fat: 2g, Cholesterol: 17mg, Sodium: 244mg, Potassium: 63mg, Fiber: 0.2g, Sugar: 1g, Vitamin A: 145IU, Vitamin C: 0.5mg, Calcium: 20mg, Iron: 0.4mg


Leave a Reply