
A Pie Full of Hugs
Let me tell you about my chocolate kiss pie. It feels like a hug in a pie dish. My grandson Sam calls it “the candy pie.” I still laugh at that. It is so simple to make. You just melt, stir, and pour. The hardest part is unwrapping all those kisses!
But that is part of the fun. It turns a treat into a little ceremony. Your hands get busy. Your mind gets quiet. This matters because cooking should be joyful, not hard. What is your favorite part of baking? Is it mixing, or is it tasting?
Melting Magic
Now, the magic happens in the pan. Warm milk and little kisses go in. You stir gently over medium heat. Watch them soften and swirl together. Doesn’t that smell amazing? It is like a chocolate dream.
Then you stir in the cream cheese. It makes everything rich and smooth. *Fun fact: Hershey’s Kisses got their name from the sound of the chocolate being dropped during the old machine process.* It sounded like a kiss! After that, you fold in the whipped cream. Be gentle here. You want it fluffy.
Why Simple is Best
This pie has no fancy steps. You use a ready-made crust. I think that is just fine. A good meal or dessert brings people together. That is the real goal. It does not need to be perfect.
This matters a lot to me. Food is about love, not stress. When you share this pie, you share a moment. Do you have a simple recipe that always makes people smile? I would love to hear about it.
The Waiting Game
Pour your chocolate mix into the crust. Then comes the hard part. You must wait two whole hours! I always peek at it in the fridge. It needs that time to become firm and cool.
Waiting teaches us patience. Good things take a little time. Use that time to clean up. Or just sit with a cup of tea. What do you like to do while a dessert sets? I sometimes read a book.
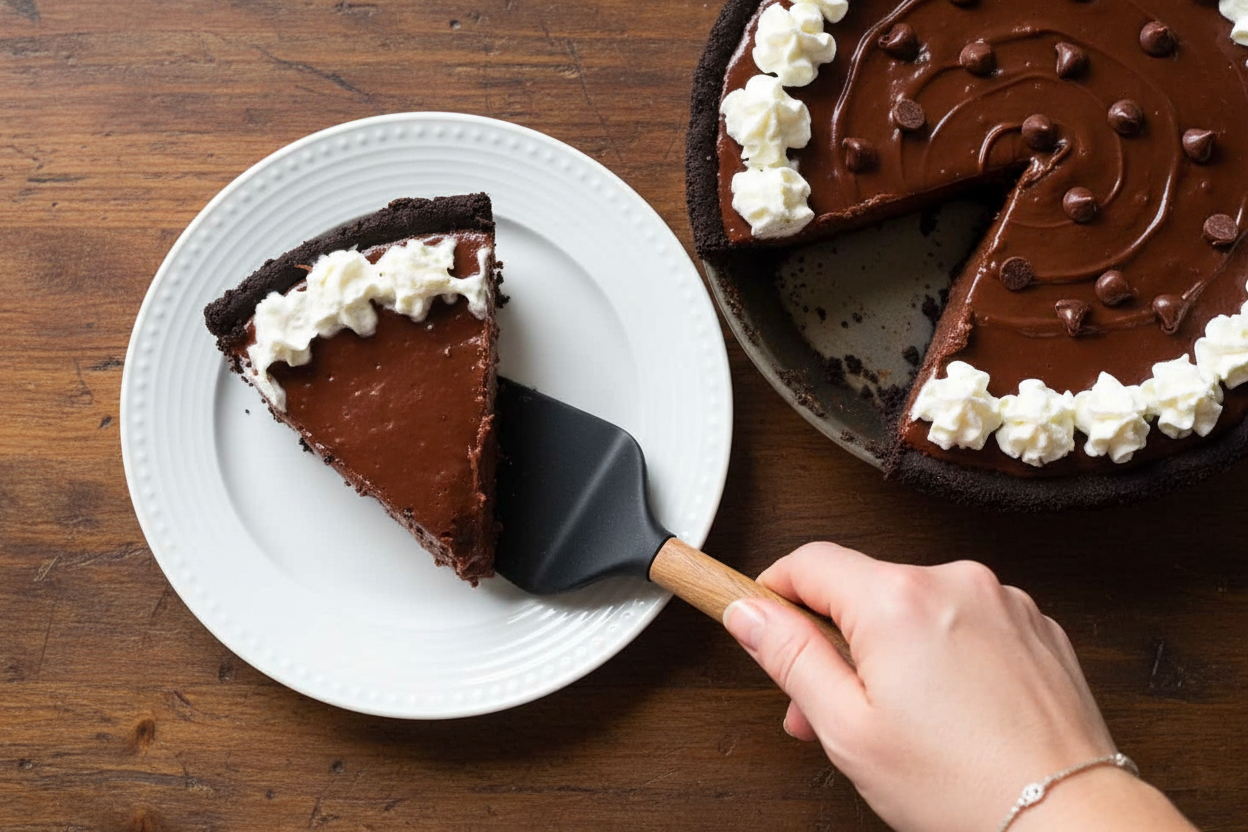
Your First Slice
Finally, slice your pie. It will be creamy and dreamy. Each bite is sweet, but not too sweet. The chocolate crust gives a nice little crunch. It is pure happiness on a plate.
Share it with someone you care about. That is the second reason this matters. Food tastes better with friends. So tell me, who will you make this for first? A family dinner, or maybe just for you?

Ingredients:
| Ingredient | Amount | Notes |
|---|---|---|
| Hershey’s chocolate kisses | 12 ounces | |
| Milk | 2 ounces | |
| Cream cheese | 8 ounces | |
| Whipped cream | 8 ounces | Thawed |
| Chocolate pie crust | 1 (9-inch) |
My No-Bake Chocolate Kiss Pie
Hello, dear! Come sit at my kitchen table. I want to tell you about a pie. It is my grandson’s favorite. He calls it “Hug-in-a-Pan” pie. Isn’t that sweet? It is made with Hershey’s Kisses. Those little chocolates hold so many memories for me. I still laugh at that. This recipe is wonderfully simple. You don’t even need to turn on your oven. Just a saucepan and a spoon. Let’s make some new memories together, shall we?
Ingredients
- 40 Hershey’s Kisses, unwrapped
- 1/4 cup milk
- 1 (8 oz) package cream cheese, softened
- 1 (8 oz) container frozen whipped topping, thawed
- 1 (9-inch) prepared graham cracker crust
Instructions
Step 1: First, unwrap all those Hershey’s Kisses. This is a perfect job for little helpers. My grandson used to sneak a few. His cheeks would be full of chocolate! Put the kisses and the milk in a saucepan. Melt them together on medium heat. Stir gently with a wooden spoon. Doesn’t that smell amazing? (Hard-learned tip: Low, slow heat prevents the chocolate from scorching.)
Step 2: Now, add the cream cheese to the warm chocolate. Keep the heat low. Stir until it’s all smooth and melted together. It will look like a thick, shiny pudding. I love this part. It feels so silky. Remove the pan from the heat. Let it sit for just a minute. We don’t want it too hot for the next step.
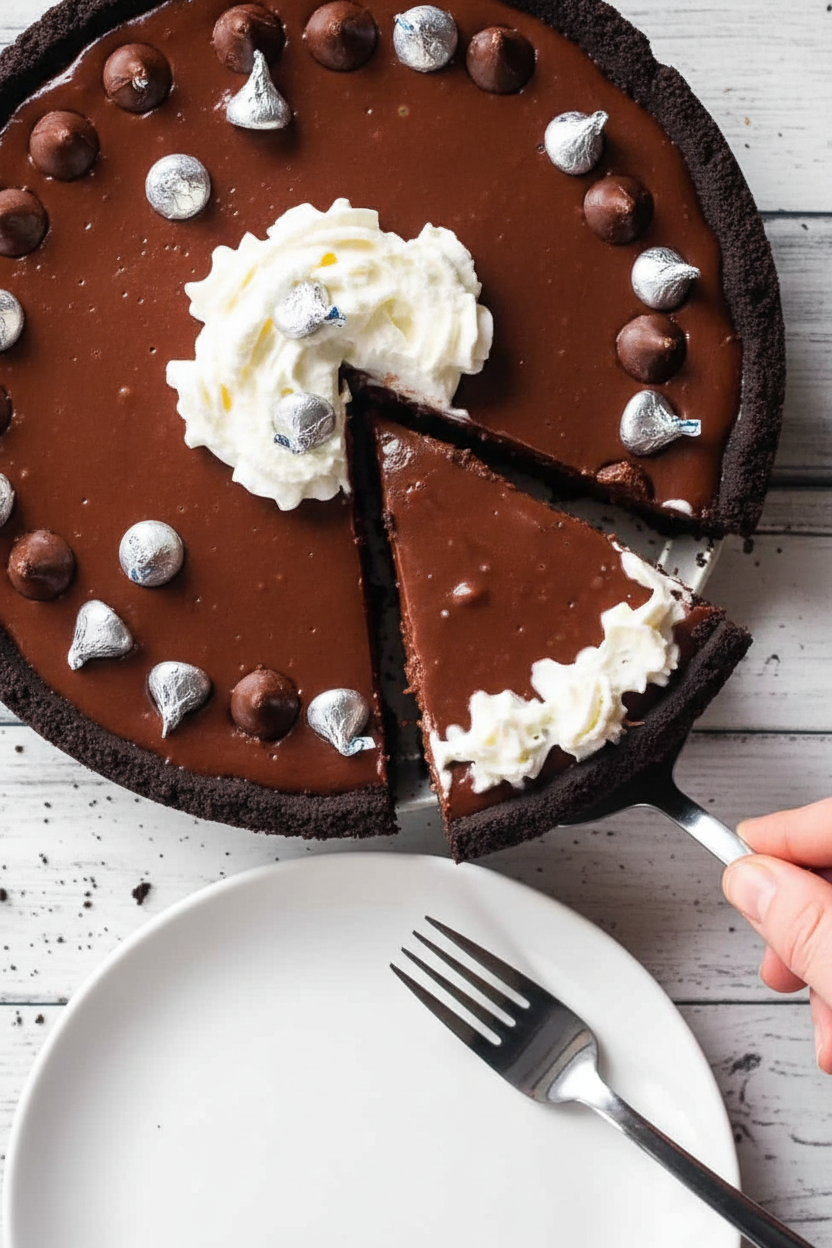
Step 3: Here is the magic. Fold in the whipped topping. Use your whisk and stir gently. You want it all combined and fluffy. See how the color lightens? That means you’re doing it right. What’s the secret to a light pie? Share below! Now, pour this dreamy filling into your pie crust. Smooth the top with your spoon.
Step 4: The hardest part is waiting. Slide the pie into the refrigerator. Let it set for at least two hours. This gives you time to tidy up. Or, you can just dream about that first slice. I like to check on it. The pie gets firmer and cooler. It’s worth the wait, I promise.
Cook Time: 15 minutes
Total Time: 2 hours 15 minutes
Yield: 10 slices
Category: Dessert, Pie
Three Sweet Twists to Try
This pie is a wonderful friend. It loves to dress up for different occasions. Here are my favorite ways to change its outfit. Each one is simple and fun. You can make it feel brand new.
- Cookie Crunch: Stir in a handful of crushed peppermint patties or chocolate cookies before pouring.
- Peanut Butter Swirl: Drop spoonfuls of peanut butter into the filled crust. Swirl with a knife.
- Orange Dream: Add a teaspoon of orange zest to the melting chocolate. It tastes like a chocolate orange!
Which one would you try first? Comment below!
Serving It Up With Style
A slice of this pie is a celebration all by itself. But I love to make it extra special. A dollop of fresh whipped cream on top is classic. A few raspberries add a pretty, tart pop. For a party, sprinkle some mini chocolate chips around the plate. It looks so fancy!
What to drink? A cold glass of milk is always the best friend to chocolate. For the grown-ups, a little glass of cream sherry pairs beautifully. It’s sweet and nutty. Which would you choose tonight? Now, go enjoy your creation. You’ve earned it.
Keeping Your Kiss Pie Perfect
This pie loves the cold. Keep it covered in your fridge. It stays happy for three days. You can freeze it for a sweet surprise later. Wrap the whole pie tightly in plastic wrap first. Then wrap it again in foil. It will keep for one month. Thaw it overnight in your fridge before serving.
I once made two pies for a big family dinner. I froze one for the next week. What a lifesaver on a busy day! Batch cooking like this saves future-you time. It means you always have a treat ready for guests. Have you ever tried storing it this way? Share below!
Simple Fixes for Common Troubles
Is your filling too runny? The kisses might not be melted enough. Stir slowly over medium heat until completely smooth. A lumpy filling means the cream cheese was too cold. Let it sit out for 30 minutes before you start. I remember when my first pie was grainy. I learned patience is the secret ingredient.
A cracked top happens if you mix too fast. Gently fold the whipped cream in. This keeps the filling light and smooth. Getting these steps right builds your kitchen confidence. It also makes the flavor wonderfully creamy and rich. Which of these problems have you run into before?
Your Quick Questions, Answered
Q: Can I make this gluten-free? A: Yes! Use a gluten-free chocolate cookie crust from the store.
Q: How far ahead can I make it? A: Make it the day before. It needs those full two hours to set.
Q: What if I don’t have whipped topping? A: Whip one cup of heavy cream with a tablespoon of sugar. Fun fact: This swap makes it taste even more homemade!
Q: Can I double the recipe? A: Absolutely. Make two pies. They are perfect for sharing at parties.
Q: Any optional tips? A: Sprinkle crushed kisses on top before it chills. It looks so pretty. Which tip will you try first?
From My Kitchen to Yours
I hope this pie brings a smile to your table. It is a simple joy, just like baking should be. I would love to see your creation. Sharing food stories connects us all. Have you tried this recipe? Tag us on Pinterest! I always look for your photos. Happy cooking!
—Anna Whitmore.

Hershey’s Kiss Chocolate Pie: Hersheys Kiss Chocolate Pie Recipe
Description
Decadent Hershey’s Kiss chocolate pie recipe! An easy, no-bake dessert that’s creamy, rich, and perfect for any celebration.
Ingredients
Instructions
- Unwrap all of the Hershey’s kisses.
- In a saucepan, add the milk and the Hershey’s kisses and melt over medium heat.
- When completely melted, stir in the cream cheese until melted.
- Remove from the heat and beat the whipped cream into the whipped topping with a whisk until melted and combined.
- Pour into ready-made pie crust.
- Refrigerate for 2 hours until set.
Notes
- Nutrition Facts (per serving, serves 10): Calories: 302kcal | Carbohydrates: 24g | Protein: 5g | Fat: 23g | Saturated Fat: 13g | Polyunsaturated Fat: 1g | Monounsaturated Fat: 4g | Trans Fat: 0.01g | Cholesterol: 49mg | Sodium: 104mg | Potassium: 72mg | Fiber: 1g | Sugar: 21g | Vitamin A: 469IU | Calcium: 117mg | Iron: 0.3mg


Leave a Reply