

My First Bagel Mess
My first bagels looked like lumpy donuts. I was so proud of them! I still laugh at that.
But you know what? They tasted wonderful. That’s the magic of homemade food. It doesn’t need to be perfect. It just needs to be made with your own hands. That matters more than a perfect shape.
Why We Knead and Boil
Kneading for ten minutes is a workout. Your arms might get tired. But this is important.
It makes the dough strong. This gives bagels their famous chewy bite. The boiling step is the real secret, though. It creates that shiny, crisp crust. Fun fact: boiling sets the shape before baking so they don’t puff up like bread!
Making the Dough Snakes
Roll your dough into little snakes. It’s just like playing with clay. Wrap one around your fist and pinch the ends.
If the hole closes up, just poke it open. No worries. Have you ever shaped pretzels or play-dough snakes? It’s the same fun feeling. What’s your favorite dough to play with?
The Smell of Home
While they bake, your kitchen will smell amazing. It’s a warm, toasty, yeasty smell. It feels like home.
Let them cool a bit before you bite. I know, it’s hard to wait! That first warm bite is the best reward. Do you like yours plain, or with a big schmear of cream cheese?
Your Turn to Share
Making bagels connects us to bakers from long ago. It’s a simple, ancient food. That’s a nice thought while you knead.
I love seeing what you create. Will you try the Mimosa spread, or something else? Tell me, what’s your dream bagel topping? Send me a picture of your bagel shapes. I’d love to see them.
Ingredients:
| Ingredient | Amount | Notes |
|---|---|---|
| Bread flour | 4 cups | |
| Granulated sugar | 1 Tablespoon | |
| Salt | 1½ teaspoons | |
| Vegetable oil | 1 Tablespoon | |
| Instant yeast | 2 teaspoons | |
| Warm water | 1¼ cups |
My Kitchen Table Bagels
Making bagels feels like a little kitchen miracle. It’s just flour, water, and a bit of magic. My grandson calls the dough “play-dough for eating.” I still laugh at that. The best part is shaping them. You get to roll little snakes and connect the ends. Doesn’t that smell amazing when they bake? Let’s make some together.
Step 1: Mix your dry ingredients in a big bowl. That’s the flour, sugar, salt, and yeast. Pour in the oil and warm water. The water should feel like a nice bath. Stir it all up with a spoon. It will look shaggy and messy. That’s perfect.
Step 2: Now, use your hands. Knead the dough on the counter for ten minutes. It’s a good arm workout! The dough should feel firm, not sticky. (My hard-learned tip: add extra water one spoon at a time. Too much makes it gluey.) Imagine you’re giving the dough a good back rub.
Step 3: Roll the dough into one fat log. Cut it into eight pieces. Roll each piece into a smooth ball. Let the balls rest for fifteen minutes. They need a little nap. This makes them easier to shape later. I use this time to wipe the flour off my apron.
Step 4: Time to make the bagel shape! Roll each ball into a snake. Wrap it around your fist. Pinch the ends together tightly. Leave them on the counter for twenty minutes. They will get puffy and happy. Why do we boil bagels first? Share below!
Step 5: Boil a pot of water. Gently drop in a few bagels. Do not crowd them. Boil for one minute, then flip them. Boil one more minute. This gives them that chewy crust. Use a slotted spoon to take them out. Let them dry for just a minute.
Step 6: Place the boiled bagels on a greased baking sheet. Bake at 425 degrees for ten minutes. Take the pan out and flip each bagel over. This helps them bake evenly. Bake for ten more minutes. They will turn a beautiful golden brown. Let them cool a bit before you tear into one!
Cook Time: About 30 minutes
Total Time: About 2 hours (with rising)
Yield: 8 bagels
Category: Breakfast, Baking
Three Tasty Twists
Plain bagels are wonderful. But sometimes you want a little fun. Try one of these easy twists before baking. They make your kitchen smell even better.
Everything Sprinkle: Brush boiled bagels with egg wash. Sprinkle on sesame seeds, poppy seeds, garlic, and salt.
Cinnamon Sugar Swirl: Roll your dough snake in cinnamon and sugar before shaping the ring. Sweet and cozy.
Cheesy Everything: Mix a handful of grated cheddar right into the dry ingredients. So golden and tasty.
Which one would you try first? Comment below!
Serving Them Up
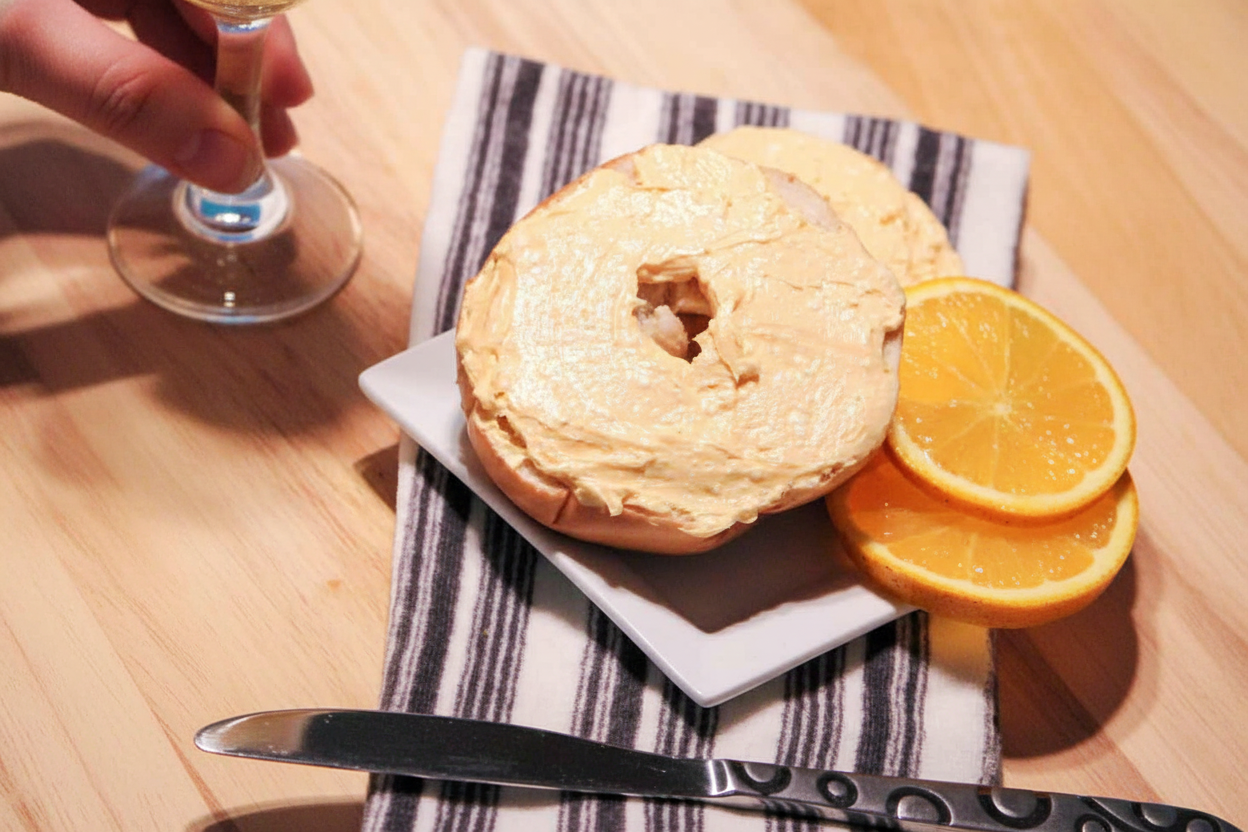
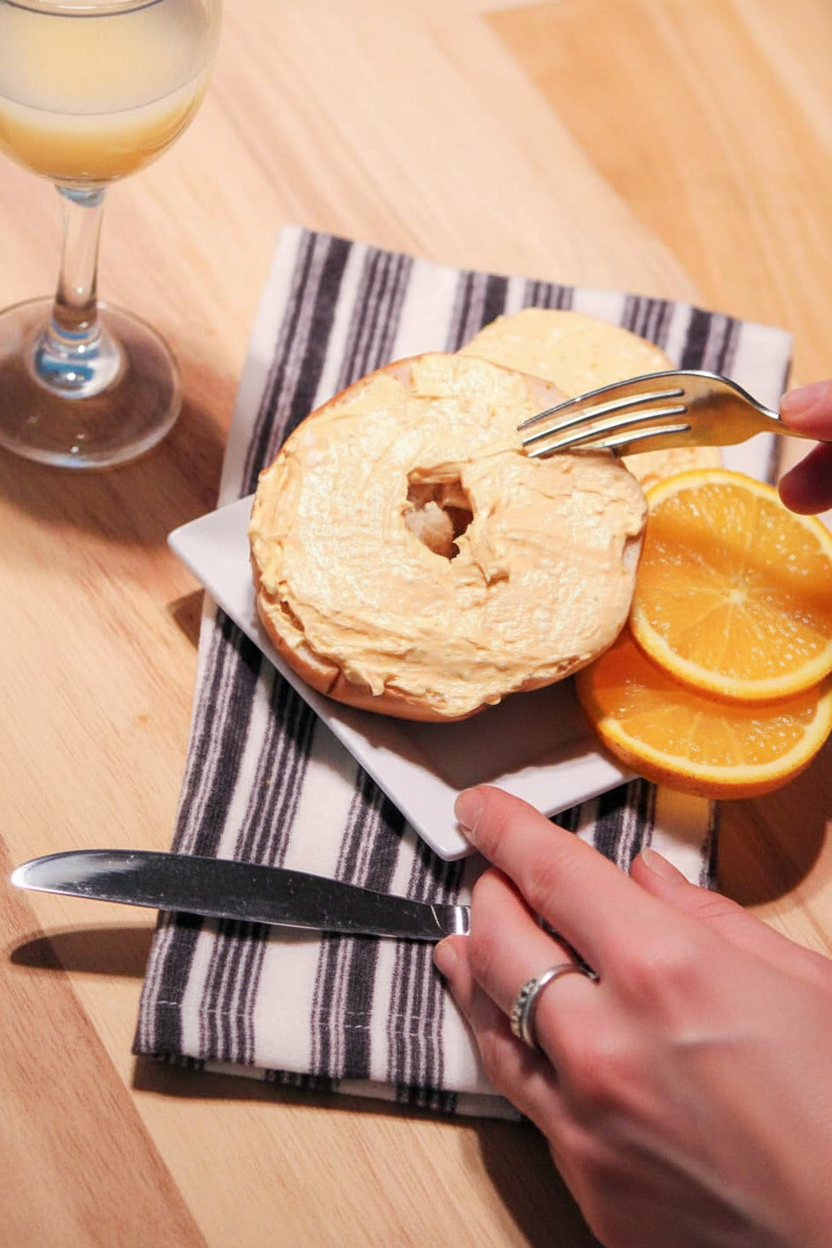
A warm bagel needs good friends. My Mimosa cream cheese spread is perfect. Just mix cream cheese with a little orange zest and juice. For sides, try crispy bacon or fresh fruit salad. It’s a happy plate.
For drinks, a glass of cold orange juice is classic. It matches the spread! For a special brunch, a mimosa cocktail is lovely. Just add a splash of champagne to your juice. Which would you choose tonight?
Keeping Your Bagels Fresh and Happy
Fresh bagels are best eaten the same day. But I always make a double batch. Let them cool completely first. Then store them in a bread bag on the counter for two days.
For longer storage, freeze them. Wrap each bagel tightly in plastic wrap. Pop them all into a freezer bag. They will keep for a month. I once forgot a bag in my freezer for three months. It toasted up just fine!
To reheat, just toast them. No need to thaw. This brings back their chewy inside and crispy crust. Batch cooking like this saves so much time on busy mornings. It means a homemade breakfast is always ready for you. Have you ever tried storing bagels this way? Share below!
Bagel Troubles? Here Are Easy Fixes
Is your dough too sticky? Do not add more flour right away. Just keep kneading for the full ten minutes. The dough will become smooth and less sticky. I remember when my dough was a mess. Patience fixed it!
Are your bagels flat after boiling? The water was likely at a rolling boil. A gentle simmer is better. This matters because a calm boil lets them puff up properly. You will get a lighter, chewier bagel.
Is the crust not shiny or chewy? You must boil them. Do not skip this step. Boiling sets the crust before baking. This creates that classic, wonderful bagel texture. Solving these small problems builds your cooking confidence. Which of these problems have you run into before?
Your Bagel Questions, Answered
Q: Can I make these gluten-free?
A: Yes, use a good gluten-free bread flour blend. The texture will be a bit different but still tasty.
Q: Can I make the dough ahead?
A: Absolutely. After shaping, let them rise slowly in the fridge overnight. Boil and bake in the morning.
Q: What if I don’t have bread flour?
A: All-purpose flour works. Your bagels will be slightly less chewy, but still delicious.
Q: Can I make mini bagels?
A: Of course! Just divide the dough into 12 pieces instead of 8. Adjust the baking time down a few minutes.
Q: Any fun topping ideas?
A: After boiling, dip them in everything bagel seasoning or sesame seeds. Fun fact: The boiling step makes the seeds stick! Which tip will you try first?
From My Kitchen to Yours
I hope you love making these bagels. There is nothing like the smell of baking bread. It fills your whole home with warmth. I would love to see your creations.
Share a picture of your golden, homemade bagels. Show me your favorite way to top them. Have you tried this recipe? Tag us on Pinterest! Thank you for spending time in the kitchen with me.
Happy cooking!
—Anna Whitmore.

Homemade Bagels with Mimosa Cream Cheese Spread: Homemade Bagels with Mimosa Cream Cheese Spread
Description
Bake perfect homemade bagels and top with a zesty orange mimosa cream cheese spread. A delicious brunch recipe that’s sure to impress.
Ingredients
Instructions
- Mix the first five ingredients together. Add the water. Immediately start kneading. Knead for 10 minutes. The dough should be kind of stiff. You can add up to another ¼ cup of warm water to make sure everything incorporates but add in small increments up to ¼ cup.
- Roll the dough into a giant log. Slice the log into 6-8 equal parts. Roll each of the “dough slices” into balls and let them just sit there for about 15 minutes in a warm place.Preheat your oven to 425 degrees.
- Now, take each of your balls and roll them into snakes. You should have 8 little snakes. Roll the snakes around your fist and then squeeze the ends together to make sure they are attached to form the bagels.
- Now just let them sit and rise for 20 minutes. While you’re waiting, boil a pot of water and prepare your baking sheet.
- After 20 minutes your bagels will look bigger and kinda puffy. Put as many as you can in your pot at one time but don’t crowd them. Boil for 1 minute and then flip them over and boil for another minute.
- Remove them from the water and allow them to dry for a minute and then put them on your prepared greased baking sheet. Do this with all the bagels.
- Bake in the oven for ten minutes. Take your pan out of the oven at 10 minutes, and flip all the bagels over. Then put them back in the oven for another ten minutes. Remove from the oven and allow to cool for about ten minutes and then eat ‘em with some yummy Mimosa Cream Cheese Spread (or whatever you want to eat them with!)
Notes
- The total time includes rising and cooling periods. For the mimosa spread, mix softened cream cheese with orange zest and a splash of champagne or orange juice.


Leave a Reply