
The Magic of a Dry Brine
Let’s talk turkey secrets. My favorite is the dry brine. It sounds fancy, but it’s simple. You rub salt and herbs on the bird a day or two before cooking. Then you let it rest in the fridge.
The salt works its way deep into the meat. It seasons from the inside out. This matters because it makes every single bite taste wonderful. No more dry, bland breast meat! I still laugh at how nervous I was the first time I tried it. But trust me, it works.
Getting Your Bird Ready
First, pat your turkey very dry with paper towels. This is key. Mix a quarter cup of kosher salt with a teaspoon of dried thyme. Now, gently lift the skin over the turkey breast. Sprinkle some salt right on the meat.
Put the skin back. Rub the rest of the salt all over the legs and wings. Place the turkey on a rack over a pan. Let it sit uncovered in your fridge for a day. The skin will get dry. That’s good! A dry skin makes the crispiest roast.
Butter, Garlic, and Love
An hour before cooking, take the turkey out. Do not rinse it! Now, let’s make the butter. Mix soft butter with a tablespoon of minced garlic. Doesn’t that smell amazing? Spread this under the breast skin again, and all over the outside.
This butter bath matters. It bastes the turkey as it roasts. It adds so much flavor and helps the skin turn golden. You can also tuck herbs and a lemon half inside the bird. It fills your kitchen with a happy smell.
Into the Oven It Goes
Heat your oven to 425°F. Tuck the wing tips behind the turkey. This keeps them from burning. Tie the legs together with string. This helps the turkey cook evenly.
Roast at the high heat for 15 minutes. This gets the skin crispy. Then, lower the heat to 325°F. Let it cook until a thermometer says 170°F in the breast. A 13-pound bird takes about 3 hours. *Fun fact: letting it rest after cooking is a must. It lets the juices settle back into the meat.
Your Turn to Share
I love hearing your stories. What’s your favorite holiday food memory? Is it the smell of the turkey, or maybe the pie? Tell me in the comments.
Do you have a special family trick for a juicy turkey? I’d love to know! And what side dish absolutely must be on your table? For me, it’s the mashed potatoes. They are perfect for that garlic butter turkey juice.

Ingredients:
| Ingredient | Amount | Notes |
|---|---|---|
| whole minimally processed turkey | 12-16 pound | |
| kosher salt | 1/4 cup | |
| dried thyme | 1 teaspoon | |
| unsalted butter, room temperature | 8 tablespoons | |
| garlic | 1 head | |
| lemon, halved | 1 | optional for stuffing |
| fresh herbs (rosemary, sage, & thyme) | optional for stuffing |
My Secret for the Juiciest Holiday Turkey
Hello, my dear. Come sit a moment. Let’s talk turkey. I used to worry so much about cooking the big bird. It felt like a big test. Now I have a little secret. It’s called a dry brine. Sounds fancy, but it’s just salt and time. This makes the turkey so flavorful and tender. It’s my favorite kitchen trick. I still laugh at that first time I tried it. My grandson said it was the best ever. That made my heart so happy.
You start one or two days before. Pat your turkey dry with paper towels. Mix salt with a little dried thyme. Gently lift the skin over the breast. Sprinkle some salt right on the meat. Isn’t that clever? Then put the skin back. Rub the rest all over the outside. Place it on a rack in your fridge. Let it sit, uncovered, for a day. This dries the skin so it gets crispy later. (Hard-learned tip: Don’t rinse it! Just brush off any big salt piles.)
An hour before cooking, take it out. Now, make your garlic butter. Smash some garlic and mix it with soft butter. Spread this under the skin, too. Doesn’t that smell amazing? You can tuck the wings and tie the legs. It helps everything cook just right. Pop a lemon and some herbs inside if you like. It makes the whole kitchen smell like the holidays.
Cooking Steps
Step 1: Preheat your oven to 425°F. Make sure the rack is low. Get your turkey ready on its roasting pan. Mix your soft butter and minced garlic in a little bowl. This garlic butter is the magic paste.
Step 2: Gently lift the breast skin again. Spread most of the garlic butter right on the meat. Put the skin back. Rub the rest of the butter all over the outside. Cover the legs and wings, too.
Step 3: Tuck the wing tips behind the turkey. It keeps them from burning. I learned this from my mother. She said it gives the turkey better manners. Then, tie the legs together with some string.
Step 4: Put your turkey in the hot oven. Roast at 425°F for just 15 minutes. This gives the skin a beautiful golden start. Then, turn the heat down to 325°F. Let it cook slowly now.
Step 5: Roast until a thermometer says 165°F in the breast. For a 13-pound bird, that’s about 3 hours. The most important step? Let it rest for 30 minutes before you carve. This keeps all the juices inside. Pop-up timer or meat thermometer—which do you trust more? Share below!
- Cook Time: 3–4 hours
- Total Time: 1–2 days (mostly hands-off)
- Yield: 8 servings
- Category: Holiday, Dinner
Three Fun Twists on the Classic
Once you know the basic way, you can play. I love adding little changes. It keeps things exciting. Here are three ideas I’ve tried and loved. They all start with our dry brine method. Then, you just change the flavors a bit. Cooking should be fun, don’t you think?
- Herb Garden Butter: Use fresh rosemary and sage in the butter. It tastes like a summer garden.
- Smoky Paprika Rub: Add smoked paprika to the salt brine. It gives a warm, cozy flavor.
- Citrus & Pepper: Use orange zest in the butter. Add cracked black pepper to the skin.
Which one would you try first? Comment below!
How to Serve Your Masterpiece
That turkey will be the star. But it needs good friends on the plate. I always make creamy mashed potatoes. They’re perfect for that delicious turkey juice. A simple roasted vegetable is nice, too. Like carrots or Brussels sprouts. They cook in the oven while the turkey rests. So smart!
For a drink, a crisp apple cider is wonderful. It’s not too sweet. For the grown-ups, a glass of Chardonnay pairs nicely. It sips easy with the rich turkey. Put everything on a big platter. Let everyone see your beautiful bird before you carve. Which would you choose tonight?
Keeping Your Turkey Tasty Later
Let’s talk about leftovers. They are the best part. First, let the turkey cool completely. Then, take the meat off the bone. Store it in a sealed container in the fridge. It will stay good for about four days.
You can freeze it for longer. I pack the meat in freezer bags. I squeeze out all the air. This keeps it from getting freezer burn. It will be good for two months. My first time, I froze the whole carcass. It took forever to thaw. Now I just freeze the meat.
To reheat, add a little broth to the meat. Warm it gently in the oven. This keeps it moist. Batch cooking like this saves holiday stress. It means easy sandwiches and soups all week. Have you ever tried storing it this way? Share below!
Turkey Troubles and Easy Fixes
Sometimes cooking a turkey feels tricky. But do not worry. Here are common problems. First, a dry breast. This happens if you cook it too long. Use a meat thermometer. It tells you exactly when it is done.
Second, skin that is not crispy. The dry brine helps a lot. Pat the skin very dry before roasting. I remember my first turkey. The skin was soft and pale. I learned to start the oven very hot. That makes the skin golden and crisp.
Third, uneven cooking. Tucking the wings helps. So does tying the legs. This matters for confidence. Knowing these fixes makes cooking fun. It also matters for flavor. Juicy meat and crispy skin make everyone happy. Which of these problems have you run into before?
Your Turkey Questions, Answered
Q: Is this recipe gluten-free? A: Yes, it is. All the ingredients are naturally gluten-free.
Q: Can I make any part ahead? A: Absolutely. Make the garlic butter a day early. Keep it covered in the fridge.
Q: What if I don’t have fresh herbs? A: Use dried ones. Just use a little less, about half the amount.
Q: Can I cook a bigger turkey? A: You can. Just add more time. Use the meat thermometer to be sure.
Q: Is the lemon really optional? A: It is. But it adds a nice, bright smell. Fun fact: The dry brine is an old method. It makes the turkey juicy from the inside out. Which tip will you try first?
From My Kitchen to Yours
I hope you love this recipe. It is my favorite way to cook a turkey. The house smells so wonderful. It reminds me of my own grandma’s kitchen.
I would love to see your creation. Share a picture of your beautiful bird. Tell me about your family dinner. Have you tried this recipe? Tag us on Pinterest! Thank you for cooking with me today.
Happy cooking!
—Anna Whitmore.

How to Dry Brine & Roast a Turkey – The Schmidty Wife: Dry Brine and Roast Turkey Guide
Description
Master the juiciest, most flavorful turkey with this easy dry brine & roast method. Perfect for Thanksgiving!
Ingredients
Instructions
- Up to 2 full days before roasting (and at the very least the night before) prepare your turkey. For storage in the fridge you will want a sheet pan/platter with a wire rack, a roasting pan with wire rack will work as well if it fits. Remove the turkey from the packaging, place of the center of the rack breast side up, and pat dry with paper towels.
- With clean hands mix together the salt and dry thyme in a small bowl. Start adding the salt to the turkey by gently opening the skin over the breasts and adding a few tablespoons directly onto the meat, place the skin back overtop the breasts. Gently sprinkle the remainder of the salt over the entirety of the turkey.
- If prepping more than 24 hours ahead of time carefully cover the turkey and pan with plastic wrap. Transfer the turkey to the fridge. About 24 hours before you are ready to cook uncover the turkey, but keep in the fridge, the point is to dry the turkey out.
- 1 hour before you are ready to cook remove the turkey from the fridge. DO NOT RINSE THE TURKEY OFF, if you have any large pools of liquid or a lot of salt on the turkey you can gently brush it off with a paper towel.
- Preheat oven to 425ºF and make sure that the racks are placed low in the oven.
- Prepare the butter mixture. Peel and mince 3-4 cloves of the garlic, you will want about 1 tablespoon. In a small bowl mix together the garlic and butter to form a garlic butter mixture. Set aside. If you are wanting to stuff your turkey with aromatics, smash the rest of the cloves from the garlic head to later add to the turkey cavity.
- Transfer your turkey to a roasting rack. Now spread the butter mixture, start by opening the skin on the breasts open and spread about a couple of tablespoons directly on the meat, close the skin and put it back in place. Using the remainder of the butter graciously spread it evenly across the top of the turkey, ensuring to fully cover the breasts, the legs, and even a little on the wings.
- Optional: It isn’t necessary but I thing it helps the turkey cook more evenly, tuck in the wings. To do this grab a wing and bring the tip up towards the neck of the turkey. Bend the tip of the wing back behind itself and under the entire bird, the wing should stay in place, leaving the large part of the wing in view on the side but the tip hidden under the bottom. Repeat with the other side.
- Optional: If you are are adding aromatics to the turkey do that now, add the halved lemon, bunches of herbs, and smashed garlic to the empty cavity.
- Tie the legs. Some birds might come with a plastic holder, you can use that in place of string. If not cut about a foot of kitchen twine. Cross the legs together at the end and wrap the twine around the two legs. wrap a few times to hold it in place and then tie a bow, trim any extra twine.
- Transfer to the oven. Cook at 425ºF for 15 minutes.
- Reduce heat to 325ºF. Cook according to the timing on the chart (above in the post). On average my 13 pound turkey was done in just under 3 hours. The turkey is done when a meat thermometer registers 170ºF in the deepest part of the breast and inner thigh. (Some turkeys come with the handy pop-up timer you can use, follow that if you have one)
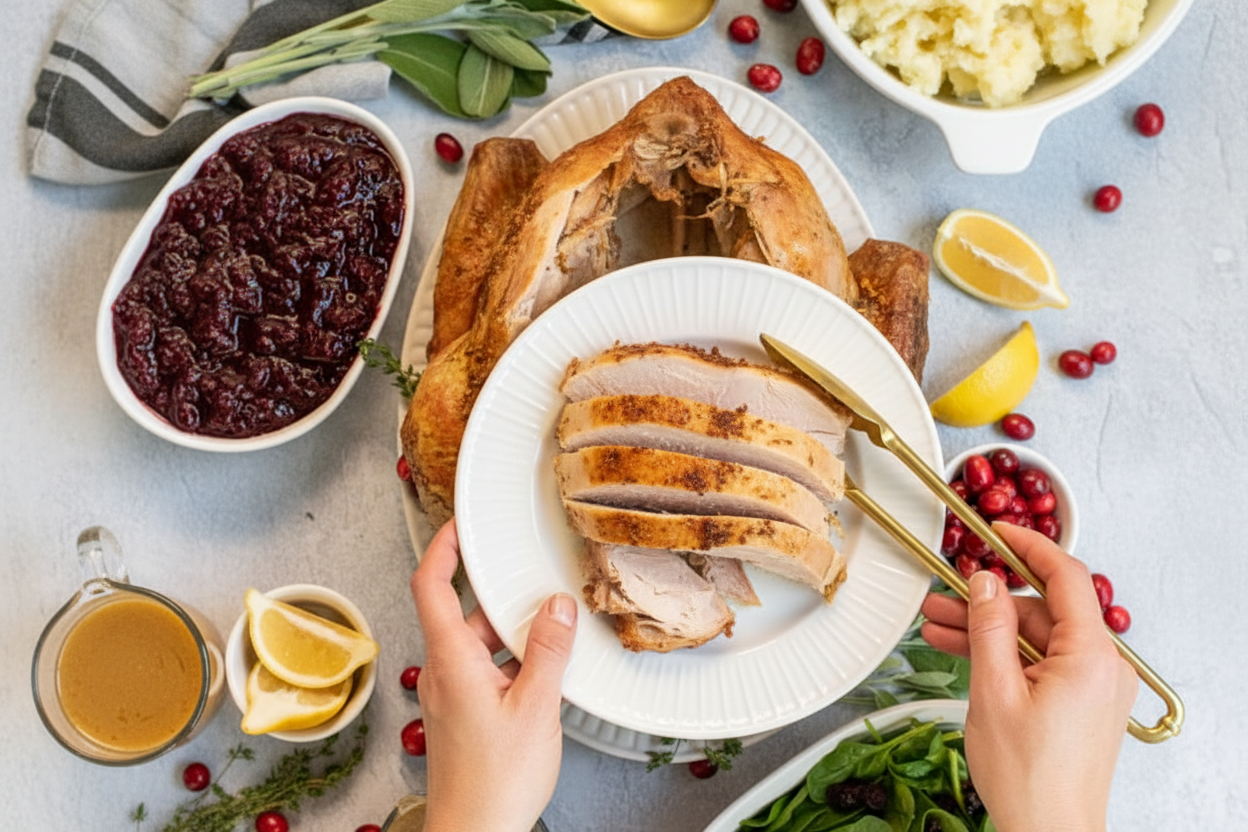
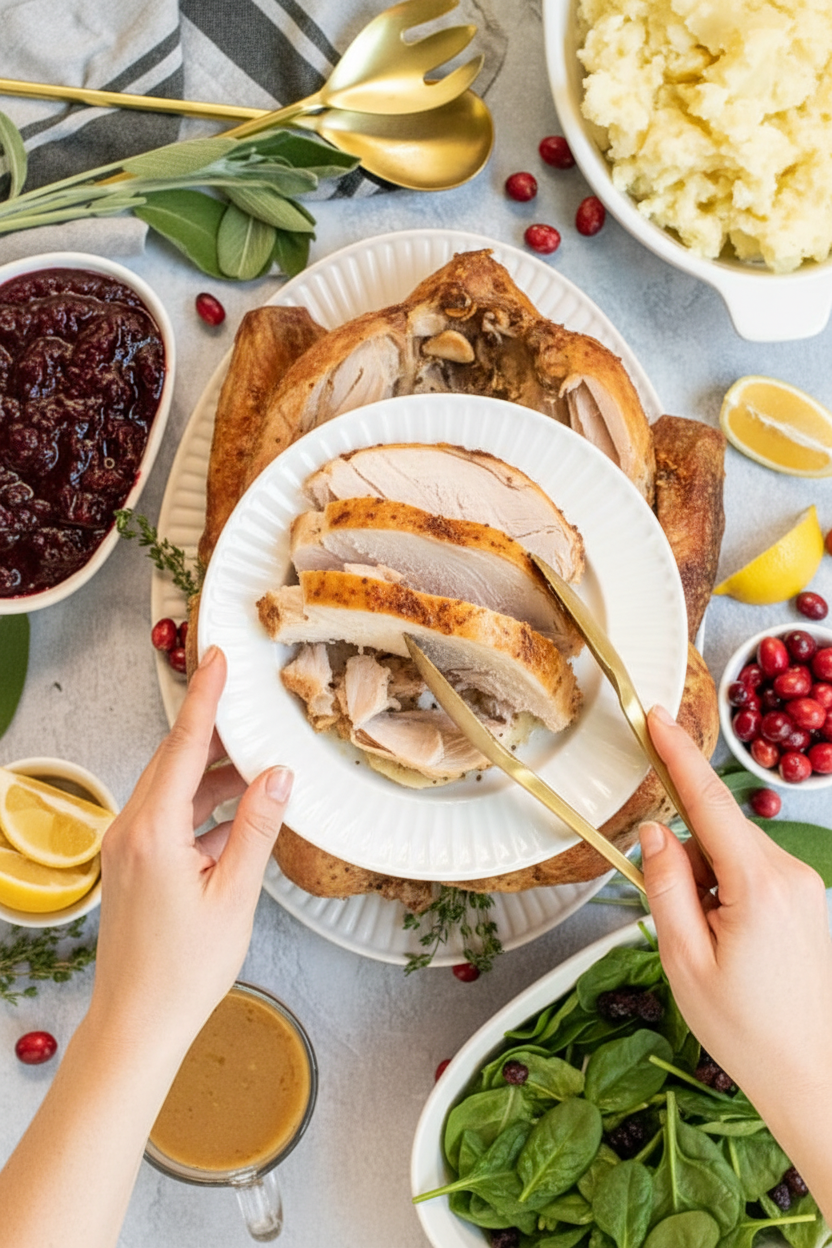
- When done remove from oven and rest at least 30 minutes before carving. Carve and enjoy!
Notes
- Nutrition Information per Serving (1.5 pounds turkey): Calories: 1506, Total Fat: 66g, Saturated Fat: 23g, Trans Fat: 1g, Unsaturated Fat: 39g, Cholesterol: 834mg, Sodium: 4299mg, Carbohydrates: 3g, Fiber: 1g, Sugar: 0g, Protein: 211g.


Leave a Reply