
The Magic of No Mixer
This recipe is a little bit magic. You do not use a mixer. I know, it feels strange. You just use a simple whisk. I learned this from my friend Betty. Her cupcakes always turned out so soft. My first time, I almost used my mixer. I am so glad I did not.
Whisking by hand keeps the filling light. It stops you from working the batter too hard. That makes the cupcakes tender. This matters because gentle mixing makes for a gentle treat. It is a small step with a big result.
A Pumpkin Surprise
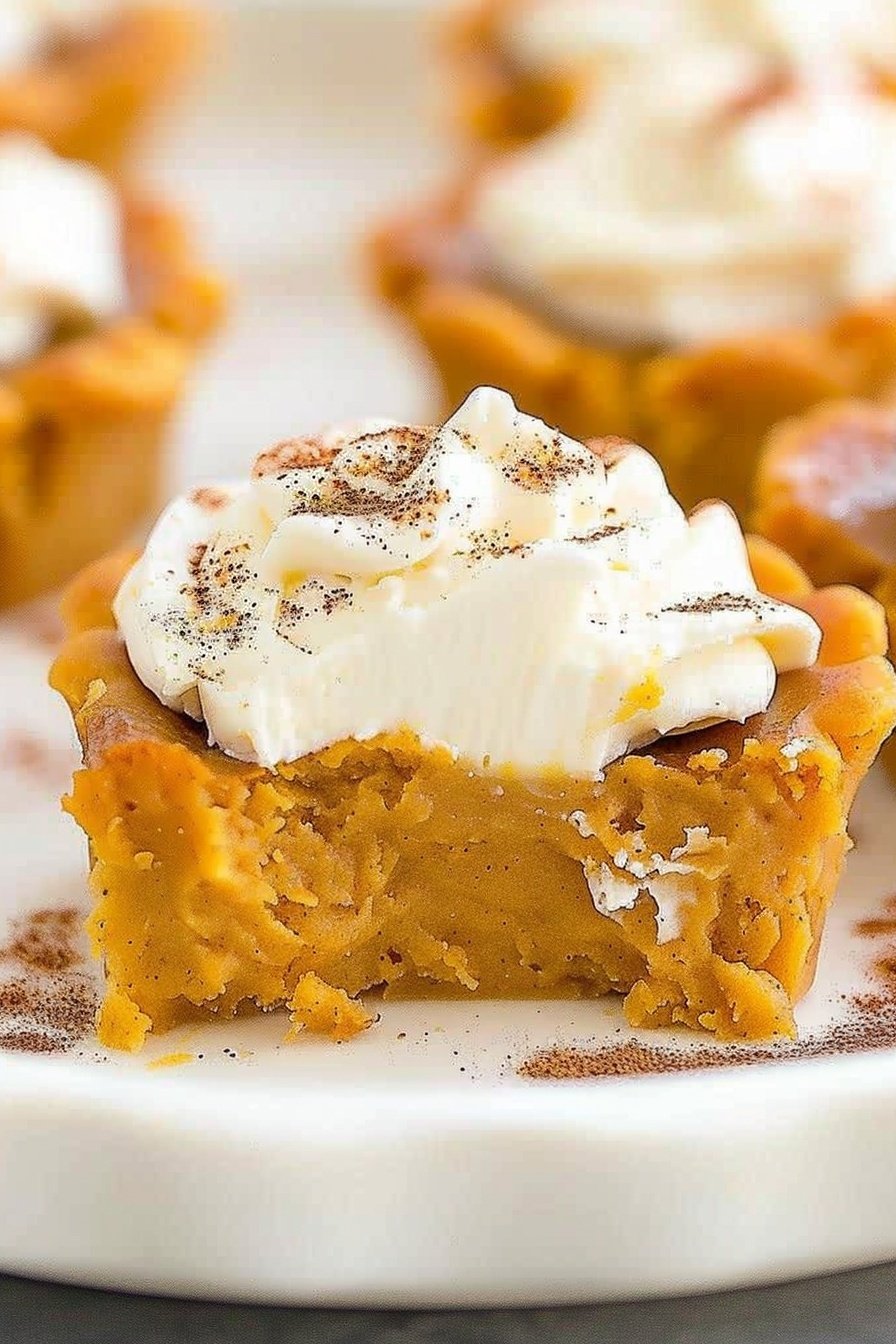
The batter will look very wet. Do not worry. That is how it should be. It is more like a pie filling than a cake batter. It bakes up into something wonderful. It is creamy and spiced all at once.
Fun fact: The pumpkin puree makes these cupcakes so moist. It is like a secret super-ingredient. It also gives them that beautiful orange color. Does not that smell amazing when it bakes? What is your favorite smell from the kitchen?
The Liner Trick
Now, about those liners. This is important. You must spray them. I learned this the hard way. Once, I used pretty paper liners without spray. The cupcakes stuck to them. We had to eat them with a spoon. I still laugh at that mess.
Foil liners with spray work best. Or you can just spray the pan. This matters because you want your treat to come out perfectly. No one wants a cupcake that is stuck. Have you ever had a baking disaster like that?
Patience is a Virtue
The waiting is the hardest part. First, they sit in the warm pan. Then, they need time in the fridge. This seems like a long time. But it is the secret to the perfect texture.
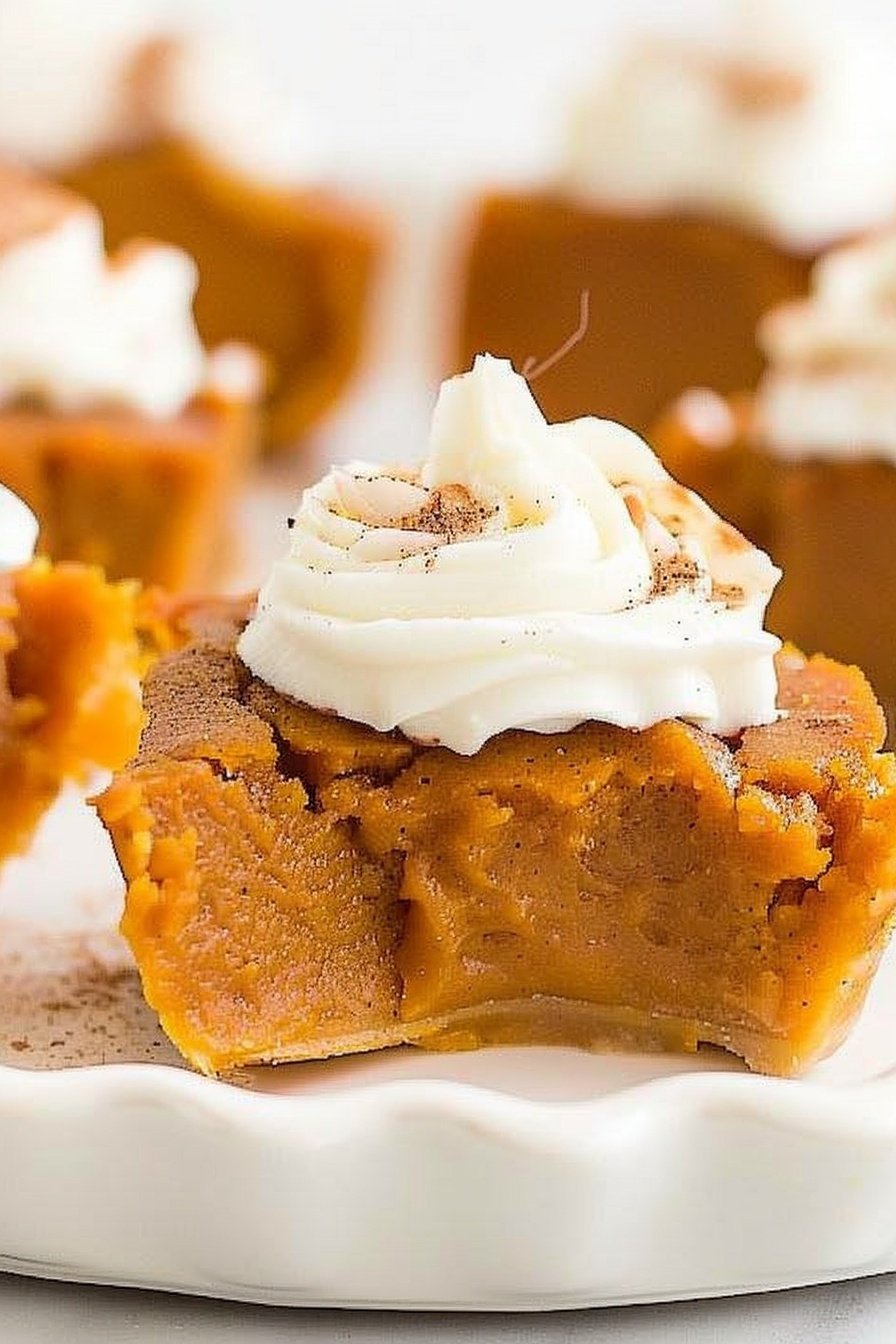
This chill time lets the cupcakes set. They become firm and sliceable, like a tiny pie. This matters because it turns the soft batter into a real dessert. It is a good lesson in patience. Good things come to those who wait.
Time to Top Them Off
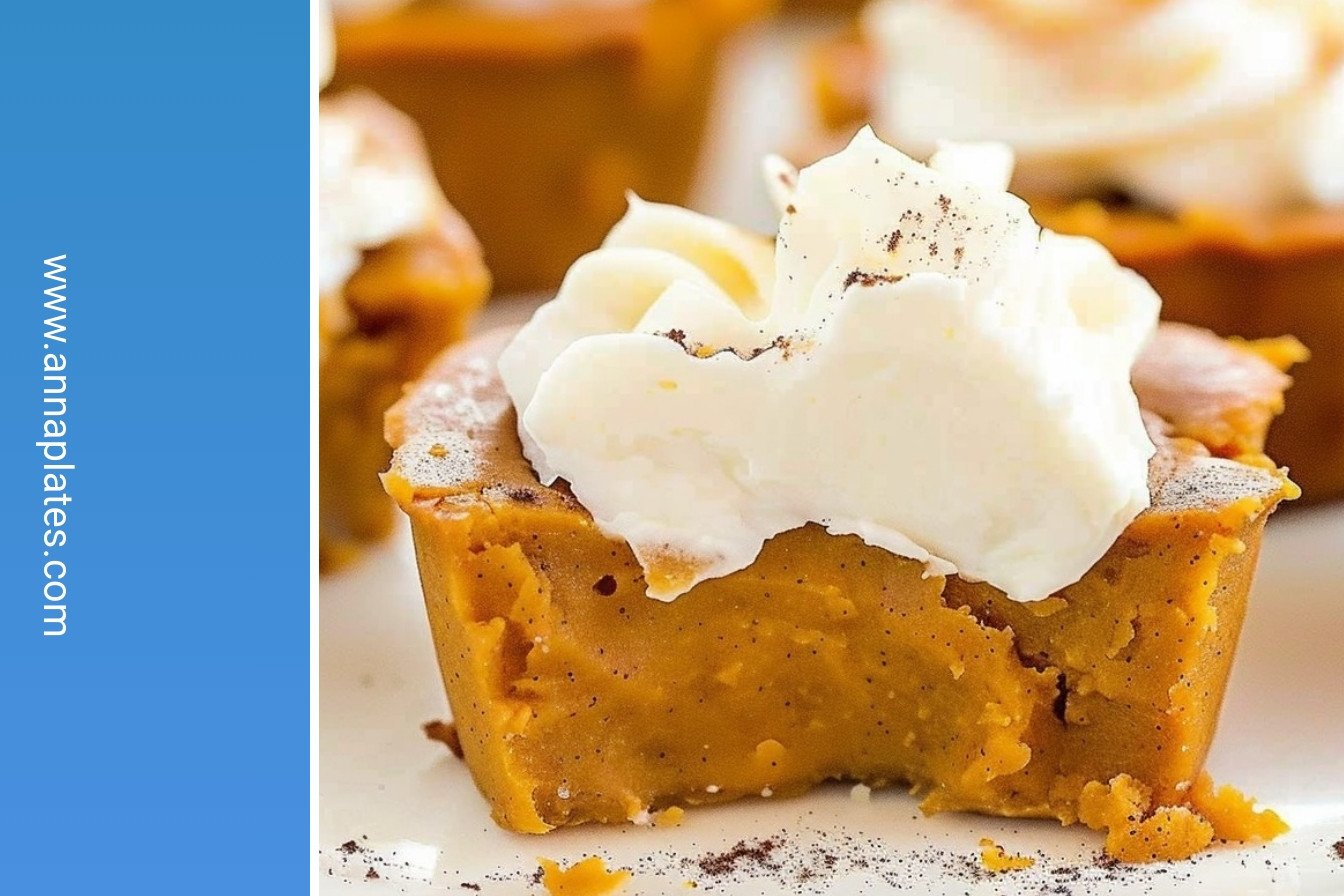
Once they are cold, the fun begins. A little whipped cream on top is lovely. A sprinkle of cinnamon makes it pretty. It feels like you are putting on the final touch.
These are perfect for a party. Or just for a happy Tuesday. They feel fancy but are so simple. What is your favorite way to top a cupcake? I would love to hear your ideas.
Ingredients:
| Ingredient | Amount | Notes |
|---|---|---|
| all-purpose flour | ½ cup | |
| cornstarch | ⅛ cup | |
| baking powder | ½ tsp | |
| baking soda | ½ tsp | |
| pumpkin pie spice | 2 tsp | |
| pumpkin puree | 1 (15 oz) can | |
| evaporated milk | ¾ cup | |
| sugar | ¾ cup | |
| eggs | 2 large | |
| whipped cream and cinnamon | for topping | optional |
Impossible Pumpkin Pie Cupcakes: A Little Autumn Magic
Hello, my dear! Come sit with me in the kitchen. The air is getting crisp outside. That always makes me want pumpkin pie. But sometimes, you want just a little treat, not a whole pie. That’s where these cupcakes come in. They are pure magic, I tell you. The crust forms all by itself while they bake. Isn’t that amazing?
Now, let’s get our hands busy. Remember, we are not using a mixer for this one. A simple whisk is our best friend here. (I learned this the hard way. Over-mixing makes them tough, not tender!). Are you ready? Let’s begin.
- Step 1: First, turn your oven on to 350 degrees. Let it get nice and warm. Now, grab two bowls. In one, we’ll mix our dry friends. That’s the flour, baking powder, and pumpkin pie spice. It smells like a cozy hug already.
- Step 2: In the other bowl, we mix the wet team. This is the pumpkin, milk, sugar, and eggs. Oh, and don’t forget the cornstarch! It goes in here. Whisk it until it’s all smooth and lovely. It looks like a orange sunset.
- Step 3: Now, pour the dry ingredients into the wet bowl. Gently whisk them together. Stop as soon as you don’t see dry flour anymore. (This is my hard-learned tip: a few lumps are just fine!). Over-whisking is the enemy of a fluffy cupcake.
- Step 4: This next part is very important for your liners. You must spray them with non-stick spray. I use Baker’s Joy. If you don’t, the cupcakes will stick. And that makes for a sad baker! What’s your biggest kitchen mess? Share below! I once forgot the spray. What a sticky disaster that was.
- Step 5: Fill each cup about two-thirds full. Pop the pan in the hot oven for 25 minutes. They will puff up and turn a beautiful golden brown. Your whole house will smell wonderful. It reminds me of my grandmother’s kitchen.
- Step 6: Take them out and let them sit in the pan for 20 minutes. Then, move them to the refrigerator. They need to chill for an hour to set perfectly. I know, the waiting is the hardest part! But it’s worth it, I promise.
Cook Time: 25 minutes
Total Time: 1 hour 55 minutes
Yield: 12 servings
Category: Dessert, Snack
Three Fun Twists to Try
These little cupcakes are wonderful as they are. But you can also dress them up. Here are a few of my favorite ideas. They are so simple and fun.
- Chocolate Chip Surprise: Stir a handful of mini chocolate chips into the batter. The chocolate and pumpkin are a dream together.
- Gingersnap Crunch: Sprinkle crushed gingersnap cookies on top before baking. It adds a lovely, spicy crunch.
- Maple Walnut Swirl: Drizzle a little maple syrup on the batter. Then swirl in some chopped walnuts with a knife.
Which one would you try first? Comment below! I think I’d go for the maple walnut myself.
Serving Your Little Masterpieces
Once your cupcakes are chilled and set, the fun begins. A simple dollop of whipped cream is my go-to. Then, I dust it with a little cinnamon. It looks so pretty. You could also serve them with a small scoop of vanilla ice cream. The warm cupcake and cold ice cream are heavenly.
What to drink? A cold glass of milk is always the best partner. For the grown-ups, a warm cup of coffee with a splash of cream is just right. It’s the perfect end to an autumn day. Which would you choose tonight? I still laugh at how my grandson always asks for extra whipped cream.
Keeping Your Pumpkin Pie Cupcakes Perfect
These cupcakes keep beautifully. Let them cool completely after baking. Then pop them in an airtight container. They will be happy in your fridge for up to four days.
You can also freeze them for a sweet treat later. I wrap each one tightly in plastic wrap. Then I tuck them all into a freezer bag. They will last for two months this way.
I once left a batch out overnight. They were a bit soggy the next day. Now I always chill them right away. This keeps that lovely crispy top perfect.
Batch cooking saves so much time. You can make a double batch on the weekend. Then you have a ready-made dessert for the whole week. This makes busy days feel a little sweeter.
Have you ever tried storing it this way? Share below!
Easy Fixes for Common Cupcake Troubles
Sometimes the liners stick to the cupcakes. This can be very frustrating. The trick is to spray the liners well with baking spray. I remember when my first batch tore because I skipped this step.
Another common issue is over-mixing the batter. You only need to whisk until everything is combined. A lumpy batter is just fine. Over-mixing makes the cupcakes tough instead of tender.
Getting the timing right is also key. Do not skip the 20-minute rest in the pan. This helps the cupcakes set their structure. Then the one hour in the fridge makes them perfectly sliceable.
Getting these steps right builds your confidence. It also makes the flavor and texture so much better. A little patience gives you that crispy golden perfection.
Which of these problems have you run into before?
Your Pumpkin Pie Cupcakes Questions, Answered
Q: Can I make these gluten-free?
A: Yes! Just use your favorite gluten-free flour blend. It works wonderfully.
Q: Can I make them ahead?
A: Absolutely. They are even better the next day after chilling.
Q: What if I don’t have evaporated milk?
A: You can use regular milk or even coconut milk. The texture might be slightly different.
Q: Can I make a bigger batch?
A: You can easily double the recipe. Just use two cupcake pans.
Q: Is the whipped cream needed?
A: It is optional but so delicious. A little sprinkle of cinnamon on top is my favorite.
Fun fact: The “impossible” part of the name comes from the magic of the crust forming on its own!
Which tip will you try first?
A Little Note From My Kitchen to Yours
I hope you love making these little treats. They always make my kitchen smell like autumn. Sharing food is one of life’s greatest joys.
I would be so thrilled to see your creations. It makes my day to see your photos. You can share them with all of us.
Have you tried this recipe? Tag us on Pinterest!
Happy cooking!
—Anna Whitmore.
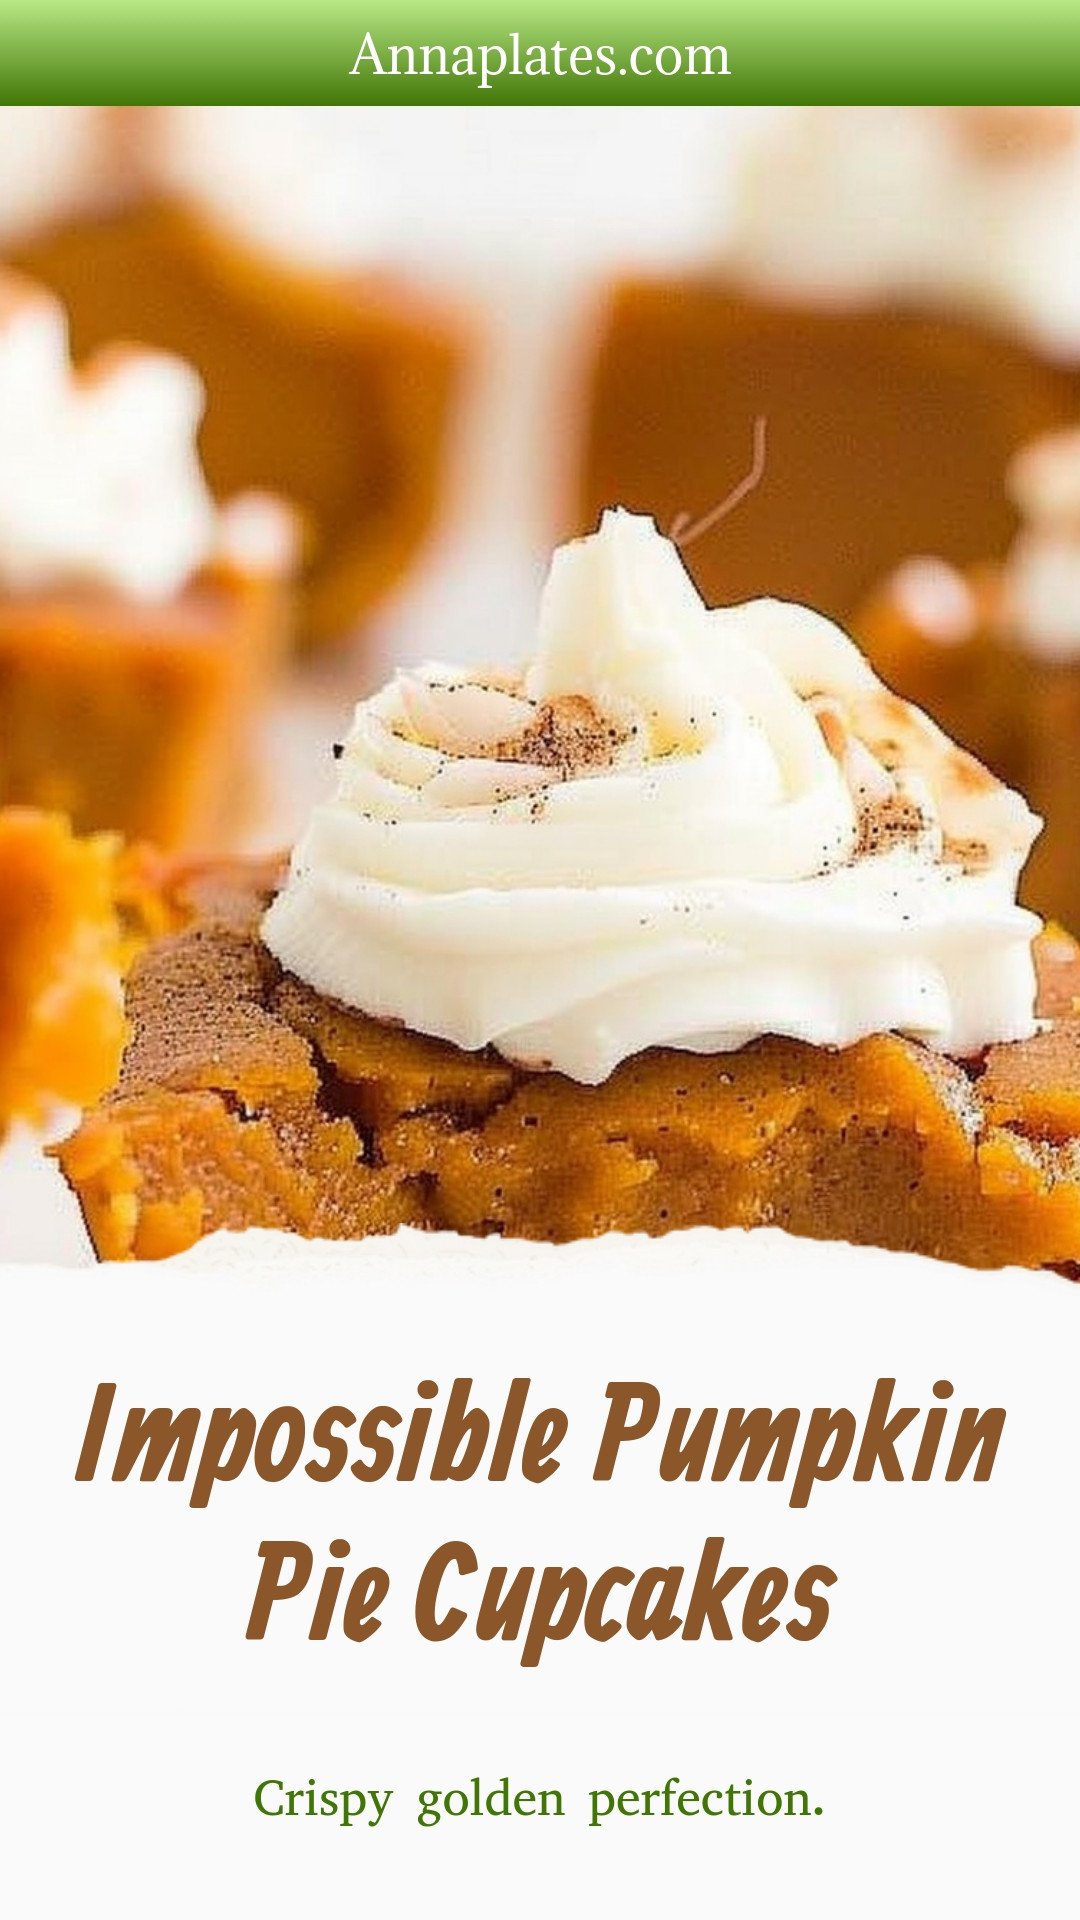
Impossible Pumpkin Pie Cupcakes: Crispy golden perfection.
Description
No crust needed for these easy Impossible Pumpkin Pie Cupcakes! They magically create their own delicious crust while baking. Perfect portioned fall dessert.
Ingredients
Instructions
- Preheat oven to 350.
- It is important to NOT use a hand held or stand mixer for this recipe.
- In a medium mixing bowl, whisk dry ingredients (not the cornstarch).
- In another medium mixing bowl, whisk the wet ingredients (and the cornstarch).
- Whisk the dry ingredients into the wet ingredients. Whisking only until the ingredients are incorporated, do not over whisk the filing.
- You can line a cupcake pan with foil baking cup liners that have been sprayed with non stick spray, or use only Baker’s Joy spray. If you use plain paper cupcake liners, you must also spray with non stick spray. The liners will stick if not sprayed.
- Pour filling into the prepared cupcake pan, filling each ⅔ full.
- Bake for 25 minutes.
- Remove from the oven and let the cupcakes sit in the pan for 20 minutes.
- Remove each cupcake from the pan (even if no liner was used) and place in the refrigerator for 1 hour. (This extra hour is needed to ensure the cupcakes properly set).
Notes
- Nutrition per serving: Calories: 119kcal | Carbohydrates: 23g | Protein: 3g | Fat: 2g | Saturated Fat: 1g | Polyunsaturated Fat: 1g | Monounsaturated Fat: 1g | Trans Fat: 1g | Cholesterol: 32mg | Sodium: 81mg | Potassium: 159mg | Fiber: 1g | Sugar: 15g | Vitamin A: 5961IU | Vitamin C: 2mg | Calcium: 64mg | Iron: 1mg


Leave a Reply