

A Little Story About Cheesecake
My grandson once called these “berry treasure cups.” I still laugh at that. He was right, though. Each one is a tiny treasure.
Making them small means everyone gets their own. No fighting over the biggest slice! That matters in a family. It makes a meal feel special and fair.
Let’s Make the Crust
First, we make the crunchy bottom. Mix the chocolate crumbs and walnuts. Doesn’t that smell amazing? It’s like cookies and nuts together.
Add the melted butter. It holds everything together. Press it into the little cups with your fingers. I like doing this part. It feels like making mud pies, but much tastier!
The Secret to Smooth Filling
Now, the creamy part. Soften the cream cheese first. This is very important. If it’s cold, you’ll get lumps. We don’t want lumps.
Mix everything gently. Add the egg last. Fun fact: Mixing too much puts extra air in. That can make the top crack. We just want it smooth and happy.
What’s your favorite cheesecake flavor? Is it classic, or something fruity like this? Tell me in the comments!
Baking and Topping
They bake fast, only 15-20 minutes. Let them cool, then chill them. Waiting is the hardest part. But it makes the filling set perfectly.
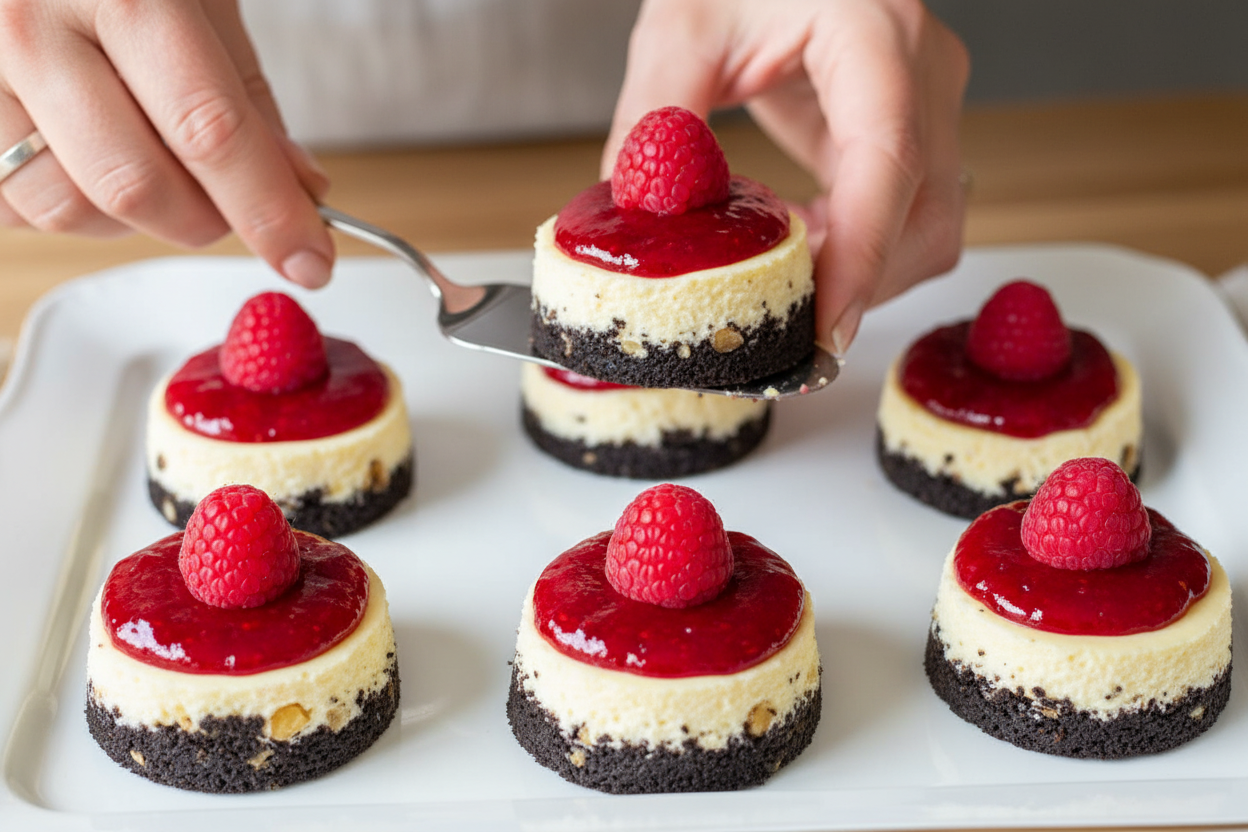
After chilling, add the ruby-red raspberry topping. A little spoonful does it. Top with one fresh berry. The bright red against the white cream is so pretty.
Why These Little Cakes Matter
These aren’t just dessert. They are little bites of joy. Sharing food you made with your hands is a way to show love. That always matters.
Making them mini also means less waste. If you’re just two people, you don’t need a huge cake. You can enjoy a perfect little treat. Do you prefer mini desserts or big shared ones?
Your Turn to Share
I hope you try these. They are simpler than a big cheesecake. Great for a first baking project.
If you make them, will you use raspberry or try a different fruit? Maybe strawberry or blueberry? I’d love to hear what you create in your kitchen.
Ingredients:
| Ingredient | Amount | Notes |
|---|---|---|
| Chocolate graham cracker crumbs | 1 ½ cups | For the crust |
| Walnuts, finely chopped | ⅔ cup | For the crust |
| Butter, melted | ¼ cup | For the crust |
| Cream cheese, softened | 8 ounces | For the cheesecake |
| Sour cream | 3 tablespoons | For the cheesecake |
| Vanilla | 1 teaspoon | For the cheesecake |
| Egg | 1 | For the cheesecake |
| White cake mix | ¼ cup | For the cheesecake |
| Granulated sugar | ¼ cup | For the cheesecake |
| Raspberry Pie Filling | 1/4 – 1/2 cup | For topping |
| Raspberries | For garnish | For topping |
My Little Raspberry Cheesecake Bites
Hello, my dear! Come sit at the counter. I want to tell you about these little cheesecakes. They remind me of my granddaughter’s birthday parties. She always wanted something fancy but fun. These mini bites are just that. They feel special but are so simple to make. Let’s bake some happiness together. Doesn’t that sound lovely?
First, we’ll make the crust. It has a little secret. I add walnuts for a nice crunch. My husband loves that part. I still laugh at that. He thinks it’s my special magic. (Hard-learned tip: Really press that crust down firmly. It stops crumbs from floating up later!).
Step 1: Warm your oven to 350 degrees. Get your mini cheesecake pan ready. Give it a good spray with cooking spray. This helps our treats pop out later. No one likes a stuck cheesecake!
Step 2: Let’s make the crust. Mix your chocolate crumbs and walnuts. I use my old food processor. It makes everything nice and fine. Pour in the melted butter. Pulse it a few times until it looks like wet sand.
Step 3: Spoon the crust mix into each cup. Use your fingers to press it down flat. Do it nice and even. This is your foundation. Make it strong! Do you prefer a thick crust or a thin one? Share below!
Step 4: Now for the creamy filling. Beat the soft cream cheese and sour cream. It gets so smooth. Gently mix in the vanilla and the egg. Go slow. We don’t want too many bubbles.
Step 5: Add the sugar and cake mix. Just mix until you see no more dry spots. Then stop! Over-mixing makes the tops crack. We want them pretty. Spoon the batter onto your crusts.
Step 6: Bake them for 15-20 minutes. Your kitchen will smell amazing. Let them cool for 5 minutes. Then carefully take them out. They need a long chill in the fridge. Patience is key here!
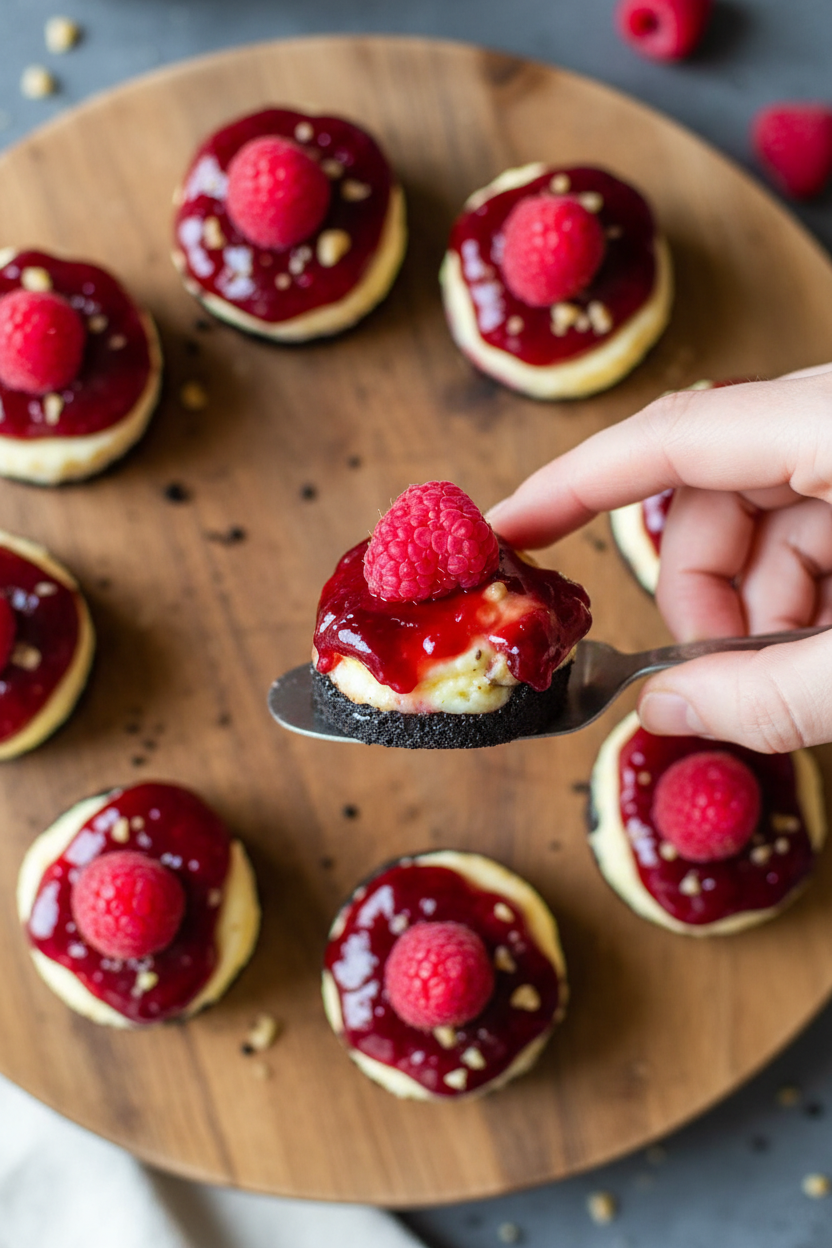
Step 7: The best part is the topping. After they’re cold, add a spoonful of raspberry pie filling. Top each one with a fresh berry. It’s like putting a hat on a snowman. So cute and ready to serve!
Cook Time: 20 minutes
Total Time: 2 hours 30 minutes (plus chilling)
Yield: 12 mini cheesecakes
Category: Dessert, Snack
Fun Twists to Try Sometime
You can dress these up so many ways. It’s like choosing an outfit. Here are three ideas I love.
Lemon Sunshine: Use lemon curd on top instead of raspberry. Add a tiny bit of lemon zest to the filling. It’s so bright and cheerful.
Chocolate Dream: Swap the crust for crushed Oreos. Top with a chocolate drizzle and a cherry. My grandson requests this every time.
Autumn Spice: Use a gingersnap crust. Top with apple pie filling and a sprinkle of cinnamon. It tastes like a cozy sweater. Which one would you try first? Comment below!
Serving Them Up With Style
These are perfect for a party. Place them on a fancy plate. Scatter a few extra raspberries around. It looks so professional. I love to serve them with a cup of hot tea. The tart berry and creamy cheese are perfect with it.
For a fun night, try a sparkling raspberry lemonade. Or for the grown-ups, a small glass of sweet Moscato wine. Both are delightful. Which would you choose tonight? I think I’ll have the lemonade. Let’s dig in!
Keeping Your Mini Cheesecakes Happy
These little bites are perfect for making ahead. Let them chill in the fridge for up to three days. Just cover them well with plastic wrap. This keeps them fresh and tasty.
You can also freeze them for a sweet treat later. Place them on a baking sheet until frozen solid. Then pop them into a freezer bag. I once forgot a batch in my freezer for a month. They were still a delightful surprise!
Thaw them overnight in the refrigerator before serving. No reheating needed! Batch cooking matters because life gets busy. Having a ready-made dessert brings instant joy. Have you ever tried storing it this way? Share below!
Little Fixes for Common Cheesecake Troubles
First, a cracked top can happen. This is often from over-mixing the batter. I remember when my first cheesecake looked like a dry lakebed! Just mix until everything is smooth, then stop.
Second, a soggy crust is no fun. Make sure you press the crumb mix firmly into the cup. This creates a solid barrier for the creamy filling. Getting this right builds your kitchen confidence.
Third, the centers might seem too soft after baking. They firm up beautifully while chilling. Patience is your secret ingredient here. Letting them set properly makes the flavor perfect. Which of these problems have you run into before?
Your Quick Cheesecake Questions, Answered
Q: Can I make these gluten-free? A: Yes! Use gluten-free graham crackers and cake mix. It works just as well.
Q: How far ahead can I make them? A: You can make the full recipe two days ahead. The flavors get even better.
Q: What if I don’t have sour cream? A: Plain Greek yogurt is a fine swap. It adds a nice little tang.
Q: Can I make a big cheesecake instead? A: Absolutely. Use a regular pan and bake for 45-55 minutes.
Q: Any optional tips? A: A tiny pinch of lemon zest in the batter is lovely. Fun fact: The acid in lemon helps balance the sweet cream cheese. Which tip will you try first?
Bake a Little Joy
I hope you love making these mini delights. They are little bites of happiness. Sharing them with family is the best part.
I would be so thrilled to see your creations. Your kitchen stories make my day. Have you tried this recipe? Tag us on Pinterest! Use our handle @AnnasCozyKitchen.
Thank you for baking with me today. Happy cooking!
—Anna Whitmore.
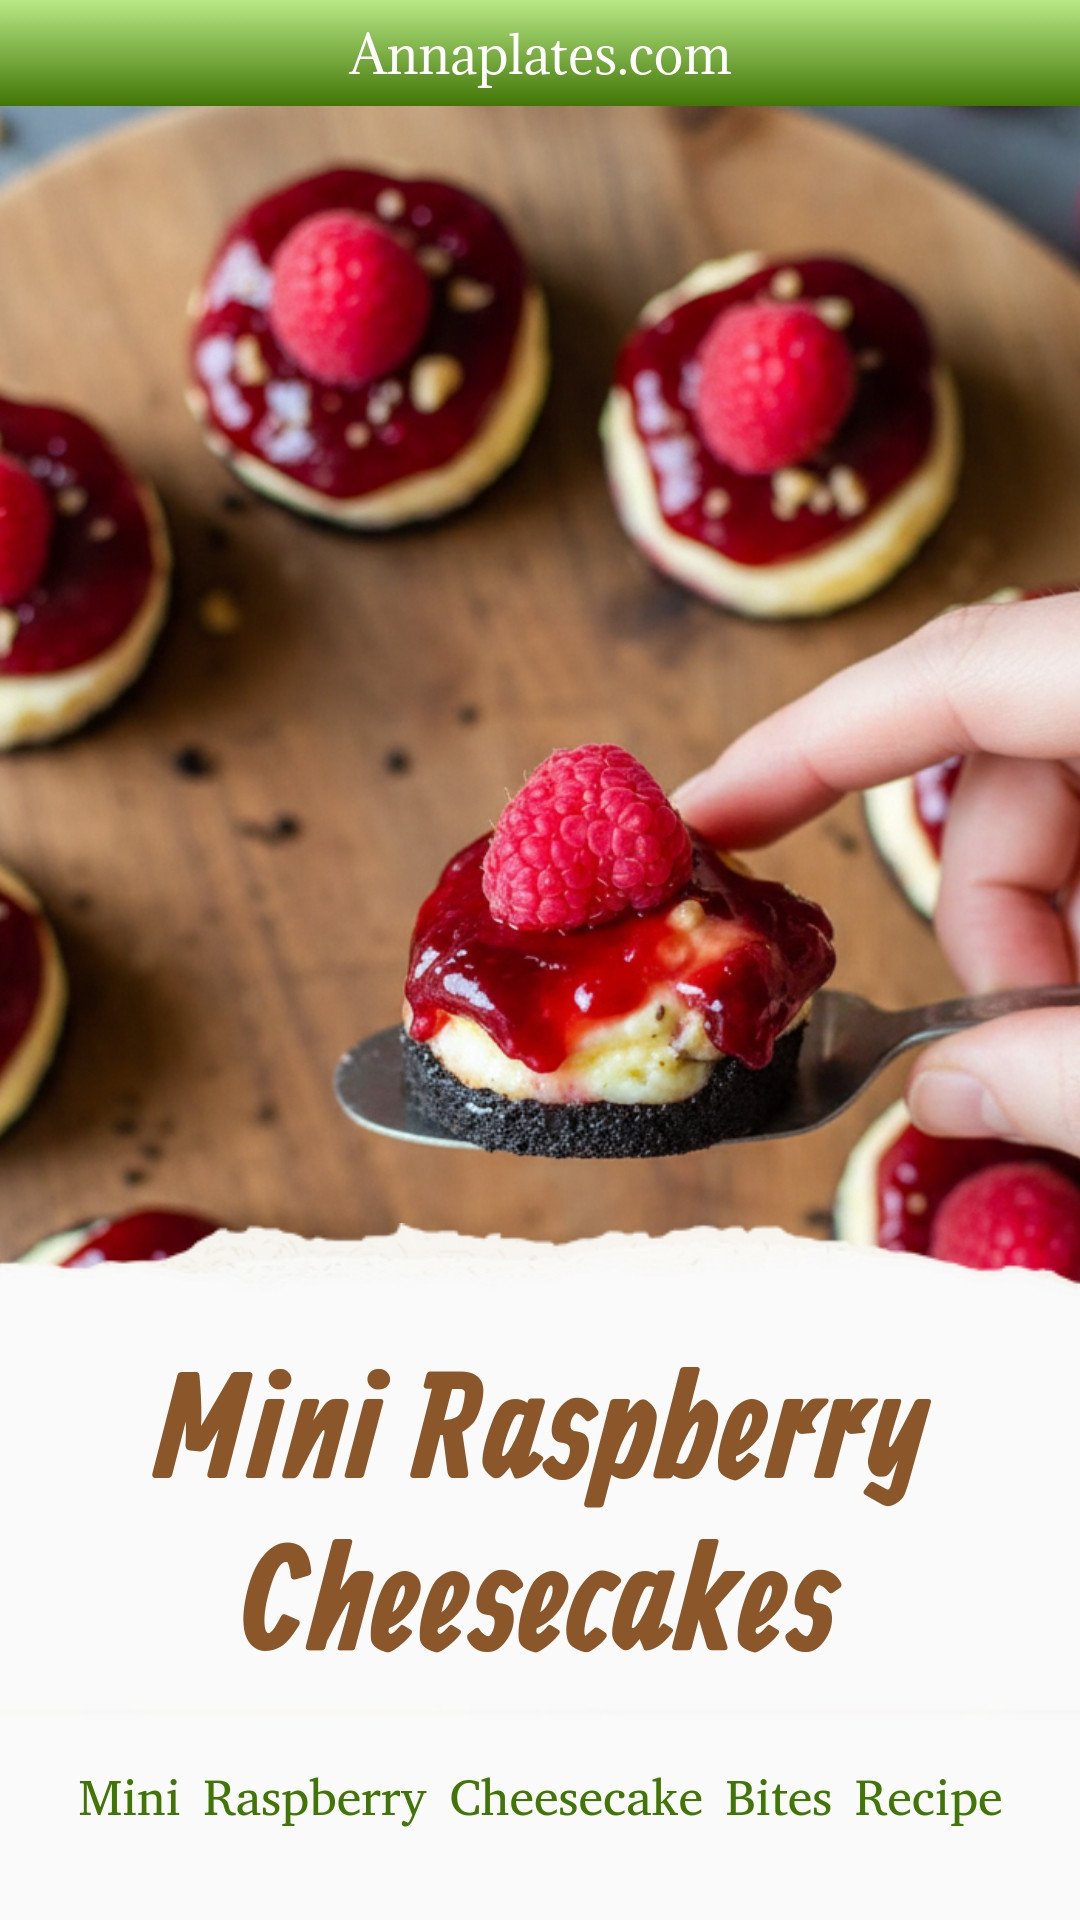
Mini Raspberry Cheesecakes: Mini Raspberry Cheesecake Bites Recipe
Description
Indulge in these adorable mini raspberry cheesecakes! A perfect no-bake dessert that’s creamy, easy to make, and ideal for parties. So delicious!
Ingredients
For the Crust:
For the cheesecake:
For topping:
Instructions
- Preheat oven to 350 degrees. Spray mini cheesecake pan generously with cooking spray.
- In a small bowl, mix the chocolate graham cracker crumbs with the chopped walnuts. Use a food processor to get a really fine mixture. Add the melted butter and pulse until incorporated.
- Spoon 2 loose tablespoons of the chocolate crust mixture into each cheesecake cup. Using a spoon or your fingers, press the mixture down into the cup as evenly as possible.
- In a bowl, mix together the softened cream cheese and the sour cream. Gently mix in the vanilla.
- Add the egg and mix just until incorporated into the mixture. Add in your sugar and cake mix, a little bit at a time just until incorporated. DO NOT OVERMIX. You are going for a smooth consistency.
- Spoon 2 tablespoons of cheesecake batter on top of the chocolate crust layer.
- Bake in a 350 degree oven for 15-20 minutes. Remove from oven and allow them to cool 5 minutes.
- Remove from the pan and allow to chill in your refrigerator for about two hours or so.
- Once chilled, spoon raspberry pie filling on top of each little mini raspberry cheesecake. Top with a fresh raspberry. Serve!
Notes
- Nutrition Facts (per serving): Calories: 237kcal | Carbohydrates: 18g | Protein: 4g | Fat: 17g | Saturated Fat: 7g | Polyunsaturated Fat: 4g | Monounsaturated Fat: 4g | Trans Fat: 0.2g | Cholesterol: 45mg | Sodium: 156mg | Potassium: 66mg | Fiber: 1g | Sugar: 10g | Vitamin A: 412IU | Vitamin C: 1mg | Calcium: 39mg | Iron: 0.4mg


Leave a Reply