
My First Kitchen Avalanche
I first made these cookies for my grandson, Leo. He was having a bad day. I wanted to make something fun and fast. We had no eggs, so we got creative in the kitchen.
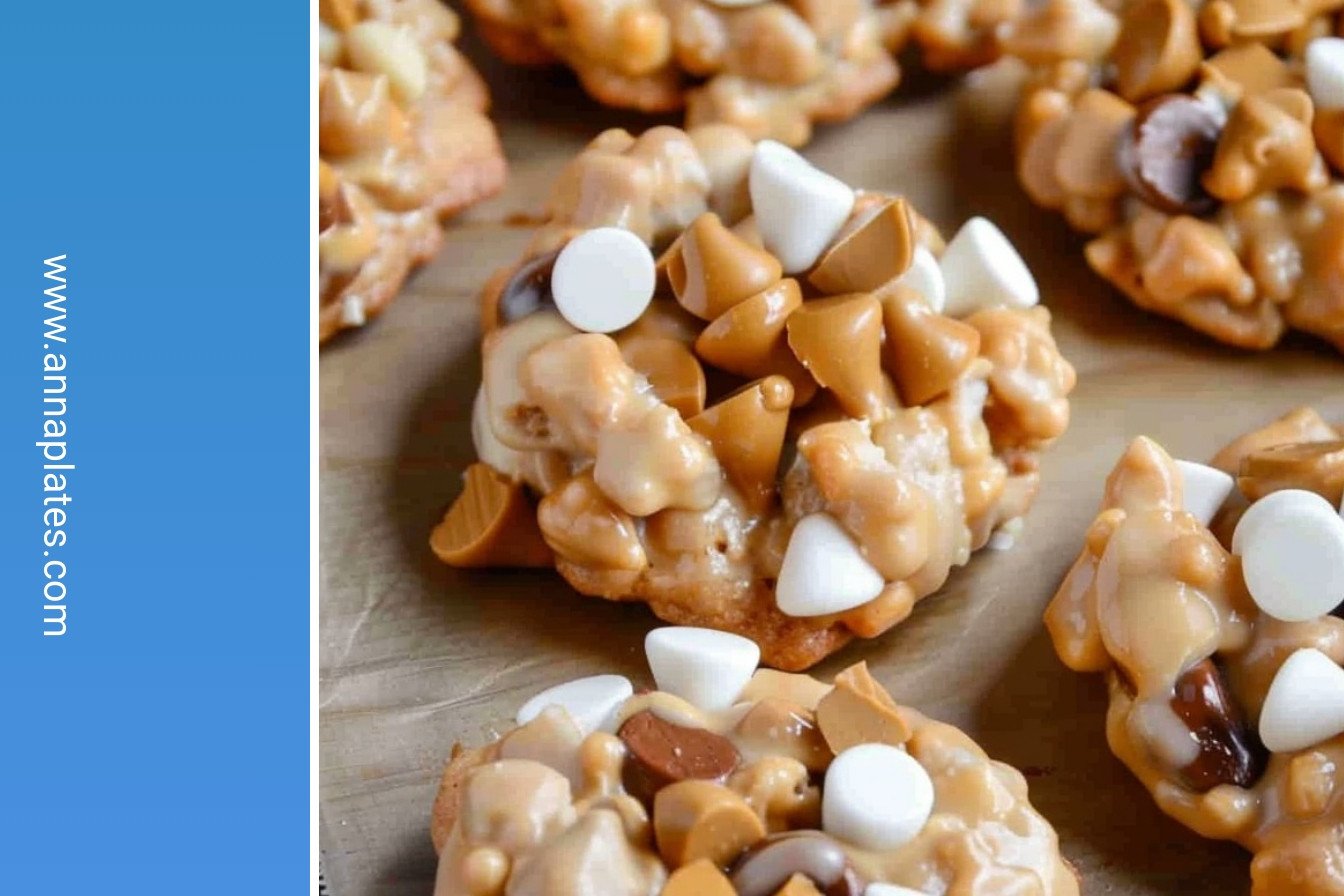
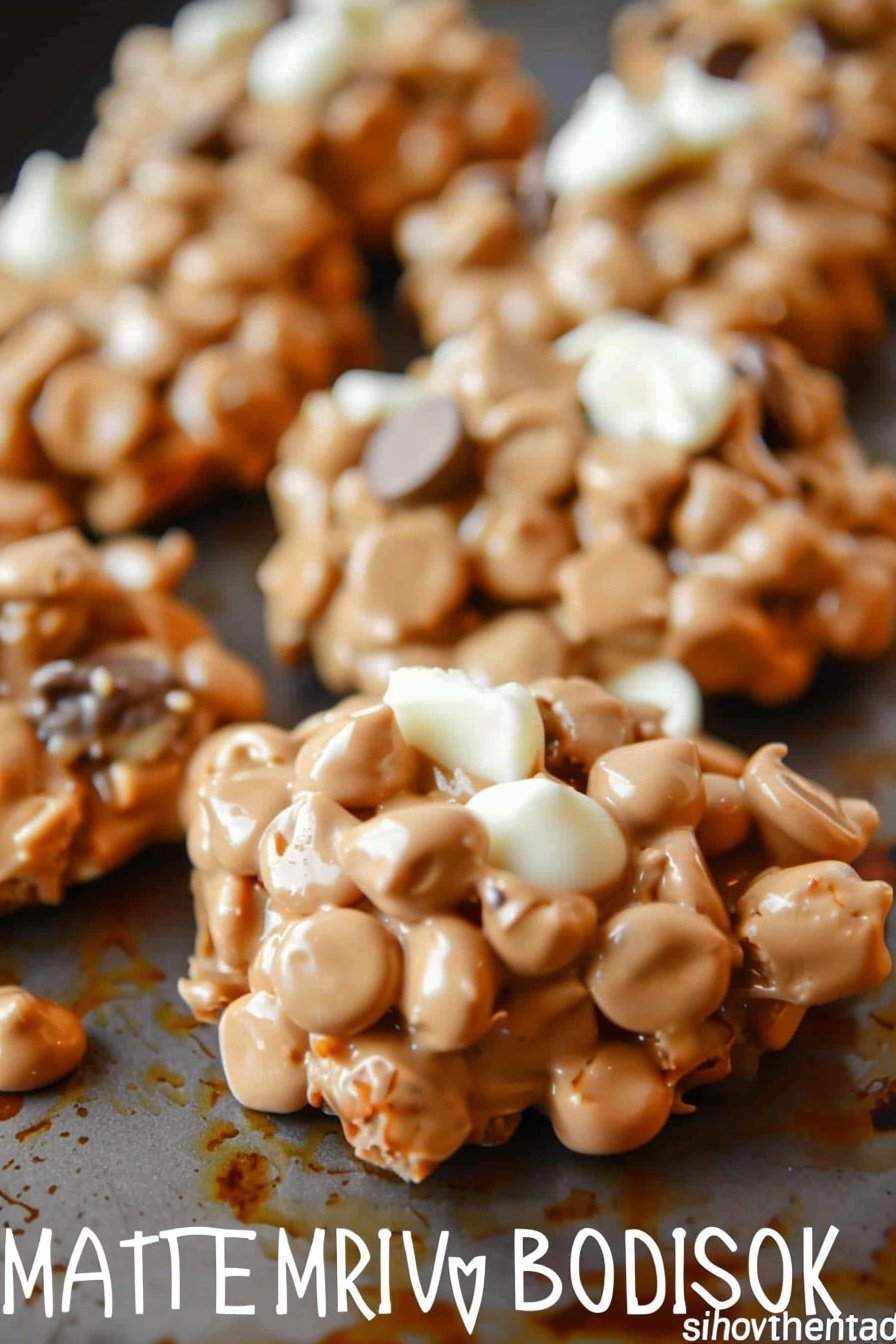
We mixed and melted everything together. When we poured the chocolate over the cereal, it looked like a sweet, white avalanche. Leo’s frown turned upside down. I still laugh at that messy, happy afternoon.
Why This Recipe is a Keeper
No oven needed. That is the best part on a hot day. You just mix, scoop, and chill. It is so simple.
This matters because anyone can help. Little hands can stir the cereal. Bigger hands can melt the chocolate. Cooking together makes a kitchen feel like home. What is your favorite no-bake treat to make?
Let’s Talk About the Good Stuff Inside
You get a double crunch from the two cereals. The Rice Krispies snap. The Honey Nut Cheerios have a sweet, nutty taste. Doesn’t that sound like a good team?
Then comes the creamy part. The white chocolate, peanut butter, and Biscoff melt together. It makes a sweet, cozy blanket for the cereal. Fun fact: Biscoff cookies are from Belgium! They are served on airplanes sometimes.
A Little Tip From My Kitchen
Keep these cookies in the fridge. I learned this the hard way. I left a plate out on a warm day.
They became a bit too soft and sticky. Chilled, they are perfect little crunchy mounds. This matters because a small step makes a big difference. Do you like your cookies chewy or crunchy?
Your Turn in the Kitchen
Now it is your adventure. Melting the chocolate is the trickiest part. Just go slow, 30 seconds at a time. Stir well in between.
This matters because patience makes the best treats. When you scoop them onto the sheet, you will feel so proud. I would love to see what you create. Will you tell me about your kitchen adventure?
Ingredients:
| Ingredient | Amount | Notes |
|---|---|---|
| Rice Krispies | 1 cup | |
| Honey Nut Cheerios | 1 cup | |
| White chocolate | 1 lb | |
| Creamy peanut butter | 1/4 cup | |
| Biscoff Cookie Butter | 1/4 cup |
My No-Bake Avalanche Cookies
Hello, my dear! Come sit with me for a minute. I want to tell you about my Avalanche Cookies. They are my grandson’s absolute favorite. He calls them “snowball treats.” They are creamy, crunchy, and so easy to make. You don’t even need to turn on the oven. Isn’t that wonderful for a hot day? We can mix them up together. I’ll share all my little secrets.
First, we get everything ready. Line a baking sheet with parchment paper. I always keep a roll in my drawer. Then, pour one cup each of Rice Krispies and Honey Nut Cheerios into a big bowl. The two cereals together make such a nice mix of textures. It reminds me of the crunch of autumn leaves.
Step 1: Break up your white chocolate into a microwave-safe bowl. Smaller pieces melt much more evenly. Heat it for just 30 seconds at a time. Stir well between each heating. I learned this the hard way. (My hard-learned tip: Rushing will burn the chocolate. Patience makes it smooth and perfect!)
Step 2: Once the chocolate is melted, stir in the peanut butter and Biscoff. Oh, doesn’t that smell amazing? It becomes a dreamy, creamy river. If it seems a bit thick, a quick 15-second zap in the microwave will loosen it right up.
Step 3: Now, pour that wonderful chocolate mixture over your waiting cereals. Gently stir until every last piece is coated. It’s like giving the cereal a cozy chocolate blanket. This is the best part, I think.
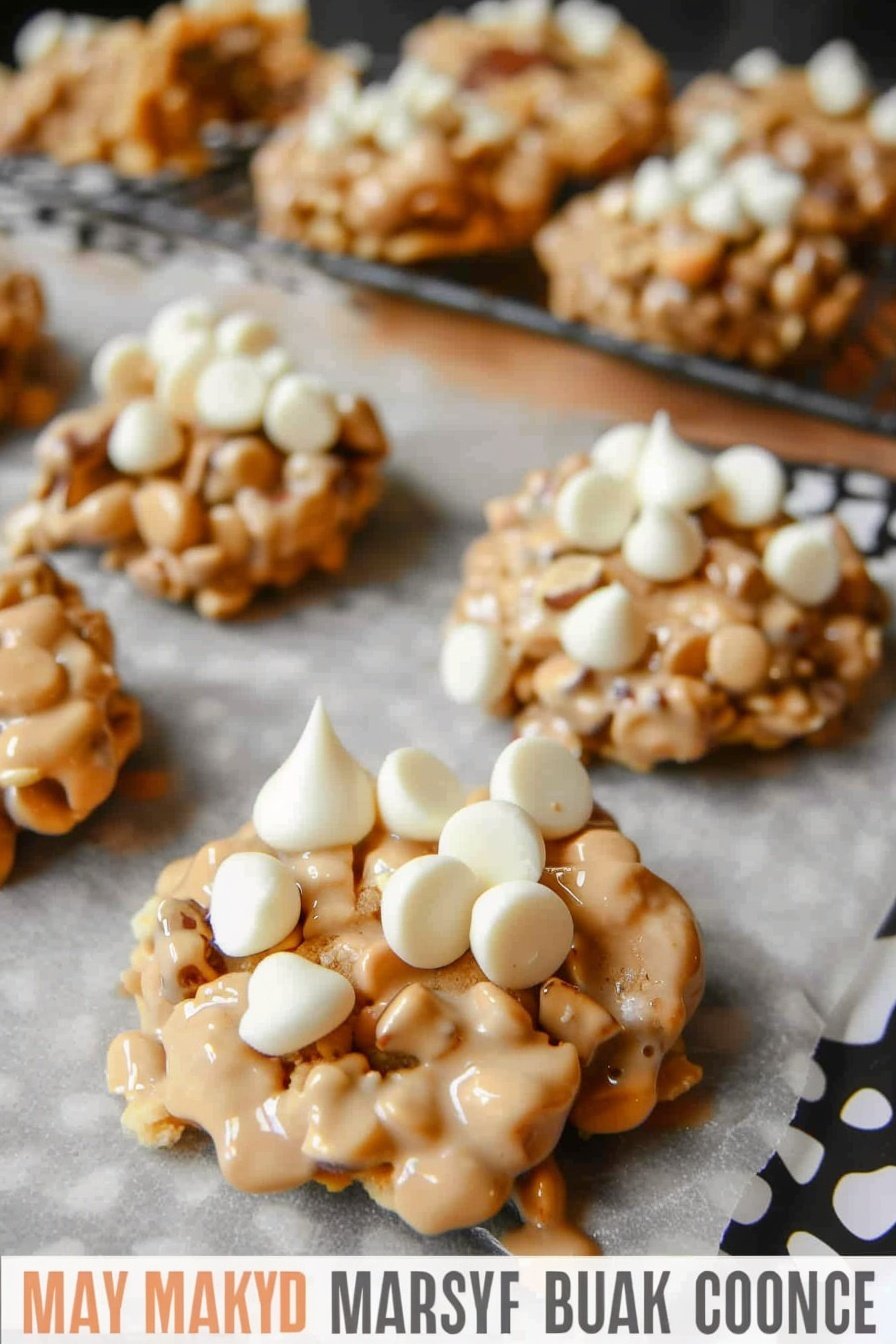
Step 4: Use a tablespoon to drop little mounds onto your prepared baking sheet. They don’t have to be perfect. My grandson likes to help with this part. His are always interesting shapes! I still laugh at that.
Step 5: Finally, pop the whole tray into the fridge. Let them chill until they are firm and cold. I keep mine stored in the fridge, too. It keeps them from getting sticky. What’s your favorite no-bake treat? Share below!
Cook Time: 1 hour (chilling)
Total Time: 1 hour 10 minutes
Yield: 6 servings
Category: Dessert, Snack
Three Fun Twists to Try
You can make these cookies your own, you know. I love to play around in the kitchen. Here are a few ideas that sound delightful to me. Maybe one will sound good to you, too.
The Nutty Buddy: Swap the peanut butter for almond butter. Then add a handful of sliced almonds for a wonderful crunch.
The Chocolate Explorer: Use milk or dark chocolate instead of white chocolate. It will be a richer, deeper flavor adventure.
The Fruity Surprise: Mix in a quarter cup of dried cranberries or chopped apricots. The little bits of chewy fruit are such a happy surprise.
Which one would you try first? Comment below!
Serving Your Sweet Creations
These little cookies are wonderful all on their own. But I always think food tastes better with a friend. For a real treat, place two cookies on a small plate with a few fresh raspberries. The tart fruit is so nice with the sweet cookie. You could also crumble one over a scoop of vanilla ice cream. Oh my, that is heaven in a bowl.
What should you drink with them? A tall, cold glass of milk is the classic choice. It just feels right. For the grown-ups, a cup of hot coffee with a splash of cream is a perfect partner. It balances the sweetness so nicely. Which would you choose tonight?
Keeping Your Avalanche Cookies Perfect
These cookies are best kept cold. I always store them in the fridge. They stay nice and firm that way.
You can also freeze them for a sweet treat later. Just layer them in a container with parchment paper. They will keep for a month.
I once left a batch on the counter too long. They became a sticky, melty mess. Now I never skip the fridge step.
Storing them right means you always have a little joy ready. This matters for busy days. A sweet bite can turn a day around.
Have you ever tried storing it this way? Share below!
Easy Fixes for Common Cookie Troubles
Is your chocolate too thick? Just heat it for 15 more seconds. Stir it well until it is smooth.
Are your cookies falling apart? Make sure you press the mixture firmly when scooping. This helps them hold their shape.
I remember when my first batch was too crumbly. I did not press the mixture enough. Learning this simple fix built my confidence.
Getting the texture right makes the flavor even better. A firm cookie gives a perfect crunch. This makes every bite wonderful.
Which of these problems have you run into before?
Your Avalanche Cookie Questions Answered
Q: Can I make these gluten-free? A: Yes! Just use certified gluten-free cereals. The recipe works the same way.
Q: How far ahead can I make them? A: You can make them two days ahead. Keep them chilled in the fridge.
Q: What can I use instead of Biscoff? A: More peanut butter works great. You could also try Nutella.
Q: Can I double the recipe? A: Absolutely. Use a very large bowl for mixing. You will have plenty to share.
Q: Any optional add-ins? A: Mini chocolate chips are a nice touch. Fun fact: A sprinkle of sea salt on top makes the sweet flavor pop!
Which tip will you try first?
From My Kitchen to Yours
I hope you love making these no-bake cookies. They are a little piece of sweet, simple joy. I have made them for my grandkids for years.
It would make me so happy to see your creations. Sharing food is one of life’s greatest pleasures.
Have you tried this recipe? Tag us on Pinterest! You can find me at Anna’s Kitchen Stories. I would love to see your photos.
Happy cooking!
—Anna Whitmore.
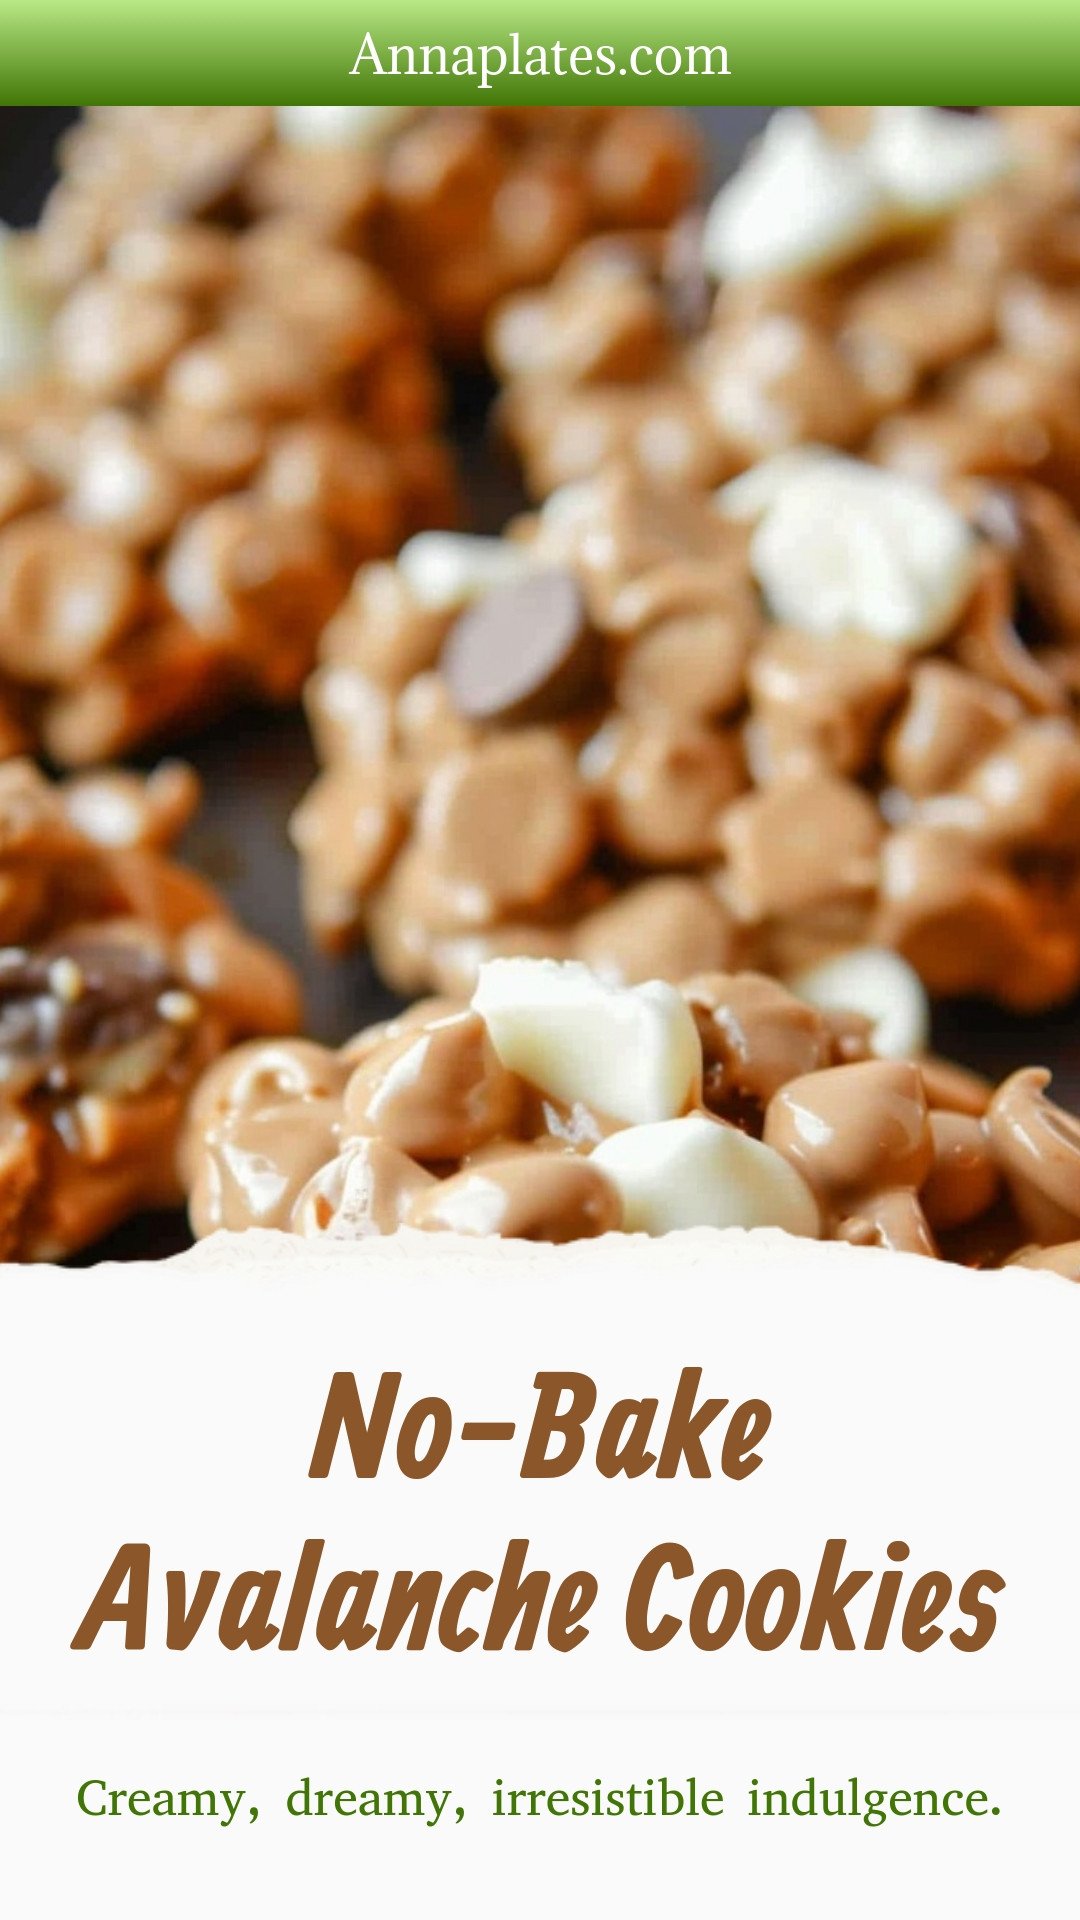
No-Bake Avalanche Cookies: Creamy, dreamy, irresistible indulgence.
Description
The easiest no-bake avalanche cookies! A delicious, crunchy mix of white chocolate, peanut butter, rice cereal, and mini marshmallows. Perfect for holidays and quick treats.
Ingredients
Instructions
- Line a baking sheet with parchment paper or a silpat and set aside.
- Add your Honey Nut Cheerios and Rice Krispies to a large bowl and set aside.
- Break up your white chocolate into smaller chunks and place in a microwave bowl. Heat in 30 second increments making sure to remove and stir in-between.
- When your chocolate is all melted add your peanut butter and Biscoff and stir well. It should melt and mix well. If it’s a bit thick you can put it in the microwave for an additional 15 seconds.
- Pour your chocolate mixture over your cereal and stir well.
- Scoop the mixture using a tablespoon and drop onto your lined baking sheet.
- Put in the fridge until the chocolate is cold and set.
- — I think these are better if kept in the fridge. When it gets warm the chocolate and peanut butter gets a bit sticky.
Notes
- I think these are better if kept in the fridge. When it gets warm the chocolate and peanut butter gets a bit sticky.


Leave a Reply