

The Sweetest Kind of Waiting
My kitchen always smells like warm sugar when I make this fudge. It reminds me of my own grandma. She taught me this recipe on a snowy afternoon. I was so impatient for it to set. I still laugh at that.
You have to wait for the fudge to cool. That is the hardest part. But the waiting makes the first bite so special. This matters because good things often take a little time. What treat did you learn to make from a family member?
Getting the Pot Ready
Let’s get started. You need a good, heavy pot. Put your sugars, butter, and milk right in. Turn the heat to medium. Now, you must watch it closely.
Stir it gently until it comes to a boil. You need a candy thermometer for the next step. The magic number is 236 degrees. Fun fact: This is called the “soft-ball stage.” A drop of the mix in cold water forms a soft ball. Doesn’t that smell amazing already?
The Whipping Dance
Once it hits that temperature, take it off the heat. Now, add the peanut butter and those mini marshmallows. This is my favorite part. Grab a strong spoon and start to whip.
You will see it change. It gets thicker and loses its shine. Keep stirring until it looks like thick, creamy clouds. Your arm might get a little tired. I think that’s how you know it’s working. Do you like smooth or crunchy peanut butter better for treats?
Patience Makes Perfect
Pour your fudge into a buttered pan. I sometimes use parchment paper too. It makes lifting it out so easy. Then, you walk away. For one or two whole hours.
Let it cool on the counter. Do not put it in the fridge. It needs to set slowly. This matters because rushing can make it grainy. Waiting gives you that perfect, smooth bite. What’s your best trick for being patient in the kitchen?
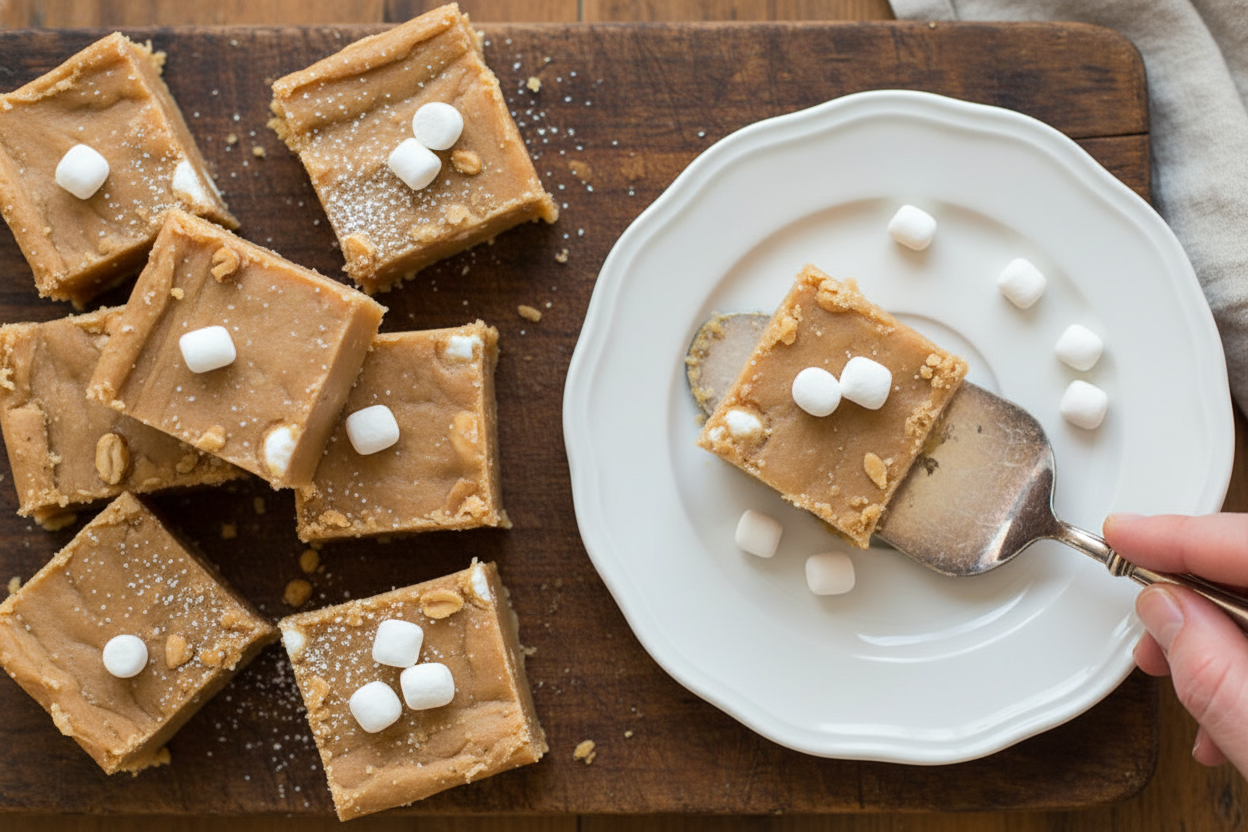
A Square of Happiness
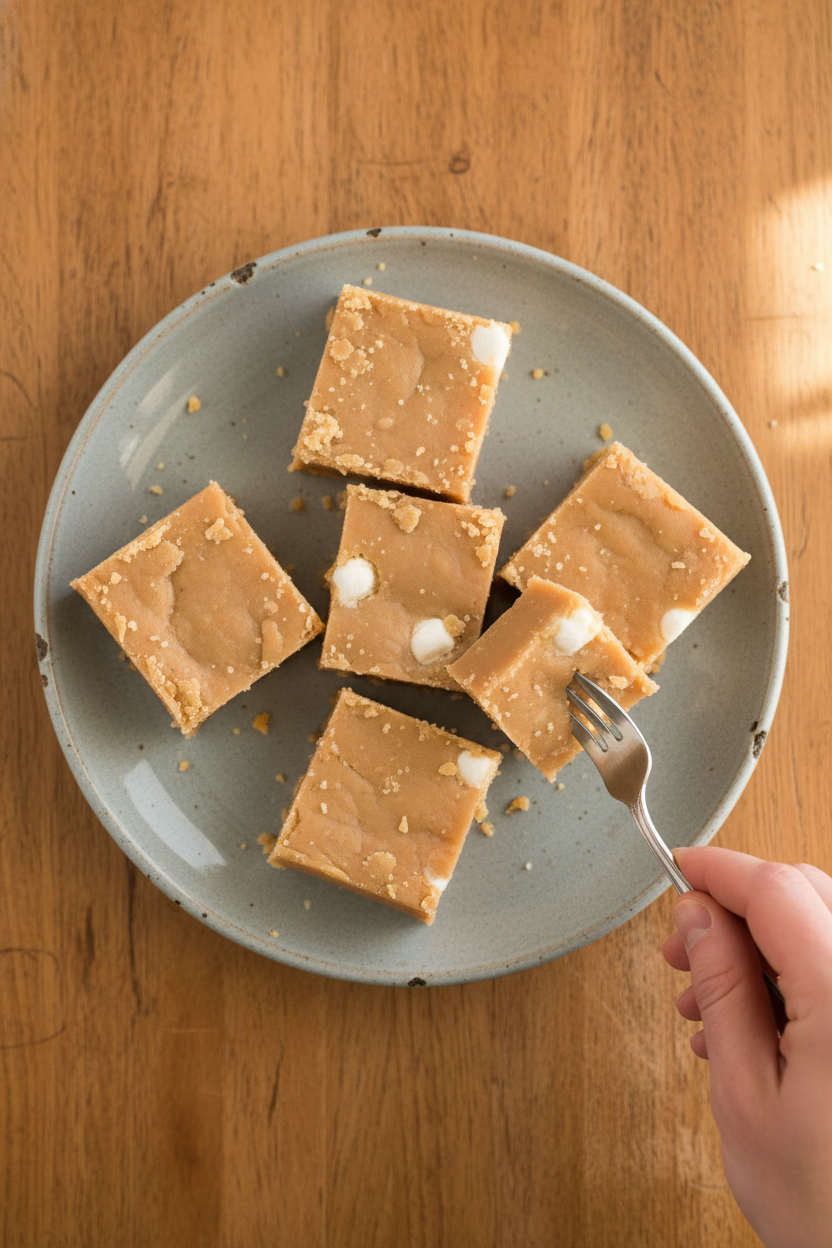
Finally, it’s time. The fudge is firm and cool. Run a knife around the edges. Turn it out and cut it into little squares. I always sneak a tiny corner piece first.
That rich peanut butter taste is pure comfort. It’s sweet, but not too sweet. Sharing these squares is the real joy. I wrap them in wax paper for friends. It feels like giving a little hug. I hope you make some memories with this recipe too.
Ingredients:
| Ingredient | Amount | Notes |
|---|---|---|
| Sugar | 2 cups | |
| Brown sugar | ½ cup | packed |
| Butter | 4 tbsp | |
| Milk | ½ cup | |
| Peanut butter | 1 cup | |
| Mini marshmallows | 1 cup |
My Grandmother’s Peanut Butter Fudge
Hello, dear. Come sit at the table. Let’s make some fudge. This is my grandmother’s recipe. It is sweet, creamy, and perfect for sharing. I remember making it with her every winter. The kitchen would smell like warm sugar and peanuts. Doesn’t that smell amazing? It is simpler than you think. You just need a pot, a spoon, and a little patience. I still laugh at that. I was always so impatient as a girl. Let’s begin our sweet project together.
Step 1: Grab a good, heavy pot. Put the white sugar, brown sugar, butter, and milk inside. Turn the heat to medium. Stir it until everything melts together. Now, let it boil. Do not stir it now. You need a candy thermometer. Wait for it to reach 236 degrees. This is called the “soft-ball” stage. (My hard-learned tip: If you don’t have a thermometer, drop a bit into cold water. It should form a soft ball you can squish.)
Step 2: Take the pot off the heat right away. Add the peanut butter and mini marshmallows. Now, start stirring! Stir and stir until it thickens. It will become less shiny. This takes some arm power. My brother always had to do this part for me. The marshmallows will melt and make it so creamy. Do you think we should add vanilla next time? Share below!
Step 3: Get your pan ready. An 8-inch square pan is perfect. Rub a little butter all over the inside. This stops the fudge from sticking. You can use parchment paper too. Pour your thick fudge into the pan. Spread it gently to the corners. Try not to eat it all with the spoon! I know it’s tempting.
Step 4: Now, we wait. Let the pan sit on the counter. It needs to cool completely. This takes about two hours. I always set it by the window. Watching it harden is the hardest part! Once it’s cool and firm, cut it into little squares. Use a sharp knife. A glass of warm milk is perfect for now.
Cook Time: 15 minutes
Total Time: 2 hours 15 minutes
Yield: 36 small squares
Category: Dessert, Candy
Three Sweet Twists to Try
This fudge is a wonderful blank canvas. You can make it your own. Here are three fun ideas I’ve tried over the years. Each one adds a little surprise. Which one would you try first? Comment below!
Crunchy Cookie Fudge: Stir in a handful of crushed chocolate sandwich cookies with the peanut butter.
Salty Pretzel Swirl: Sprinkle crushed salty pretzels on top right after you pour the fudge into the pan.
Berry Jam Ribbon: After pouring, drop spoonfuls of strawberry jam on top. Swirl it with a knife for a pretty look.
Serving Your Sweet Creation
I love to put these squares on a pretty plate. A vintage plate makes everything taste better. Stack them up in a little tower. You could also put a square on top of a scoop of vanilla ice cream. The warmth of the fudge makes the ice cream melt a little. It’s so good. For a drink, a cold glass of milk is always the best friend to fudge. For the grown-ups, a small cup of strong coffee is lovely. The bitter coffee and sweet fudge are perfect together. Which would you choose tonight?
Keeping Your Fudge Fresh and Fabulous
Let’s talk about keeping your fudge happy. Store it in an airtight container. It will last a week on the counter. For longer storage, the fridge is your friend. It stays good for two to three weeks there.
You can freeze fudge too. Wrap the whole block tightly in plastic wrap. Then place it in a freezer bag. It will keep for three months. Thaw it overnight in the fridge.
I once left a batch on a sunny windowsill. It became a soft, sticky mess. I learned my lesson about cool, dark places. Storing food properly saves your hard work and money. It means you always have a sweet treat ready for guests. Have you ever tried storing it this way? Share below!
Fudge Fixes for Common Troubles
Sometimes fudge doesn’t set right. If it’s too soft, you might not have boiled it long enough. Use a candy thermometer for the 236 degrees. This step matters because it makes the sugar crystals just right.
Grainy fudge means the sugar didn’t dissolve fully. Stir well at the beginning. Also, don’t stir once it starts boiling. I remember stirring too much once. My fudge was gritty like sand.
If it’s too hard or crumbly, you may have cooked it too hot. The temperature is key for perfect texture. Getting this right builds your kitchen confidence. It turns a tricky recipe into an easy win. Which of these problems have you run into before?
Your Fudge Questions, Answered
Q: Is this fudge gluten-free? A: Yes, if your peanut butter and other ingredients are gluten-free.
Q: Can I make it ahead? A: Absolutely. It’s a great make-ahead treat for gift boxes.
Q: What can I use instead of mini marshmallows? A: You can use one cup of marshmallow fluff. It works the same way.
Q: Can I double the recipe? A: Yes, use a bigger pot and a 9×13 inch pan.
Q: Any optional tips? A: Sprinkle sea salt on top before it sets. *Fun fact: Salt makes sweet flavors taste even sweeter!* Which tip will you try first?
From My Kitchen to Yours
I hope you love making this old-fashioned treat. It always reminds me of my own grandma’s kitchen. I would watch her cook and learn her secrets.
Now I get to share them with you. That is the best part of cooking. It connects us across generations. Have you tried this recipe? Tag us on Pinterest! I would love to see your beautiful fudge squares.
Happy cooking!
—Anna Whitmore.
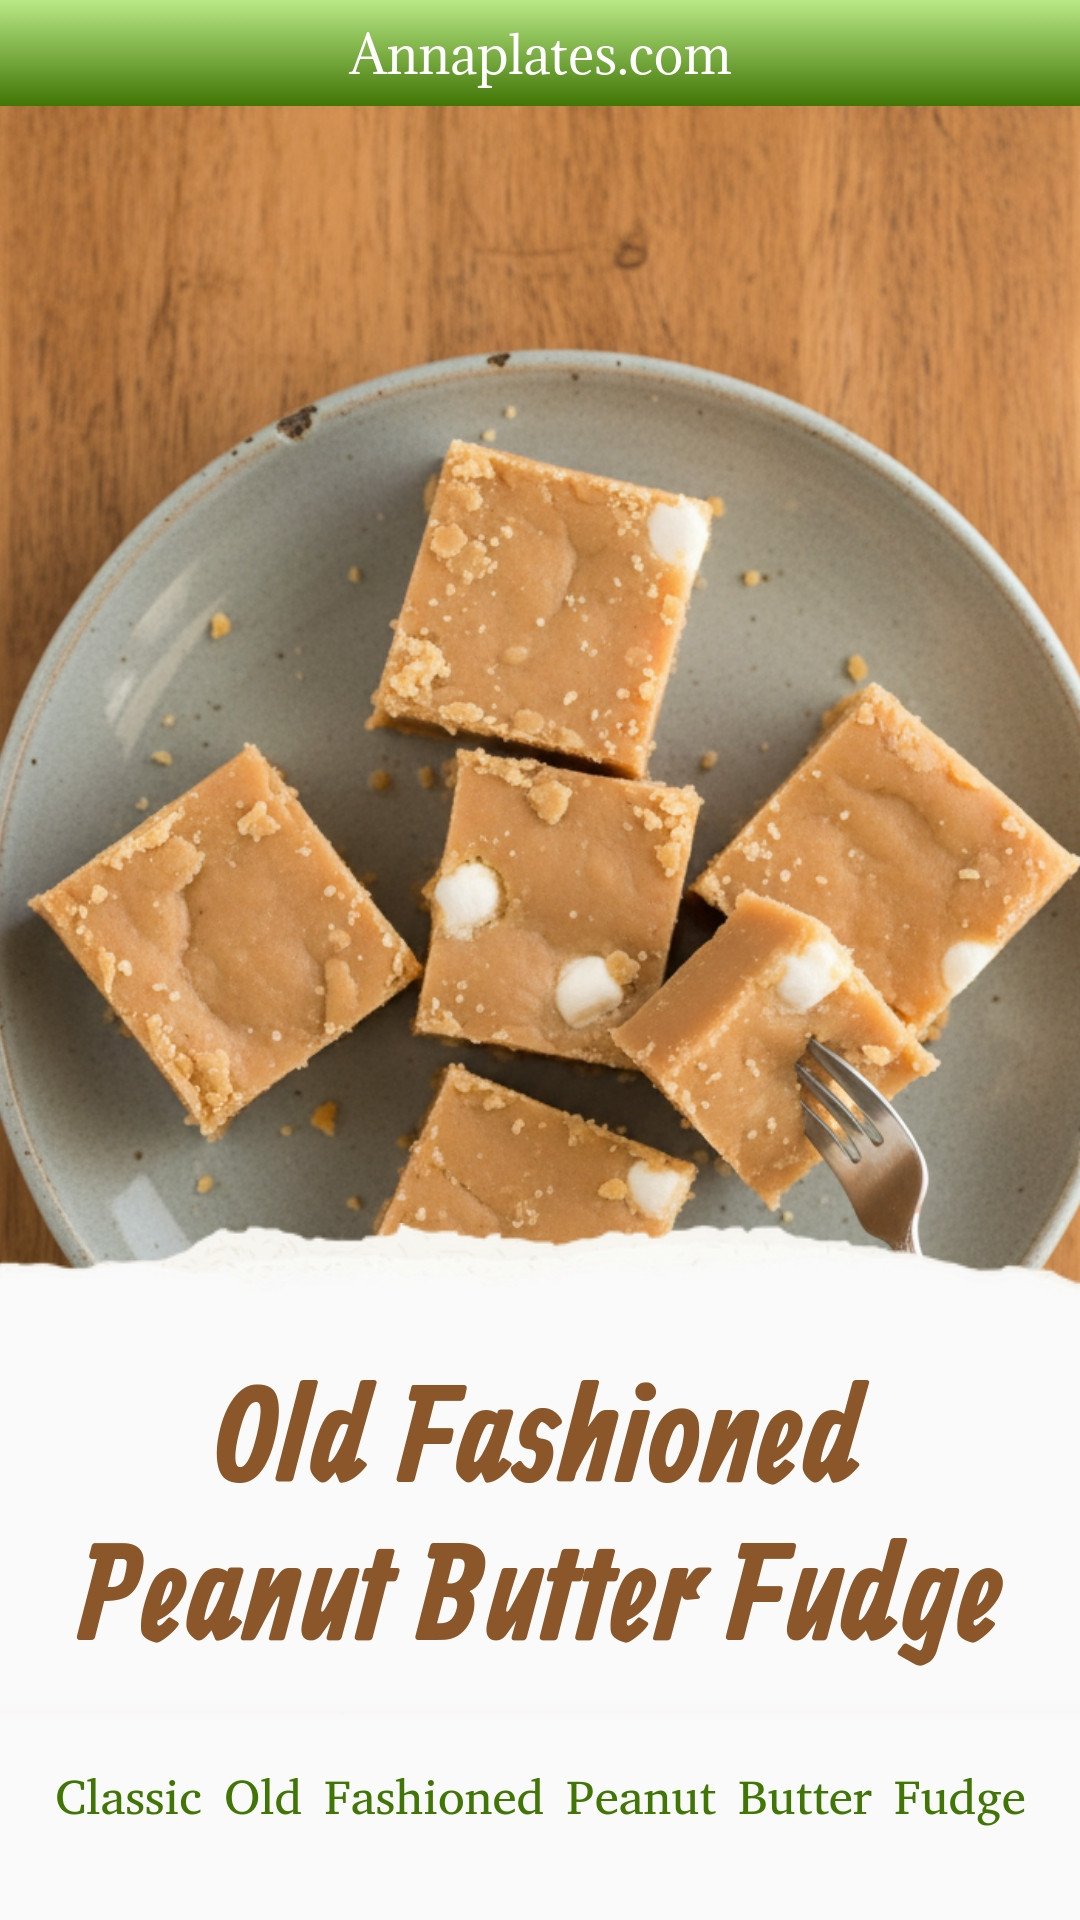
Old Fashioned Peanut Butter Fudge: Classic Old Fashioned Peanut Butter Fudge
Description
Creamy, melt-in-your-mouth peanut butter fudge made the classic way. This easy, no-fail recipe tastes just like grandma’s. Perfect for holidays & gift-giving!
Ingredients
Instructions
- Start by boiling both sugars, butter, and milk in a pot until it reaches 236 degrees then immediately stop.
- Add in peanut butter and marshmallows and whip until it starts to thicken.
- Pour into a buttered 8″ x 8″ pan. You could also line with parchment paper to make it even easier to take out if you’d like to.
- It takes about one to two hours for the fudge to harden completely. Wait until cooled to room temperature and slice into squares.


Leave a Reply