
My First Kitchen Mess
The first time I made these, I was ten. I wanted to surprise my mom. I got graham cracker crumbs everywhere. They were on the floor, the counter, even in my hair. My mom walked in and just laughed. She gave me a big hug. I still laugh at that.
That messy day taught me something important. It is okay to make a mess when you are making something with love. The fun is in the doing, not just the eating. What was your first kitchen mess like? I would love to hear about it.
Why These Bars Matter
This recipe is more than a treat. It is a little piece of my childhood. Sharing food is a way to share your heart. It connects us to people we love.
Making these bars is simple. You do not need any fancy skills. This is why it matters. Anyone can make something delicious. It builds your confidence. Do you have a simple recipe that makes you feel proud?
The Magic of Just Three Ingredients
The main part of the bar is just three things. Butter, peanut butter, and graham crackers. You mix them all up. It makes a soft, sweet dough. Doesn’t that smell amazing? It is like a happy memory.
Pressing the dough into the pan is the best part. Use your clean hands. Press it down smooth. This is your foundation. Getting this right makes the bars slice so neatly later. *Fun fact: Graham crackers were invented to stop people from having naughty thoughts! Isn’t that silly?*
A Little Chocolate Secret
Melting the chocolate is where you must be patient. Do not rush it! Heat it in short bursts. Stir, stir, stir. This stops the chocolate from getting burnt. Burnt chocolate tastes sad.
Here is my little secret. Add that extra peanut butter to the melted chocolate. It makes the topping creamy. It also helps it slice without cracking. Which do you prefer, creamy or crunchy peanut butter in your treats?
The Hardest Part
Now you must wait. Put the pan in the fridge. Let it get cold and firm. This is the hardest part. Waiting for three hours feels like forever! But it is so important.
If you skip the chilling, the bars will fall apart. Patience makes them perfect. This is another life lesson. Good things come to those who wait. What is your favorite thing to make that requires a lot of patience?
Ingredients:
| Ingredient | Amount | Notes |
|---|---|---|
| Unsalted butter | 1 cup | well softened |
| Creamy peanut butter | 1 cup + 2 tablespoons | |
| Graham cracker crumbs | 2 cups | |
| Powdered sugar | 2 cups | |
| Salt | 1/2 teaspoon | |
| Semi-sweet chocolate chips | 1 (12-ounce) bag |
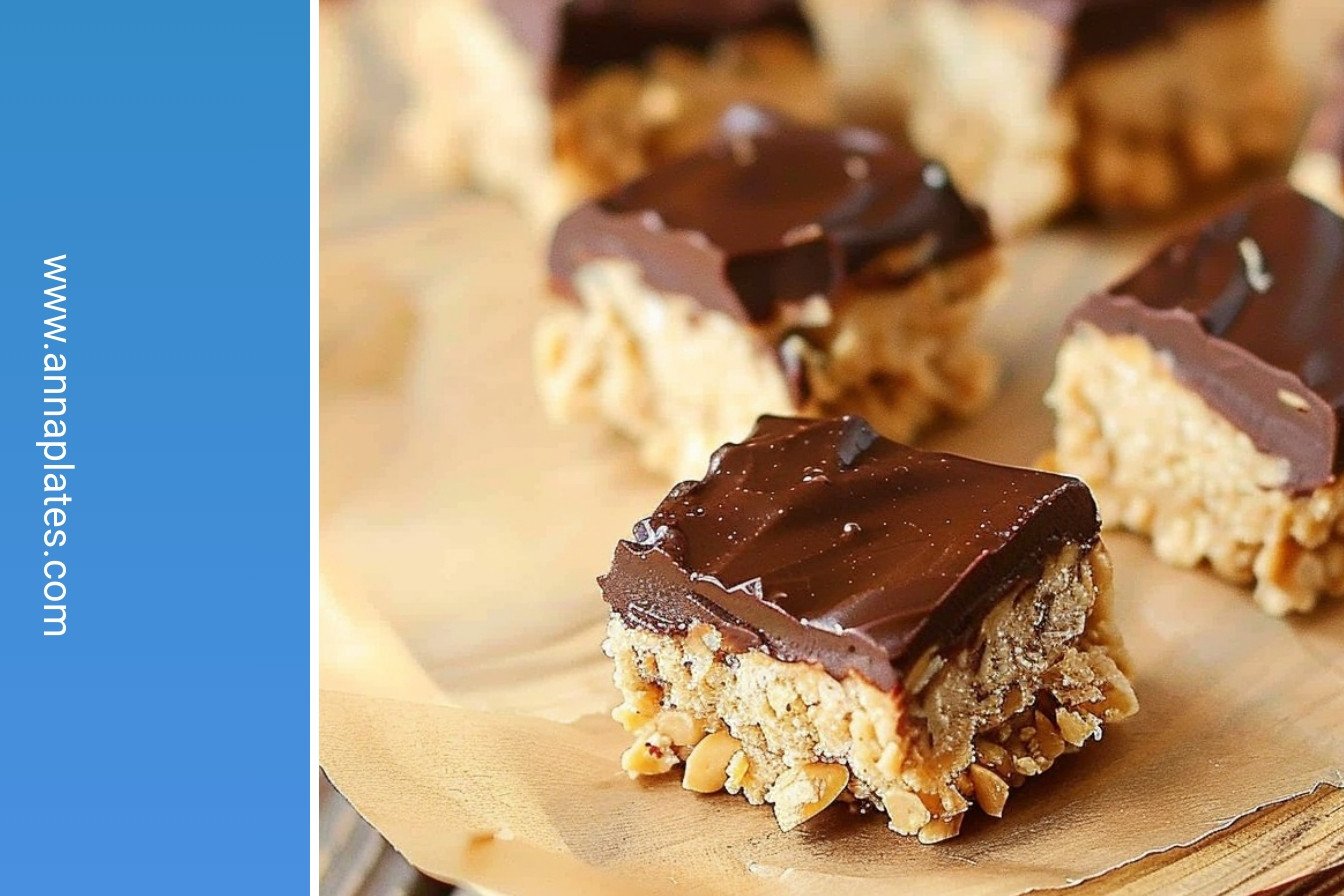
My Peanut Butter Ball Bars
Oh, these little squares are pure happiness. They remind me of my friend Betty. She brought them to a church potluck years ago. I just had to have the recipe. I still laugh at that. I practically begged her for it right there by the dessert table.
Now, I make them for my grandkids all the time. They call them “magic candy.” The best part is, you don’t even need an oven. Just a mixer and a little patience while they chill. Doesn’t that smell amazing? Let’s get started.
Step 1: First, let’s get our pan ready. Grab an 8×8-inch baking dish. Line it with foil or parchment paper. A little spray keeps everything from sticking. This makes it so easy to lift out later. Trust me on this one.
Step 2: Now for the fun part. Mix the soft butter and peanut butter together. Make sure they are nice and smooth. Then, add in the graham cracker crumbs. It will look a bit sandy. Finally, mix in the powdered sugar and salt. (A hard-learned tip: cover the mixer with a towel when you add the sugar. Otherwise, you’ll have a sweet white cloud all over your kitchen!)
Step 3: Press that yummy dough into your pan. I use my fingers to push it down evenly. Get it nice and flat. This is your creamy dreamy base. It’s already so good, isn’t it? Do you like graham crackers best in s’mores or in recipes like this? Share below!
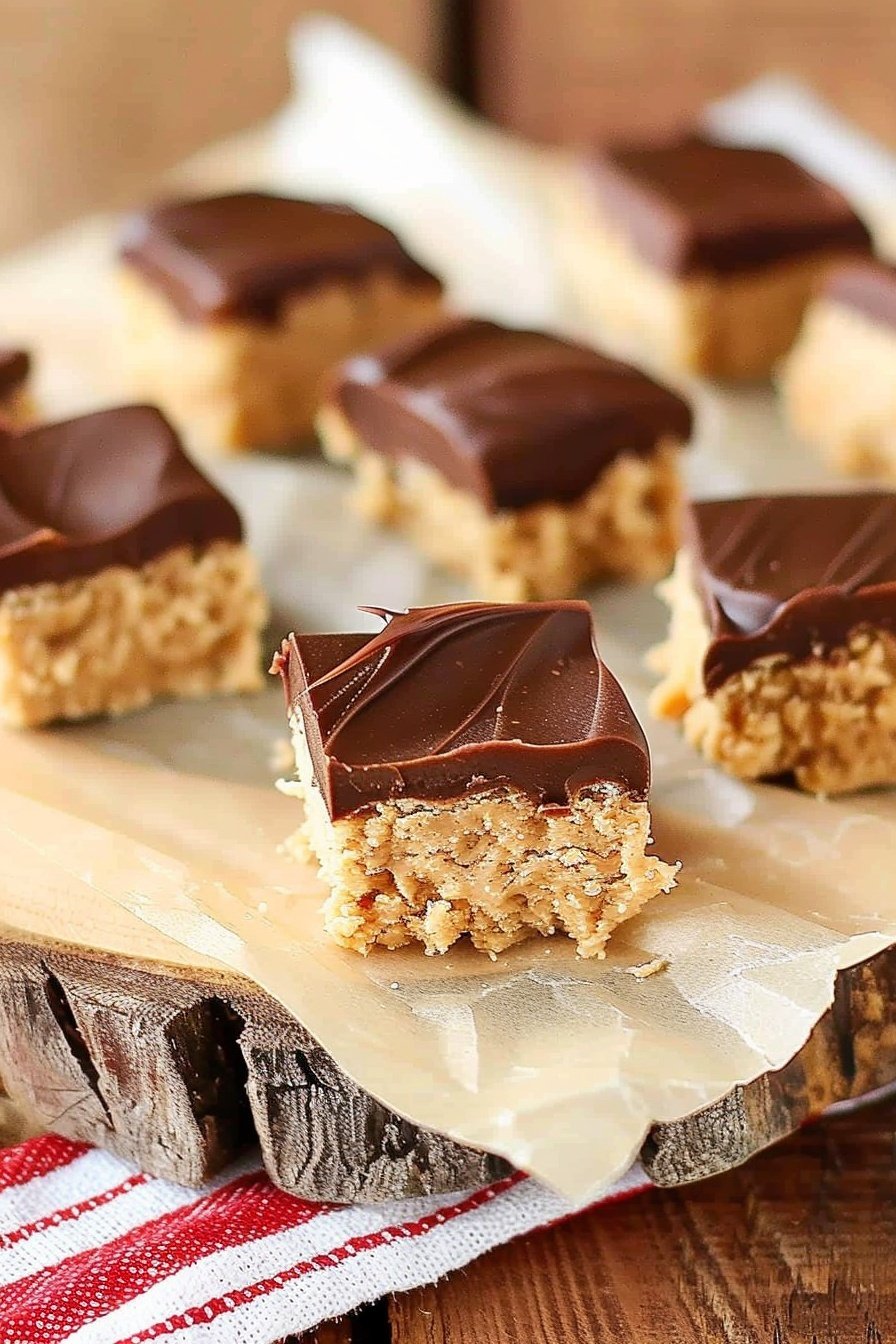
Step 4: Time for the chocolate! Melt the chips in the microwave. Do it in short bursts and stir a lot. This stops the chocolate from burning. When it’s almost melted, stir in the extra peanut butter. Oh, it becomes so silky. Spread this over the base.
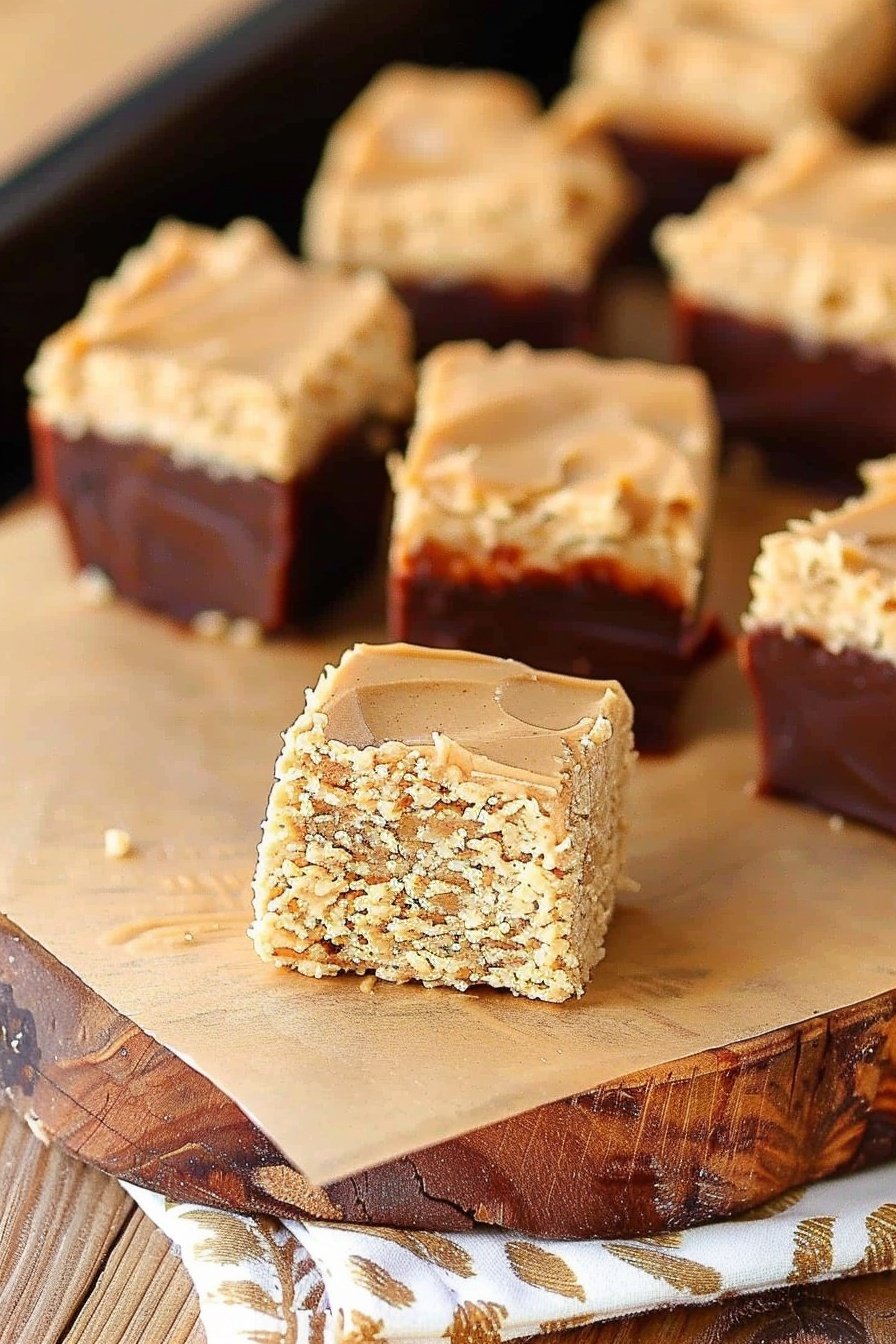
Step 5: The hardest part is waiting. Pop the pan into the fridge. Let it get firm for about three hours. Then, lift out the whole block. Use a sharp knife to cut little squares. They are rich, so small pieces are perfect.
Prep Time: 20 minutes
Total Time: 3 hours 20 minutes
Yield: 64 bars
Category: Dessert, No-Bake
Let’s Mix It Up!
Once you master the classic, try a new twist. It makes the recipe feel brand new. My grandkids love helping me decide what to add. Here are a few of our favorite ideas.
Crunchy Time: Mix half a cup of crushed pretzels into the peanut butter layer.
Cookie Dough Dream: Add a handful of mini chocolate chips to the base.
Fruity Surprise: Sprinkle a layer of dried cranberries on top of the base before adding the chocolate.
Which one would you try first? Comment below!
Serving Your Sweet Treats
These bars are wonderful all on their own. But I love making them feel extra special. For a party, place each square in a tiny paper cup. They look so pretty on a platter. You could also sprinkle a little sea salt on the chocolate right after you spread it.
What to drink with them? A cold glass of milk is the classic choice. It just feels right. For the grown-ups, a nice cup of coffee with cream pairs beautifully. The bitter coffee tastes so good with the sweet peanut butter. Which would you choose tonight?
Keeping Your Peanut Butter Ball Bars Perfect
These bars love a cool home. Keep them in the fridge in a sealed container. They will stay fresh for about a week.
You can also freeze them for a sweet treat later. I wrap the whole block tightly. Then I can cut a piece whenever my grandson visits.
I once left a batch on the counter too long. They got much too soft. Now I always put them right in the fridge.
Storing them well means no waste. You always have a little joy ready. Have you ever tried storing it this way? Share below!
Easy Fixes for Common Bar Troubles
Is your dough too crumbly? Your butter might be too cold. Make sure it is very soft before you start.
Is the chocolate seizing up? Do not let any water get in the bowl. Even one drop can make chocolate clump.
Are the bars too hard to cut? Use a sharp knife. I remember when I used a dull one. It made a big mess.
Fixing small problems builds your cooking confidence. It also makes your treats taste just right. Which of these problems have you run into before?
Your Peanut Butter Ball Bar Questions
Q: Can I make these gluten-free? A: Yes! Just use gluten-free graham crackers. It works perfectly.
Q: Can I make them ahead? A: Absolutely. They are even better the next day.
Q: What if I only have salted butter? A: That is fine. Just leave out the extra salt in the recipe.
Q: Can I double the recipe? A: For sure. Use a 9×13-inch pan instead.
Q: Any fun add-ins? A: Try sprinkling sea salt on the chocolate. It is a lovely little twist. Which tip will you try first?
A Little Note From My Kitchen
I hope you love making these bars. They are a simple piece of happiness. Sharing them with family is the best part.
*Fun fact: My own grandma taught me to bake. She said good food feeds the heart.* I think she was right.
I would love to see your creations. Have you tried this recipe? Tag us on Pinterest!
Happy cooking!
—Anna Whitmore.
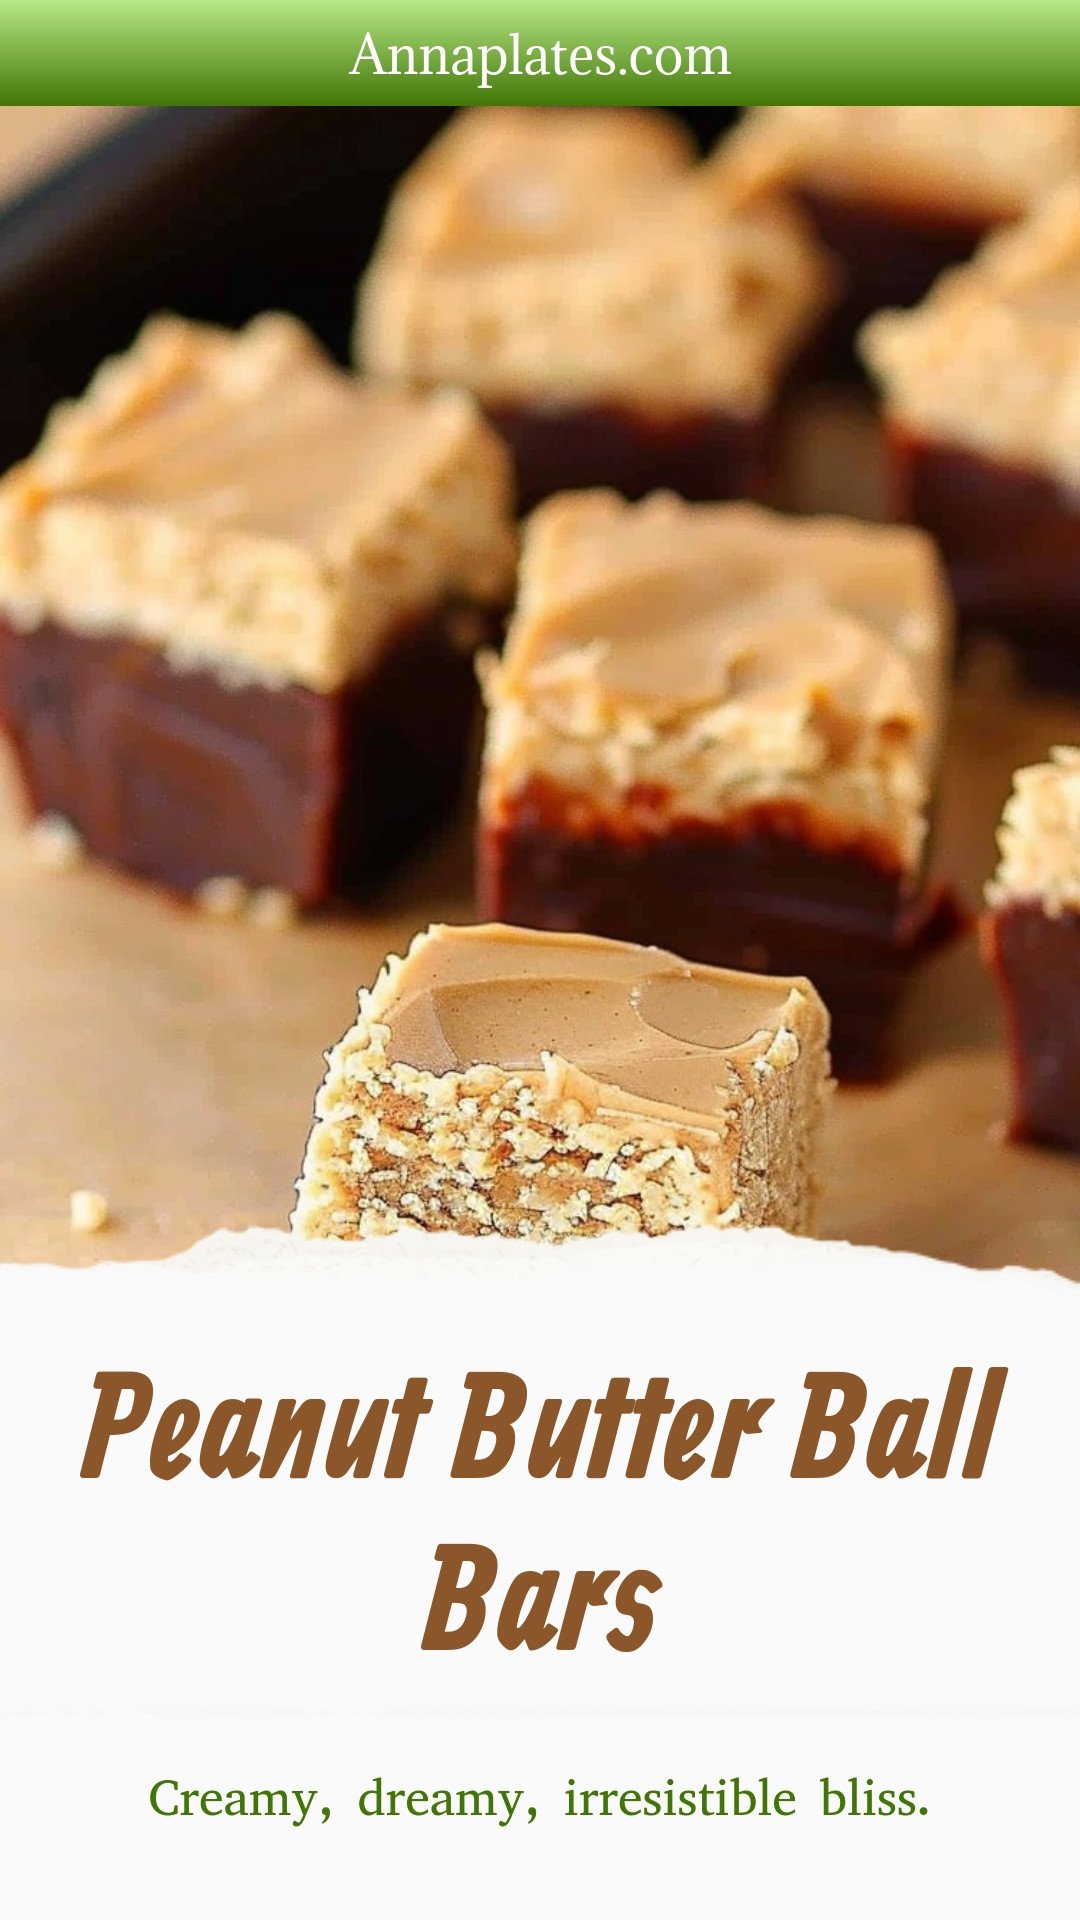
Peanut Butter Ball Bars: Creamy, dreamy, irresistible bliss.
Description
No-bake Peanut Butter Ball Bars! An easy, healthy snack or dessert with oats and chocolate. Perfect for meal prep and energy bites.
Ingredients
Instructions
- Line an 8×8-inch pan with parchment or aluminum foil and lightly spray the foil with nonstick cooking spray.
- In the bowl of a stand mixer or with a hand mixer, combine the butter and peanut butter until smooth. Add the graham cracker crumbs and mix well. Add the powdered sugar and salt and mix well. A soft dough will form. Press the dough evenly into the bottom of the prepared pan.
- In another bowl, melt the chocolate chips in the microwave using 30 second intervals, stirring after each interval. Microwave until the chips are nearly melted but not all the way, then stir until they melt the rest of the way to prevent them from being scorched. Add the 2 tablespoons of peanut butter and stir to combine.
- Spread the chocolate on top. Place in the fridge and allow the bars to chill through – about least 3 hours. Once firm, lift the foil out of the pan and peel it away from the bars. Slice into 1 inch squares using a very sharp serrated knife. Store in the fridge in an airtight container.
Notes
- For best results, use a very sharp serrated knife to slice the chilled bars cleanly.


Leave a Reply