

The Best Kind of Kitchen Mess
My grandson calls these my “magic trick” brownies. He sees the pumpkin and cream cheese go in. Then he sees the dark chocolate batter. He never believes they will become one beautiful dessert. I still laugh at that. Swirling them together is my favorite part. It feels like painting with food.
You can’t really mess it up. Just drag your knife through in big loops. Every pan turns out unique. That matters. It reminds us food is about joy, not perfection. What was your best kitchen “happy accident”? I’d love to hear about it.
Where the Idea Came From
I created this recipe on a crisp fall day. I had leftover pumpkin from a pie. I also had a craving for something very chocolatey. I thought, why not put them together? My family was a little unsure at first. One bite changed their minds!
Combining flavors is how new favorites are born. This matters because cooking is an adventure. It’s okay to try wild ideas. Fun fact: Pumpkin is actually a fruit, not a vegetable! Does your family have a favorite “invented” recipe?
Getting Your Batter Just Right
Let’s talk about that butter and sugar. Cream them until they look pale and fluffy. This adds air. It makes your brownies lighter. Doesn’t that smell amazing already? Adding the eggs one at a time is key. It helps everything get friendly and smooth.
When you fold in the chocolate chips, be gentle. You want to keep that air you worked for. This step matters. It’s the difference between a good brownie and a great one. Do you prefer nuts or chips in your brownies?
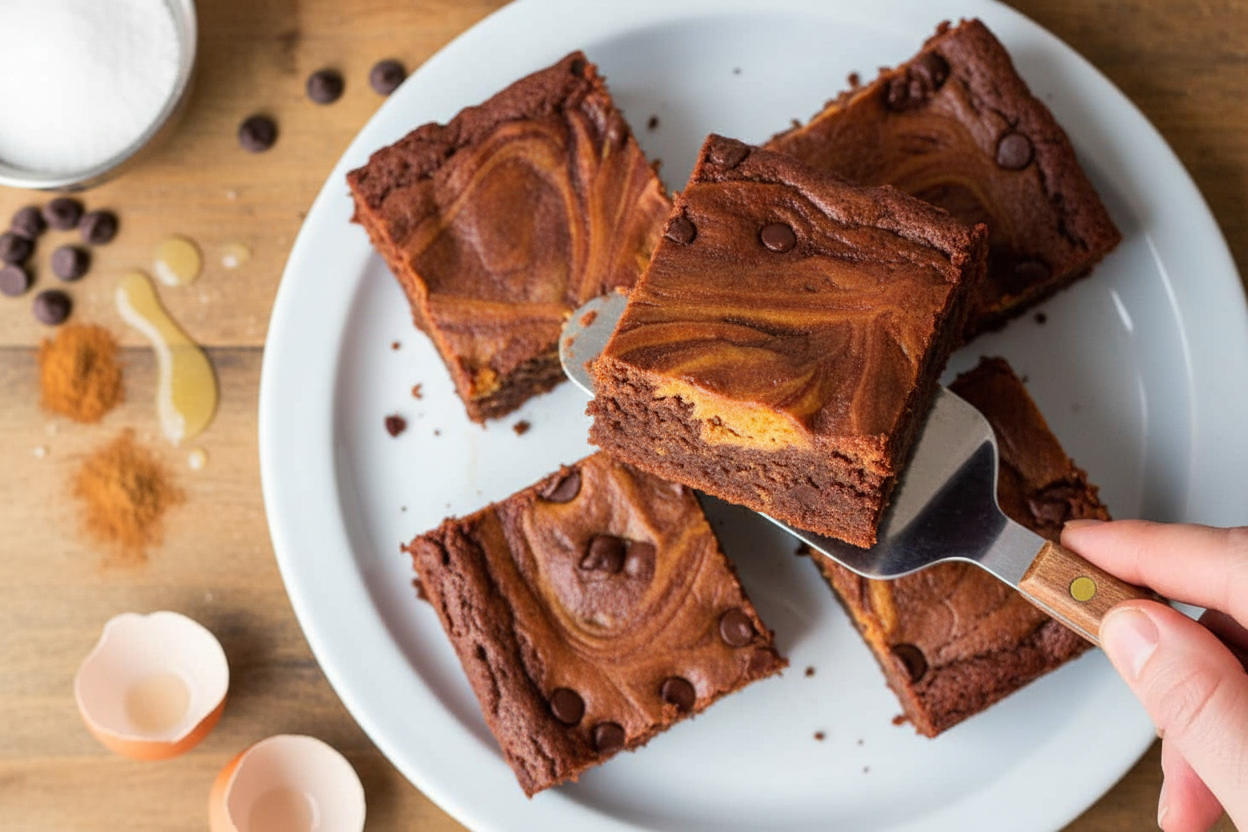
The Swirling Secret
Here is the secret. Use only three-quarters of the chocolate batter first. Spread it in the pan. Then, dollop your pumpkin mixture all over. It looks like little orange islands. Now, add the rest of the chocolate batter in blobs.
Take a knife. Swirl it all together. Don’t mix it completely! You want to see both colors. This creates pretty pockets of flavor in every bite. The pumpkin becomes a sweet, spicy surprise.
Knowing When They’re Done
Baking can be tricky. The jiggle test never fails me. At 35 minutes, take the pan out. Give it a gentle shake. If the middle moves like a wobbly wave, it needs more time. Put it back for just a few minutes.
You want tiny cracks on top. The middle should just barely set. It will finish cooking as it cools. This patience matters. It gives you the perfect fudgy texture. Waiting for them to cool is the hardest part, isn’t it?
Ingredients:
| Ingredient | Amount | Notes |
|---|---|---|
| Butter | 8 ounces | softened |
| Granulated sugar | 2 cups + 3 tablespoons | divided |
| Vanilla extract | 2 teaspoons | |
| Eggs | 5 large | |
| Cocoa powder | ¾ cup | |
| All purpose flour | 1 cup (minus 1 Tablespoon) | |
| Baking powder | ½ teaspoon | |
| Salt | ¼ teaspoon | |
| Semi-sweet chocolate chips | 1 cup | |
| Cream cheese | 3 ounces | softened |
| Pure pumpkin | ½ cup | not pumpkin pie mix |
| Cinnamon | 1 teaspoon | |
| Nutmeg | 1 teaspoon |
My Swirly Autumn Treat
Hello, my dear! It’s Anna. The air is getting crisp outside. That always makes me want to bake. Today, I’m sharing my Pumpkin Swirl Cheesecake Brownies. They are two wonderful treats in one pan. My grandson calls them “autumn magic squares.” I think that’s just perfect. Doesn’t that smell amazing? Let’s make some together.
First, we need to get everything ready. This is called “mise en place.” It just means having your ingredients set out. It makes baking so much calmer. Trust me, I learned this the hard way! Now, let’s start with the brownie base. It’s wonderfully fudgy and rich.
Step 1: Grab your big mixing bowl. Cream the softened butter and 2 cups of sugar together. Mix until it’s light and fluffy. Add the vanilla and mix it smooth. Now, beat in 4 of the eggs, one at a time. Scrape the bowl sides with a spatula. I still laugh at the time I forgot to scrape. My batter was very lumpy!
Step 2: In a separate bowl, sift your dry ingredients. That’s the cocoa powder, flour, baking powder, and salt. Sifting makes everything so light. Gradually add this to your wet mixture. Mix it well after each addition. Then, gently fold in the chocolate chips. (A hard-learned tip: Use a spoon to fold, not the mixer. It keeps the chips whole!)
Step 3: Grease your 9×13 inch pan very well. Pour about 3/4 of the brownie batter into the pan. Use your spatula to smooth it evenly. This is your chocolatey canvas. Now, for the fun pumpkin part! What’s your favorite fall flavor? Share below!
Step 4: In a small bowl, beat the cream cheese until it’s smooth. Add the pumpkin, 3 tablespoons of sugar, the last egg, cinnamon, and nutmeg. Mix it on low until it’s a lovely orange swirl. Spoon this over the brownie batter in the pan. It looks so pretty already.
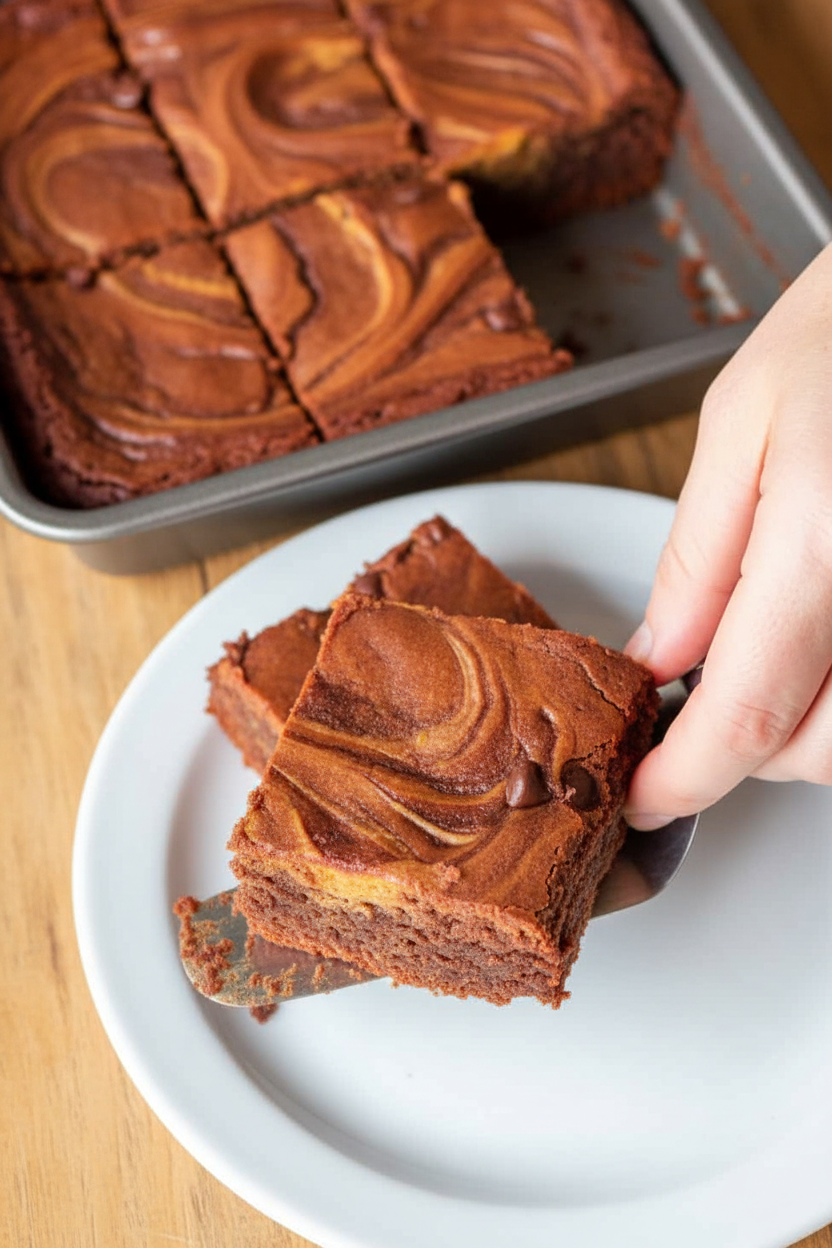
Step 5: Spoon the rest of the brownie batter over the pumpkin. Now, take a knife. Swirl it all through the layers. Make big, lazy figure-eights. Don’t overmix! You want beautiful marble patterns. Pop the pan into a 350°F oven. Bake on the middle rack for about 35 minutes.
Step 6: Here’s the secret to perfect brownies. Jiggle the pan gently. If the middle sloshes, bake for 2-4 more minutes. Keep checking. They are done when cracks just start to appear. The middle should barely jiggle. Let them cool completely on a rack before cutting. This takes patience, but it’s worth it!
Cook Time: 35-45 minutes
Total Time: About 1 hour 15 minutes
Yield: 24 squares
Category: Dessert, Baking
Three Fun Twists to Try
I love playing with recipes. You can make them your own! Here are three simple twists for next time. They are all delightful in their own way.
- Ginger Snap Swirl: Add a teaspoon of ground ginger to the pumpkin filling. It gives it a lovely, warm little kick.
- Salty Sweet Surprise: Sprinkle a tiny bit of flaky sea salt on top before baking. It makes the chocolate taste even deeper.
- Nutty Crunch: Fold 1/2 cup of chopped toasted pecans into the brownie batter. They add a wonderful texture.
Which one would you try first? Comment below!
Serving with a Smile
These brownies are fantastic all on their own. But a little extra touch makes them special. For a party, I serve them on a pretty plate. A dollop of whipped cream on the side is always welcome. A sprinkle of cinnamon on top looks so festive.
What to drink? A cold glass of milk is the classic choice. It’s perfect for a cozy afternoon. For the grown-ups, a small glass of cream sherry pairs beautifully. It’s like a warm hug. Which would you choose tonight?
Keeping Your Brownies Fresh and Happy
Let’s talk about keeping these treats yummy. First, cool them completely. Then, store them in a sealed container. They will last three days on the counter. For longer storage, use the fridge. They will stay good for up to a week there.
You can also freeze them for later. Wrap each brownie tightly in plastic wrap. Then, pop them all into a freezer bag. I once forgot a batch in my freezer for a month. They were still a delightful surprise with my afternoon tea!
Batch cooking like this saves precious time. It means you always have a sweet homemade gift ready. To reheat, just warm a square in the microwave for 10 seconds. It makes the chocolate chips soft again. Have you ever tried storing it this way? Share below!
Simple Fixes for Common Brownie Troubles
Even grandmas have baking days that go sideways. Here are some easy fixes. If your brownies are too cakey, you may have over-mixed. Gently fold the flour in just until combined. This keeps them nice and fudgy.
If your swirl disappears while baking, your batter was too warm. Make sure all your ingredients are cool. I remember when my first swirl sank right in. I learned to chill my pans first. Getting the texture right matters for that perfect, rich bite.
Is the middle still jiggly after 35 minutes? Just bake a few minutes more. Check every two minutes. Pull them out when the middle just sets. This patience prevents dry brownies. Good technique builds your confidence in the kitchen. Which of these problems have you run into before?
Your Quick Questions, Answered
Q: Can I make these gluten-free? A: Yes! Use a one-to-one gluten-free flour blend. It works perfectly in this recipe.
Q: Can I make them ahead? A: Absolutely. Bake them a day before you need them. The flavors get even better overnight.
Q: What if I don’t have pumpkin? A: You can use plain yogurt instead. The swirl will be tangy and creamy.
Q: Can I make a smaller batch? A: You can halve all the ingredients. Just bake it in an 8×8 inch pan.
Q: Any optional tips? A: A pinch of cloves in the pumpkin mix is lovely. *Fun fact: cloves were once worth more than gold!* Which tip will you try first?
From My Kitchen to Yours
I hope you love making these swirly brownies. Baking is about sharing joy and making memories. I would be so thrilled to see your creation. Please share a photo of your beautiful marbled tops.
It makes my day to see your kitchen adventures. Have you tried this recipe? Tag us on Pinterest! You can find me at @AnnasCozyKitchen. I can’t wait to see what you bake up next.
Happy cooking!
—Anna Whitmore.
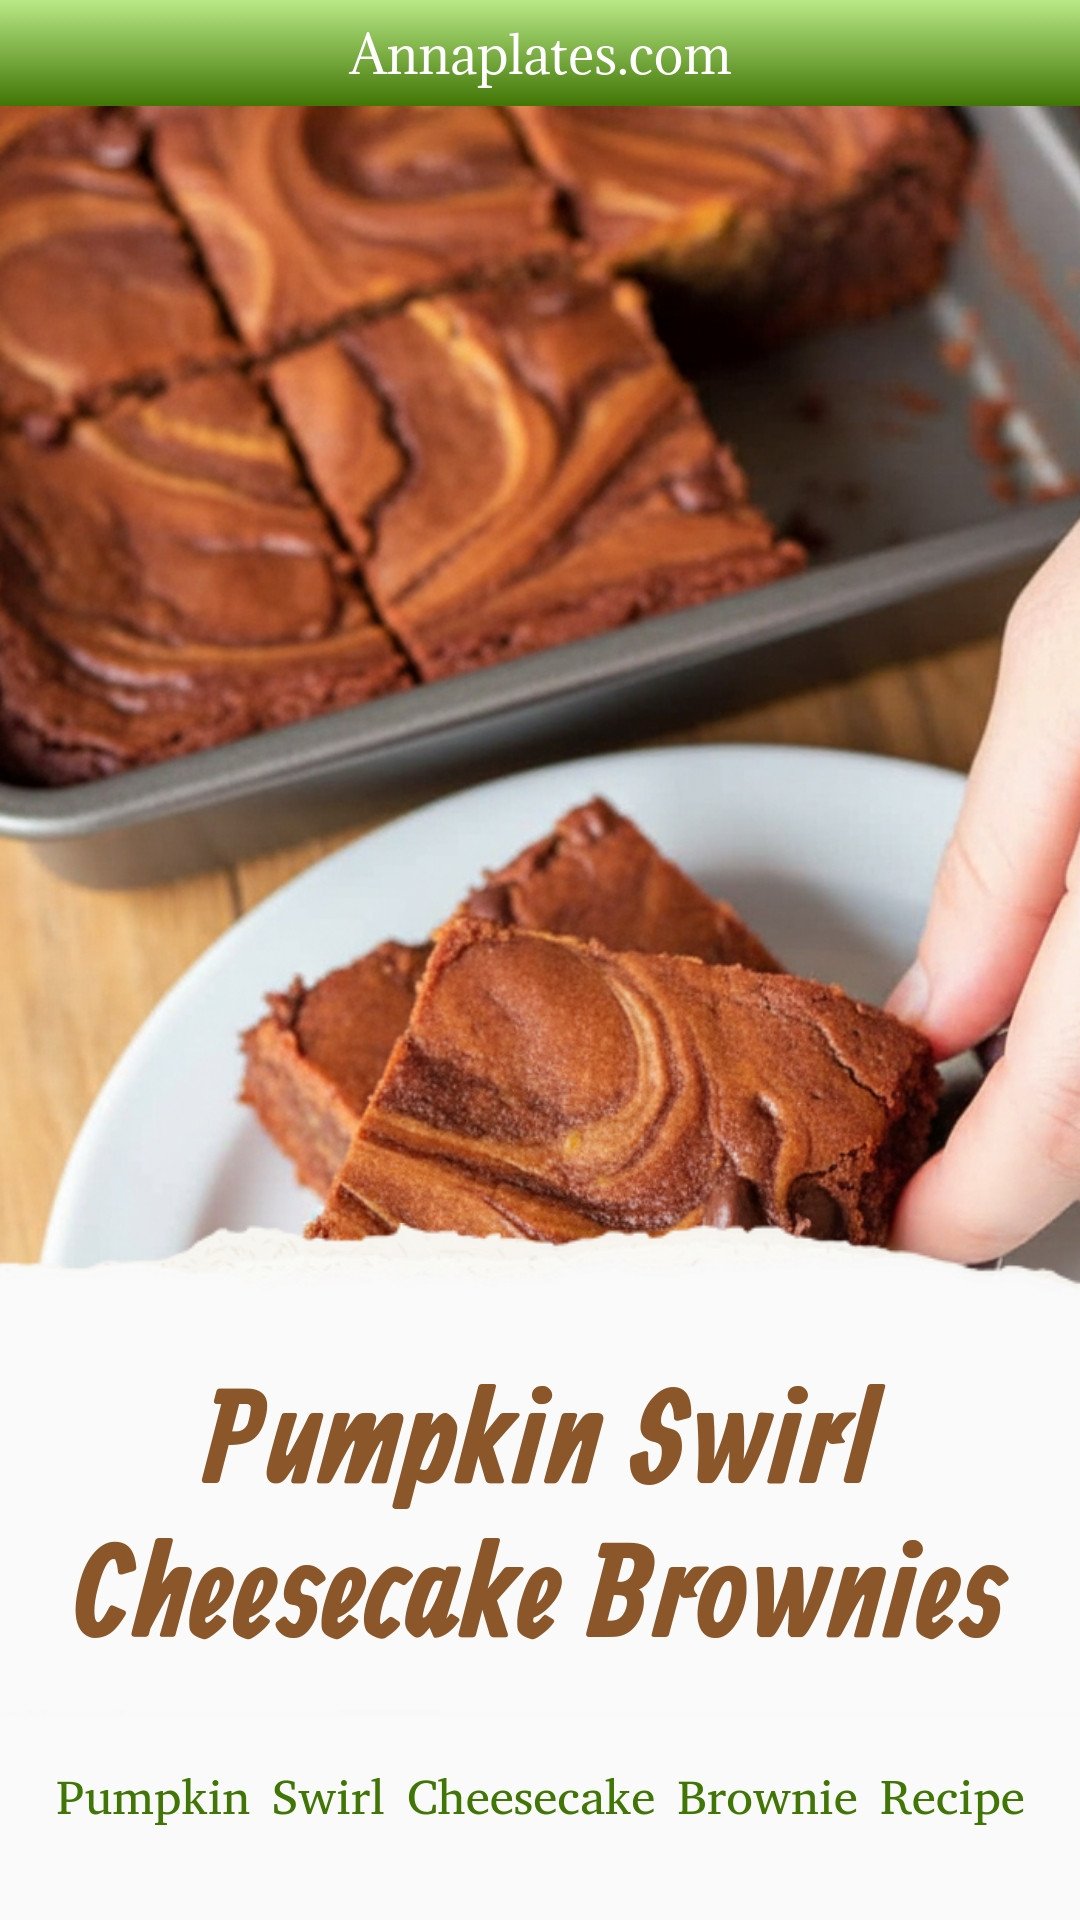
Pumpkin Swirl Cheesecake Brownies: Pumpkin Swirl Cheesecake Brownie Recipe
Description
Decadent pumpkin cheesecake swirled into fudgy brownies. The ultimate fall dessert that’s easy and impressive! Perfect for Thanksgiving and holiday baking.
Ingredients
Instructions
- Cream together butter and 2 cups sugar. Add the vanilla and mix until smooth. Beat 4 eggs and add to the creamed mixture and mix well, scraping sides of bowl if necessary.
- In a separate bowl, sift together cocoa powder, flour, baking powder and salt.
- Switching to a paddle attachment, gradually add to the wet ingredients, mixing well after each addition. Fold in the chocolate chips.
- Liberally grease a 9 x 13 inch pan. Pour 3/4 of the batter into pan and smooth evenly.
- In a small bowl, beat the cream cheese until smooth.
- Add pumpkin, 3 Tablespoons sugar, remaining egg, cinnamon and nutmeg and mix on low until smooth.
- Spoon pumpkin filling evenly over the pan of brownies. Then spoon remaining brownie batter over the pumpkin filling. Use a knife or spatulas to swirl and create a marbled design.
- Bake at 350 degrees on the middle rack for about 35 minutes. Remove from oven and jiggle the pan; if the middle jiggles sloppily, put it back in the oven and bake for 2-4 minutes. Keep doing this until cracks just start to appear and the middle JUST stops jiggling.
- Remove from oven and cool on wire rack. When completely cool, cut into squares.
Notes
- Nutrition (per serving, serves 24): Calories: 237kcal | Carbohydrates: 28g | Protein: 3g | Fat: 13g | Saturated Fat: 8g | Polyunsaturated Fat: 1g | Monounsaturated Fat: 4g | Trans Fat: 0.3g | Cholesterol: 63mg | Sodium: 122mg | Potassium: 122mg | Fiber: 2g | Sugar: 21g | Vitamin A: 1139IU | Vitamin C: 0.2mg | Calcium: 28mg | Iron: 1mg


Leave a Reply