
A Sweet Little Project
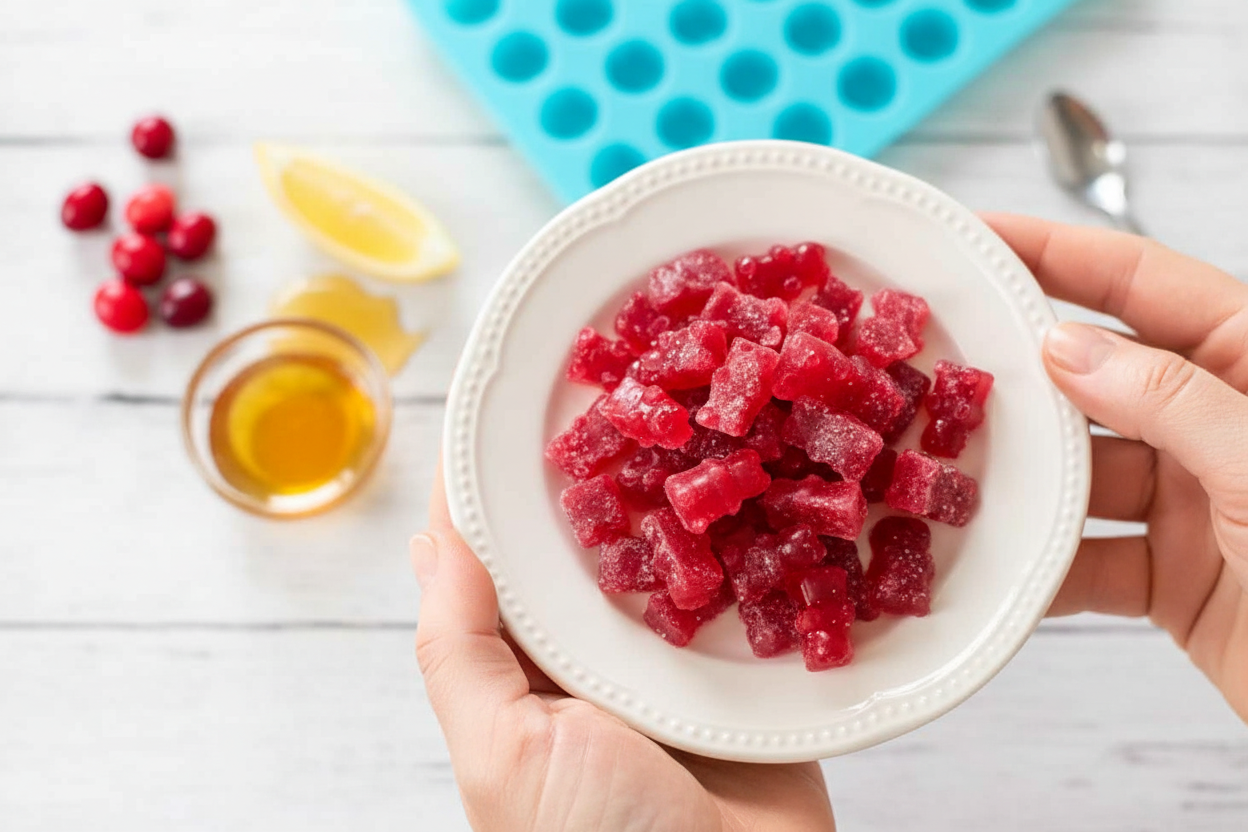
Hello, my dear. Come sit with me. Let’s make some gummy bears. But not the store kind. These are special. They are made from real cranberries. I love this recipe. It feels like making a little bit of magic.
We use honey to sweeten them. The cranberries are quite tart on their own. The mix turns a beautiful pink color. Doesn’t that smell amazing? It’s fruity and bright. What was your favorite candy to eat as a child?
A Lesson from a Lumpy Mess
Now, let me tell you a story. The first time I made these, I was in a hurry. I dumped all the gelatin in at once. Oh, what a mess! I got rubbery clumps that wouldn’t melt. I still laugh at that.
So please, sprinkle the gelatin slowly. Stir it all the time. This matters because patience gives you a smooth, perfect treat. Rushing just makes lumps. Cooking teaches us that, doesn’t it?
Why We Make Them Ourselves
You might wonder why we don’t just buy a bag. Well, when you make them, you know what’s inside. Just fruit, honey, and a bit of gelatin. That’s all. You control the sugar. I think that’s important.
It’s a small way to care for your family. You give them a real fruit snack. It feels good to do that. Fun fact: Gelatin comes from animal collagen. It’s what makes these bears jiggle! Do you often read the ingredients on food packages?
The Happy Waiting Game
The hardest part is next. You must wait. The filled molds go into the fridge. They need time to become bears. I use this time to clean up. Or I have a cup of tea.
After an hour or two, you pop them out. It’s so satisfying! They come out shiny and perfect. The waiting matters. Good things often need a little time to set. What do you like to do while you wait for a recipe to finish?
Keeping the Magic Fresh
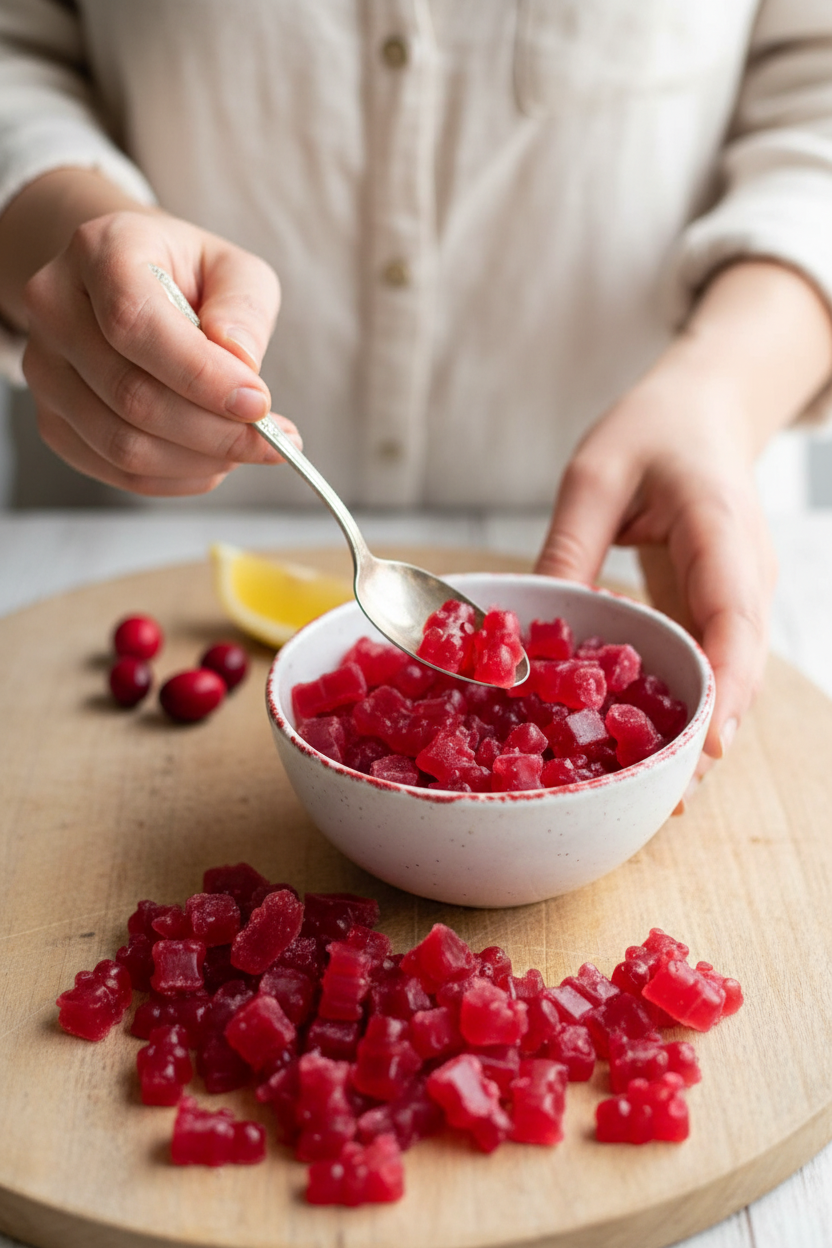
Your bears are done! Enjoy a few right away. They are tender and full of flavor. Store the rest in a container in the fridge. They will stay good for two weeks. If they last that long!
I like to pack a few in a small jar. I give them to my grandson after school. His face lights up every time. That is the best part of cooking. Sharing the love. I hope you’ll share them with someone you love, too.

Ingredients:
| Ingredient | Amount | Notes |
|---|---|---|
| Cranberries | 1 cup | Thawed |
| Water | ⅓ cup | |
| Lemon juice | 1 Tablespoon | |
| Honey | 3 tablespoons | |
| Unflavored gelatin | 3 tablespoons |
My Real Cranberry Gummy Bears
Hello, dear! Let’s make a sweet little treat. These gummy bears are a favorite of my grandkids. They are made with real fruit, not store-bought stuff. Doesn’t that sound better? I love the bright, tangy taste of cranberries. It reminds me of autumn afternoons. We are making a healthy snack today. It’s full of good vitamin C too. I still laugh at the first time I made these. The shapes were a bit wobbly! But they tasted wonderful. Let’s get our molds ready.
- Step 1: First, take your frozen cranberries from the freezer. Let them sit out to thaw. I put mine in a bowl on the counter. Fresh cranberries are too firm for this, trust me. Once thawed, put them in your blender. Add the water and blend it all into a smooth, red puree. It will look like a thick juice. Pour this pretty puree into a small saucepan.
- Step 2: Now, place your saucepan on the stove. Use medium-low heat, please. We don’t want it to boil. Stir in the honey and lemon juice. The smell is so fresh and fruity! Whisk it until everything is friends. Here comes the important part. Sprinkle the gelatin over the top, just a little at a time. (My hard-learned tip: Never dump it all in! You’ll get lumpy, rubbery clumps.) Whisk, whisk, whisk as you sprinkle.
- Step 3: Keep cooking for a minute or two. Keep stirring gently. You will see the mixture change. It will become glossy and smooth. That’s the gelatin melting perfectly. Once it’s smooth, take it off the heat. Let it cool for just a minute. Do you know what gives gelatin its wiggly power? Share below!
- Step 4: Time for the fun part! Put your gummy bear molds on a cookie sheet. This catches any drips. Use a small dropper or spoon to fill each little bear shape. It’s like giving them a juicy bath. I always make a few extra for the cook. Pop the whole tray into the refrigerator. Let them set for at least two hours. Patience makes perfect gummies.
- Step 5: Finally, open the fridge. Your bears are ready! Gently pop them out of their molds. They should come out easily. Aren’t they cute? Store them in a container in the fridge. They keep for about two weeks. But in my house, they never last that long!
Cook Time: 10 minutes
Total Time: 2 hours 15 minutes
Yield: About 60 small gummy bears
Category: Snack, Dessert
Three Fun Twists to Try
You can make these bears your own. Try one of these easy ideas next time. They are all so simple and fun. My grandson loves the orange-vanilla ones best.
- Berry Mix: Use half cranberries and half thawed strawberries. It makes a sweeter, pink bear.
- Orange-Vanilla: Use orange juice instead of water. Add a tiny drop of vanilla extract. So sunny!
- Herbal Zing: Steep a mint tea bag in the water first. Let it cool, then blend. It’s so refreshing.
Which one would you try first? Comment below!
Serving Them Up With Style
These gummies are great straight from the mold. But you can dress them up! Put a handful in a tiny bowl. It looks so pretty on a lunchbox. You can also roll them in a little sugar. It gives them a slight crunch. I sometimes thread them on toothpicks with cheese cubes. It makes a fun snack plate.
For a drink, I love pairing them with sparkling water. A lemon or lime flavor is perfect. For the grown-ups, a chilled glass of rosé wine is lovely. The tart berries and dry wine are a happy match.
Which would you choose tonight?
Keeping Your Gummy Bears Happy
These little bears need to live in the fridge. Pop them in an airtight container. They will stay good for two weeks. You can freeze them for a longer treat. Just lay them on a tray first. Once frozen, bag them up. They thaw quickly on the counter.
I once left a batch out overnight. They became a sticky puddle! Now I always use a sealed tub. Batch cooking is perfect for this recipe. Double it and fill many molds. You will have snacks ready for days. This matters because good food should be easy. A ready snack stops you from grabbing junk.
Have you ever tried storing gummies in the freezer? Share below!
Gummy Bear Troubleshooting
First, clumpy gelatin is a common issue. Always sprinkle it in slowly. Whisk as you go. I remember dumping it all in once. I had rubbery lumps in my sauce! Second, the bears might not set. Your mixture may not have been hot enough. Heat it until it looks glossy and smooth.
Third, they can stick in the molds. A tiny drop of oil helps. Just brush it in each bear shape. Fixing these issues builds your kitchen confidence. You learn how ingredients work together. It also makes sure every bite is delicious. The flavor is perfect when the texture is right.
Which of these problems have you run into before?
Your Quick Questions, Answered
Q: Is this recipe gluten-free?
A: Yes, it is. All the ingredients are naturally gluten-free.
Q: Can I make them ahead?
A: Absolutely! They are a perfect make-ahead snack for the week.
Q: What can I use instead of honey?
A: You can try maple syrup. The flavor will be a little different.
Q: Can I double the recipe?
A: You sure can. Just use a bigger pot when heating.
Q: Any fun extra tips?
A: A fun fact: You can use other fruit purees, like strawberry!
Which tip will you try first?
From My Kitchen to Yours
I hope you love making these sweet, tart treats. It is such a fun kitchen project. Seeing those little bears pop out is pure joy. I would love to see your creations. Share a picture of your gummy bear family.
Have you tried this recipe? Tag us on Pinterest! You can find me at @AnnasCozyKitchen. I always look for your photos. Thank you for cooking with me today.
Happy cooking!
—Anna Whitmore.
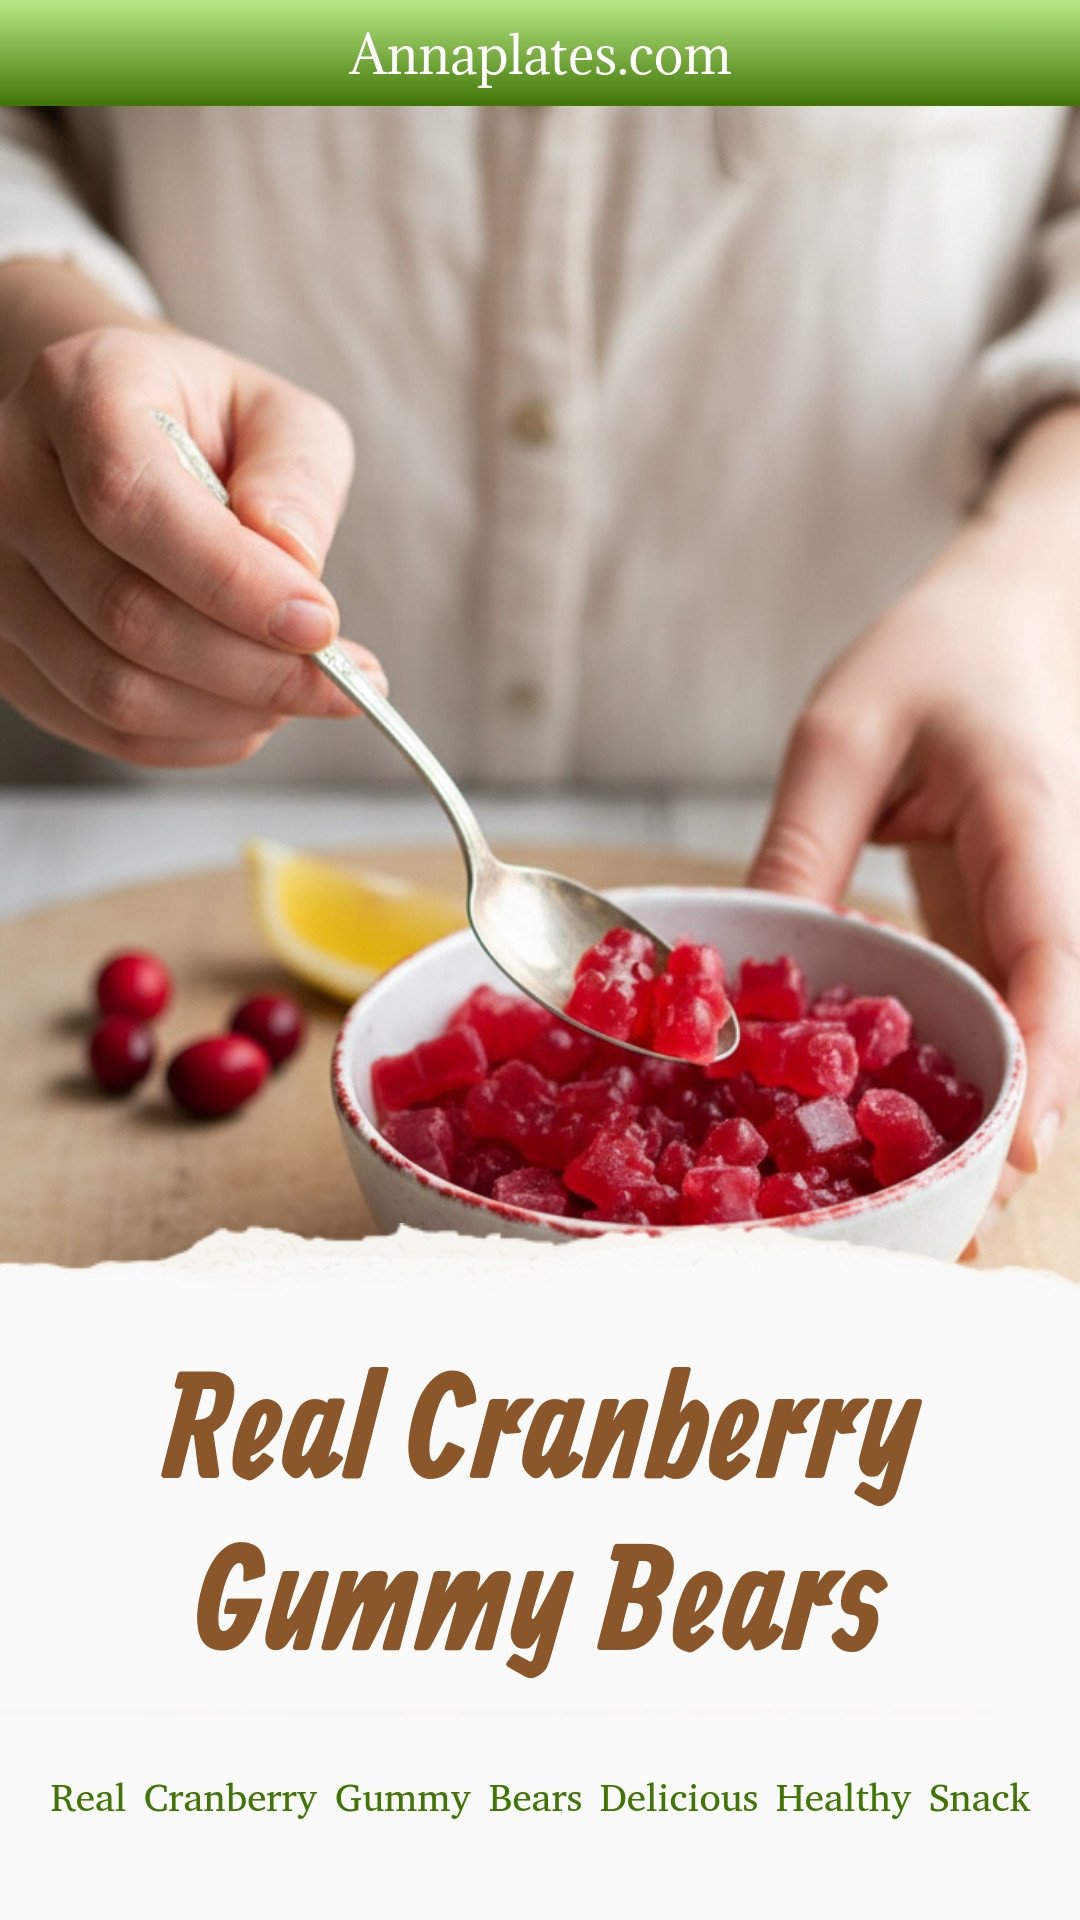
Real Cranberry Gummy Bears : Real Cranberry Gummy Bears Delicious Healthy Snack
Description
Tart, sweet & bursting with real fruit! These delicious cranberry gummy bears are a healthy, homemade treat perfect for snacks and gifts.
Ingredients
Instructions
- Thaw frozen cranberries. I don’t recommend using fresh cranberries in this recipe.
- In a blender, puree the thawed cranberries with 1/3 cup of water.
- Pour into a saucepan on the stove over medium-low heat. Add lemon juice and honey and whisk until combined.
- Sprinkle gelatin over the top of mixture a little at a time, stirring constantly. Be sure to sprinkle the gelatin on top (do not dump it all in at once) or you will wind up with clumps of gelatin that never really break up.
- Cook over medium-low heat for 1-2 minutes or until mixture is smooth. Gelatin when melted will give the mixture a glassy, smooth appearance.
- Put your gummy bear mold’s on a cookie sheet, and using a dropper, fill all the mold’s with the mixture.
- Refrigerate for at least 1-2 hours. Pop the bears out of the mold’s and enjoy! Store in an airtight container in the refrigerator for up to two weeks.
Notes
- Nutrition Facts (per serving): Calories: 74kcal, Carbohydrates: 17g, Protein: 2g, Fat: 0.01g, Saturated Fat: 0.002g, Monounsaturated Fat: 0.001g, Sodium: 6mg, Potassium: 17mg, Fiber: 0.1g, Sugar: 15g, Vitamin A: 8IU, Vitamin C: 11mg, Calcium: 4mg, Iron: 0.1mg


Leave a Reply