
My Campfire Mistake
I once tried making s’mores over a tiny grill. The marshmallow caught fire. It fell right into the dirt! I still laugh at that. We had no dessert that night.
That’s why I love these cookies. All the cozy campfire taste. None of the mess or smoke! This matters because everyone gets a perfect treat. No burnt marshmallows here.
Why These Cookies Work
You just mix and drop. No oven needed. The magic is in the warm chocolate sauce. It holds everything together like edible glue.
Fun fact: The cereal stays wonderfully crunchy. It soaks up the chocolate just a little. Doesn’t that smell amazing? That crispy, sweet smell is my favorite part.
Let’s Make Them Together
First, mix your cereal and marshmallows. Use a big bowl. You need room to stir. Now, melt the chips, syrup, and butter.
Please stir every 30 seconds. I know it’s tempting to skip. But this keeps the chocolate smooth. Burnt chocolate is no fun. Trust your grandma on this!
A Little Life Lesson
Coating each piece is important. It takes a minute. But it makes every bite good. This matters in cooking and in life.
Doing the small things well makes the whole thing better. What’s a small thing you enjoy doing carefully? I love frosting cupcakes just so.
Time to Share the Fun
Let the cookies cool on wax paper. The fridge speeds it up. Then, pack them up. They are perfect for lunchboxes.
What’s your favorite campfire memory? Mine is telling silly stories with my grandkids. Would you eat these cookies warm or cold? I like them cold and crunchy.

Ingredients:
| Ingredient | Amount | Notes |
|---|---|---|
| Golden Grahams cereal | 4 cups | |
| Mini marshmallows | 1 ½ cups | |
| Chocolate chips (semi-sweet) | 1 cup | |
| Light corn syrup | ⅓ cup | |
| Butter | 1 Tablespoon | |
| Vanilla extract | ½ teaspoon | optional |
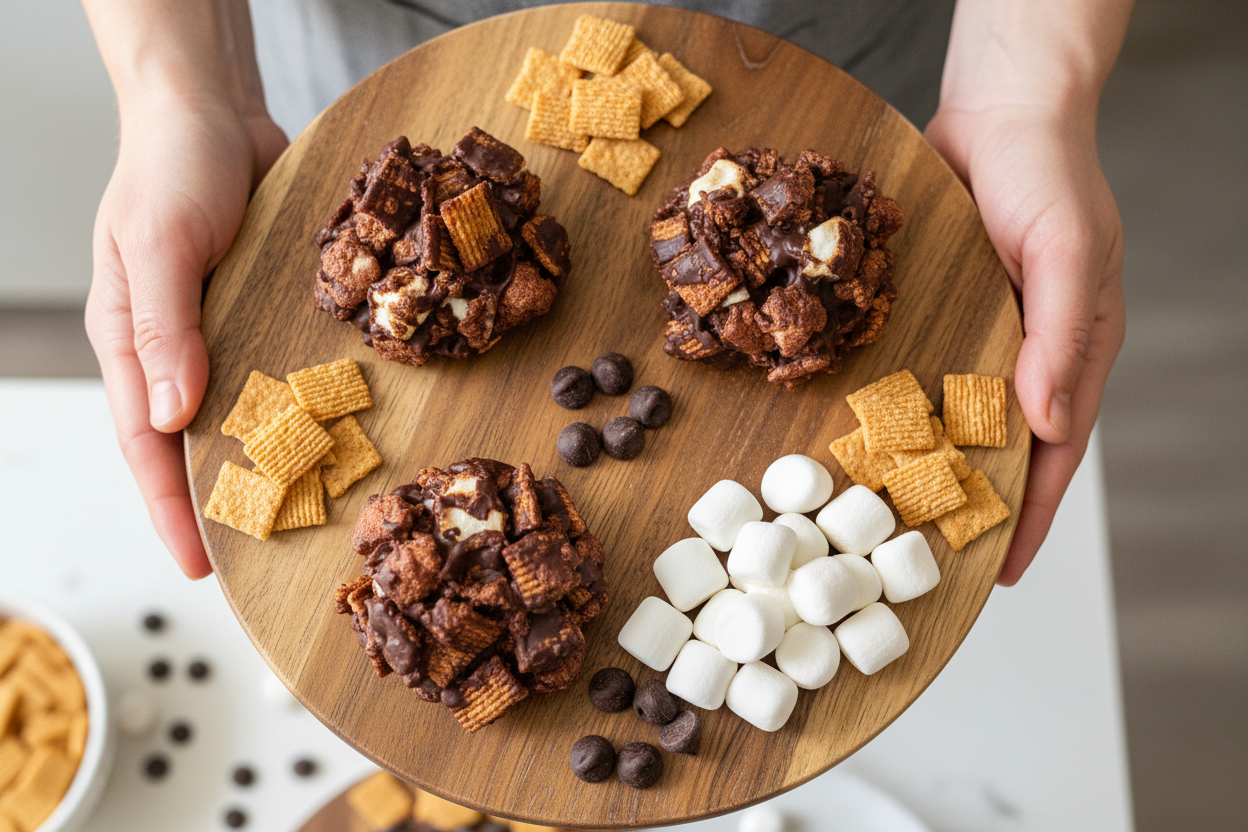
My No-Bake S’mores Cookies: A Campfire in Your Kitchen
Hello, dear! It’s Anna. Let’s make some magic without an oven. These cookies remind me of summer nights. My grandkids call them “campfire bites.” They are crunchy, chocolaty, and wonderfully sticky. Doesn’t that sound lovely? We just mix a few simple things together. I still laugh at how fast they disappear from the cookie jar.
You will need a big bowl and a microwave. That’s it! This recipe is perfect for a first kitchen adventure. Let me tell you a little secret. The vanilla is my special touch. It makes the chocolate smell even more amazing. Are you ready? Let’s begin our sweet project together.
Step 1:
Grab your biggest mixing bowl. Pour in four cups of Golden Grahams. Add one and a half cups of mini marshmallows. Give them a gentle stir with a spoon. I like seeing the golden cereal and white fluff together. It already looks happy. (A hard-learned tip: measure the cereal lightly. Don’t pack it down!)
Step 2:
Now, let’s melt our chocolate. Use a microwave-safe bowl. Put in the chocolate chips, corn syrup, and butter. Microwave it for just 30 seconds. Then take it out and stir. Do this again and again until it’s smooth. This keeps the chocolate from burning. I always hum a little song while I stir. What’s your favorite song to hum? Share below!
Step 3:
Carefully take the bowl out. It will be warm. Stir in that half teaspoon of vanilla if you like. I always do. It smells like my grandma’s kitchen. Now, pour this glorious chocolate right over the cereal mix. This is the fun part! You must coat every single piece. Get all that chocolatey goodness everywhere.
Step 4:
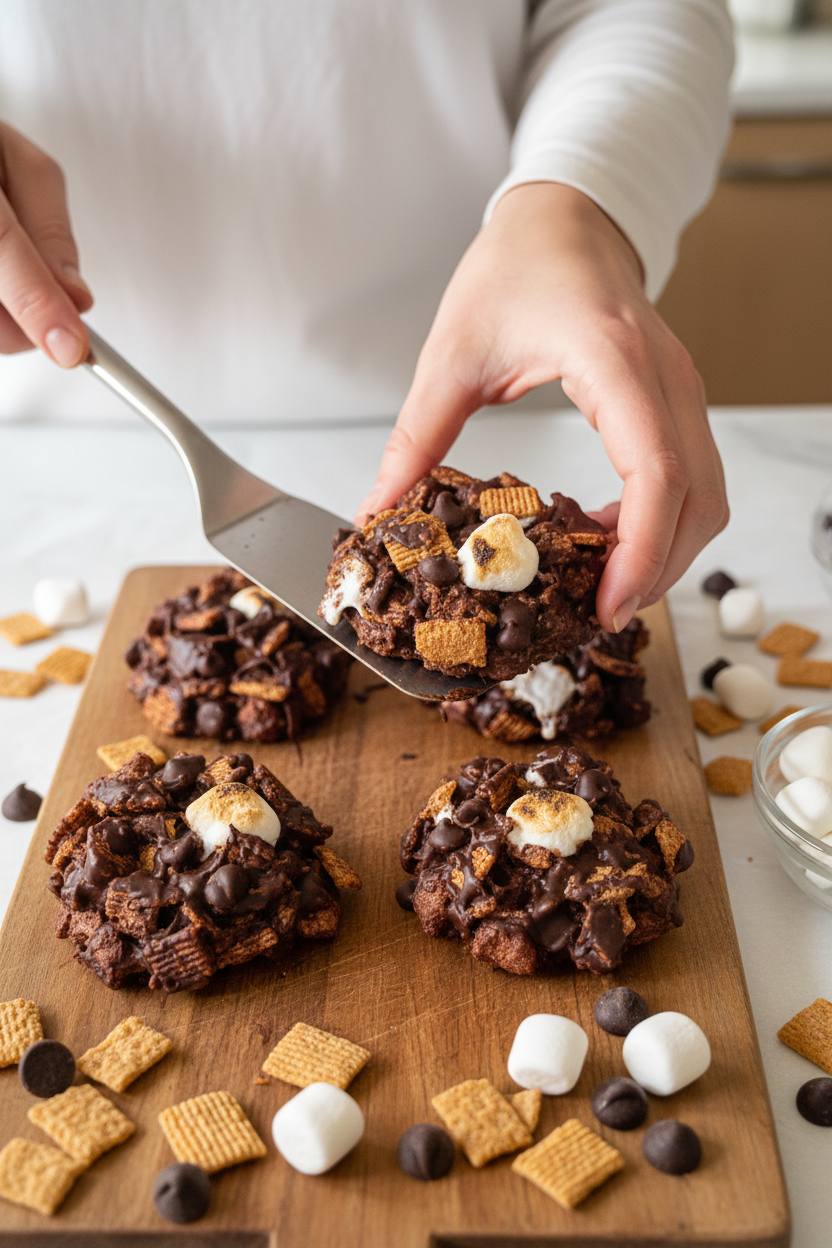
Line a tray with waxed paper. Use a tablespoon to drop little mounds onto it. They can be close but not touching. No two cookies will look the same. That’s their charm! I think they look like little edible nests. Now, we must be patient. Let them cool and set completely.
Step 5:
Waiting is the hardest part. You can leave them on the counter. But if you’re like me, you want one fast. Pop the whole tray in the fridge. In about fifteen minutes, they’ll be perfect. Then, the best step of all: eating one. I hope you love them as much as we do.
Cook Time: 15 minutes (cooling)
Total Time: 30 minutes
Yield: About 24 cookies
Category: Dessert, Snack
Three Fun Twists to Try
Once you master the classic, try a new version. It’s like giving the recipe a new outfit. Here are three of my family’s favorites. They are all so simple and fun.
Peanut Butter Cup: Swap the chocolate chips for peanut butter chips. It tastes like a candy bar in a cookie.
Salty-Sweet Pretzel: Replace one cup of cereal with tiny pretzel twists. You get a wonderful crunchy, salty bite.
Fruity Graham: Use half chocolate chips and half butterscotch chips. Add a handful of dried cranberries for a chewy surprise.
Which one would you try first? Comment below!
Serving Your Sweet Creations
These cookies are stars all on their own. But you can make them extra special. For a party, place them in little paper liners. They look so pretty on a plate. You could also crumble one over a scoop of vanilla ice cream. Oh my, that is a treat.
What to drink? For the grown-ups, a cup of dark roast coffee is wonderful. The bitter taste loves the sweet cookie. For everyone, a tall glass of cold milk is the classic choice. It just belongs with cookies, don’t you think? Which would you choose tonight?
Keeping Your S’mores Cookies Tasty
These cookies are best kept in an airtight container. They stay fresh on the counter for three days. For longer storage, use the fridge for a week.
You can freeze them, too. Just layer them between wax paper in a freezer bag. They will keep for a month. Thaw them on the counter when you want one.
I once left a batch out overnight. They got a little soft. But they were still delicious with a glass of milk.
Batch cooking matters because it saves time. Having a sweet treat ready is a lovely gift to your future self. Have you ever tried storing it this way? Share below!
Fixing Common Cookie Troubles
Is your chocolate mixture too thick? Just heat it a little more. Stir it until it becomes smooth and pourable.
Are the cookies not sticking together? Press the mixture firmly with your spoon. This helps everything bind as it cools. I remember when my first batch fell apart. A little extra pressure fixed it.
Are the marshmallows not melting enough? The warm chocolate will soften them. This is perfect. It gives you those lovely chewy bits.
Fixing small issues builds your cooking confidence. It also makes sure every bite is full of flavor. Which of these problems have you run into before?
Your Quick Cookie Questions
Q: Can I make these gluten-free? A: Yes! Use a certified gluten-free cereal like Honey Grahams.
Q: Can I make them ahead? A: Absolutely. They are perfect for making a day before your party.
Q: What can I swap for corn syrup? A: Honey works, but the cookies will be chewier.
Q: Can I double the recipe? A: You can. Just use a very large bowl for mixing.
Q: Is the vanilla optional? A: It is, but it adds a warm, cozy flavor. I always add it. Which tip will you try first?
From My Kitchen to Yours
I hope you love making these no-bake treats. They always remind me of summer campfires. Fun fact: The first recorded s’mores recipe is from a 1927 Girl Scout guide!
I would love to see your creations. Sharing food connects us all. It is my favorite part of cooking.
Have you tried this recipe? Tag us on Pinterest! I can’t wait to see your smiling faces and yummy cookies. Happy cooking!
—Anna Whitmore.

S’mores Drop Cookies: S mores Drop Cookies Recipe
Description
Gooey marshmallow, melted chocolate & graham cracker cookies! Easy drop cookie recipe that tastes just like the classic campfire treat.
Ingredients
Instructions
- In a large bowl, combine the Golden Grahams and the mini marshmallows.
- In a microwave safe bowl, add chocolate chips, corn syrup and butter. Place in the microwave for 1-2 minutes. You need to stir every 30 seconds. I recommend setting your microwave for 30 seconds – removing – stirring – replacing – set for another 30 seconds – repeat until the chocolate is smooth.
- Remove from microwave, add the vanilla (if desired) and stir well. Pour the melted chocolate over the cereal mixture and mix well. Try and be sure to coat every single piece of cereal and marshmallow in the bowl.
- Drop by tablespoonfuls onto waxed paper on baking sheets. Allow to cool. For quicker cooling, and if you can fit them, place the tray in the refrigerator to cool for about 10-15 minutes each.
Notes
- Nutrition Facts (per serving): Calories: 101kcal | Carbohydrates: 18g | Protein: 0.5g | Fat: 3g | Saturated Fat: 2g | Polyunsaturated Fat: 0.1g | Monounsaturated Fat: 0.2g | Trans Fat: 0.02g | Cholesterol: 2mg | Sodium: 56mg | Potassium: 38mg | Fiber: 0.3g | Sugar: 12g | Vitamin A: 218IU | Vitamin C: 1mg | Calcium: 27mg | Iron: 2mg


Leave a Reply