

A Snowy Day Surprise
Hello, my dear! It’s Anna. I was looking at the fresh snow today. It made me think of being a kid. We would catch snowflakes on our tongues. My brother once tried to make a snow soup. It was just snow in a bowl. I still laugh at that.
But today, we are making magic. We are turning clean, fresh snow into a sweet treat. It feels like a little secret from winter. Have you ever eaten snow ice cream before? I’d love to hear if you have.
Why This Simple Joy Matters
Life can get so busy. We rush from one thing to the next. Stopping to make snow ice cream is a small act of joy. It reminds us to play. It connects us to the simple wonders right outside.
This matters because it’s not just about dessert. It’s about making a memory. You will remember the day you made it. You might remember the people you shared it with. Food is love and memory, all mixed together.
Let’s Make S’mores Snow Ice Cream
First, find a nice, clean spot of snow. Use a big bowl to collect 4 or 5 cups. Fresh snow is best. Doesn’t that smell amazing? It smells like cold air and quiet mornings.
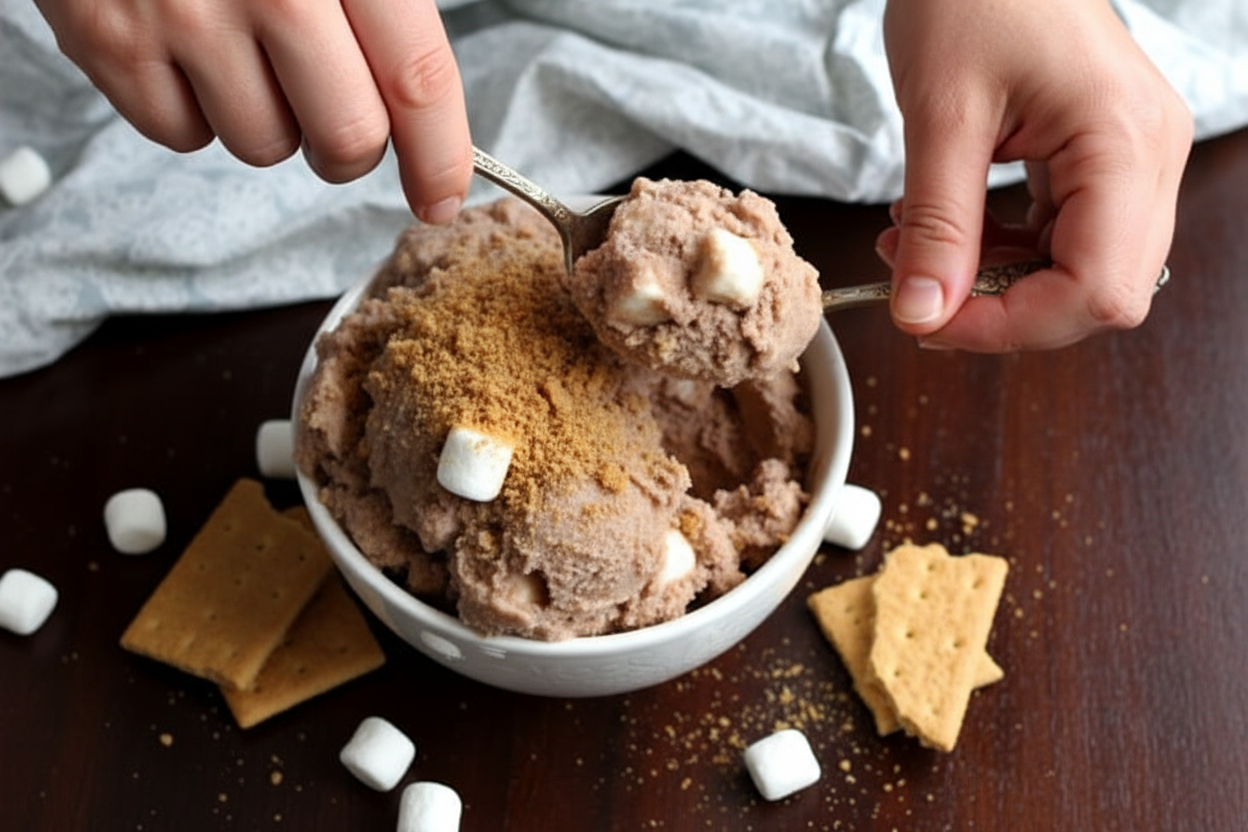
In another big bowl, mix your milk, sugar, vanilla, and cocoa. Stir it until the sugar disappears. Now, gently fold in your snow. Keep adding snow until it looks like soft ice cream. This part is so fun!
The Best Part: The Mix-Ins!
Here is where the magic happens. We add mini marshmallows and crumbled graham crackers. Fold them in gently. Fun fact: The first known s’mores recipe is in a Girl Scout handbook from 1927!
Now, let it rest in the freezer for a bit. This makes it extra creamy. While you wait, tell me this: do you like your marshmallows soft or a little toasted? I like them soft in this recipe.
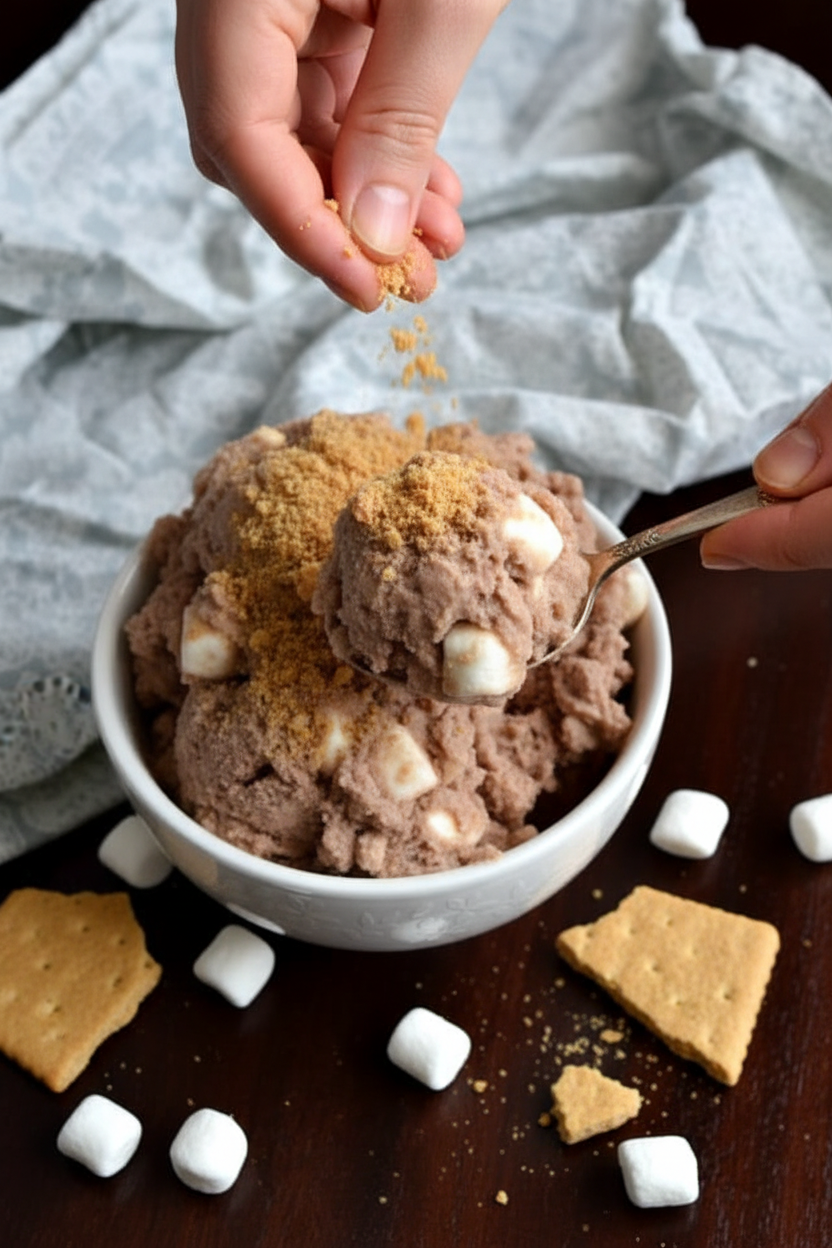
Scoop, Share, and Smile
After 30 minutes, it’s ready! Scoop it into bowls. You must eat it right away. It is a fleeting, chilly delight. It tastes like a campfire in the middle of winter.
Share it with someone you love. Watch their face light up. That is the whole point of cooking, I think. What is your favorite winter treat to make? Is it cookies, or maybe hot chocolate? Let me know your favorite.
Ingredients:
| Ingredient | Amount | Notes |
|---|---|---|
| Clean snow | 4-5 cups | |
| Milk | 1 cup | |
| Sugar | 1/4 cup | |
| Vanilla extract | 1 teaspoon | |
| Cocoa powder | 2 teaspoons | |
| Mini marshmallows | 1/2-1 cup | |
| Graham crackers | 2-3 crackers | Crushed |
Making S’mores Snow Ice Cream with Grandma Anna
Hello, my dear! Come sit by the window. Look at all that beautiful snow. It reminds me of being your age. My brother and I would catch snowflakes on our tongues. We also made a wonderful, silly treat. We made ice cream from snow! Let’s make a special version today. We are making s’mores snow ice cream. Doesn’t that sound like a happy mix?
You just need a few simple things from the kitchen. The most important ingredient is outside! We need clean, fresh snow. Always collect snow from the middle of the yard. Never use snow that is yellow or near the ground. I still laugh at that time my dog followed me. He thought my bowl was for him!
Now, let’s get our bowls ready. I’ll tell you exactly what to do. Just follow these simple steps. Our treat will be ready before you know it.
Step 1: Grab a big mixing bowl. Pour in the milk, sugar, vanilla, and cocoa powder. Whisk it all together until it’s smooth and chocolatey. Doesn’t that smell amazing? It already tastes like a chocolate dream. Step 2: Now, bring in your bowl of clean snow. Gently fold about four cups into the chocolate milk. “Folding” just means stirring softly. Add more snow if it seems too soupy. You want it thick, like soft-serve ice cream. (My hard-learned tip: work fast! Warm hands melt the snow.) Step 3: Time for the best part! Sprinkle in the mini marshmallows. Crush the graham crackers in your hands over the bowl. Give everything one more gentle stir. See the yummy bits everywhere? Step 4: Cover the bowl with a lid or plastic wrap. Put it in the freezer for about half an hour. If it’s very cold outside, the porch works too! This quick freeze makes it perfect for scooping. What’s your favorite thing to add to ice cream? Share below! Cook Time: 30-40 minutes (freezing)Total Time: 40-50 minutes
Yield: 4 servings
Category: Dessert, Fun Food
Three Fun Twists on Your Snow Cream
This recipe is like a blank canvas. You can paint it with so many flavors! Once you try the basic version, get creative. Here are three of my favorite ideas. They make a simple treat feel brand new.
Cookie Dough Delight: Skip the cocoa. Use brown sugar instead of white. Stir in tiny chocolate chips and chunks of safe-to-eat cookie dough. Berry Blizzard: Use a big spoonful of strawberry syrup instead of cocoa. Fold in fresh raspberries or blueberries for a fruity surprise. Peanut Butter Cup: Add a big spoonful of peanut butter to the milk mix. Use crushed peanut butter cups instead of graham crackers. It’s so rich and good.Each one brings a different kind of smile. Which one would you try first? Comment below!
Serving Your Frosty Creation
Presentation is part of the fun! Scoop your ice cream into a fun bowl. A mug works great too. For a fancy touch, sprinkle a little extra graham cracker dust on top. You could even add one big marshmallow as a crown. Serve it with a small spoon. This makes the joy last longer.
What should we drink with it? A cold glass of milk is always my first choice. It’s the classic friend to cookies and sweets. For the grown-ups, a little mug of coffee with cream pairs nicely. The warmth of the coffee tastes wonderful with the cold ice cream. Which would you choose tonight?
Storing Your Snowy Treat
This ice cream is best eaten right away. But sometimes you have a little left. Pop it in the freezer for a short time. Use a container with a tight lid. This keeps out freezer smells.
You cannot truly batch-cook this. It is a now-or-never dessert. I once tried to save a big bowl overnight. It turned into a sweet ice block! We had to scrape it with spoons.
Storing it right matters for joy. It keeps your special treat tasting fresh. This way, no magical snow moment is wasted. Have you ever tried storing it this way? Share below!
Fixing Common Snow Cream Slips
First, the mixture is too runny. Just fold in more clean snow. Add a half cup at a time. Stop when it looks like soft ice cream.
Second, the snow melts too fast. Work quickly and use a cold bowl. I remember when my grandson mixed it slowly. We made chocolate milk instead! Chill your bowl outside first.
Third, it is not sweet enough. Taste your milk mix before adding snow. You can add a bit more sugar. Fixing small issues builds your cooking confidence. It also makes the flavor just right for you. Which of these problems have you run into before?
Your Questions, My Answers
Q: Can I make this gluten-free? A: Yes! Use gluten-free graham crackers. Check the labels to be sure.
Q: Can I make it ahead? A: Not really. The magic is in the fresh, fluffy snow.
Q: What if I don’t have cocoa? A: You can skip it. Try a sprinkle of cinnamon instead for a different taste.
Q: Can I double the recipe? A: Absolutely. Just use a very, very big bowl.
Q: Any fun extra tip? A: A tiny pinch of salt makes the chocolate taste richer. *Fun fact: Snow ice cream is sometimes called “poor man’s ice cream.”* Which tip will you try first?
Share Your Winter Joy
I hope you make a wonderful mess. I hope you laugh with someone while mixing. This recipe is a little bite of winter magic.
I would love to see your creations. Your kitchen stories make my day brighter. Please share your photos with our community. Have you tried this recipe? Tag us on Pinterest!
Happy cooking! —Anna Whitmore.
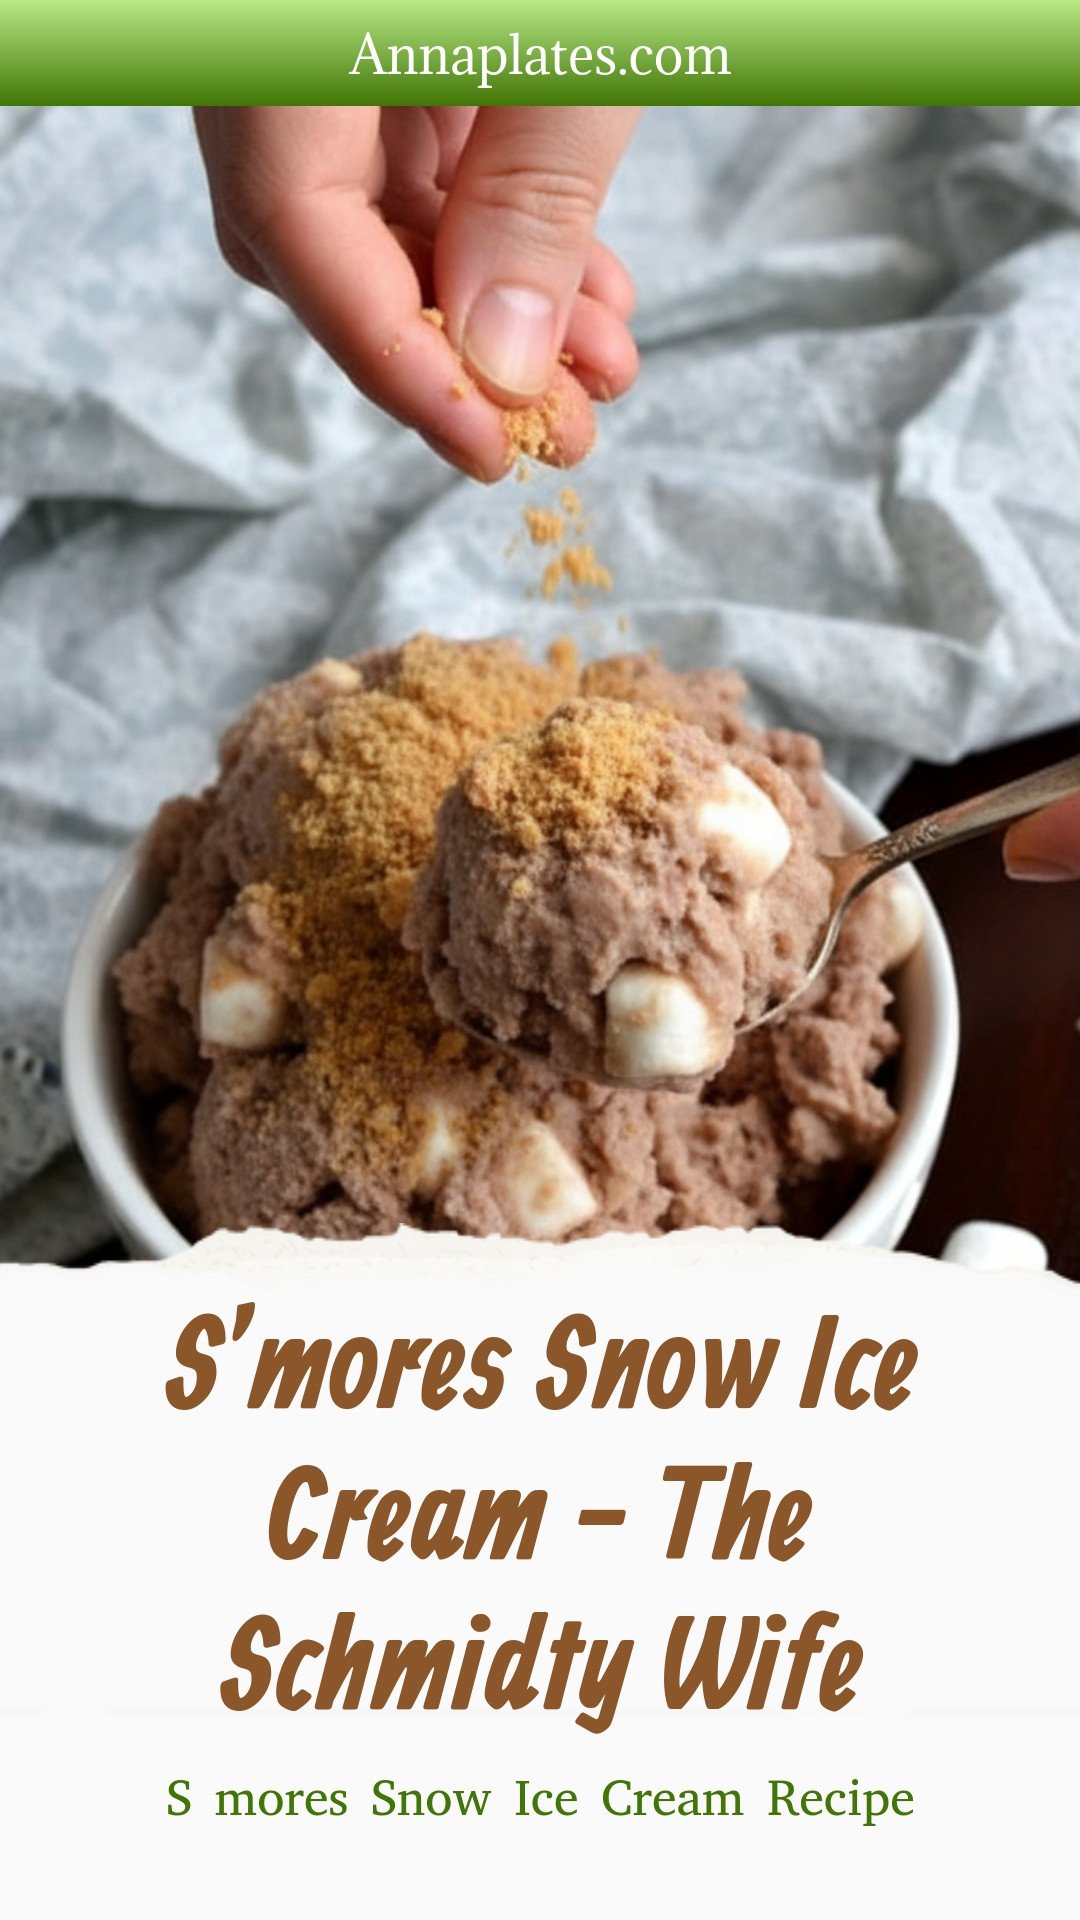
S’mores Snow Ice Cream – The Schmidty Wife: S mores Snow Ice Cream Recipe
Description
Whip up a magical winter treat with this easy S’mores Snow Ice Cream recipe! A fun, no-churn dessert the whole family will love.
Ingredients
Instructions
- In a large mixing bowl mix together milk, sugar, vanilla, and cocoa powder.
- Add 4 cups of your clean and fresh snow to the bowl. Fold into the milk mixture, add more snow to a consistency you like. Mix until fully combined.
- Add in your mini marshmallows and graham crackers. Cover and transfer to freezer (or outside if it is below freezing) for 30-40 minutes.
- Scoop and serve immediately.


Leave a Reply