
My First Kitchen Mess
I tried making candy for the first time when I was young. I wanted to surprise my grandpa. It was a sticky, sweet disaster.
The caramel hardened on the counter. It was like glue. My mom just laughed and helped me scrape it off. I still laugh at that. It taught me that kitchen messes make the best memories.
Why Layers Matter
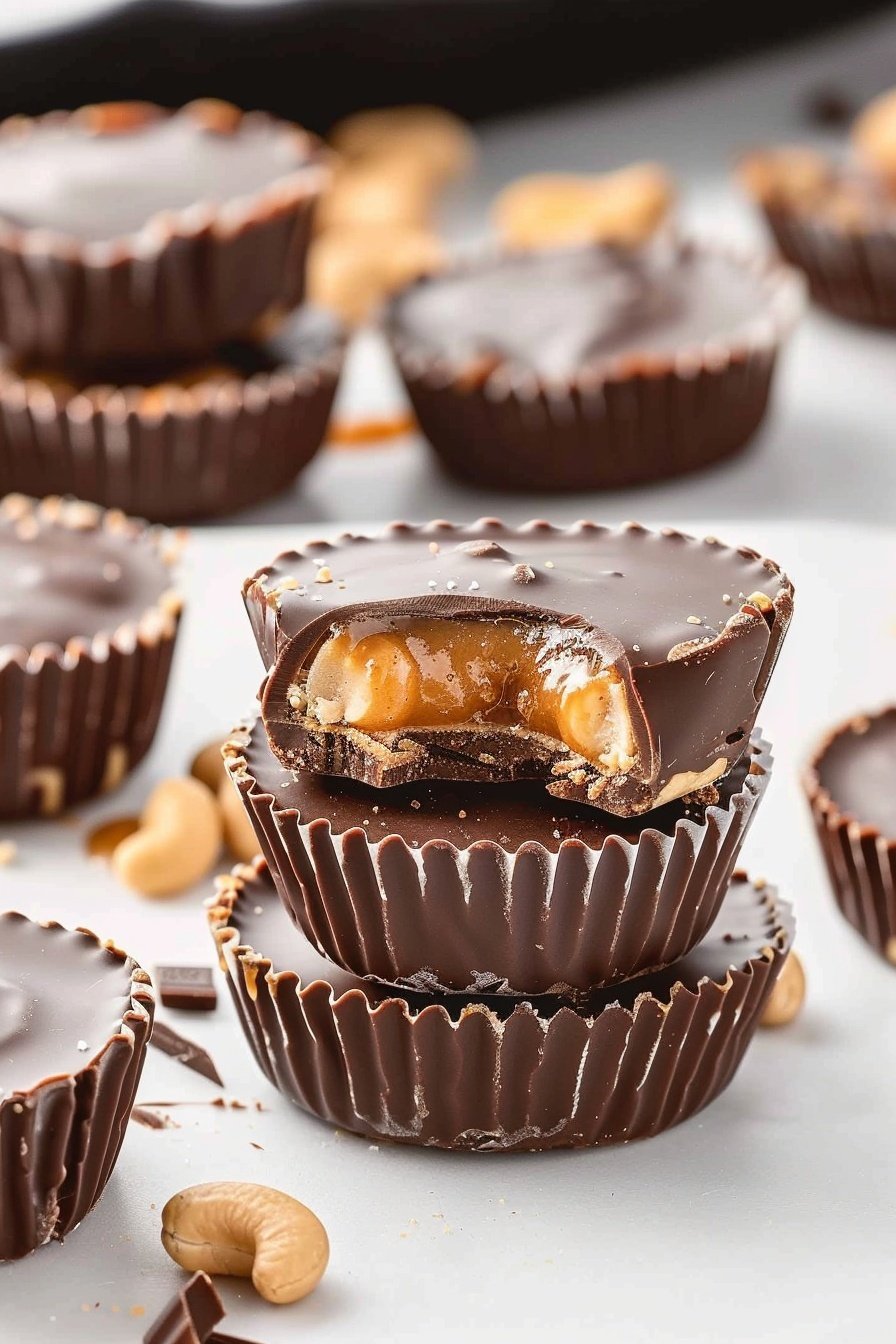
This recipe is all about the layers. You build them one by one. First chocolate, then peanut butter, then caramel, then chocolate again.
Each layer has its own job. The chocolate shell keeps everything together. The peanut butter gives it a creamy heart. This matters because each bite is a perfect mix of crunch, cream, and chew. It feels like a little treasure.
A Little Help From the Microwave
Melting chocolate can be tricky. But the microwave makes it so simple. Just heat it for a short time. Then stir. Heat it again if you need to.
Be patient. Rushing can burn the chocolate. Doesn’t that smell amazing? Fun fact: stirring the chocolate helps it melt evenly from its own heat. What’s your favorite thing to make in the microwave?
The Joy of Sharing
I always make a double batch of these cups. I pack them in a little tin. Then I give them to my neighbor, Frank.
His smile is worth every minute. This matters. Sharing food is like sharing a hug. It shows someone you are thinking of them. Who would you love to share these with?
Your Turn in the Kitchen
Now it is your turn. Do not worry about being perfect. Your cups might look a little messy. That is just fine. It means you made them with your own hands.
The best part is the final chill in the fridge. The waiting is the hardest part. But it is worth it. What is the first flavor you hope to taste?
Ingredients:
| Ingredient | Amount | Notes |
|---|---|---|
| Milk chocolate chips | 12 ounces | |
| Caramel bits | 1 cup | |
| Water | 2 tablespoons | For melting caramel |
| Peanuts | ½ cup | Rough chopped |
| Creamy peanut butter | ⅔ cup | |
| Powdered sugar | ⅓ cup |
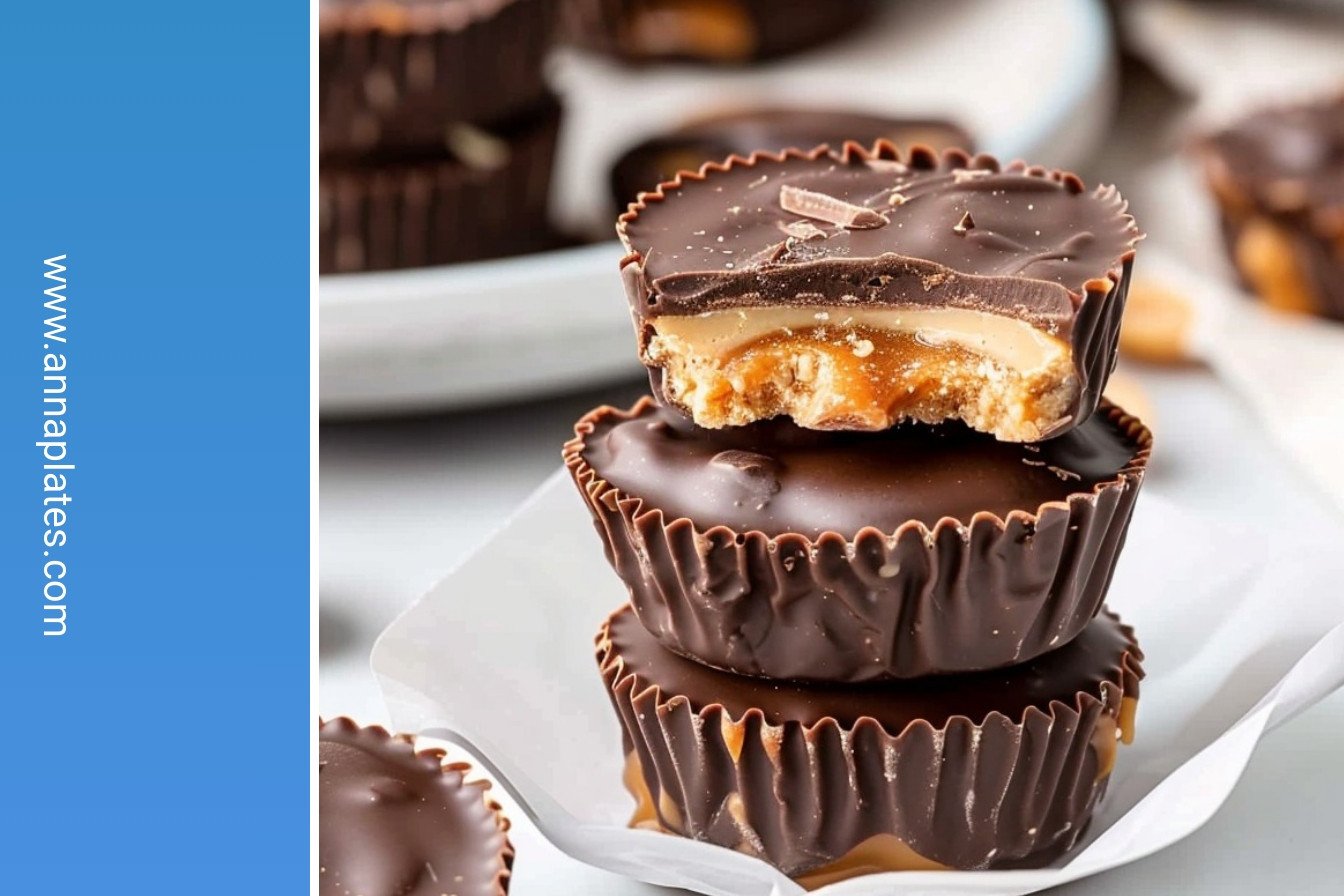
My Snickers Cups: A Sweet Kitchen Memory
My grandson Leo calls these my “magic cups.” He gobbles them up in two bites. I love making them because they feel like a treat from my own childhood. They are crispy, golden, and completely irresistible. The best part is building the layers with you. It’s like creating a tiny, delicious tower.
Let’s get our muffin pan ready. We’ll need 12 liners. This part is simple but important. It keeps our little cups from sticking. I still use the floral liners my sister gave me. They make everything look a bit more special, don’t you think?
Step 1: The Chocolate Base
We start with the chocolate. Put the chips in a bowl. Heat them in the microwave for one minute. Then stir them well. If they’re not fully melted, heat for 30 more seconds. Be patient and stir each time. (My hard-learned tip: Don’t overheat the chocolate! It can get lumpy. Short bursts are the secret.)
Step 2: Chill the Base
Put a teaspoon of melted chocolate in each liner. Spread it to make a little pool. This is our foundation. Now, pop the whole pan into the refrigerator. This chills the chocolate base so it’s firm. It feels like a little science experiment, waiting for it to set.
Step 3: The Caramel Layer
Time for the caramel. Mix the caramel bits with water in another bowl. Microwave for one minute. Stir until it’s smooth and lovely. Then stir in your chopped peanuts. Doesn’t that smell amazing? It reminds me of the county fair. This is our chewy, crunchy layer.
Step 4: The Peanut Butter Filling
Let’s make the peanut butter filling. Just mix the peanut butter and powdered sugar together. Stir until it’s all combined. This part is so easy and fun. You can use a spoon or even your clean hands. I still laugh at how Leo always licks the spoon at this stage.
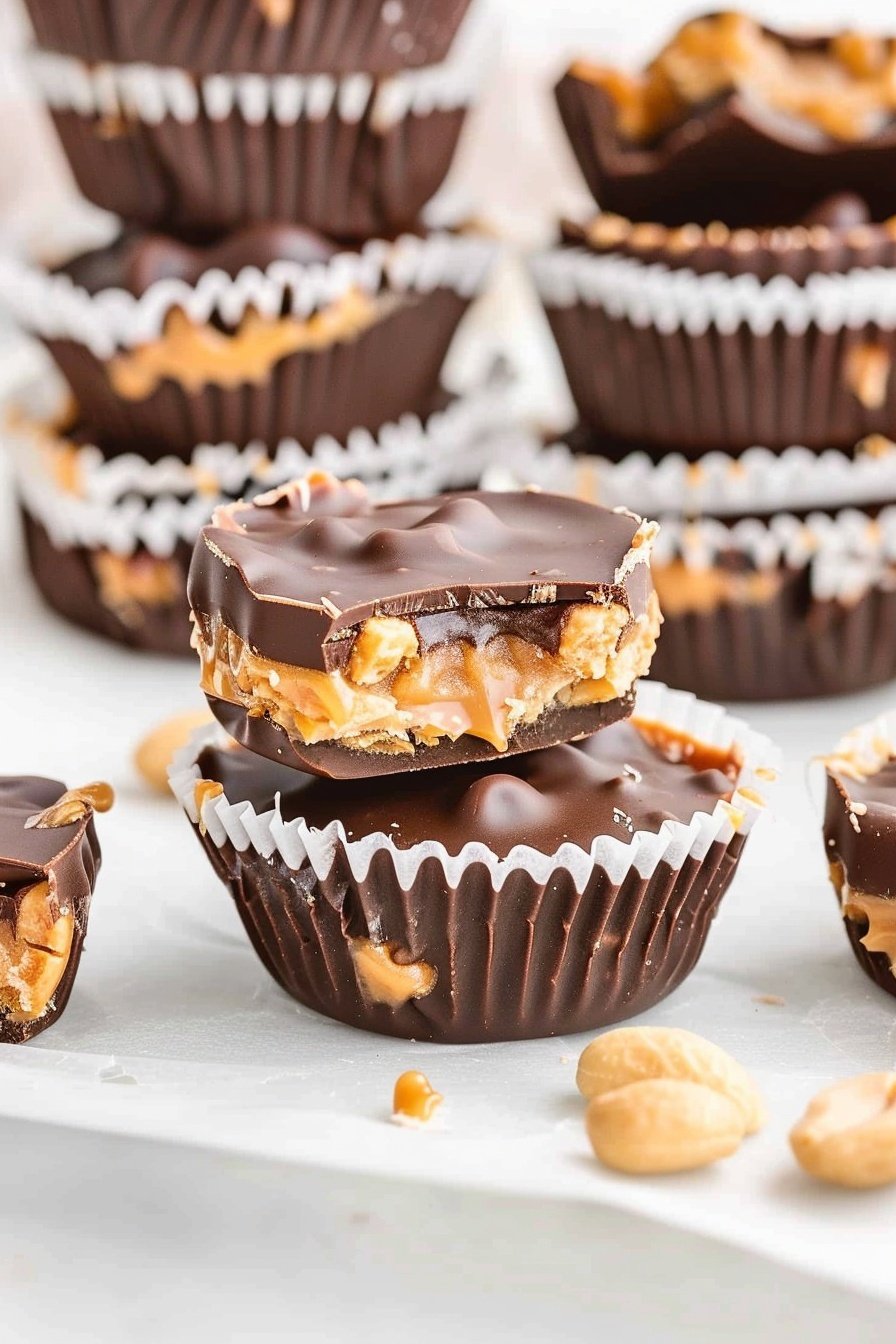
Step 5: Assemble the Layers
Take the chilled cups from the fridge. Layer two teaspoons of peanut butter mix on the chocolate. Press it down gently. Then, add a tablespoon of the caramel-peanut mix on top. Finally, seal it all with two more teaspoons of melted chocolate. Spread it to the edges. Which layer is your favorite to make? Share below!
Step 6: Final Chill
Back into the fridge they go! Let them chill until the top chocolate is firm. This is the hardest part, the waiting. But it’s worth it. You’ll have twelve perfect little treats. They are just like the candy bar, but made with your own two hands.
| Cook Time | 5min |
| Total Time | 45mins |
| Yield | 12 servings |
| Category | Dessert, Snack |
Three Tasty Twists to Try
Once you master the classic, you can get creative. I love playing with new ideas. It makes baking an adventure. Here are a few simple twists we enjoy. They are all so delicious.
- Pretzel Crunch: Swap the peanuts for crushed salty pretzels. It gives a wonderful salty-sweet kick.
- Cookie Dough Layer: Use a bit of edible cookie dough instead of the peanut butter. It tastes like a chocolate chip cookie surprise.
- Almond Joy Vibe: Use almonds instead of peanuts. Add a sprinkle of coconut to the caramel. It’s a tropical vacation in a cup.
Which one would you try first? Comment below!
Serving Your Sweet Creations
These little cups are perfect all on their own. But I like to make a plate look nice. It feels more like a celebration. Place them on a fancy plate. Maybe add a few extra peanuts on the side for decoration. It shows you care.
For a drink, a cold glass of milk is always the best friend. It just is. For the grown-ups, a small glass of creamy Irish cream liquor pairs beautifully. It’s a cozy combination for a quiet evening. Which would you choose tonight?
Keeping Your Snickers Cups Happy
These sweet cups are best kept cool. Store them in a sealed container in the fridge. They will stay perfect for a week. You can also freeze them for a whole month. Just layer them with parchment paper in a freezer box.
I once left a batch on the counter. The summer heat turned them into a puddle. It was a very sad day for my sweet tooth. Now I always chill them right away. This keeps the layers distinct and delicious.
Making a double batch is a smart move. It saves you time for later. You will always have a treat ready for surprise guests. A little planning makes life sweeter and easier. Have you ever tried storing it this way? Share below!
Fixing Little Kitchen Mistakes
Is your melted chocolate too thick? Do not worry. Stir in a tiny bit of vegetable oil. This will make it smooth and easy to spread. I remember when my first chocolate layer was lumpy. A teaspoon of oil fixed everything.
Is the caramel mixture hardening too fast? Just pop it back in the microwave for ten seconds. This keeps it soft enough to scoop. Getting the layers right matters for the perfect bite. It ensures you taste every part of the Snickers cup.
The peanut butter layer might seem sticky. Just wet your fingers with cold water. Then you can press it down without a mess. Solving small problems builds your confidence in the kitchen. Which of these problems have you run into before?
Your Snickers Cup Questions
Q: Can I make these gluten-free? A: Yes! Just check your caramel bits and peanut butter labels to be sure.
Q: Can I make them ahead? A: Absolutely. They are even better the next day after the flavors meld.
Q: What can I use instead of peanuts? A: Try chopped almonds or pretzel pieces for a fun crunch.
Q: Can I make a smaller batch? A: Of course. Just cut all the ingredients in half to make six cups.
Q: Any optional tips? A: A tiny sprinkle of sea salt on top is lovely. Fun fact: Salt makes sweet things taste even sweeter! Which tip will you try first?
From My Kitchen to Yours
I hope you love making these little treats. They always bring a smile to my family’s faces. Cooking is about sharing joy and creating memories. I would be so thrilled to see your creations.
Please share your beautiful Snickers cups with me. Your pictures inspire me and all our other kitchen friends. Have you tried this recipe? Tag us on Pinterest! I cannot wait to see what you make.
Happy cooking!
—Anna Whitmore.
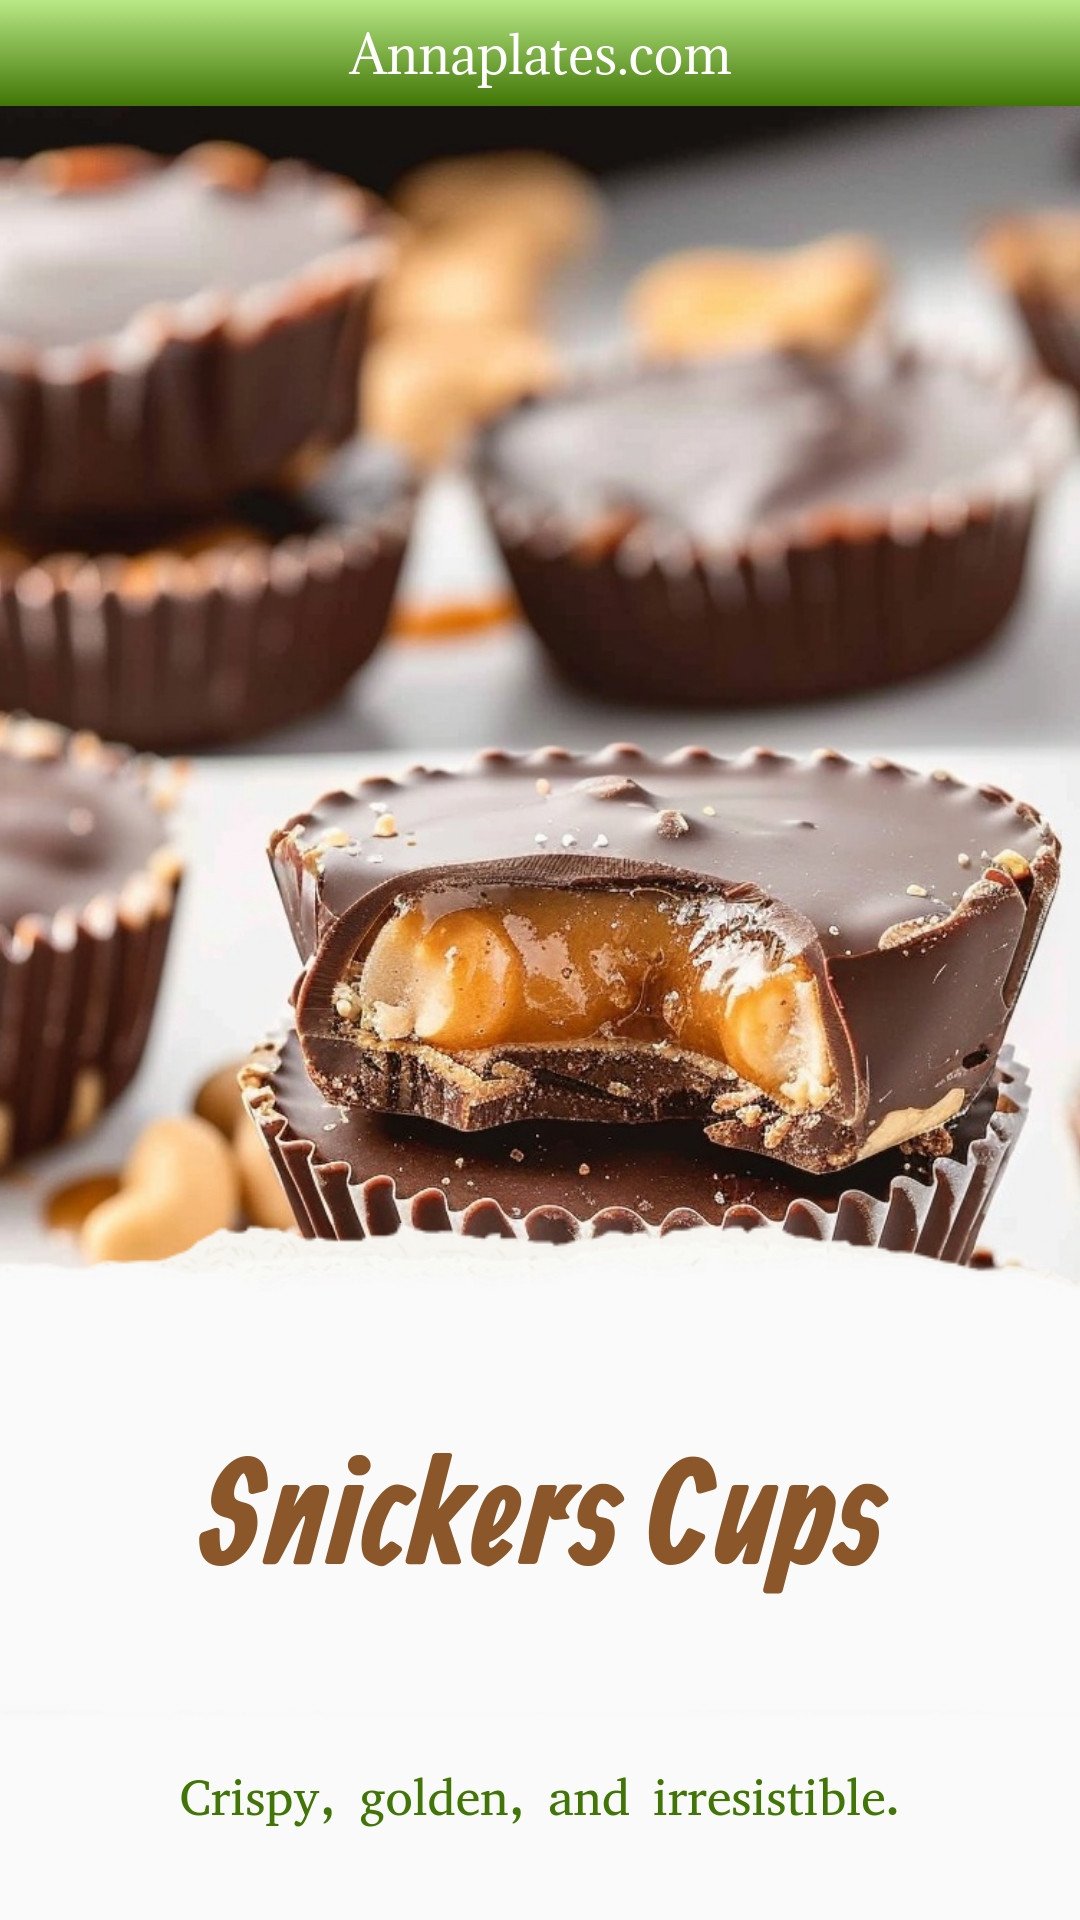
Snickers Cups: Crispy, golden, and irresistible.
Description
Easy homemade Snickers Cups! A no-bake treat with a chocolate, nougat, caramel, and peanut filling, all covered in rich chocolate. Perfect for a sweet snack.
Ingredients
Instructions
- Place 12 muffin liners in a standard muffin pan. Set it aside.
- Add the chocolate chips to a medium-sized microwave-safe bowl. Heat in the microwave for 1 minute, stir and heat in 30-second intervals until the chocolate chips are completely melted and smooth.
- Scoop 1 teaspoon of melted chocolate into the bottom of the muffin liners and evenly spread the chocolate. Place the pan in the refrigerator.
- Add the caramel bits and water to a small microwave-safe bowl. Heat in the microwave for 1 minute, stir and heat in 20-second intervals until the caramel bits are completely melted, and the mixture is smooth.
- Stir in the chopped peanuts and set them aside.
- Add the peanut butter and powdered sugar to a small mixing bowl. Stir to combine thoroughly. Set it aside.
- Remove the chocolate cups from the refrigerator.
- Scoop out 2 teaspoons of the peanut butter mixture for each chocolate cup. Spread on top of the chocolate.
- Scoop out 1 tablespoon of the caramel peanut mixture and add on top of the peanut butter.
- Scoop out 2 teaspoons of the melted chocolate and spread it on top of the caramel. Chill in the refrigerator until the chocolate is firm.
Notes
- Nutrition per serving: Calories: 350kcal | Carbohydrates: 41g | Protein: 6g | Fat: 20g | Saturated Fat: 7g | Polyunsaturated Fat: 3g | Monounsaturated Fat: 5g | Cholesterol: 1mg | Sodium: 111mg | Potassium: 249mg | Fiber: 1g | Sugar: 34g | Vitamin A: 8IU | Vitamin C: 0.1mg | Calcium: 61mg | Iron: 1mg


Leave a Reply