
The Night Before Magic
We make the dough the night before. This is my favorite part. The kitchen is quiet. The spices fill the air. Doesn’t that smell amazing? It feels like a secret.
Mixing it all together is simple. You get a soft, dark dough. You wrap it up tight. Then it sleeps in the fridge. This wait matters. It lets the flavors become friends. Your cookies will taste deeper and richer tomorrow.
A Little Secret Ingredient
See the cocoa powder in the list? You might wonder. This is not for chocolate taste. It is for color and warmth. It makes the gingerbread a beautiful deep brown.
Fun fact: A tiny bit of cocoa in spice cookies is an old baker’s trick. It makes everything taste more cozy! Do you have a secret ingredient you always add? I’d love to hear it.
Rolling Out Memories
Time to roll and cut! Use plenty of flour on your surface. Roll the dough nice and thick. That’s the key to soft cookies. I still laugh at this. My grandson once made a gingerbread army. He used every cutter we had. We had men, stars, and even a dinosaur.
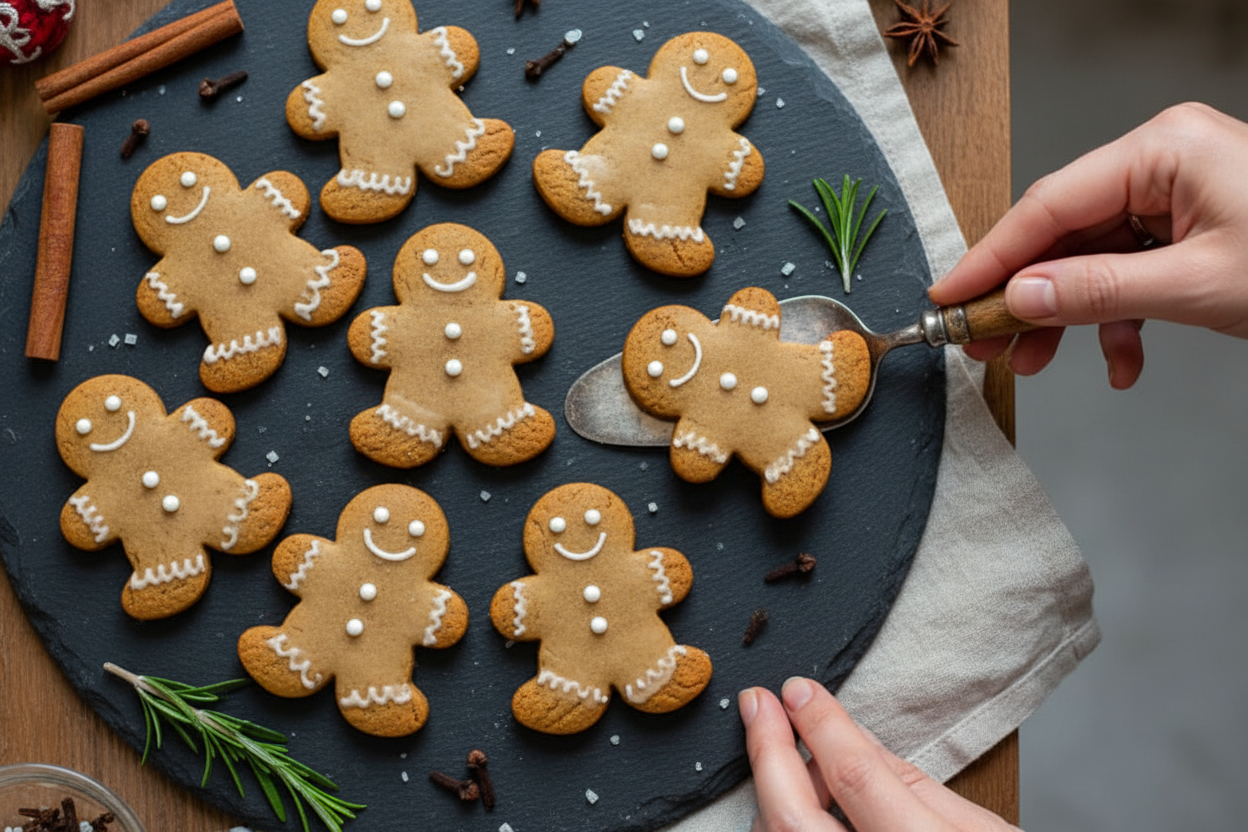
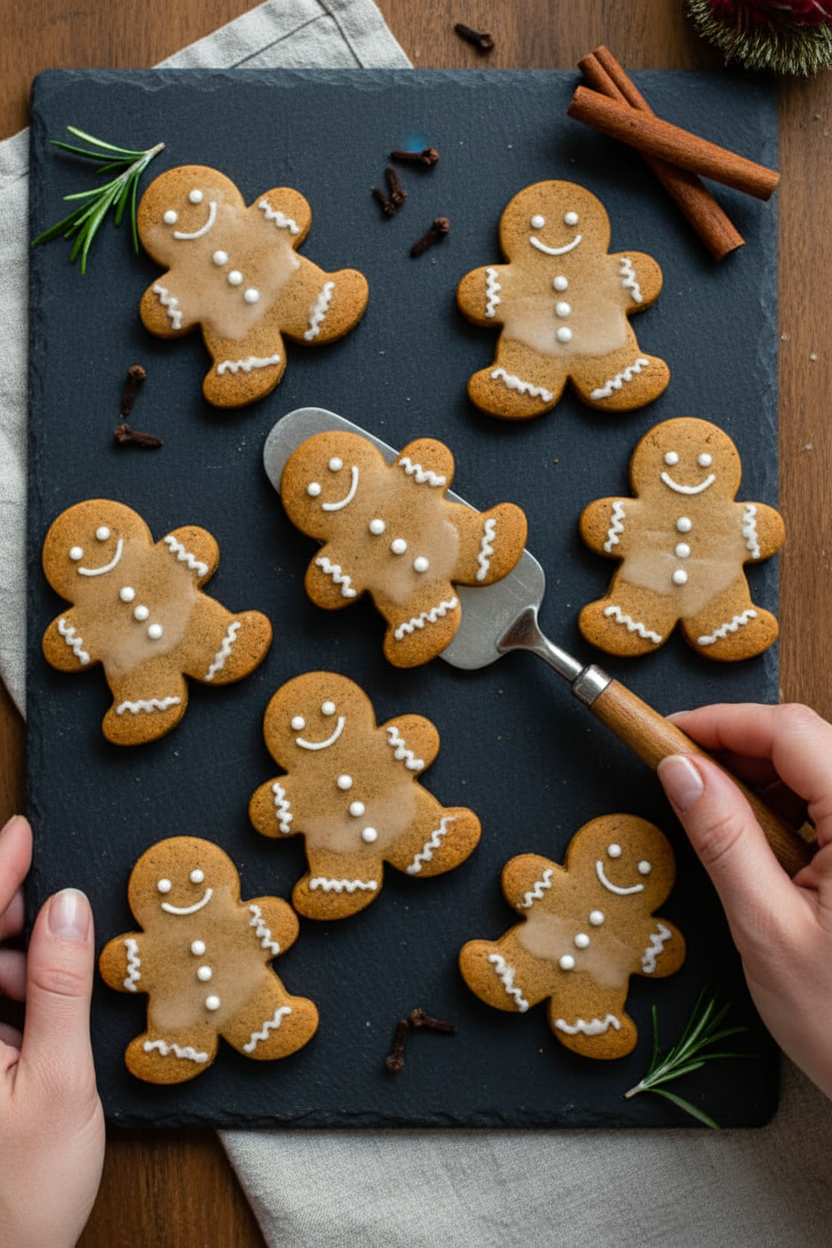
Press in their faces before baking. A lollipop stick works perfectly. Give them smiles or funny eyes. This makes them come alive. What kind of faces will you give your cookies?
The Glaze That Sparkles
The glaze is like the final hug. Just powdered sugar, water, and vanilla. You brush it on while cookies are still a bit warm. It soaks in just a little. This gives them a soft shine, not a hard crackle.
This step matters because it adds sweetness. It also makes your designs pop. The glaze highlights those little button eyes. It makes your cookies special.
Why We Make Them Soft
Some gingerbread is crisp. Ours is soft and cakey. This comes from the thick roll and short bake. Watch them closely. Take them out when they just look set.
A soft cookie is a friendly cookie. It feels like a treat made with care. It’s perfect for sharing with a glass of milk. Do you prefer soft cookies or crisp ones? Tell me your favorite kind.

Ingredients:
| Ingredient | Amount | Notes |
|---|---|---|
| all-purpose flour | 3 ¾ cups | |
| cocoa powder | 1 tablespoon | |
| ground ginger | 4 teaspoons | |
| ground cloves | 1 ½ teaspoon | |
| ground cinnamon | 2 teaspoons | |
| baking soda | ½ teaspoon | |
| kosher salt | 1 teaspoon | |
| unsalted butter | 1 cup (2 sticks) | room temperature |
| granulated sugar | ¾ cup | |
| egg | 1 | |
| molasses | 1/2 cup | not blackstrap |
| light corn syrup | 2 tablespoons | |
| powdered sugar | 1 cup | for glaze |
| water | 2 tablespoons | for glaze |
| vanilla extract | ½ teaspoon | for glaze |
My Soft & Smiley Gingerbread Friends
Hello, my dear! Come sit at the table. I want to share my gingerbread man recipe. These cookies are soft, spicy, and full of love. They smell like my grandma’s kitchen in December. I still laugh at that smell. It makes everyone gather around, waiting for a taste.
We make the dough the night before. This lets all the lovely spices become friends. It makes the dough easy to roll, too. Here is how we make our gingerbread friends.
Step 1: First, mix your dry things in a bowl. That’s flour, cocoa, ginger, cloves, cinnamon, baking soda, and salt. The cocoa is my secret. It makes them a beautiful deep color. Doesn’t that smell amazing already? Set this bowl aside for now.
Step 2: Now, let’s mix the wet things. Beat the soft butter until it’s fluffy. Add the sugar and beat some more. Then mix in one egg, the molasses, and corn syrup. It will look shiny and rich. (Hard-learned tip: Use regular molasses, not blackstrap. It’s too strong and bitter!).
Step 3: Slowly add your dry mix to the wet mix. Do it in three parts. Mix until no white flour shows. The dough will be very soft. Roll it into a ball, then flatten it. Wrap it tight and put it in the fridge. We let it sleep overnight.
Step 4: The next day, preheat your oven. Roll the dough out thick, just under half an inch. Use your favorite cutter. Give them faces with a stick. What’s your favorite thing to press for their smile? Share below! Bake them for 7-12 minutes. They should look puffed and set.
Step 5: Let’s make the simple glaze. Whisk powdered sugar, water, and vanilla. Brush it on the warm cookies. It makes them sweet and pretty. Let the glaze dry completely. Then they are ready for a cookie tin or a happy mouth!
Cook Time: 10-15 minutes per batch
Total Time: 8 hours 30 minutes (includes chilling)
Yield: About 44 cookies
Category: Dessert, Cookies
Three Fun Twists to Try
Once you know the basic recipe, you can play! Here are three of my favorite ideas. They make baking feel like a new adventure every time.
The Citrus Sparkle: Add the zest of one orange to the dough. Then add a little orange juice to the glaze. It’s so bright and cheerful.
The Peppermint Party: Crush some candy canes very fine. Sprinkle them on the wet glaze. They add a crunch and a holiday chill.
The Choco-Chip Smile: Press a few mini chocolate chips into the dough before baking. Use them for eyes and buttons. The kids love this one.
Which one would you try first? Comment below!
Serving Your Gingerbread Crew
These cookies are wonderful all on their own. But sometimes, you want to make it special. For a lovely plate, serve them with a clementine and some walnuts. The colors look so festive together.
What to drink? A cold glass of milk is always perfect. For the grown-ups, a sweet sherry or a hot toddy pairs nicely. The spices in the cookie love those warm drinks. Which would you choose tonight?
Keeping Your Gingerbread Men Fresh and Happy
Let’s talk about storing these soft cookies. They keep well in a sealed container. They will stay soft for about five days. You can also freeze the baked cookies for later.
Layer them with parchment paper in a freezer bag. They thaw quickly on the counter. I once froze a whole batch for my grandson’s surprise visit. It was so nice to have them ready.
Batch cooking matters for busy families. Making the dough ahead saves holiday stress. You can bake a few cookies now and freeze the rest of the dough. Just thaw it in the fridge before rolling.
Have you ever tried storing gingerbread in the freezer? Share your story below!
Fixing Common Gingerbread Troubles
Sometimes dough can be too sticky. Just add a little more flour when rolling. If your cookies spread too much, your dough was too warm. Chilling it fixes this every time.
I remember when my first batch came out hard. I had baked them too long. For soft cookies, take them out when they just look set. They firm up as they cool on the rack.
Getting this right builds your kitchen confidence. It also makes sure every cookie is delicious and tender. The spices taste best when the cookie has the perfect soft texture.
Which of these problems have you run into before? Tell me about it!
Your Gingerbread Questions, Answered
Q: Can I make these gluten-free? A: Yes! Use a good 1-to-1 gluten-free flour blend. The texture will be very similar.
Q: How far ahead can I make the dough? A: You can make it up to three days before baking. Keep it wrapped tightly in the fridge.
Q: What if I don’t have corn syrup? A: You can use honey instead. It will add a slight honey flavor. Fun fact: The corn syrup mainly helps keep them soft!
Q: Can I double the recipe? A: Absolutely. It’s great for big cookie exchanges. Just mix in a very large bowl.
Q: Is the glaze really needed? A: No, but it’s a sweet, pretty finish. A simple dusting of powdered sugar works too.
Which tip will you try first? Let me know!
From My Kitchen to Yours
I hope you love making these gingerbread friends. Baking them always fills my kitchen with the best smells. It reminds me of snowy days with my own children.
I would be so delighted to see your creations. Share a picture of your cookie family. Show me the funny faces you pressed into them.
Have you tried this recipe? Tag us on Pinterest @AnnaWhitmoreEats so I can see! Thank you for baking with me today.
Happy cooking!
—Anna Whitmore.

Glazed Soft Gingerbread Men Cookies
Description
Soft, chewy gingerbread men cookies with a sweet glaze. Perfect for holiday baking & decorating with kids. Easy homemade recipe with warm spices.
Ingredients
Instructions
- In a medium sized bowl measure out and mix together the flour, cocoa powder, ginger, cloves, cinnamon, baking soda, and salt. Set aside.
- In the bowl of a stand mixer (you can use a hand mixer if needed) with the paddle attachment beat the butter 1-2 minutes. Add the sugar and beat an additional 2-3 minutes scraping down the sides if needed. Add the egg to butter and sugar and beat until fully incorporated. Lastly add the molasses and corn syrup, beat until well combined scraping down the sides of the bowl when needed.
- Add the dry ingredients in 3 batches mixing on low letting the dry ingredients get incorporated between each batch. Mix until full incorporated and no streaks of flour remain, the dough should be soft.
- Roll the dough out into a ball with your hands then flatten the ball into a rectangle about an inch thick. Wrap the dough tightly in plastic wrap and refrigerate overnight.
- Remove the dough from the fridge about 10 minutes before you are ready to roll it out. Preheat the oven to 350ºF. Line baking trays with parchment paper.
- To roll out cookies generously sprinkle flour over a clean work surface and rolling pin. Lightly roll dough just shy of ½ inch (or around 1 cm). Use cookie cutter to cut out your cookies. Place cookies 1 inch apart on the baking tray. Reroll the dough when needed and continue to cut out more cookies until all the dough is used (no need to chill inbetween*).
- Press designs into the cookies if desired like eyes, buttons, etc… with a clean lollipop stick or similar sized skewer.
- Transfer to the oven and bake cookies in batches 7-12 minutes depending on the size. My cookie cutter is 3 ½ inches and takes 7 minutes, any cookie cutter larger than that you will want to keep in a few more minutes.
- When cookies are done transfer to a wire cooling rack.
- While cookies are baking make the glaze. In a small bowl whisk together the powdered sugar, vanilla, and water until smooth.
- When cookies are done let cool at least 10 minutes (longer is okay) with a pastry brush gently glaze the top of each cookie being sure to cover the designs you made. Let the cookies cool and the glaze harden before storing.
Notes
- Glazing these cookies isn’t necessary but I think it definitely sets them apart!


Leave a Reply