
My New Favorite Flour
Let me tell you about tigernut flour. It is not from tigers! It is from a small root vegetable. It has a sweet, nutty taste. I think it is lovely.
I tried it for the first time last year. My friend Clara brought some over. We made cookies. They were so good and soft. I still laugh at that day. We ate half the batter before it even hit the oven! This matters because trying new things keeps cooking fun.
A Simple, Happy Batter
Making these muffins is easy. You just mix the dry team and the wet team. Then you let them become friends in one bowl. Doesn’t that smell amazing? The vanilla and maple syrup make the whole kitchen sweet.
Here is my tip. Please melt your coconut oil first. Let it cool a tiny bit. Then mix it with the eggs and milk. This way, the eggs don’t get too warm. It makes everything smoother.
The Chocolate Chip Rule
Now, the best part. The chocolate chips! You must fold them in gently. Do not stir too hard. You want little chocolate surprises in every bite.
*Fun fact*: The first chocolate chip cookie was an accident! A baker ran out of baker’s chocolate. She used sweet chocolate bits instead. She thought they would melt. They did not. And a happy mistake was born. What is your favorite thing to add to muffins? Tell me, I would love to know.
Watching Them Rise
Fill your muffin cups three-quarters full. This is important. It gives them space to grow into perfect little domes. I like to watch through the oven window. It is like magic every time.
Bake them for about 20 minutes. The toothpick test never lies. If it comes out clean, they are done. Let them cool a bit. This matters because it helps them set. It makes them easier to eat, too. No burned tongues!
Stories From Your Kitchen
Food is best when shared. I love taking these to my grandson’s soccer game. The other parents always ask for the recipe. It makes me smile.
Did you try this recipe with a friend or family member? What did you talk about while you baked? I believe the stories we tell in the kitchen are as important as the food. They make the meal taste better. Will you share your story with me?
Ingredients:
| Ingredient | Amount | Notes |
|---|---|---|
| Tigernut flour | 1/2 cup | Dry ingredient |
| Baking soda | 1/2 teaspoon | Dry ingredient |
| Salt | 1/2 teaspoon | Dry ingredient |
| Maple syrup | 1/4 cup | Wet ingredient |
| Eggs | 2 large | Wet ingredient |
| Coconut oil | 1/4 cup | Wet ingredient, melted |
| Dairy-free milk (e.g., almond milk) | 1/4 cup | Wet ingredient |
| Vanilla extract | 1 teaspoon | Wet ingredient |
| Dairy-free chocolate chips | 1/2 cup | Add-in |
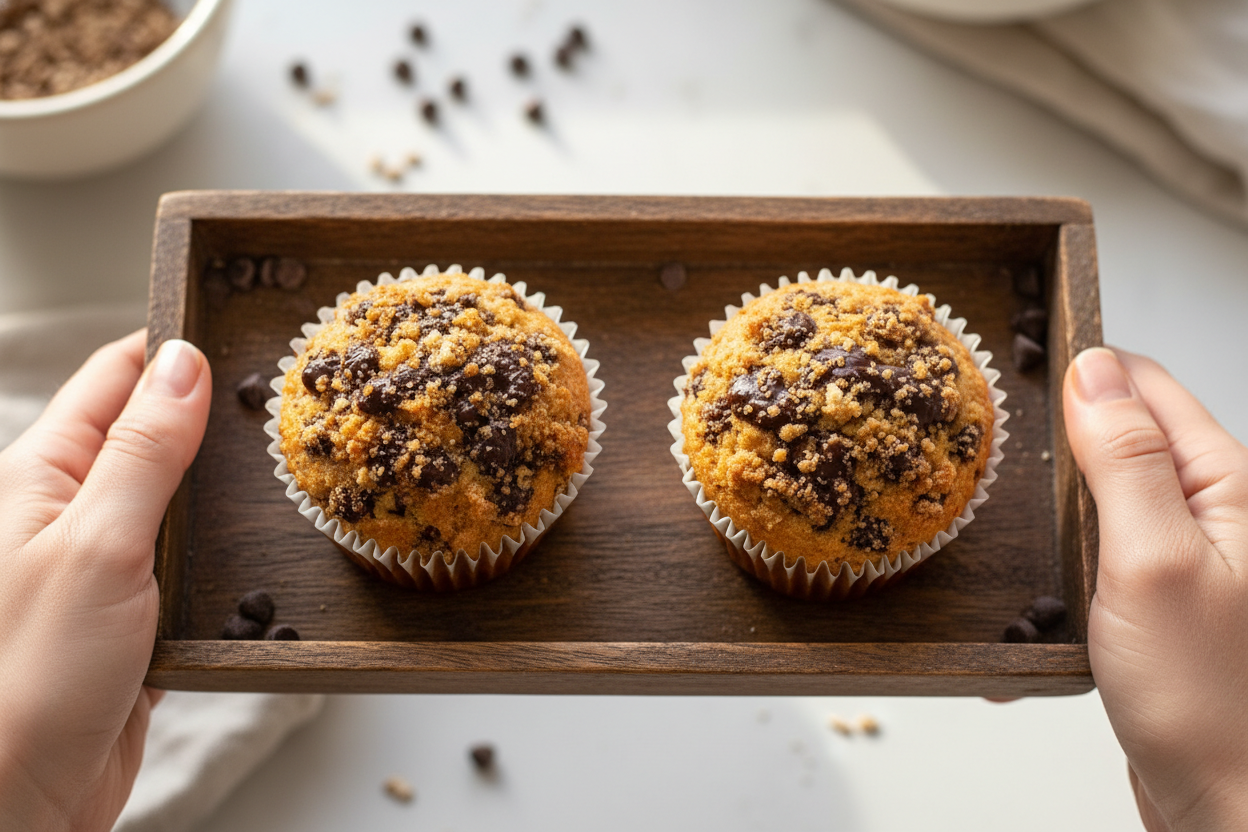
My Cozy Chocolate Chip Muffins (They’re Secretly Good For You!)
Hello, my dear. Come sit at the counter. I want to tell you about my new favorite muffin. It uses tigernut flour. Now, don’t let the name fool you. No tigers are involved! It’s just a sweet little root. It makes these muffins so soft and cozy. They taste like a warm hug. And they are full of good things for your tummy. My grandson doesn’t even notice. He just asks for more chocolate chips. I still laugh at that.
We’ll make them together. It’s so simple. Just follow these steps. I’ll tell you a little story as we go. Ready? Let’s begin.
Step 1: First, say hello to your oven. Turn it on to 350 degrees. This lets it get nice and warm. Then, get your muffin tin ready. I like to use paper liners. They make cleanup so easy. (A hard-learned tip: If you grease the tin, do it well. Stuck muffins make me sad.)
Step 2: Now, grab a big bowl. Put in your tigernut flour, baking soda, and salt. Give them a good whisk. You want them to be best friends. This makes sure your muffins rise perfectly. Doesn’t that smell amazing already? It smells like earth and sweetness.
Step 3: In another bowl, we mix the wet things. Crack in two eggs. Add the maple syrup, melted coconut oil, milk, and vanilla. Whisk it all until it’s smooth and happy. I use my favorite little whisk. It belonged to my mother. It always makes me smile.
Step 4: Pour your wet mixture into the dry one. Mix them together gently. Just until you don’t see dry flour anymore. A few lumps are okay, I promise. Over-mixing makes tough muffins. What happens if you mix batter too much? Share below!
Step 5: Here’s the best part. Fold in your chocolate chips. Use a soft hand. You want a little chocolate in every single bite. I may sneak a few chips for myself. My secret is safe with you.
Step 6: Spoon the batter into your muffin cups. Fill them about three-quarters full. This gives them room to grow into perfect little domes. I always think they look like little hats in the oven.
Step 7: Bake them for 18 to 22 minutes. Your kitchen will smell wonderful. Check them with a toothpick. If it comes out clean, they’re done. Let them cool for five minutes. Then move them to a rack. Waiting is the hardest part!
Cook Time: 20 minutes
Total Time: 35 minutes
Yield: 6-8 muffins
Category: Breakfast, Snack
Three Fun Twists to Try
Once you master the basic recipe, you can play! Here are three ideas I love. They make these muffins feel new again.
Berry Blast: Swap half the chocolate chips for fresh raspberries. They get a little tart and juicy.
Sunshine Muffin: Add the zest of one orange to the wet mix. It smells like a sunny morning.
Nutty Buddy: Fold in a handful of chopped walnuts. They add a lovely little crunch.
Which one would you try first? Comment below!
Serving Them Up With Style
These muffins are perfect all on their own. But sometimes, I like to dress them up. For a special breakfast, I’ll split one warm. Then I spread a little almond butter on it. The melty chocolate and nut butter are dreamy. You could also add a few slices of banana on the side. Or a dollop of coconut yogurt.
What to drink? On a cozy afternoon, I love a big glass of cold almond milk. It’s the classic choice. For the grown-ups, a small cup of strong coffee is just right. It cuts the sweetness so nicely. Which would you choose tonight?

Keeping Your Muffins Happy and Fresh
Let’s talk about keeping these muffins yummy. They stay fresh on the counter for two days. Just cover them with a towel. For longer storage, the fridge is your friend. They will last a week there in a sealed container.
You can freeze them, too. I wrap each cooled muffin tightly. Then I pop them all in a freezer bag. My grandson loves finding them for a quick treat. To reheat, just warm a frozen muffin in the oven for 10 minutes. It tastes like it just came out of the oven.
Batch cooking saves busy mornings. I often double the recipe. I bake one batch now and freeze one for later. This matters because a good breakfast should be easy. A warm muffin can make any day feel special. Have you ever tried storing it this way? Share below!
Simple Fixes for Common Muffin Troubles
Sometimes muffins don’t rise nicely. This often means your baking soda is old. Check the date before you start. Fresh ingredients matter for the best lift and flavor.
If your muffins are too dry, you may have over-mixed. Stir the batter just until everything is wet. I remember when I first learned this. My muffins turned out tough as little rocks! Gentle mixing keeps them tender and soft.
Sticking to the pan is no fun. Always grease your liners or tin well. I use a little extra coconut oil. Fixing small issues builds your cooking confidence. You learn that every little step has a purpose. Which of these problems have you run into before?
Your Quick Muffin Questions, Answered
Q: Are these muffins gluten-free? A: Yes! Tigernut flour is naturally gluten-free. It is made from small root vegetables.
Q: Can I make the batter ahead? A: You can mix dry and wet ingredients separately the night before. Combine them in the morning.
Q: What if I don’t have coconut oil? A: You can use melted butter or a light olive oil. The flavor will change a little.
Q: Can I double this recipe? A: Absolutely. Just use two bowls or one very large one. *Fun fact: Tigernuts are not nuts at all. They are tiny tubers!*
Q: Any optional add-ins? A: Try a handful of chopped walnuts or a sprinkle of cinnamon. Both are delicious. Which tip will you try first?
From My Kitchen to Yours
I hope you love baking these as much as I do. There is nothing like a warm muffin. It is a little hug in food form.
I would love to see your creations. Share a picture of your muffin tin. Or show me your happy kids eating them. Have you tried this recipe? Tag us on Pinterest! You can find me at @AnnasCozyKitchen. Thank you for baking with me today.
Happy cooking!
—Anna Whitmore.
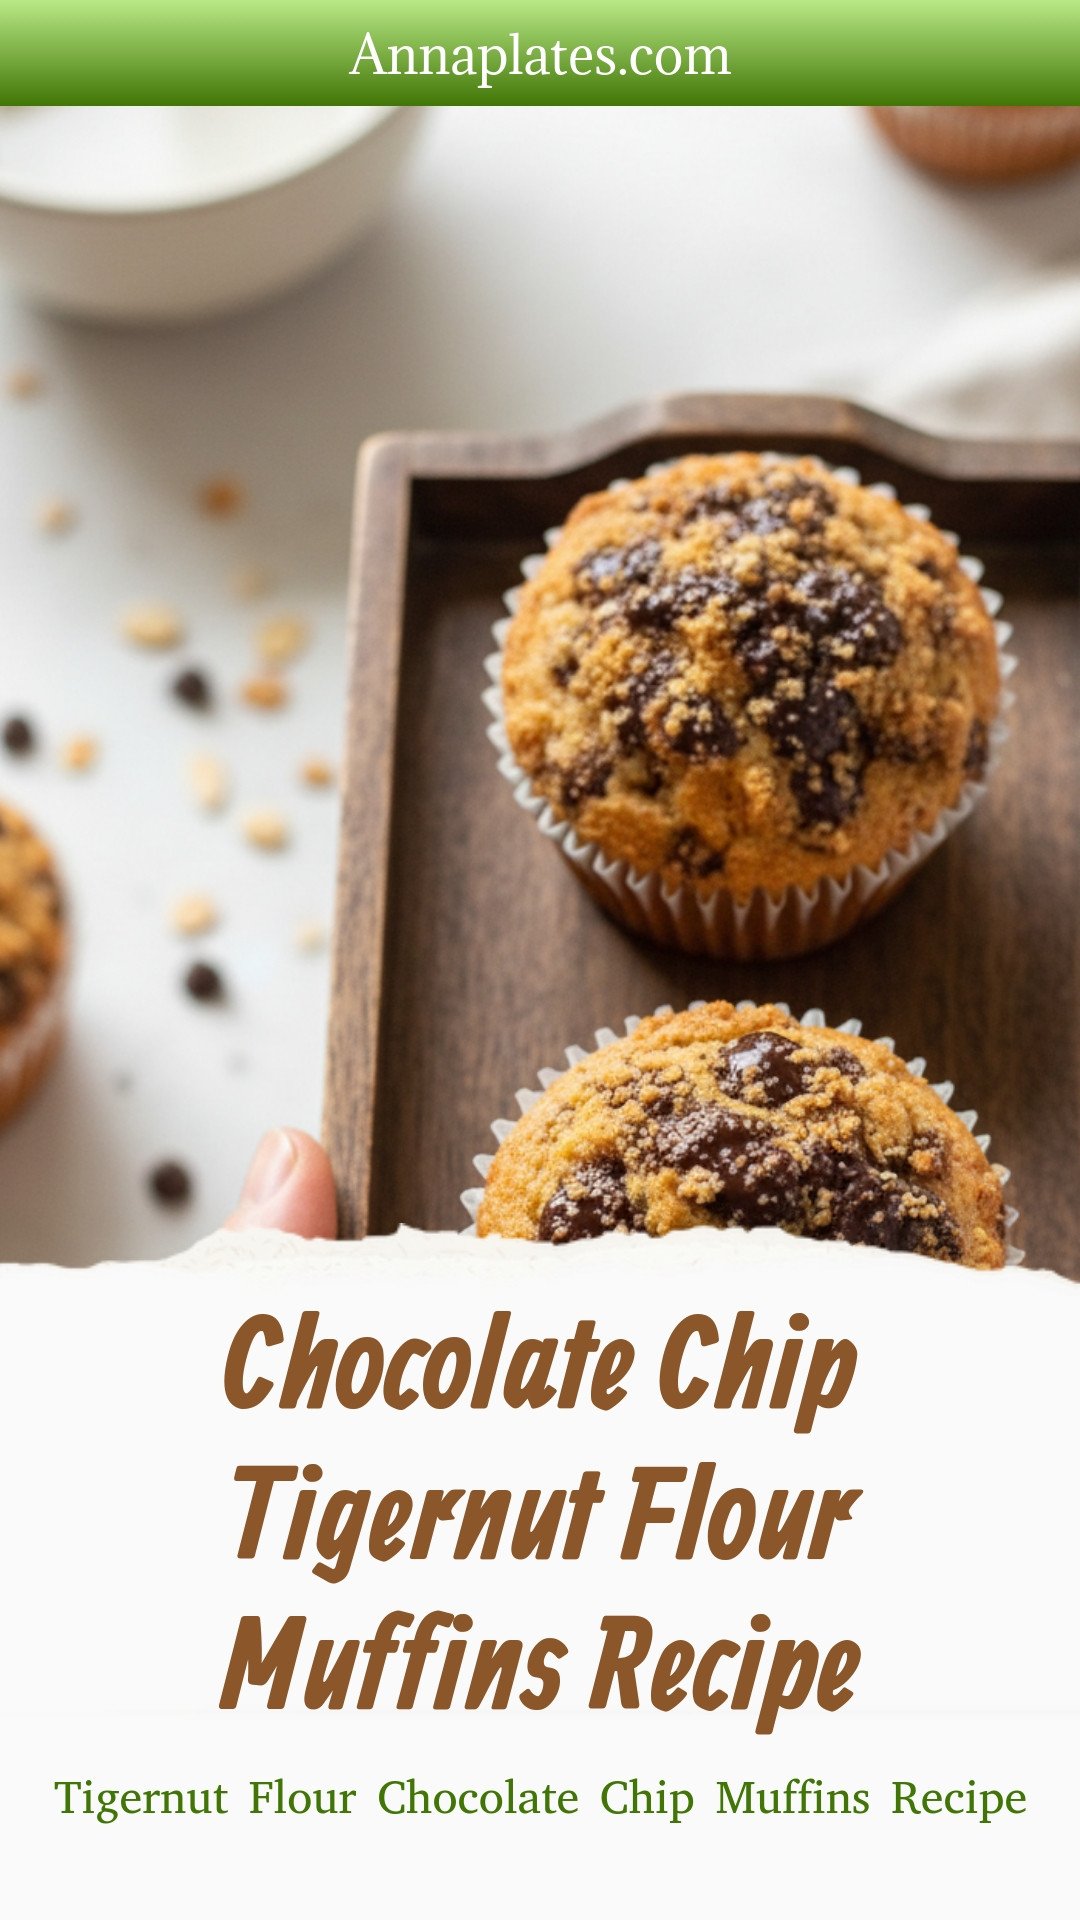
Tigernut Flour Chocolate Chip Muffins Recipe
Description
Soft, bakery-style chocolate chip muffins made with nutrient-rich tigernut flour. A delicious gluten-free & paleo treat perfect for breakfast or a snack.
Ingredients
Dry Ingredients
Wet Ingredients
Add-ins
Instructions
- Preheat the Oven: Preheat your oven to 350°F (175°C) and prepare a muffin tin by either lining it with paper liners or greasing the cups to prevent sticking.
- Mix Dry Ingredients: In a large mixing bowl, combine the tigernut flour, baking soda, and salt. Whisk these together to ensure they are evenly distributed.
- Whisk Wet Ingredients: In a separate bowl, whisk together the eggs, maple syrup, melted coconut oil, dairy-free milk, and vanilla extract until the mixture is smooth and homogenous.
- Combine Wet and Dry: Pour the wet ingredient mixture into the bowl with the dry ingredients. Mix them together thoroughly until just combined to form the muffin batter.
- Fold in Chocolate Chips: Gently fold the dairy-free chocolate chips into the batter, distributing them evenly without overmixing.
- Fill Muffin Tin: Spoon the batter evenly into the prepared muffin tin cups, filling each about three-quarters full to allow room for rising.
- Bake the Muffins: Place the muffin tin in the preheated oven and bake for 18 to 22 minutes. Check doneness by inserting a toothpick into the center of a muffin; it should come out clean or with a few moist crumbs.
- Cool: Remove the muffins from the oven and let them cool in the tin for about 5 minutes before transferring them to a wire rack to cool completely.
Notes
- Store cooled muffins in an airtight container at room temperature for up to 2 days, or freeze for longer storage.


Leave a Reply