
My First BBQ Biscuit Disaster
I once brought biscuits to a cookout. I was so proud. They came out flat as pancakes! I still laugh at that.
My mistake was simple. I used soft butter. Warm butter melts too fast in the oven. This matters because cold butter creates little steam pockets. That steam is what makes biscuits tall and flaky.
Why Frozen Butter is Your Friend
See that “frozen butter” in the list? Trust me on this. Grate it or cut it tiny while it’s hard. Those little frozen bits are magic.
When they hit the hot oven, they steam. That steam lifts the dough. You get beautiful, fluffy layers. Doesn’t that sound better than a hockey puck? What’s your biggest baking disaster? I love hearing I’m not alone!
The Secret is in the Folds
Now, folding the dough seems odd. Why do it five or six times? It builds those flaky layers. Like folding a paper fan.
Each fold makes another buttery sheet. When it bakes, it puffs up between each fold. Fun fact: This technique is called “laminating.” It’s what makes croissants so flaky, too! Just press your cutter straight down. Never twist it. Twisting seals the edges and they can’t rise.
Smells Like a Happy Memory
When these bake, your kitchen will smell amazing. It’s a warm, buttery, homey smell. It reminds me of my grandma’s house.
That smell brings everyone to the kitchen. Food is more than eating. It’s about the feeling it creates. This matters. It turns a simple BBQ into a gathering. What smell makes you feel most at home? Tell me, I’m curious.
Perfect for Sopping Up Goodness
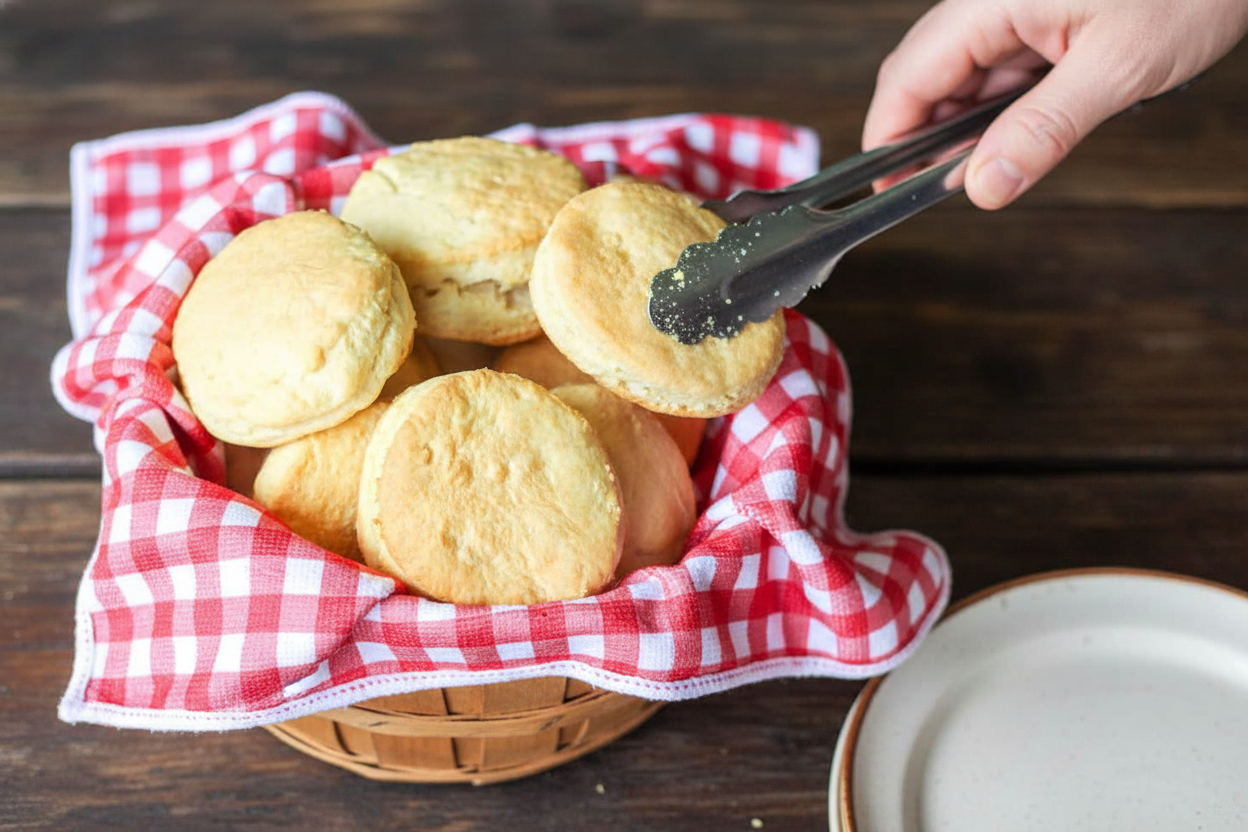
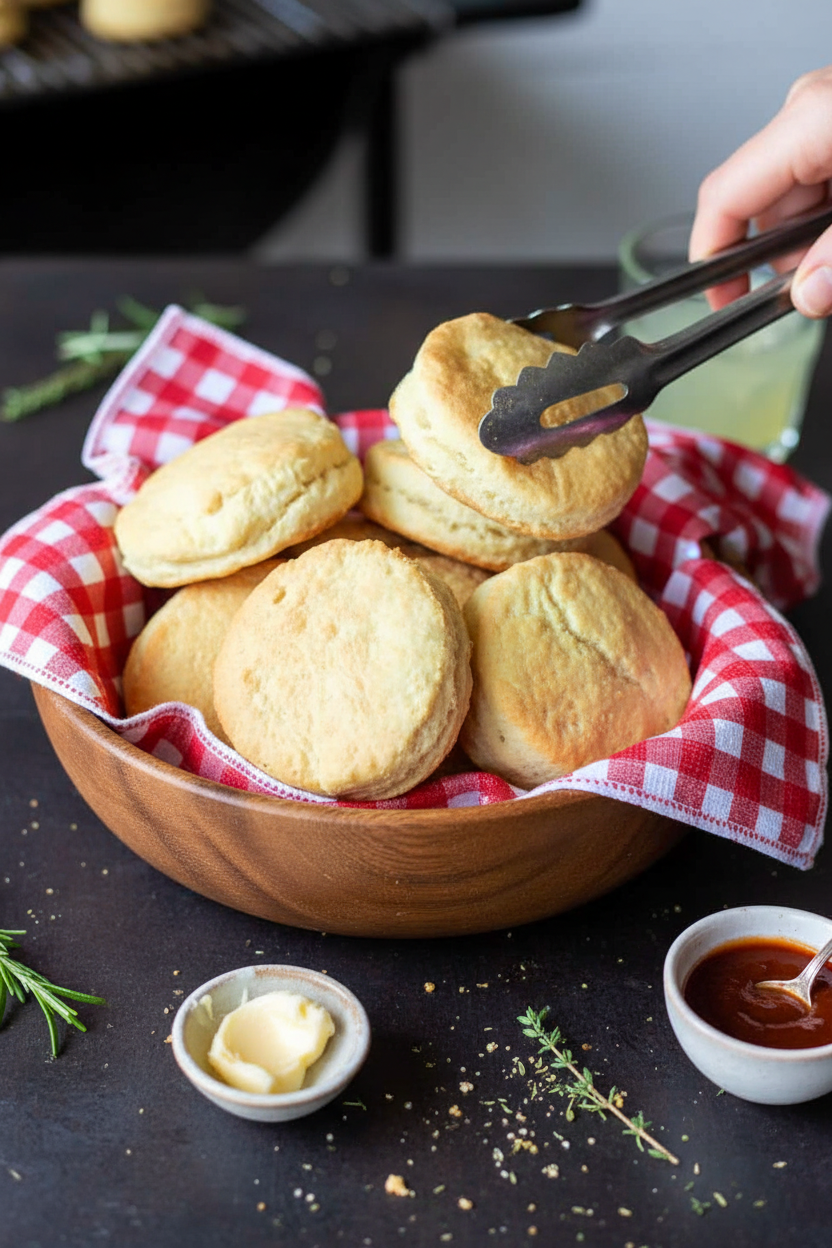
These biscuits are perfect for a BBQ. They are sturdy but soft. Just right for a bit of pulled pork or a drizzle of honey.
They soak up the good juices without falling apart. I think every plate needs something to hold and enjoy. A biscuit is like a warm, edible napkin. Do you prefer yours sweet with jam or savory with gravy? I could never choose!

Ingredients:
| Ingredient | Amount | Notes |
|---|---|---|
| Cake flour | 2 ½ cups | |
| Baking powder | 2 tablespoons | |
| Granulated sugar | 1 ½ teaspoons | |
| Salt | 1 teaspoon | |
| Unsalted butter | 8 tablespoons | Frozen, cut into small pieces |
| Heavy cream | 1 cup | |
| All purpose flour | As needed | For dusting your surface |
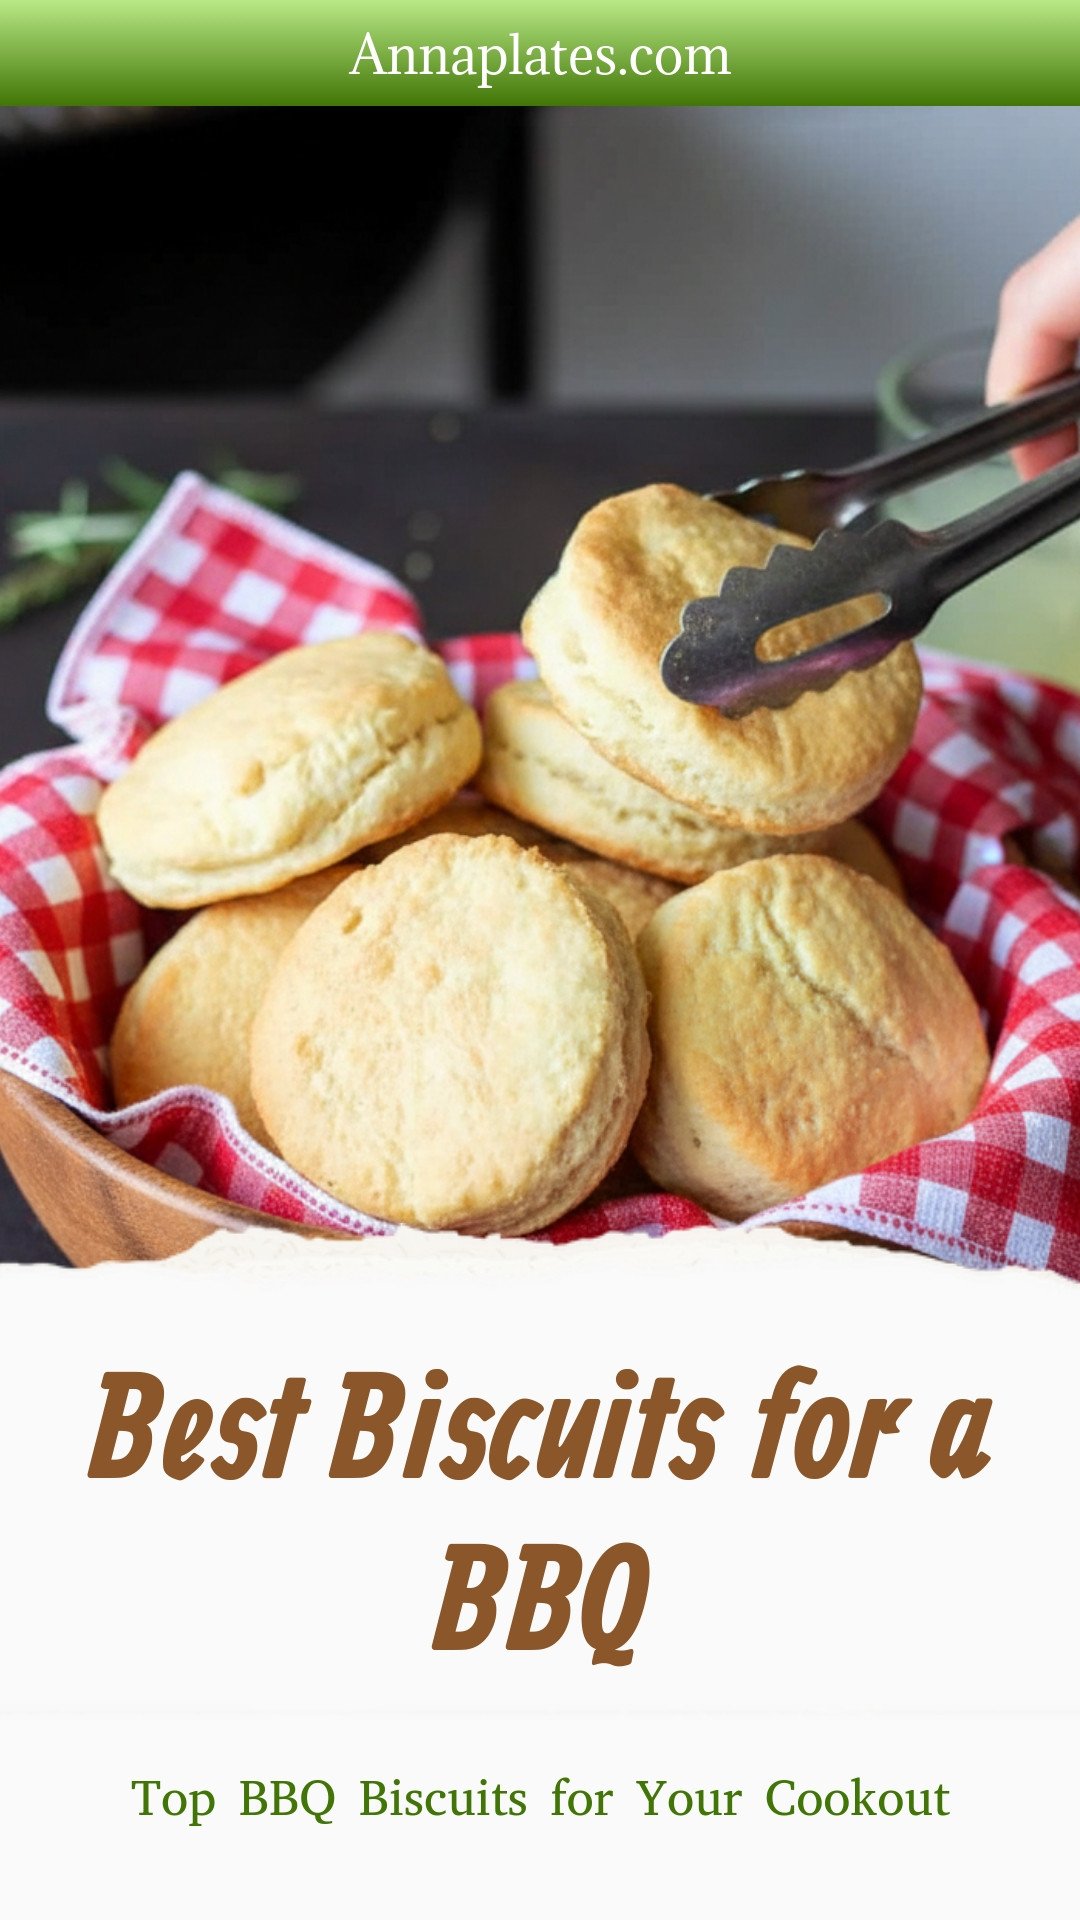
Best Biscuits for a BBQ: Top BBQ Biscuits for Your Cookout
Hello, my dear! It’s Anna. Come sit a spell. Nothing says “summer” like the smell of a grill. But the real star? A warm, flaky biscuit. My grandkids call these “clouds with butter.” They disappear fast! I love making them while the coals get hot. It’s a simple joy. Let’s make some magic together.
How to Make BBQ Biscuits
Step 1: First, get your oven very hot. Set it to 425 degrees. Now, grab a big bowl. Sift your cake flour, baking powder, sugar, and salt right into it. This makes everything light and airy. I still sift by hand. It feels peaceful.
Step 2: Next, pour that mix into a food processor. Add your frozen butter pieces. Pulse it several times. Stop when it looks like coarse crumbs. (A hard-learned tip: Keep that butter frozen! Warm butter makes flat biscuits.) Doesn’t that look like sandy snow?
Step 3: Put the crumbs back in your bowl. Pour in the heavy cream. Mix it until a soft, sticky ball forms. I use my mixer’s dough hook. It takes just two minutes. The dough will be shaggy and clingy. That’s perfect!
Step 4: Flour your counter well. Pat the dough into a one-inch thick rectangle. Now, fold it in half. Gently roll it out again. Fold it again. Do this five or six times. This makes all those wonderful flaky layers. It’s like folding a blanket.
Step 5: Finally, roll the dough to one inch thick. Use a cutter to press straight down. Don’t twist! Twisting seals the edges. Why do we avoid twisting the cutter? Share below! Place biscuits on a greased sheet. Bake for 10-12 minutes. They will turn a beautiful golden brown. Oh, that smell is pure happiness.
| Cook Time | 10–12 minutes |
| Total Time | About 30 minutes |
| Yield | 10–12 biscuits |
| Category | Side, Bread |
Three Tasty Twists for Your Biscuits
These biscuits are wonderful plain. But sometimes, a little twist is fun! Here are three ideas my family loves. Try one next time. It makes the cookout feel special.
- Cheesy Chive: Mix a handful of shredded cheddar and chopped chives into the dry ingredients.
- Everything Bagel: Before baking, brush tops with cream. Sprinkle on “everything bagel” seasoning.
- Honey Butter Glaze: Mix honey with melted butter. Brush it over the hot biscuits right from the oven.
Which one would you try first? Comment below!
Serving Your Biscuits with Style
Now, let’s talk about serving. A warm biscuit is a blank canvas. Slather it with creamy butter. Drizzle on local honey. Or, split it and pile on pulled pork. My favorite side is a simple cucumber salad. It’s cool and crunchy. For drinks, I have two picks. A frosty lemonade is perfect for all. For the grown-ups, a cold lager pairs beautifully. It cuts through the rich BBQ sauce. Which would you choose tonight?
Keeping Your Biscuits Fresh and Fluffy
Let’s talk about keeping these biscuits happy. First, they are best eaten warm from the oven. But you can store them for a day or two. Just let them cool completely first. Then pop them in an airtight container on the counter.
You can freeze them for later, too. I wrap each cooled biscuit tightly in plastic wrap. Then I put them all in a freezer bag. I once forgot to wrap one well. It tasted like my freezer smelled! Wrapping matters.
To reheat, warm them in a 350-degree oven for 10 minutes. This brings back their magic. Batch cooking saves so much time for busy days. Having homemade biscuits ready is a little gift to yourself. Have you ever tried storing biscuits this way? Share below!
Biscuit Troubles and Easy Fixes
Sometimes biscuits don’t rise like we hope. This is often because we twist the cutter. I remember my first flat batch! Just press straight down and lift up. Twisting seals the edges so they can’t climb.
Another issue is tough biscuits. This happens if you overwork the dough. Handle it gently, like a precious note. Gentle handling keeps them tender and light. That first fluffy bite is worth the care.
Finally, if they are too pale, your oven might be too cool. An oven thermometer is a baker’s best friend. Getting that golden top means perfect flavor and texture. Which of these problems have you run into before?
Your Biscuit Questions, Answered
Q: Can I make these gluten-free? A: Yes! Use a good gluten-free flour blend made for baking.
Q: Can I make the dough ahead? A: You can mix it, shape it, and chill it overnight. Bake them fresh in the morning.
Q: What if I don’t have heavy cream? A: Whole milk or buttermilk works, but the biscuits will be less rich.
Q: Can I double the recipe? A: Absolutely. Just mix in two separate batches for the best results.
Q: Any optional tips? A: Brush the tops with melted butter after baking. *Fun fact: This is called “finishing,” and it adds flavor and a beautiful shine.* Which tip will you try first?
From My Kitchen to Yours
I hope these biscuits bring joy to your table. Food is about sharing and making memories. I love hearing your stories and seeing your creations.
If you make these, I would be so delighted to see. Share a picture of your cookout spread. Have you tried this recipe? Tag us on Pinterest! Thank you for letting me share my kitchen with you.
Happy cooking!
—Anna Whitmore.
Best Biscuits for a BBQ: Top BBQ Biscuits for Your Cookout
Description
Fluffy, buttery biscuits are the perfect BBQ side! Discover the best recipes & store-bought picks to complete your summer spread.
Ingredients
Instructions
- Preheat your oven to 425 degrees F.
- In a large bowl, sift the cake flour, baking powder, sugar and salt.
- Pour into a food processor, and add frozen butter. Pulse several times until it looks like loose crumbs.
- Put the dough back in the bowl and add in the heavy cream. Mix together until you form a ball. I used my bread hook on my stand mixer and it took only about 2-3 minutes on medium speed. Dough will be sticky.
- Flour your surface with the all purpose flour. Roll the dough into a rectangle about 1″ thick.
- Fold that over and gently roll again until you have a rectangle about 1″ thick. Again, fold over. Do this 5 or 6 times.
- Last time, roll the dough out until it’s a rectangle 1″ thick and using a biscuit cutter, can or glass, cut the dough into biscuits. (DO NOT twist your cutter to cut the biscuit. This causes the edges to crimp and the biscuit won’t rise… simply press down and release.)
- Roll up the scraps, roll out to 1″ thick and cut again until you use all the dough you can. I got 10 out of this batch, but some batches I can stretch to 12.
- Place the biscuits on a lightly greased baking sheet and bake for 10 to 12 minutes or until golden brown on top.
Notes
- Nutrition Facts (per serving, based on 12 servings): Calories: 231kcal, Carbohydrates: 21g, Protein: 4g, Fat: 15g, Saturated Fat: 9g, Polyunsaturated Fat: 1g, Monounsaturated Fat: 4g, Trans Fat: 0.3g, Cholesterol: 42mg, Sodium: 413mg, Potassium: 48mg, Fiber: 1g, Sugar: 1g, Vitamin A: 525IU, Vitamin C: 0.1mg, Calcium: 137mg, Iron: 0.5mg


Leave a Reply