

My First Slider Disaster
I first made these for my grandson’s football team. I was so nervous. I used a whole block of cheese but forgot to cube it. It took forever to melt! I still laugh at that. The boys ate them anyway. They said it was the best “cheese lava” they ever had.
That’s why I love this recipe. It’s forgiving. Even a little mistake makes a good story. Food is about feeding people, not being perfect. What was your last funny kitchen mistake? I’d love to hear it.
Why This Combo Works
Let’s talk about the sausage and Velveeta. The sausage is savory and a little spicy. The Velveeta melts into a smooth, creamy sauce. The tomatoes add a tiny, bright kick. Together, they are pure comfort.
This matters because good food should make you feel good. It should be a hug from the inside. Doesn’t that smell amazing when it’s all bubbling together? It reminds me of my own grandma’s kitchen.
A Little Fun Fact for You
Fun fact: Velveeta was invented in 1918. A Swiss cheesemaker in New York made it. He wanted a smooth, meltable cheese. That’s why it’s so perfect for a dip or sauce like this!
I think that’s so neat. It shows how old ideas can still make new, happy memories. Do you have a favorite “old-fashioned” ingredient you still use today?
The Magic Buttery Topping
Do not skip the butter and garlic powder on top. This is the secret. It makes the bun tops golden and crispy. It adds so much flavor. It turns the bun into part of the meal, not just a holder.
This small step matters. It shows care. It’s the difference between something baked and something baked with love. Your family will notice. I promise.
Gather Your Forks!
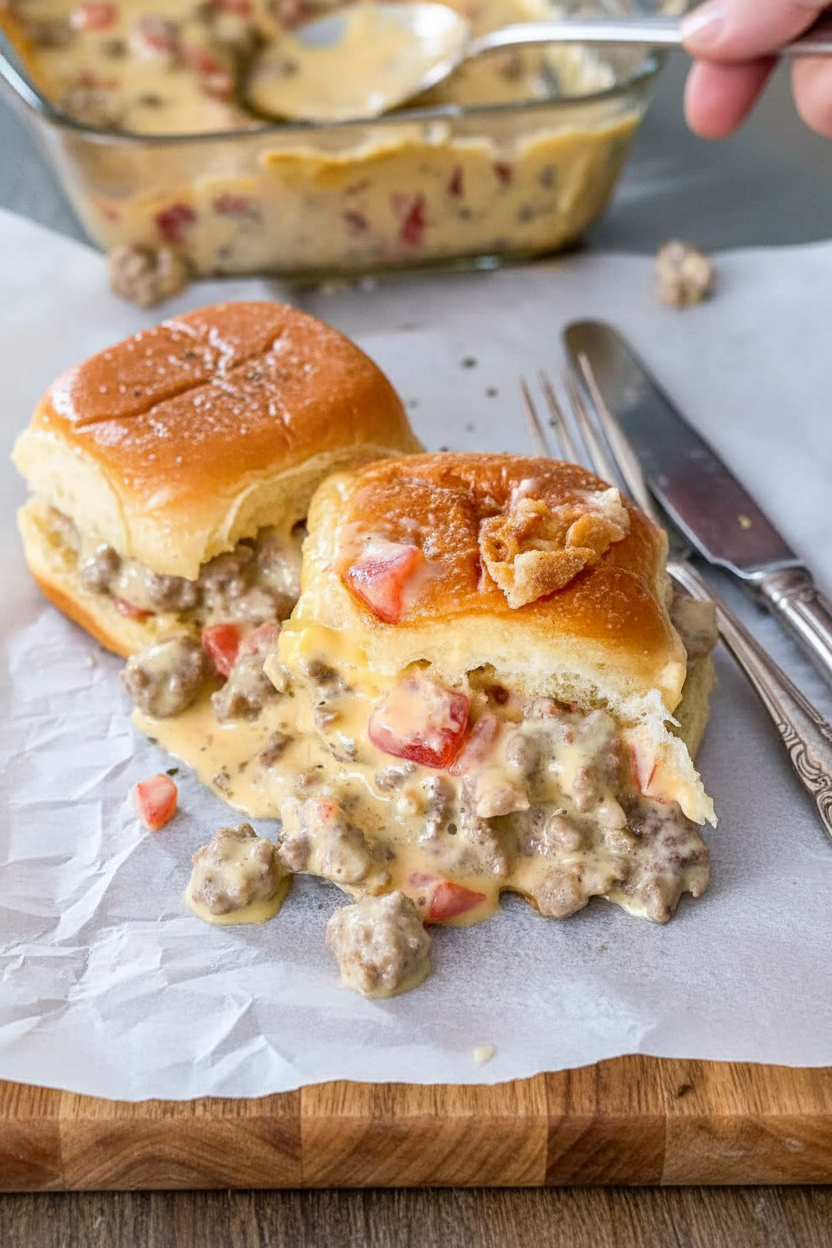
These are called “knife and fork” sliders for a reason. They are gloriously messy. The cheese sauce is rich. You will want to eat them hot from the oven. Use a fork to get every last bit.
They are perfect for game day or a busy weeknight. So simple, but so satisfying. Will you be making these for friends or just for your own family? Tell me who you’ll share them with first.

Ingredients:
| Ingredient | Amount | Notes |
|---|---|---|
| Velveeta | 16 ounces | cut into 1/2-inch cubes |
| Diced Tomatoes & Green Chilies (like RO*TEL) | 10 ounces | |
| Ground breakfast sausage | 1 pound | |
| Sour cream | 1/2 cup | |
| Slider buns | 12 | |
| Butter | 1/2 cup | melted |
| Garlic powder | 1-2 tablespoons | can substitute onion powder |
My Gooey, Messy, Perfect Slider Night
Hello, my dear. Come sit at the counter. Let me tell you about our Friday night slider tradition. My grandkids call them “cheese lava slides.” I still laugh at that. They are gloriously messy. You will need a knife and fork. Trust me on this. Doesn’t that smell amazing already? Let’s make some memories together.
Step 1: First, get your oven warming to 350 degrees. Now, grab your big skillet. Crumble that sausage right into it. Cook it until it’s all brown and singing. I always think of my grandson chasing the dog while this cooks. Drain all that extra grease away. We want flavor, not puddles.
Step 2: Turn that stove down to low. Be gentle now. Toss in your Velveeta cubes and that whole can of tomatoes and chilies. Watch the magic happen. Stir it often until it’s one smooth, orangey pool. (A hard-learned tip: low heat keeps the cheese silky, not rubbery!). Now, swirl in the sour cream. It makes everything so creamy.
Step 3: Take your slider buns. Place them snug in your baking dish. Pop their little tops off. It’s like tucking them into bed. Now, ladle that wonderful cheese mixture right over the bottoms. Be generous! Put the tops back on. They look so cozy under their cheesy blanket.
Step 4: Melt your butter. Brush it all over the bun tops. This makes them golden and crisp. Then, shower them with garlic powder. My neighbor uses onion powder. Which do you think your family would prefer? Share below! Into the oven they go. Just 5-10 minutes. You’ll see them get toasty.
Step 5: Pull the dish out carefully. It will be bubbling. Serve them right away, hot from the oven. Pass out the knives and forks. Watch everyone dig into their own little cheesy burger boat. The best sound is happy, quiet eating. I love these nights.
Cook Time: 20-25 minutes
Total Time: 35 minutes
Yield: 12 sliders
Category: Dinner, Game Day
Three Fun Twists to Try
This recipe is like a favorite story. You can tell it a new way each time. Here are three ideas I’ve tried. They each make me smile.
The Garden Twist: Swap the sausage for a plant-based crumble. Add sautéed bell peppers and onions to the cheese sauce.
The Fiery Kick: Use the “Hot” variety of RO*TEL. Mix a teaspoon of smoked paprika into the butter you brush on top.
The Hawaiian Holiday: Use sweet Hawaiian slider buns. Add a layer of thin pineapple rings under the cheese sauce. It’s a sweet surprise.
Which one would you try first? Comment below!
What to Serve With Your Sliders
These sliders are the star. But every star needs a good supporting cast. A simple, crunchy side is perfect. It balances all that gooey goodness.
I love a bright, tangy coleslaw on the side. A handful of crisp pickle chips on each plate is a must. For a lighter touch, baby carrots and celery sticks work wonders. They are great for dipping.
To drink? A cold, fizzy root beer is my grandson’s pick. For the grown-ups, a chilled lager beer cuts through the richness beautifully. Which would you choose tonight?
Keeping Your Sliders Happy for Later
These sliders are best fresh and hot from the oven. But leftovers happen, and that’s okay. Let them cool completely first. Then, tuck them into an airtight container. They will keep in the fridge for about three days.
You can also freeze them for a busy night. Wrap each slider tightly in plastic wrap. Then place them all in a freezer bag. I once forgot a batch in my freezer for a month. They reheated perfectly for a surprise visit from my grandson!
To reheat, use your oven or toaster oven. Warm them at 350 degrees until the cheese is bubbly again. This keeps the buns from getting soggy. Batch cooking like this saves your future self time and stress. It turns a busy weeknight into a cozy treat. Have you ever tried storing it this way? Share below!
Simple Fixes for Common Slider Slip-Ups
Sometimes, our cooking doesn’t go as planned. That’s how we learn. First, if your cheese sauce seems too thick, don’t worry. Just stir in a splash of milk. This will make it smooth and pourable again.
Second, watch that bottom bun. Nobody likes a soggy bottom. I remember when I didn’t drain my sausage well enough. The extra grease made the buns a bit mushy. Draining the meat well fixes this completely.
Finally, the garlic powder can burn if you bake too long. Just bake until the tops are golden, about 5-10 minutes. Getting these small things right builds your confidence in the kitchen. It also makes sure every bite is as delicious as it should be. Which of these problems have you run into before?
Your Slider Questions, Answered
Q: Can I make this gluten-free?
A: Yes! Just use your favorite gluten-free slider buns. Check that your sausage is gluten-free too.
Q: Can I make it ahead?
A: Absolutely. Assemble the sliders but don’t bake them. Cover and refrigerate for up to a day. Bake when ready.
Q: What if I don’t have RO*TEL?
A: Use a can of plain diced tomatoes. Add a small can of mild green chiles for a similar kick.
Q: Can I double the recipe?
A: You sure can. Use a bigger baking dish. You might need a few extra minutes in the oven.
Q: Any optional tips?
A: Try adding a sprinkle of chopped green onion on top before serving. It adds a nice fresh color and taste. Which tip will you try first?
From My Kitchen to Yours
I hope you love making these gooey, comforting sliders. Food is about more than just eating. It’s about the memories we make while cooking and sharing. I would love to see your kitchen creations.
Share a photo of your finished dish with your family. Let’s build a little community of friendly cooks. You can find more of my simple, happy recipes on my blog’s Pinterest page. Have you tried this recipe? Tag us on Pinterest!
Happy cooking!
—Anna Whitmore.
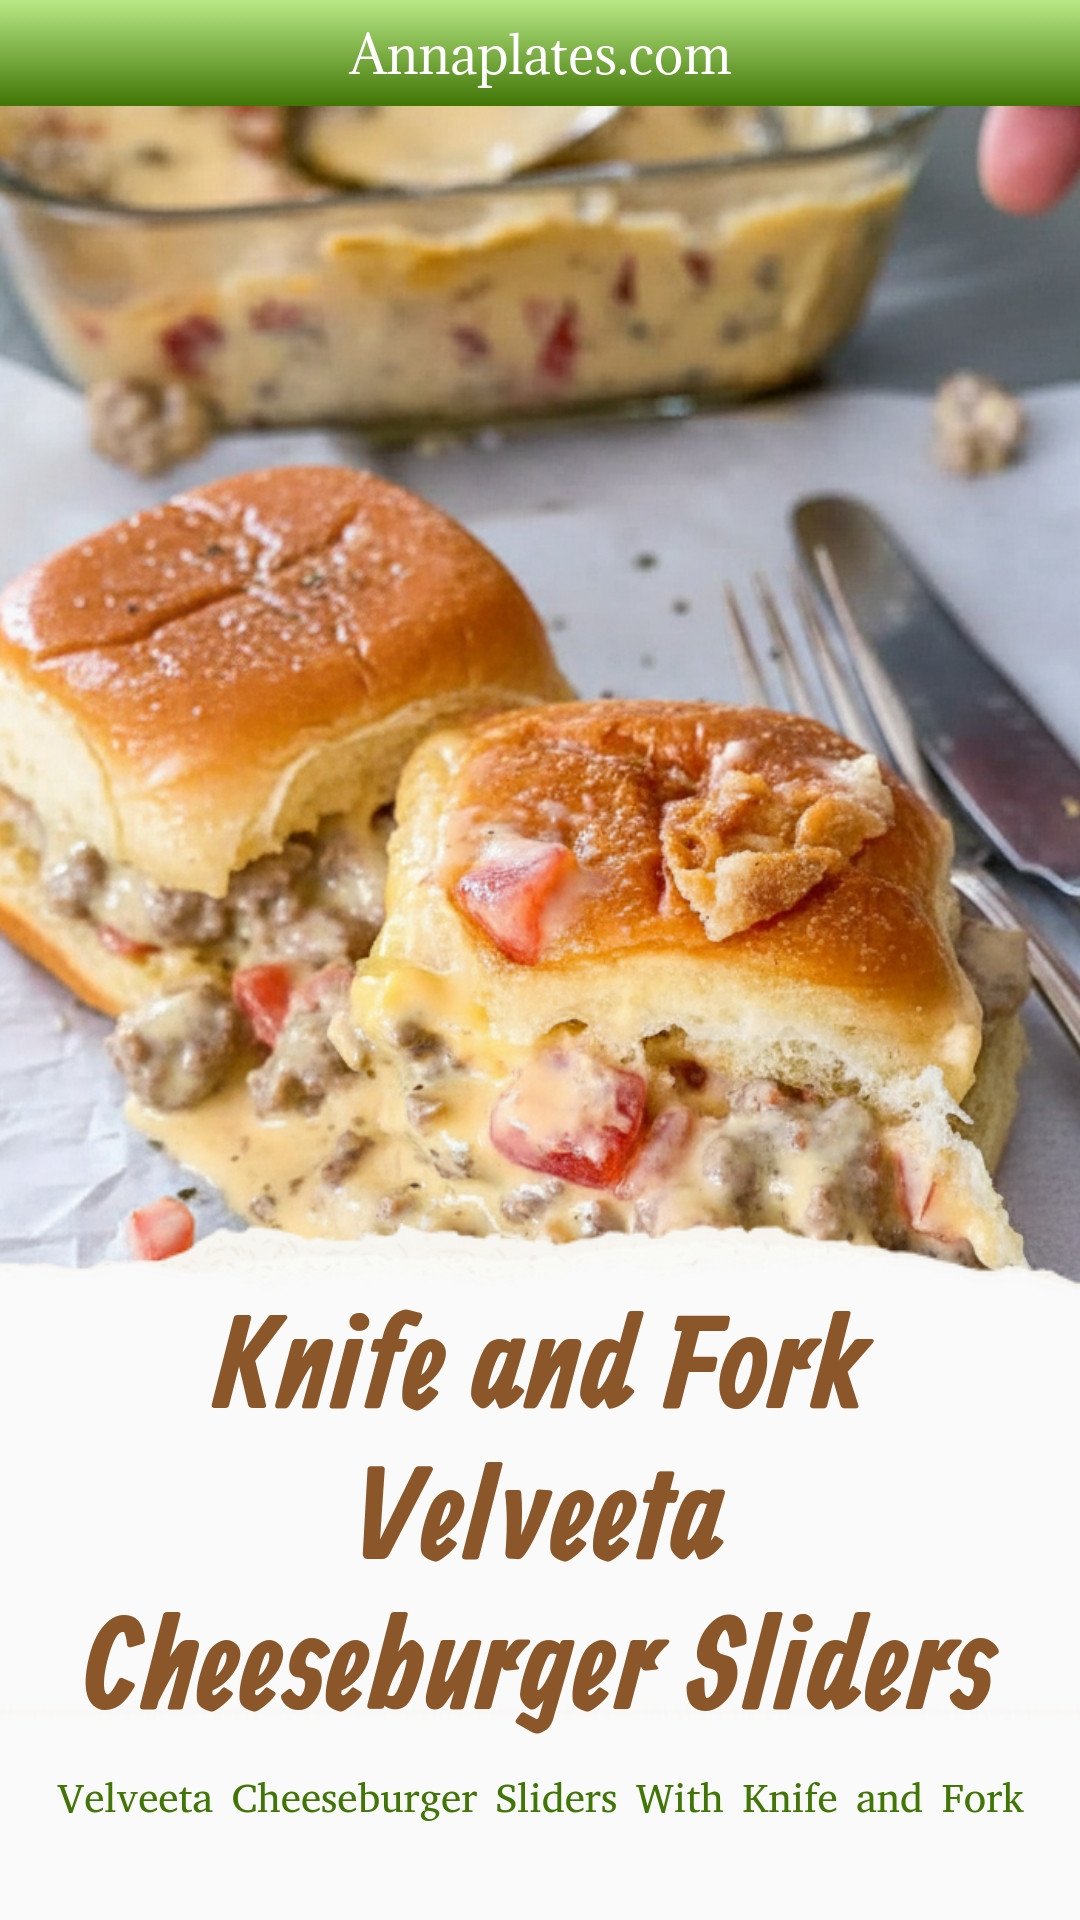
Knife and Fork Velveeta Cheeseburger Sliders: Velveeta Cheeseburger Sliders With Knife and Fork
Description
Gooey Velveeta cheeseburger sliders, perfectly sized for any party! Easy, cheesy, and deliciously messy comfort food everyone will love.
Ingredients
Instructions
- Preheat oven to 350 degrees F.
- In a large skillet on the stovetop, brown sausage and drain grease.
- Turn the stovetop to low and add in the cubed Velveeta and the Rotel. Allow to cook over low heat, stirring often until melted. Stir in sour cream.
- Arrange the slider buns into a baking dish removing the tops of each bun.
- Remove cheese and sausage mixture from stove when ready and pour over the buns. Replace the top of each slider.
- Brush melted butter over the tops of each slider and then sprinkle garlic powder or onion powder over the top.
- Bake for about 5-10 minutes. Serve hot with knife and fork!
Notes
- Nutrition Facts (per serving): Calories: 365kcal | Carbohydrates: 20g | Protein: 16g | Fat: 25g | Saturated Fat: 12g | Polyunsaturated Fat: 2g | Monounsaturated Fat: 7g | Trans Fat: 0.4g | Cholesterol: 69mg | Sodium: 906mg | Potassium: 291mg | Fiber: 1g | Sugar: 6g | Vitamin A: 723IU | Vitamin C: 3mg | Calcium: 261mg | Iron: 1mg


Leave a Reply